
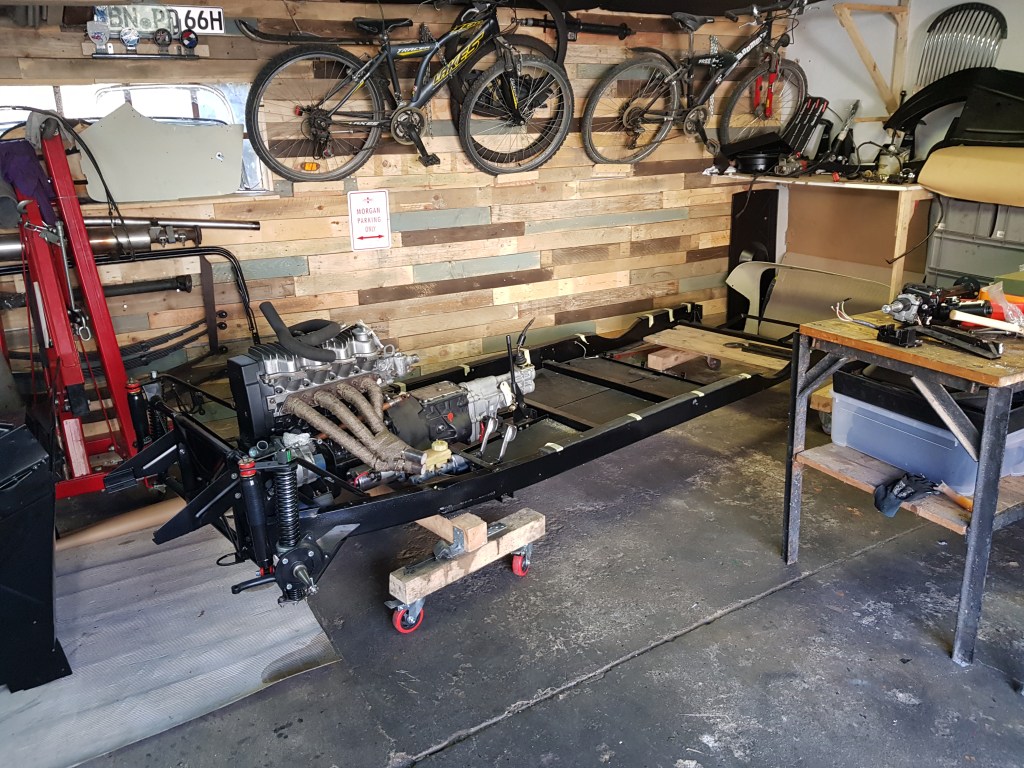
We returned home from the UK at 3am today. After a couple hours of sleep I used the rest of my day off in the garage. A quick clean up of my work bench and I could lift the shinny overhauled Salisbury 7HA onto a pair of axle stands. My goal for today was to install the rear brakes, leaf springs and get the axle into the chassis.
As mentioned before I use grey plastic storage bins during disassembly. New and overhauled/restored items go onto the shelf in the rear right corner (visible on a few pictures). Screws, bolts and nuts etc find their place in labelled plastic bags. These bags are currently on desk behind the work bench as I replace as much as possible with metric stainless steel stuff. For the most part this system worked really well for me. Today I unfortunately wasted an hour searching for the old leaf spring bolts. For whatever reason the plastic bag ended up on the shelf for restored parts…. the last place I looked at.
When I took the rear suspension out of the car I already saw that the two longer front bolts for the leaf springs were bent. One just a tiny bit – the one on the driver (left) side certainly needed to be replaced. Since Mogparts (Melvyn Rutter) only offers a complete set of bolts I did not bother to clean the old ones. I ordered new bolts weeks/month ago – but they are still on back order. Jack Bellinger saved my week. He was so kind to give me a replacement bolt from a car he recently worked one.
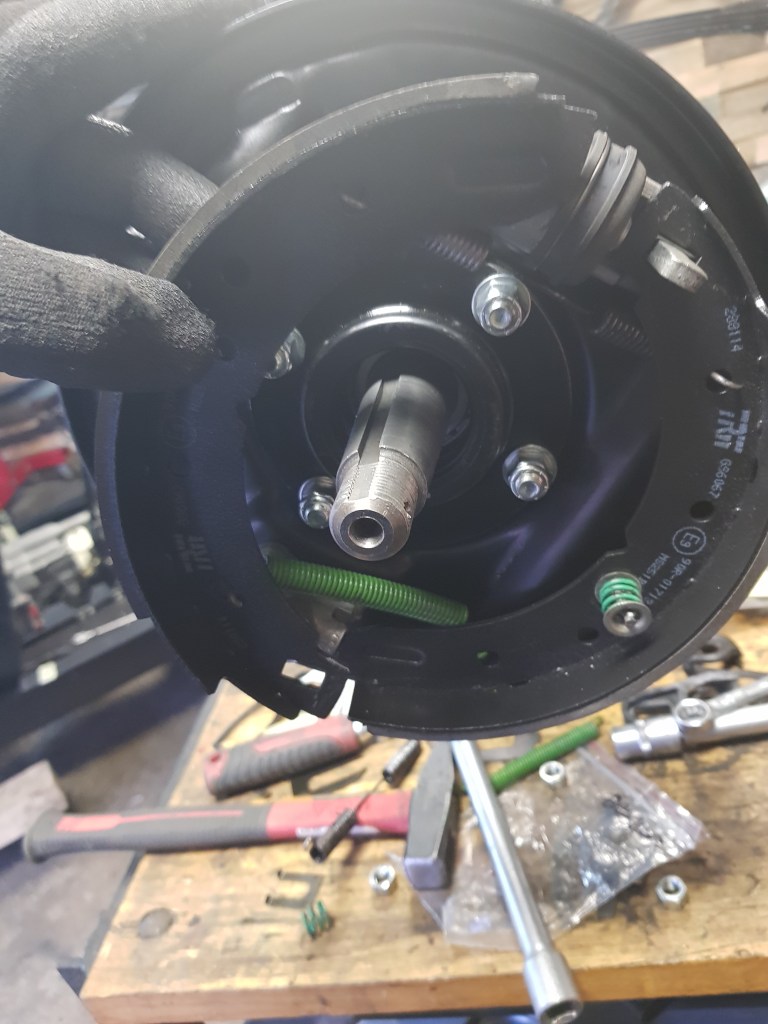
Another hour was necessary to clean up the old bolts and the handbrake linkage. As it was really sunny today I also used the opportunity to put on another coat of black paint onto the frame. So it was 3 pm already when I finally started to assemble the brakes. Jack gave me a run down of the what I have to do. First I replaced the temporary nuts for the brake backplate with the supplied Nylocs. The torque setting he gave me is 45 lb ft which is about 61nm.
That was the easy part. Next up were the brakes. I replaced slave cylinders on MGBs and Minis a couple of times before – but fitting the Girling HL3 with a spring, retraining and distance plate/piece is -ehm- different. I am glad I was able to do this while the axle was on the workbench. Doing this service on the car will be a little harder. The new TRW brake shoes are available from AutoDoc by the way. Make sure to fit the springs on one side first – before you put on the shoe retaining pin and seating spring.
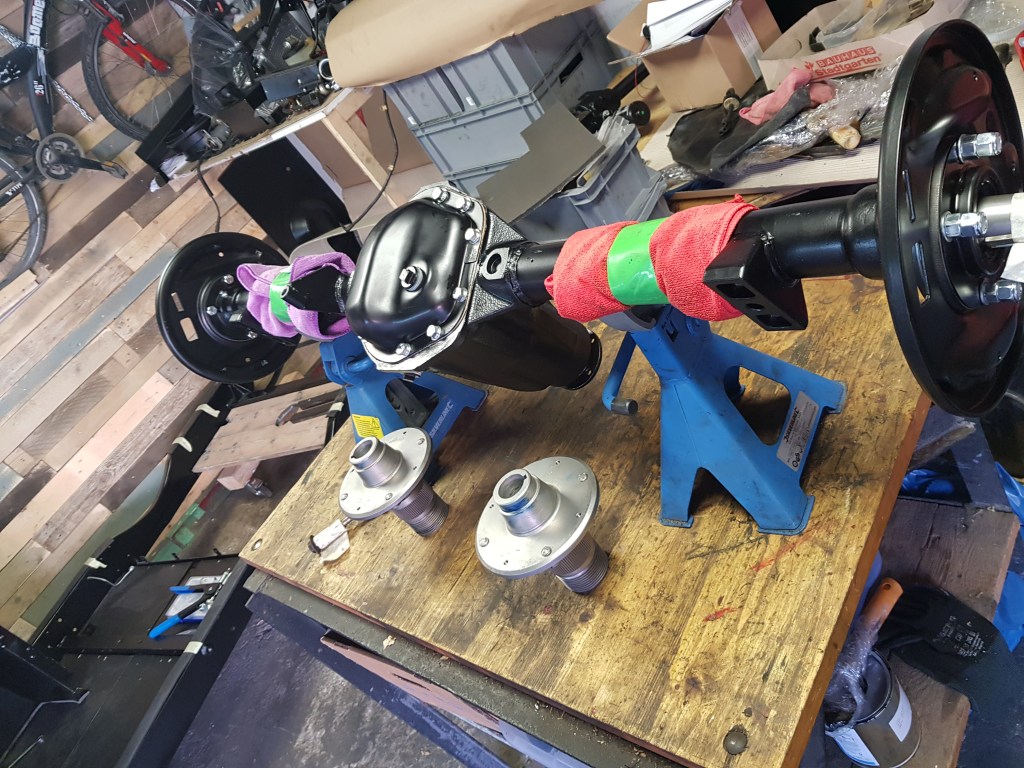
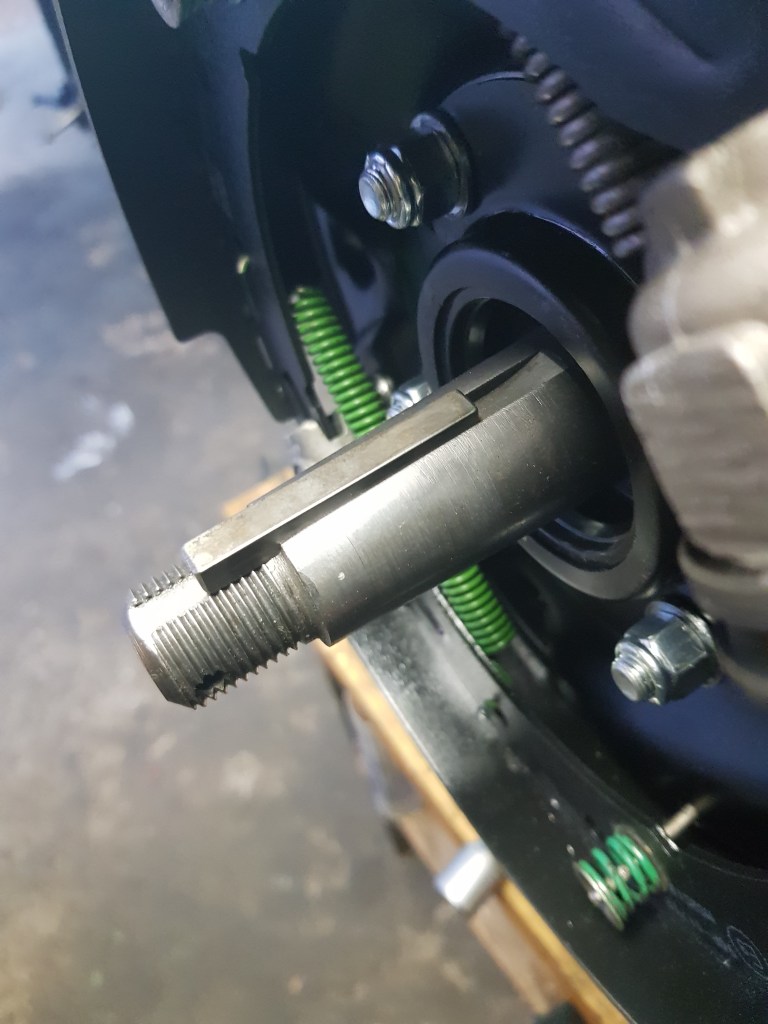
The LHT (left hand thread) centre lock hub is pushed on the right of the axle and logically the RHT on the left side. Jack doubled checked that I won’t mess this up and Billy marked the correct sides. I tried to remember and follow Jack’s instructions as close as I could. However, when it came to the alignment of the rear axle it became crystal clear that I am doing a DIY restoration and Billy and Jack Bellinger (and other Morgan garages) have years of experience.
The rear axle is attached to the leaf springs with U-bolts. Since I will upgrade to “Rutherford Telescopic Shock Absorber Bolt-On Bracket Conversion Kit” from NewElms – I have new 6-leaf springs and U-bolt plates. There is only one way to attach them and I cannot see anyway to adjust the placement – in otherwords: I don’t think I can mess this up here. The leaf springs should be bolted to the rear axle before you put them it (at least I came to this conclusion). Jack told me to check the alignment from the side of the chassis (assuming that it is straight…) To do this I first screwed in the shackles in the back. These are super solid and there is nothing I could adjust. A test fit of the leaf spring showed that I have 22mm space between the spring and the chassis at the back.
Using the old spacers I was easy to get the same 22mm distance in the front. While I can lift the rear axle without springs – I decided to use my engine hoist to install the entire rear axle assembly into the chassis. After a failed attempt I decided that the easiest way is to bolt down the front on the leaf springs first. The shackles in the back should be attached to the chassis first. I only had wood working clamps at hand and used those to push down the springs into the shackles. This was a bit sketchy but worked out fine at the end.
Jack Bellinger explained me that it is important that the rear axle is perpendicular to the chassis. And to measure this I used a measuring tape from the rear axle to the KingPin. This is off by 5mm between the two sides. The question is: what do I do about it now? Is this within reasonable tolerance for a handmade car (I like to think so)? Or does this need to be corrected? If so: how?…..
Back from JB Sports Engineering 
First job is to replace the temp nuts of the backplate with Nylocs 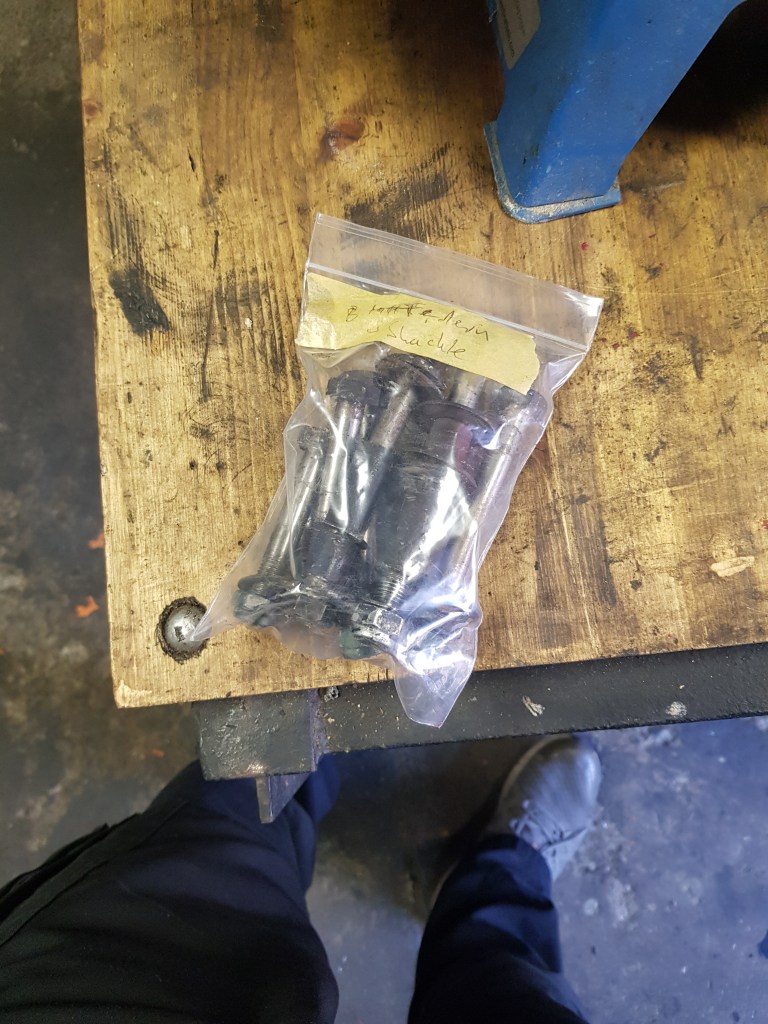
the old bolts…. 
They need some TLC… 
Bolt on the left and it’s replacement 
Action shot… yeah 
all cleaned up 
First attempt to measure the distance of the leaf to the chassis 
hmm – not stainless… I think I will put on some Hammerit later…. 


Girling back in 
make sure to attach the springs early 

Looks about right I think 
Trying to follow Jack’s install instructions. 


one side complete 
the other side only took minutes… 

too heavy to lift on my own 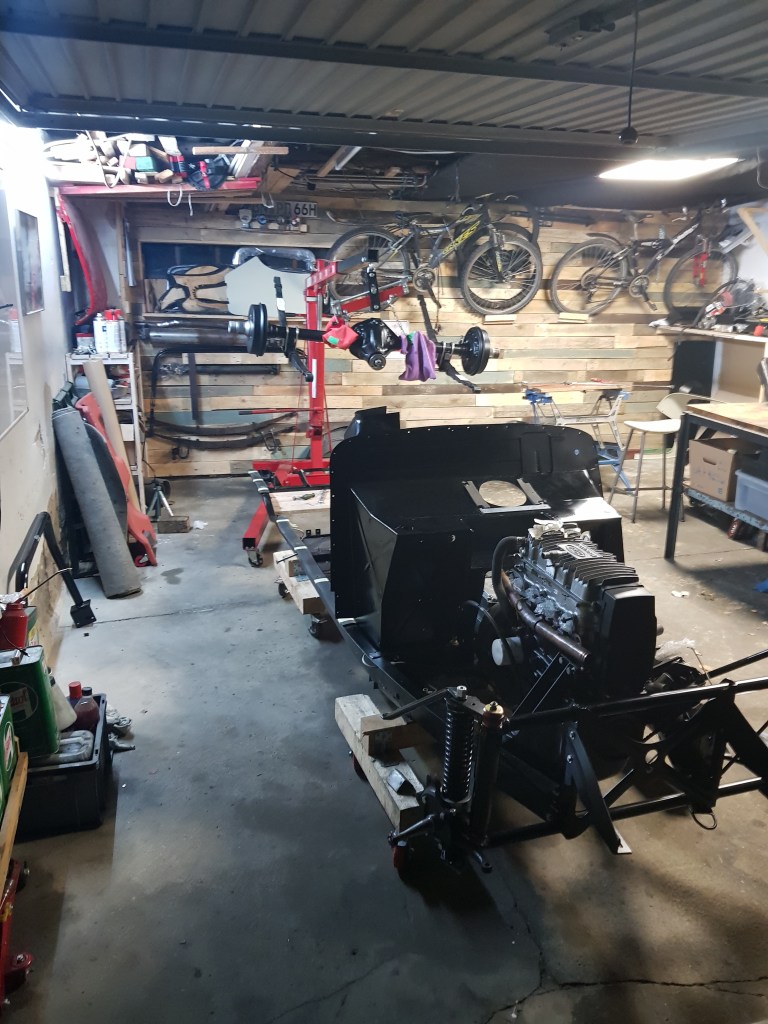
having the chassis on some rollers is really practical… 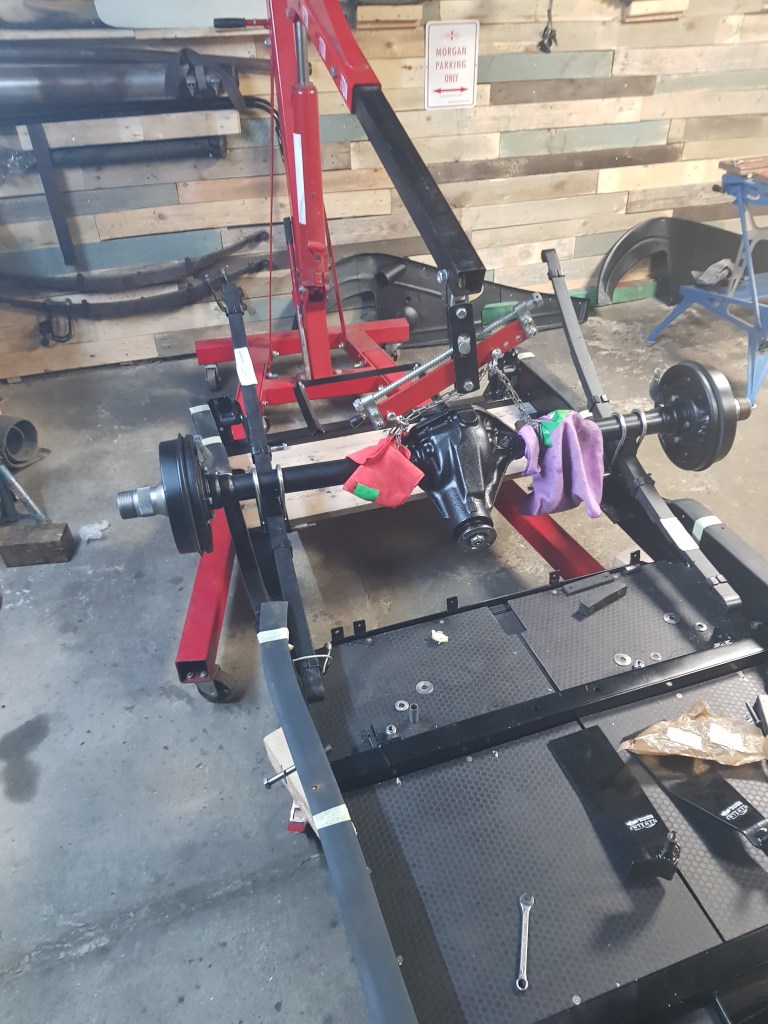
it was far easier to move the chassis and start with the front of the leaf springs 
I only have woodworking clamps…. this part of a bit sketchy… 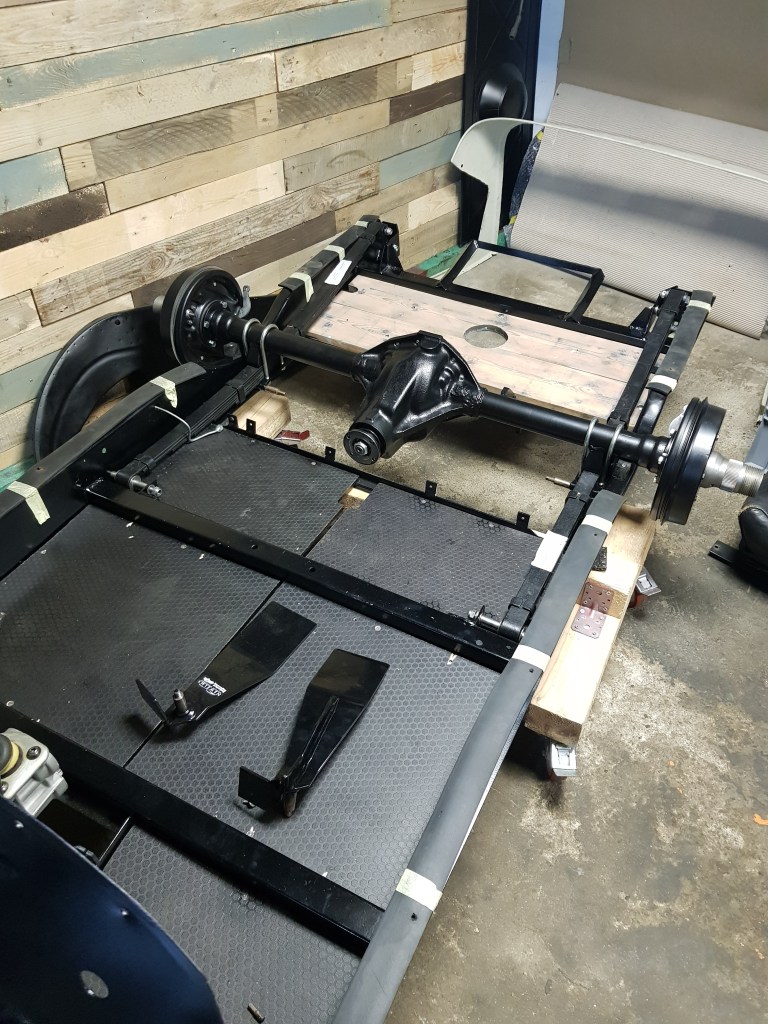
Jobs a gooden!!! 
Ready for the next step????

Leave a comment