
back in mid May this year when I removed the rear axle I remembered that my father often mentioned the “Rutherford” suspension upgrade back in the 90th when we did “Father&Son tours” with the Morgan. He always wanted it, but never invested money or effort to get it. After a search on the TalkMorgan forum I also found a couple of posts that mentioned the enhanced ride quality. This was the trigger to contact NewElms. A few emails and calls later my shopping list was much longer and my restoration budget much smaller 🙂
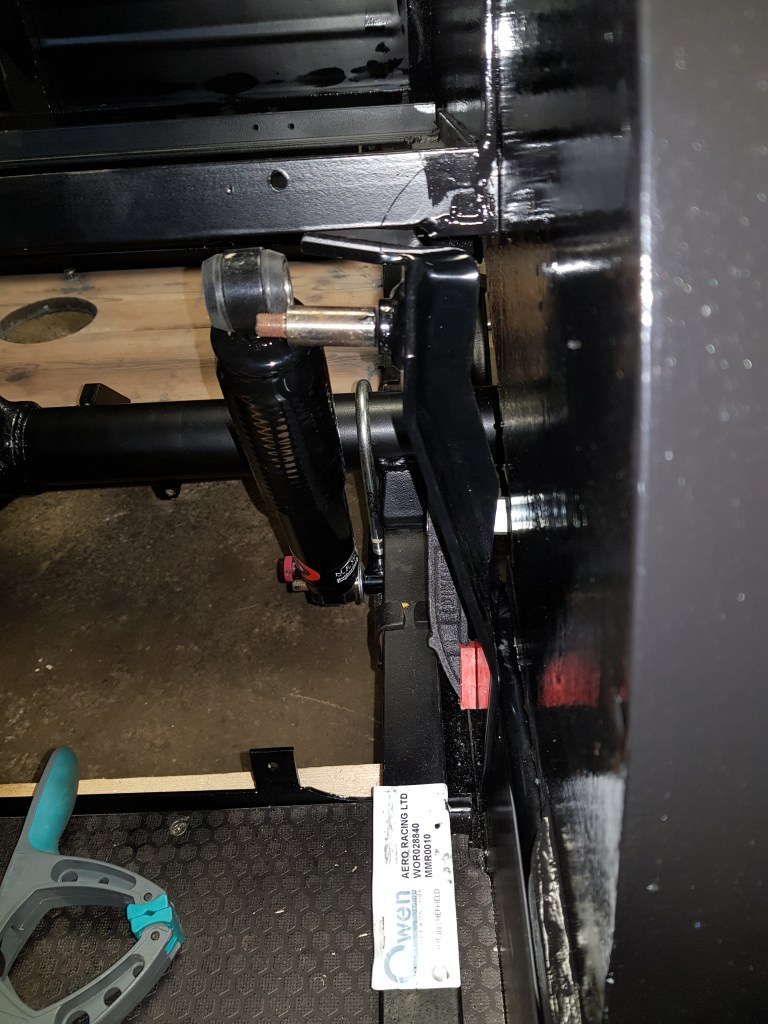
Now that I have the rear axle back in the car it was time to tackle the rear shock Absorber conversion. I read the instructions many times in the last couple weeks. It all sounded straight forward and the sketches on how the mounting brackets should be attached looked good. When I finally started trying to fit it yesterday evening – it quickly became clear that it won’t be as easy as I thought.
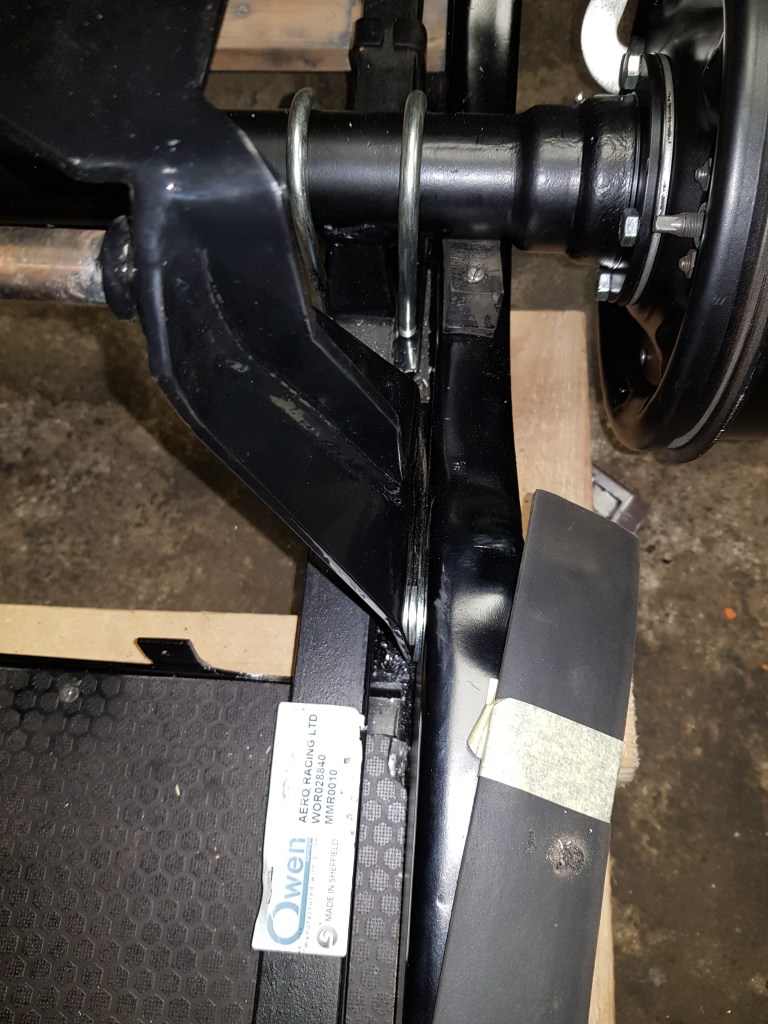
The drawing on the instructions depicts that the top bracket is attached to the frame of the backseat on the 4/4 fourseater. Maybe this was the case with the original Rutherford kit back at some point. The brackets in the kit I got are angled and cannot sit flush to the side of the seat frame. In addition I assume that newer chassis most likely have a perfect 90 degree angle from the bottom part to the side. C6622 have does not have this (anymore? ever? – who knows) Well – not all Morgans are created equal I guess 🙂
So if I would attach the brackets to the side of the chassis, the angle of upper the shock Absorber mount would be off. After clamping the bracket down in many variants I made the decision to mount as follows. (pictures below)
Here is the first part of my version of the instructions…
1) Align the top of the bracket so that the shock is straight and extended to almost full length. This results in that only the back part of the bracket top is unter the seat frame.
2) Now push the bottom part of the bracket towards the inside of the chassis wall. Make sure that the bracket covers and ideally touches the lower of the existing drill holes. The top of the bracket should sit flush with the seat frame. Check that the lower and upper shock mount are aligned. Mark the position of the top bracket and remove it.
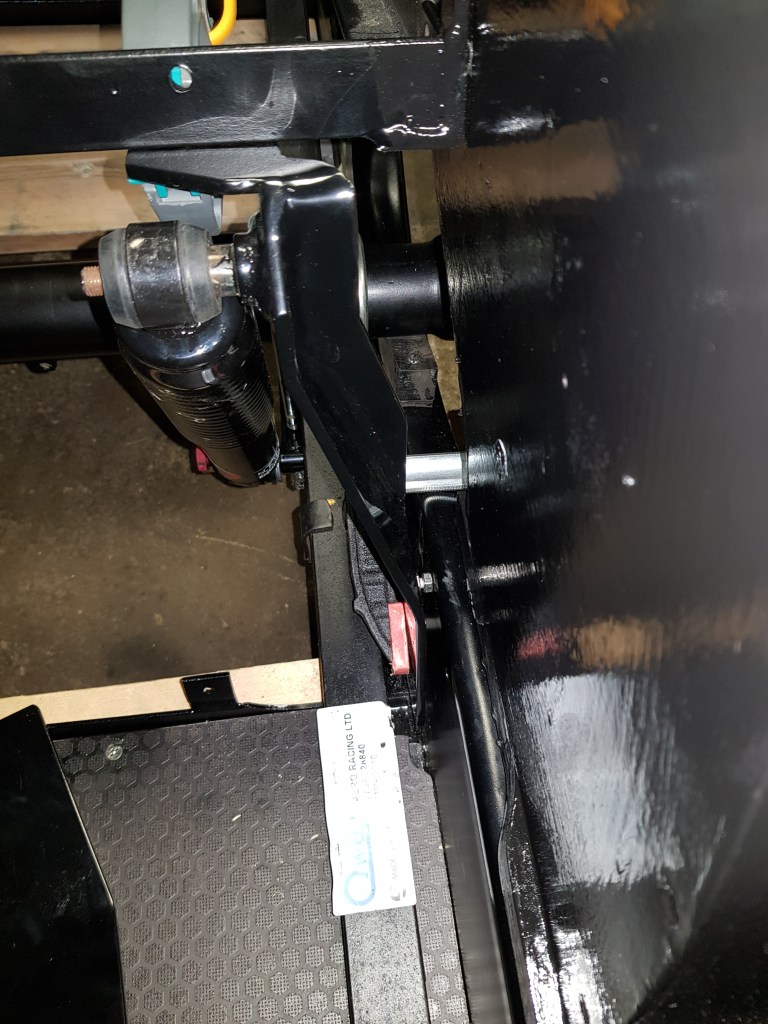
3) Drill a hole through the seat frame (in my case 97mm from the side of the seat frame.) Do the same on the bracket
4) Attach the bracket to the seat frame with a bolt.
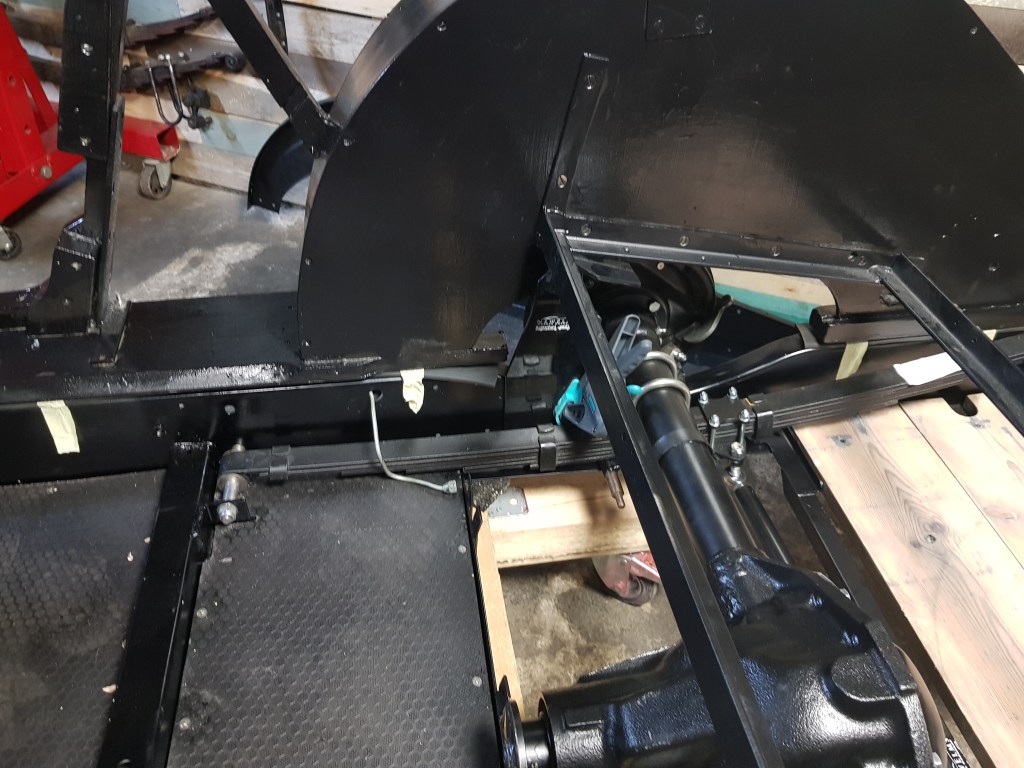
5) Mark and drill a hole in the bracket in the existing lower rear hole in the chassis. If you rebuilding a car – double check that the frame is tightly mounted to the chassis.
6)Mount the bracket on the seat frame and chassis.
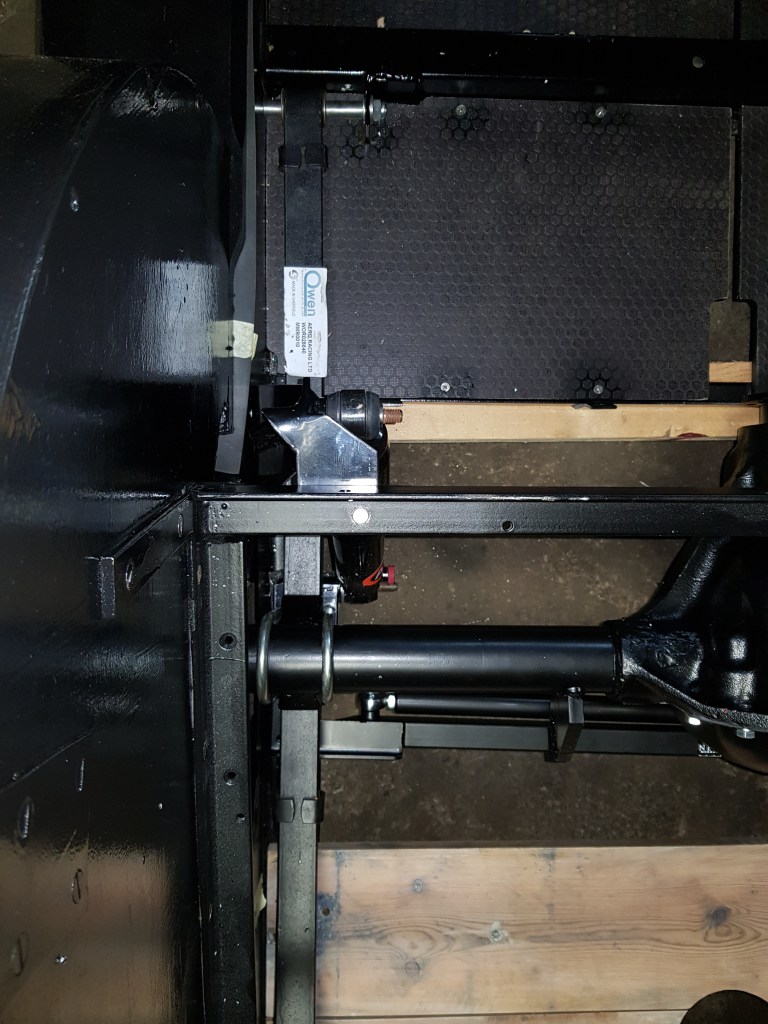
7)Measure the gap between the upper part of the chassis and the bracket. Find something (e.g. washers) that can be used as spacer
Now I really wished I could have completed the task tonight but I cannot find put the screws in from the inside as the leaf springs is in the way. I think the best way is to remove the rear axle and leaf springs again. Thankfully I already have quite a bit of practice putting the frame off and on again…

Leave a comment