
Looking at the picture I took this evening I see that I made some progress. It sure did not feel like it in the garage. I had many little tasks today. After cleaning up the propshaft I decided not to paint it. Sure – it would look better but nobody will ever see it and it is not rusted or anything. Using the greasegun I push to much new grease in until no blackish old grease came out again. Then I cleaned up the joints and screwed to the rear axle. I wonder what the right torque setting might be for the four bolts. I went with FT (frickin tight) 😉
Next up on the list was the gearbox tunnel. Originally this was attached with self-tapping screws. I thought that rivnuts (or blindnuts) are a better idea to attach the gearbox tunnel. The old screw holes were enlarged to 7mm for the M5 rivnuts. With this done I took the bulkhead off. I used the opportunity to add the cleaned up distributor and tried to figure out which of the new Roose MotorSport silicone hoses goes where. I had to go back to the pictures I took back in April quite often for this. One thing that I really couldn’t believe and remember is that the heater valve is not attached to a bracket of something. The old picture show that this was at least also the case when I took the car apart.
Once I felt confident that I know how the hoses will be routed I applied Petec elastic sealant to the chassis. Since I lack experience I didn’t really know if I used too much or not. After putting the bulkhead back in I only screwed the 4 bolts for the toeboard in. This pressed some of the sealant out – which I believe is good sign.
Although I test fitted the new heater matrix I got from Simon Hall (Sifab) before – I struggled getting the 4 bolts for the heater cover in. It is funny that sometimes easy tasks just chew away 20 minutes… Bolting down the ignition coil and washer motor just took a minute. After I added to hoses I decided that I will build a bracket for the heater valve. The new fuel regulator/filter came with the bracket and I attached it to the bulkhead where the old fuel pump used to be located. The upgraded Facet fuel pump will go into the back of the car – close to the fuel tank where it’s supposed to be. And I just decided that I will add an inertia switch as well.
The new throttle cable I got from AutoDoc for under 10€ is a bit shorter compared to the old one – but will do. There will be an update on the carburetor shortly – before I buy a new one I will at least try to service it myself. If the engine does not run properly with it – I can still order the Weber 32/34 DMTL from BurtonPower as replacement for the DFT…
Tomorrow I invited some Morgan Club members to a Corona-friendly virtual garage talk/beer using a Microsoft Teams conf call. It is a test to see if this is format works out – I think I need to do some clean up tomorrow afternoon 🙂

Rivnuts instead some self-tapping screws 
Some Noico 8mm cutoffs on the gearbox tunnel toward the bulkhead 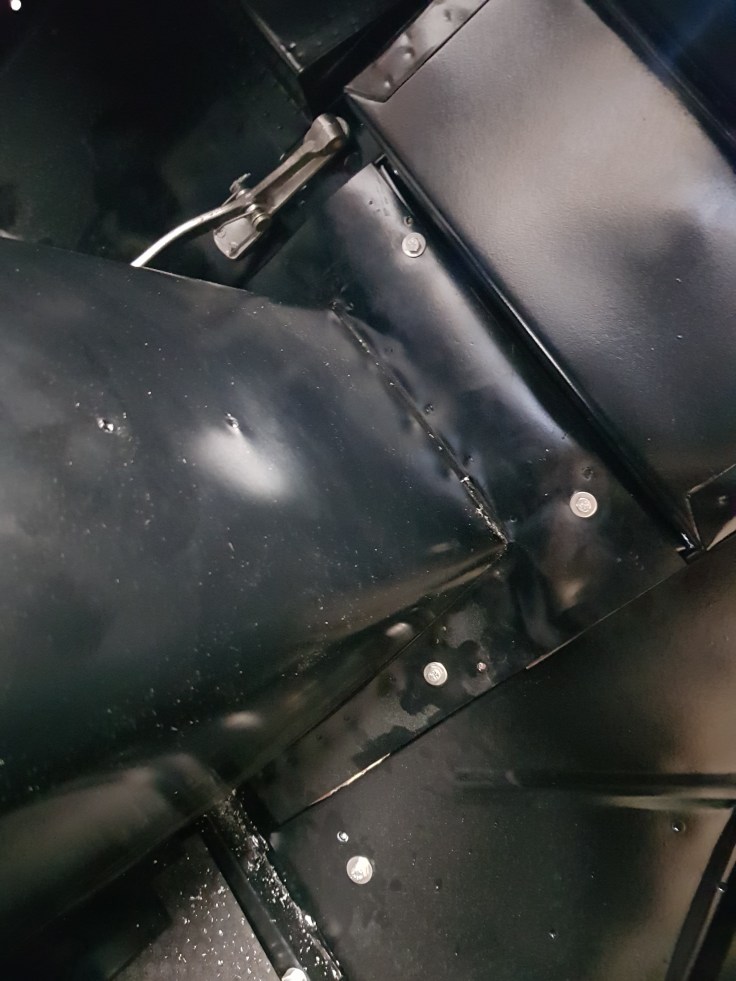
M6 stainless bolts 
Finally time for the new silicone hose set from Roose Motorsport 
Old hoses as reference 
new hoses with stainless steal hose clips 
trying to figure out what goes where 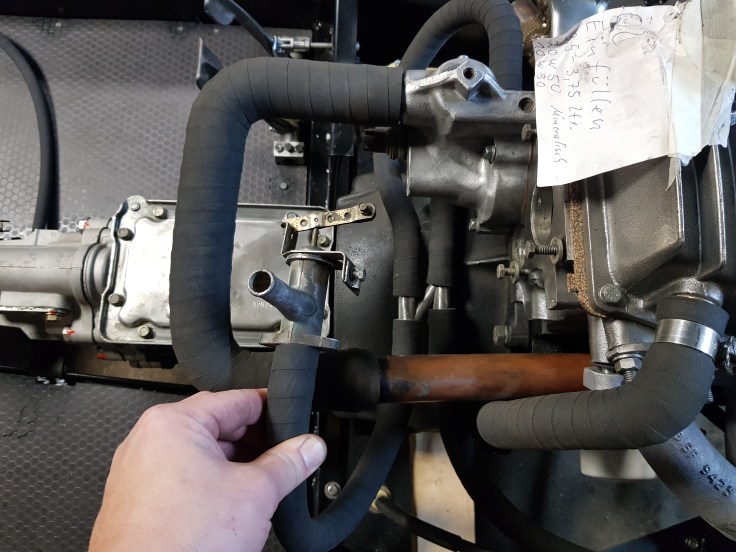
Is the heater value really not connected to a bracket? 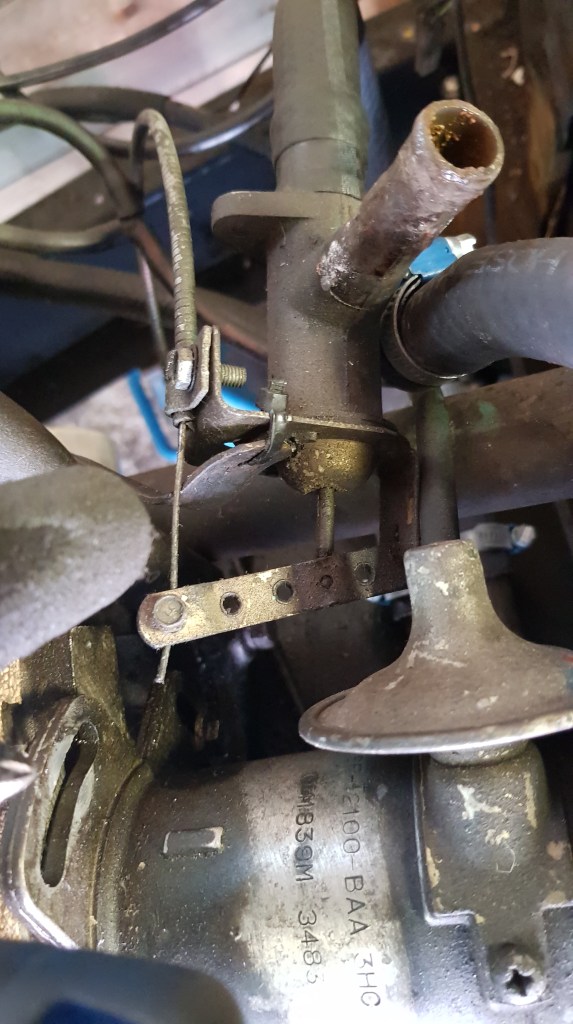
using old pictures to get an answer 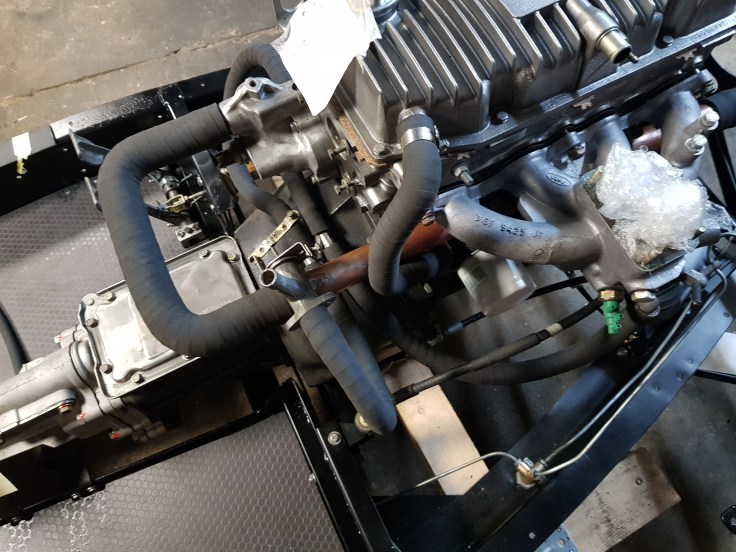


The long hose is the last part in the kit with thise size… I will cut it later 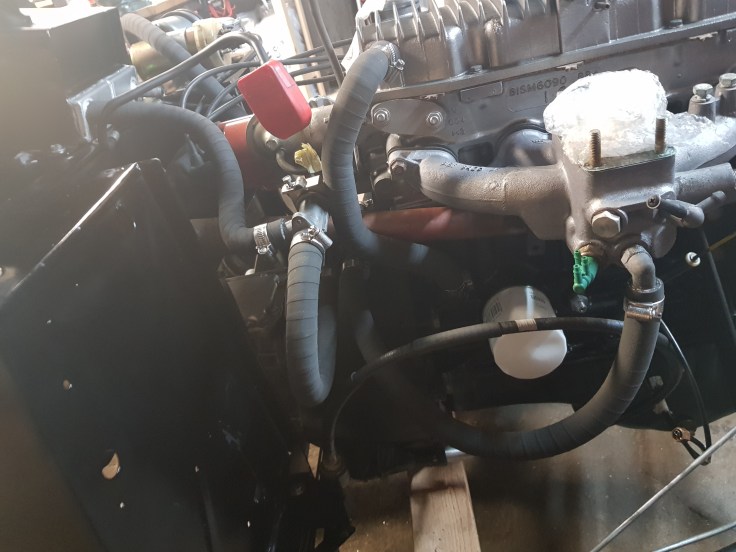


Propshaft in 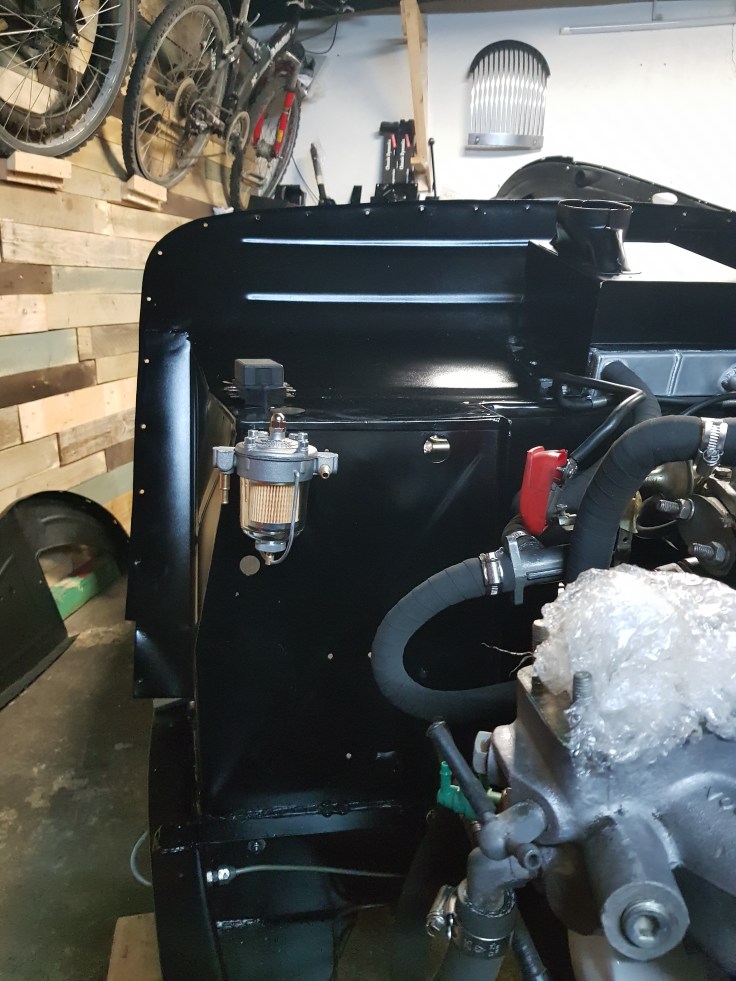
New fuel pressure regulator and filter 
Almost there 
new throttle cable has a spring – but besides that it is the same. 
looks about right 
New cable is a bit shorter 
Throttle cable from Autodoc costs less than 10€ 
need to remember to connect this… 
small stuff that needs cleaning 
SiFab radiator is hopefully in by tomorrow

Leave a comment