
With the chassis in an (almost) rolling condition it was time to focus on the next task ahead. The rear quarter panel on the right side (offsite) of the car had a ~4cm torn area beneath the door even before I took the car apart. The repair attempt on the 1mm thick alloy did not really work out. On the left side (nearside) I replaced to rotten wood in the frame and the old panel does no longer fit perfectly. Stephan from the body that I should just make my own panels.
Since I have never worked with sheet metal in my entire life – let alone used a pair of metal shears before – I was completely out of my comfort zone. Stephan and his brother explained me the steps and send me off to my garage with a sheet of 1mm thick aluminum last Saturday. The steps I have taken are by no means instructions for the masses. With 100% certainty there are better ways to do it.
I started off by creating a template of the panel using a 6mm sheet of plywood. The reason I used 6mm is because it bends easily – the frame is not plain in this area. I cut out the rough shape with the jigsaw, clamped the plywood to the frame and used the copy bit to make an exact match. Using the template I transferred the share to a 15mm multiplex board again using a copy bit on the router.
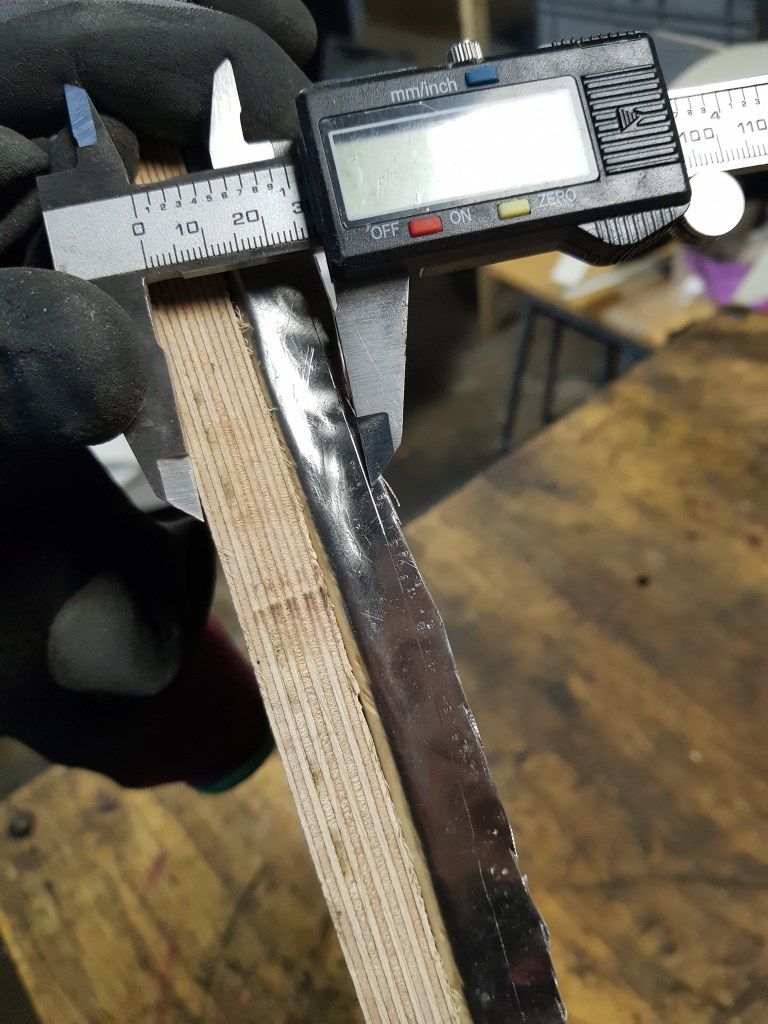
The panel edge are turned over by approx 9mm on the Morgan. I did not feel comfortable with this little room to play with and decided to go with 12mm. I could cut away material later if needed. – Using a matching washer makes transferring the outline of the plywood onto the aluminum sheet quite easy. This weekend I then learned that there are quite a number of different metal shears. Left/Straight/Right cutting is just the start. The prices also vary from super cheap to unbelievable expensive. First I spent 20€ on a straight cutting one – and another 20€ for a left cutting one today. I just found an electric one for just 80€ which I should have bought in the first place….
Anyhow – after I cut out the panel I used some double sided tape and attached the sheet to the template. Using some woodworking clamps I then attached this to the frame – so that the edge I needed to bend over equally was 12mm all around. I also learned this weekend that you should never use an iron hammer on aluminum. Quite logical if you have somebody that explains it to you – I never thought about it before… The hammer I had to my hands has a PVC/hard plastic head (Amazon will deliver an aluminum hammer soon…)
The edge is gently bend over the wood by going around the entire panel and tapping it gently. It took me quite some time to get the edge bend over completely. Looking at the old panel I could see that there were some corner that were cut in and most likely soft soldered together afterward. Did I mentioned that I never soldered aluminum before? Still haven’t but I know I have to learn it this week… Overall my first panel isn’t a complete fail – I just screwed up the area around the door catch. Keep in mind – most of the edge will not be visible afterwards – the only part that will be is around the door catch 😦
Looks like I will be spending a couple more hours on this the next couple days.

looks good from here…. 
left side panel doesn’t fit on new catch posr 
right side rear quarter panel after repair attempt 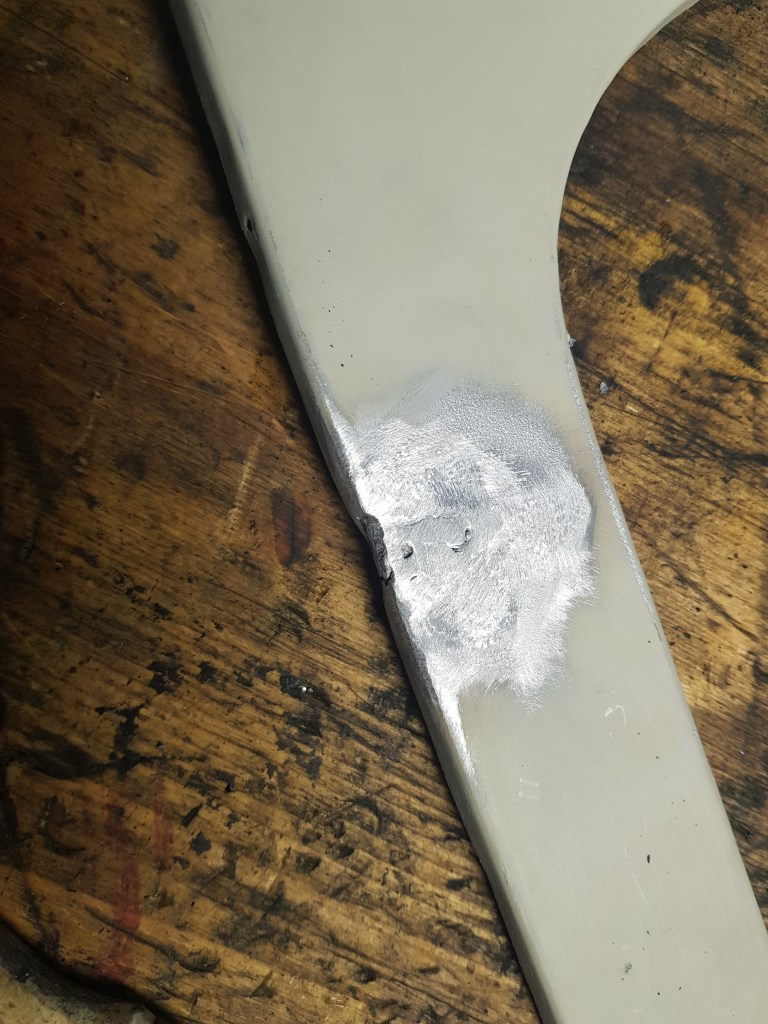
Maybe the repair might work out with workout with some filler.,,, I will have a go with trying to make new panels – I can always go back to this one 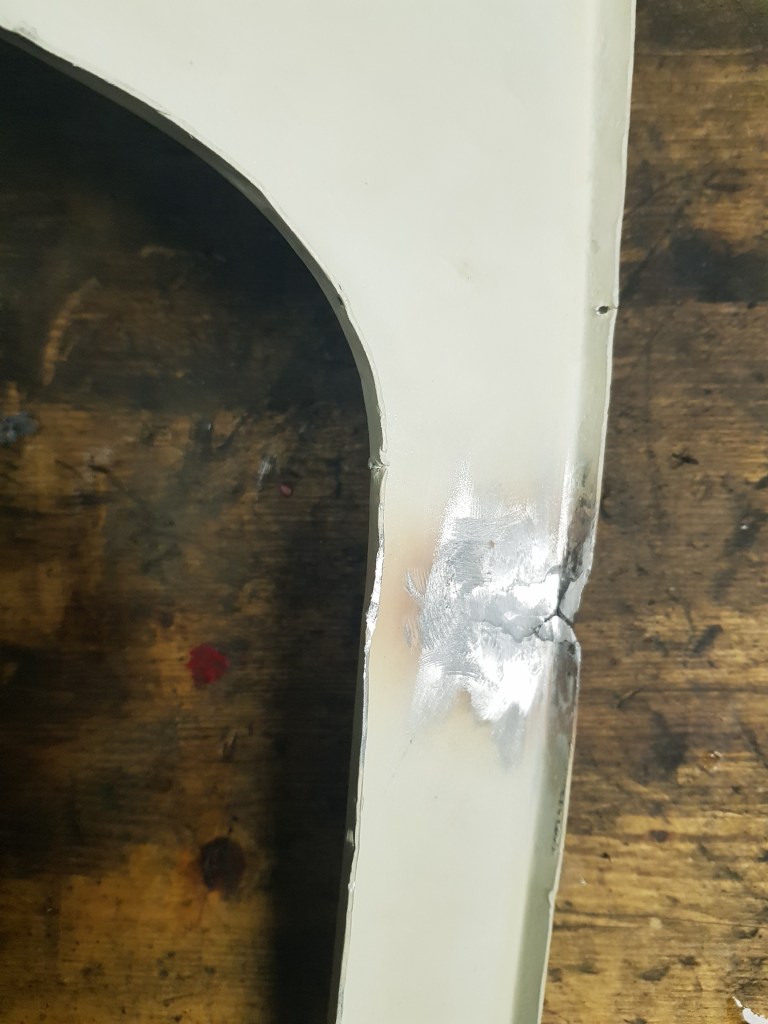
inside area of torn panel 
using old panels to mark out on the sheet 
measuring on how high the factory edge is on a panel 
finding a washer to create the template 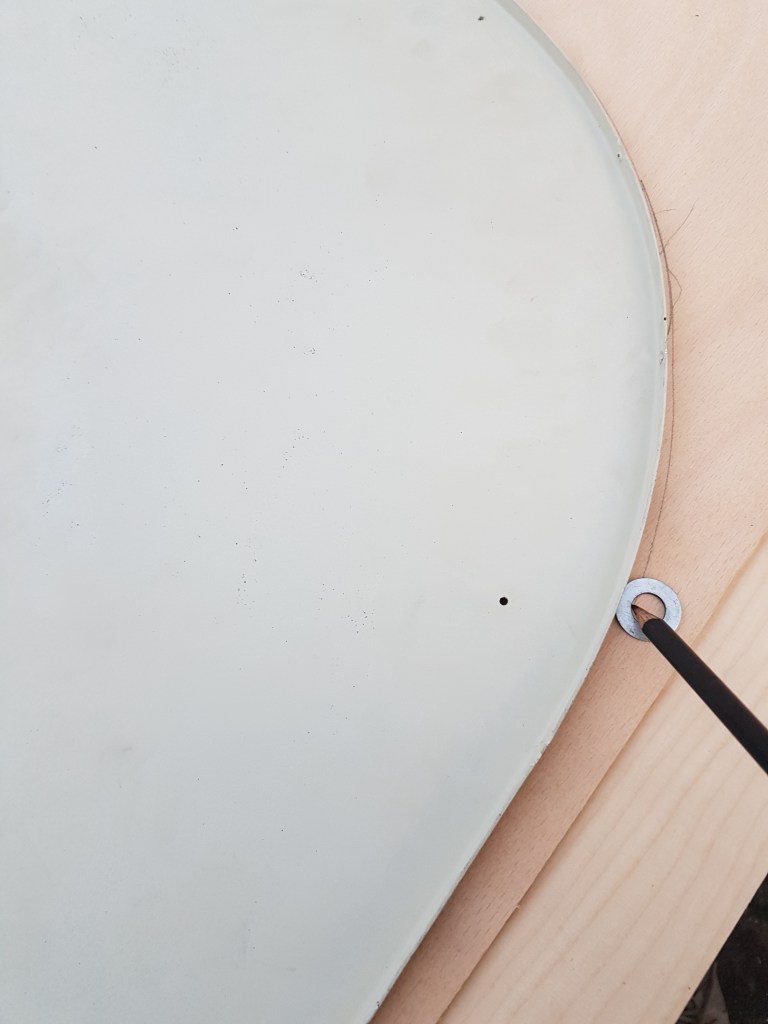
using a pencil and the washer to transfer the outline plus a few mill 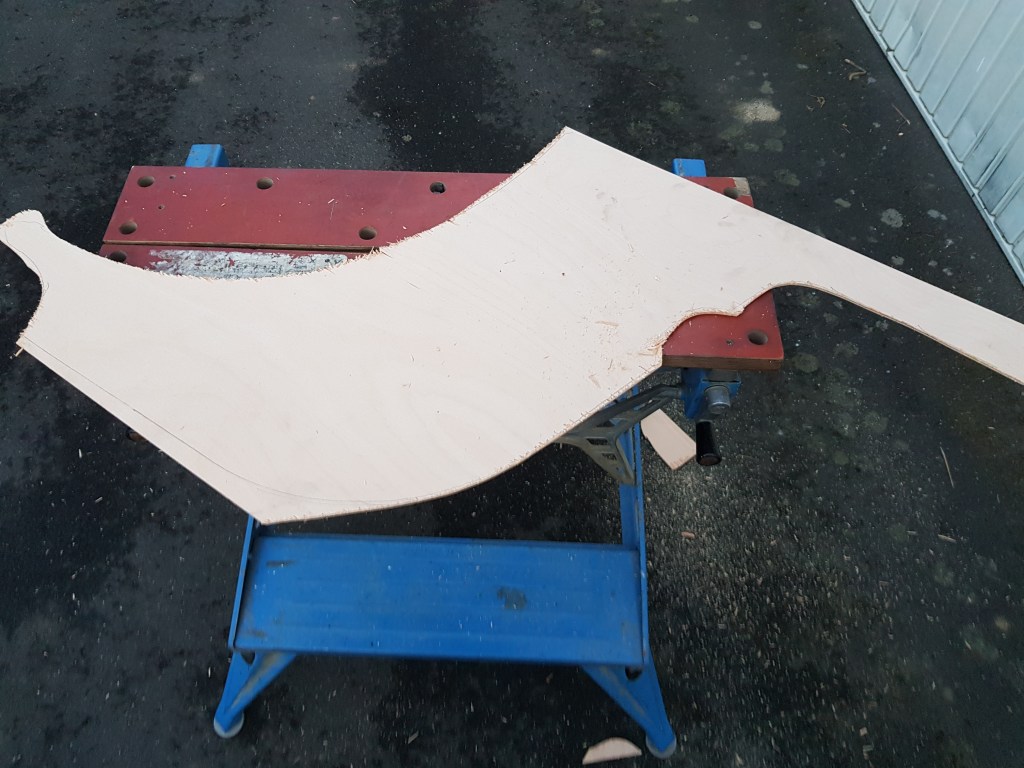
rough cut with jigsaw 
first 6mm plywood template clamped to frame 
copy bit on router 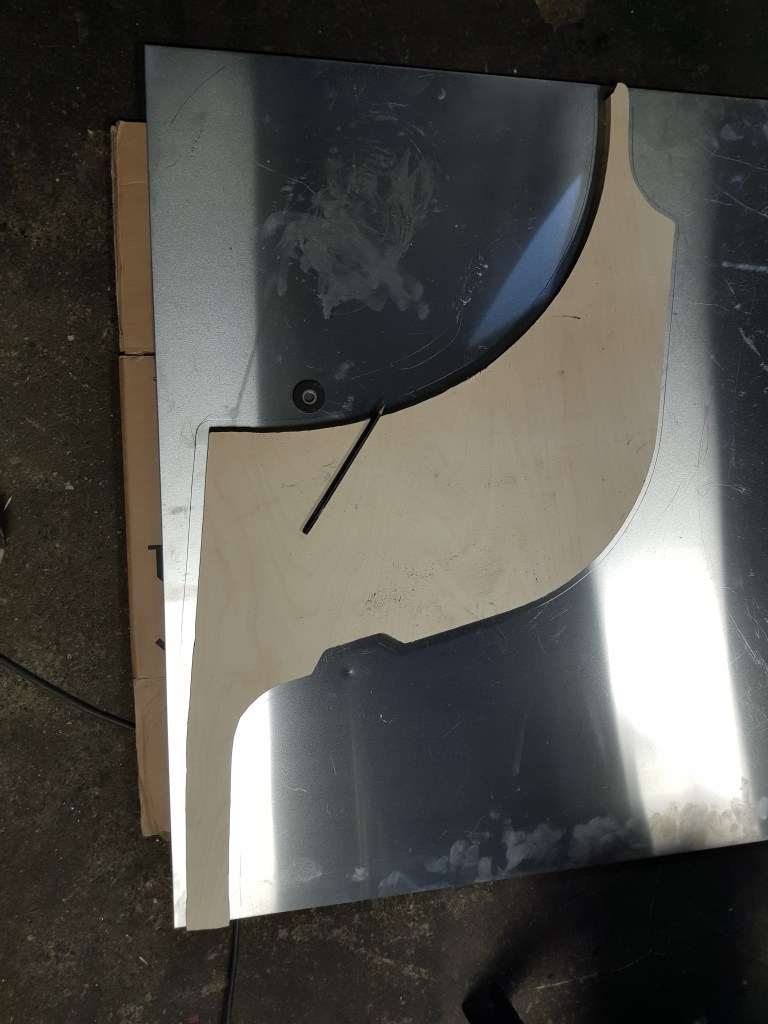
transfer of template to sheet 
Welcome to my tool selection 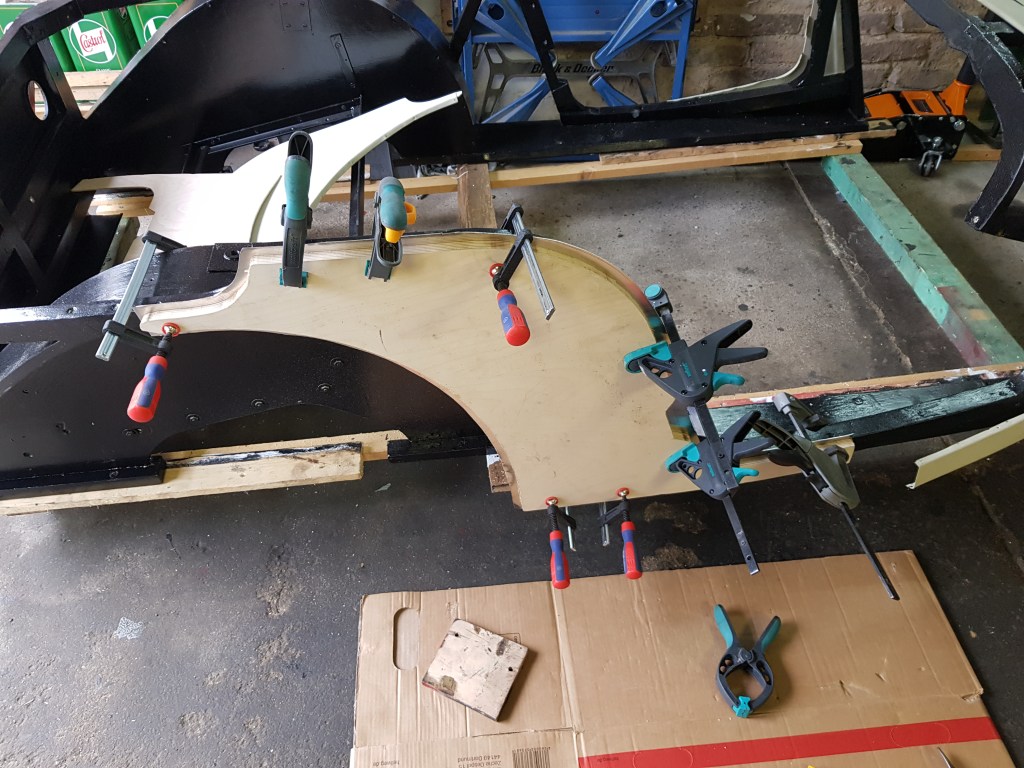

marking where too cut material 
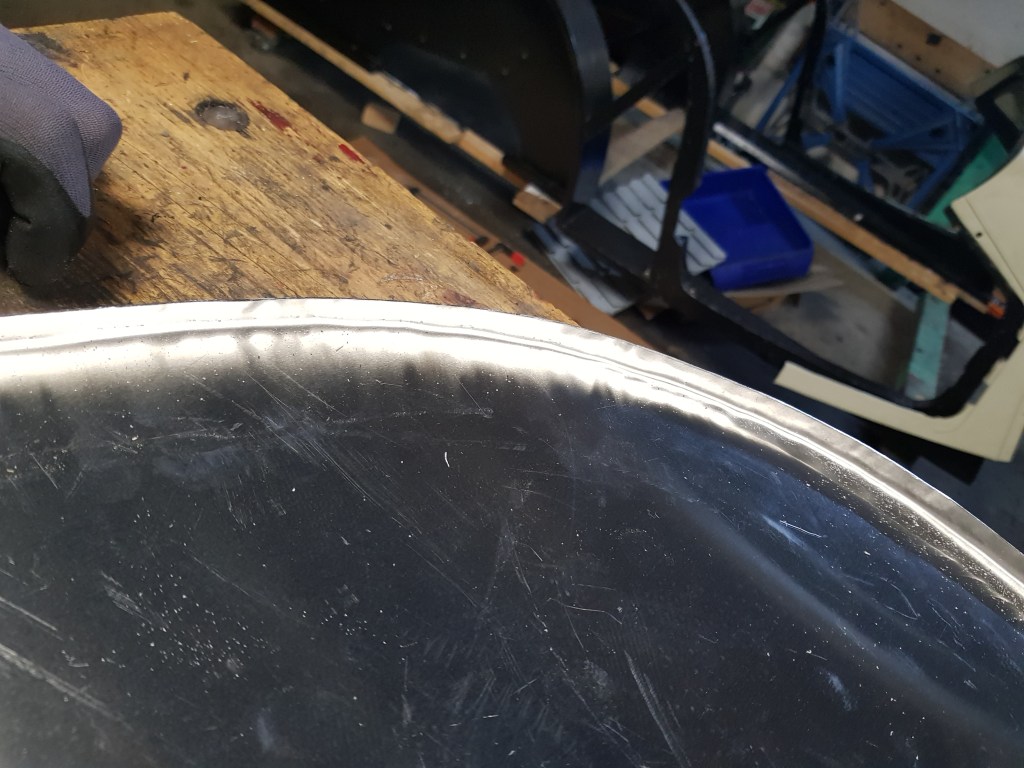

edge it not too shabby 

fits great 
messed up area on door catch.

Leave a comment