
What on earth was I dreaming? On the Mini Cooper installing the wiring not even took two evenings. I expected the same with the new loom for the Morgan. And here I am, working on it for almost two weeks now with little else to do. But slowly the parts I need are being delivered. The fittings for the Facet fuelpump arrived. I played around with some locations for the fuel pump and decided to mount it to the inside of the right rear wheel arch for now. The fuel-in connector (on the bottom) will be just a notch above the fuel tank. A 90 degree elbow connector on the top with makes it easier to route the flexible hose. This is just a few centimeter long before it connects to the old fuel line.
I thought about switching to a solid cooper fuel line, mounted to the outside of the chassis. But due to budget contrains and because it is really just an nice-touch (oh – a small victory for common sense?) the old PVC fuel line went back into the right side of the car (forget to take a picture of this). It would have been nice to finish the entire fuel line job – but the stainless fuel hose fitting won’t arrive before Wednesday next week. While starting to screw down the Weber I noticed an issue with the top throttle plates. They only open partly. I think it has something to do with the way I attached the AutoChoke unit. Hopefully Mark (who started restoring his Morgan 4/4) still has his carb in working condition. I need to ask him if he can tape a video how the throttle plates on his Weber 32/34 move when the accelator is applied.
Today the new fuseboxes also arrived. If the new loom would have been an exact replica I would have reused the Lucas 7FJ. But as I have to do a number of changes on the new wiring now – I decided to install two fuseboxes. After going back and forth on the whereabouts- the 8-way blade fusebox with Lucar connectors will be screwed down on the upper part of the bulkhead. Although the old toolbox is painted and finished- I will not put it back. Honestly – the tools rattle in there and it is a water trap. And besides – I haven’t buried the idea of adding a dual remote brake servo later. So I might need the space.
The cables for the fuses on the new loom are quite short, have a male spade connector and would look ugly when wired to the fusebox (see test fit below). The solution will be to extend the loom with a bunch of connectors. This will be a thick bundle of cables attached on the top of the passenager footwell. I think it shouldn’t be that visible – unless you put your head down there.
The new loom as 4 inline glass fuses for the lights. But there is no fuse for the side lamps and you can only switch on the front fog light if the rear one is switched one (this is the way it is wired now). The secondary blade fusebox will go behind the dashboard – replacing all inline fuses. The cheap box had a few stickers included. Realizing I won’t need “Anchor”, “Rock” or “Spreader” (whatever that is) lights for the sixth fuse – I got the idea to add Interior lights for the footwell and to read maps later. This might come in handy for classic car rallyes (yes – I am dreaming of doing the LeJog in this car one day 🙂 – problem is that my wife is not keen to accompany me on this)
The next couple days will continue to focus on wiring. On top of the ~400€ for the loom I now need to spend quite a bit of additonal stuff. Most of it has been ordered. In the meantime I will properly document the new wiring and my changes. After trying out Visio I came across a much simpler Freeware called TinyCad. Currently I am in the process of creating my own library of shapes (based on the 1988 and 1984 Morgan diagrams). With those shapes it possible to create the diagram. As the lines are connected it is possible to move around items without (for the most part) losing the connection. You will find and download both the shape library as well as my diagram (still based on the Morgan one) on this blog soon.

Silent blocks and fittings for the fuel pump 
Most likely the place where the fuel pump will go 
Fuel and return line connected to Mr. Weber 
desk test to see how the loom could be connected (final layout will use 6 fuses +2 for aux) 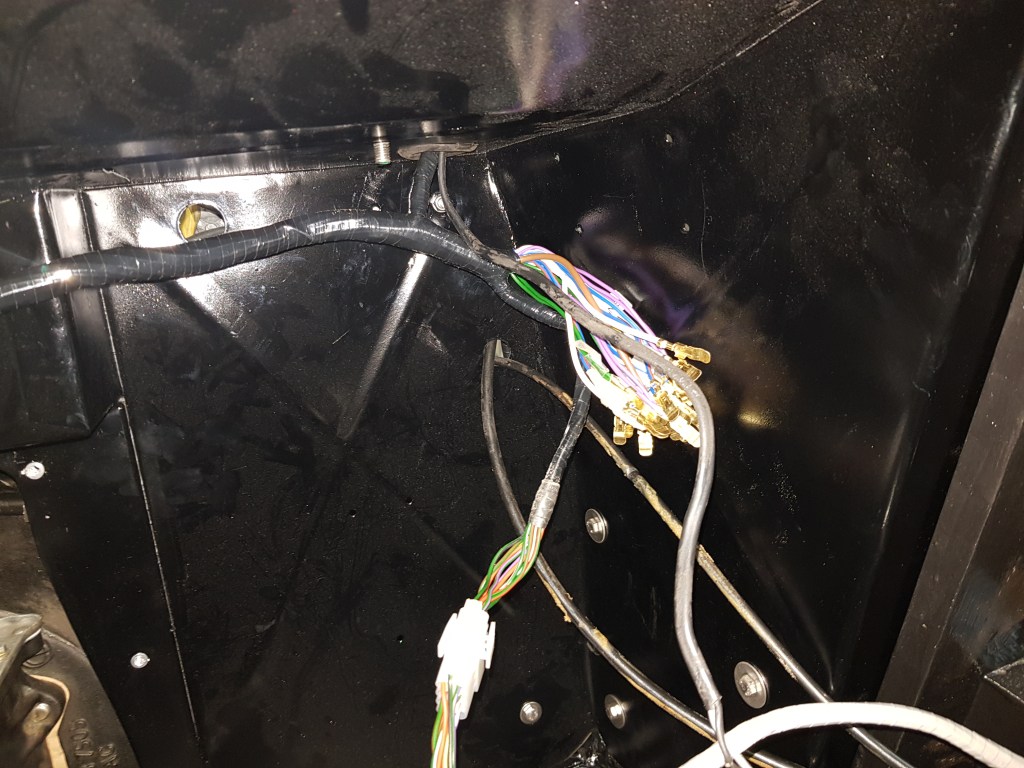
this needs to be extended and packed up nicely. 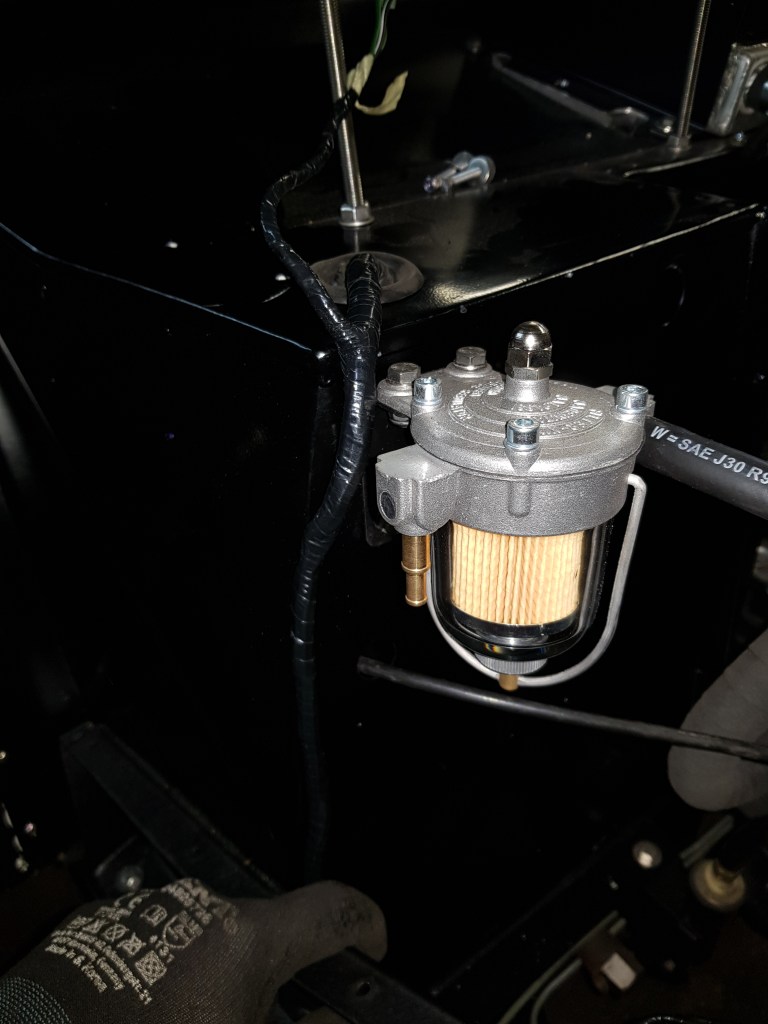
The new loom is too short in the passenger site. Even if I pull out the look too the top and route the cables in the edge of the bulkhead…. 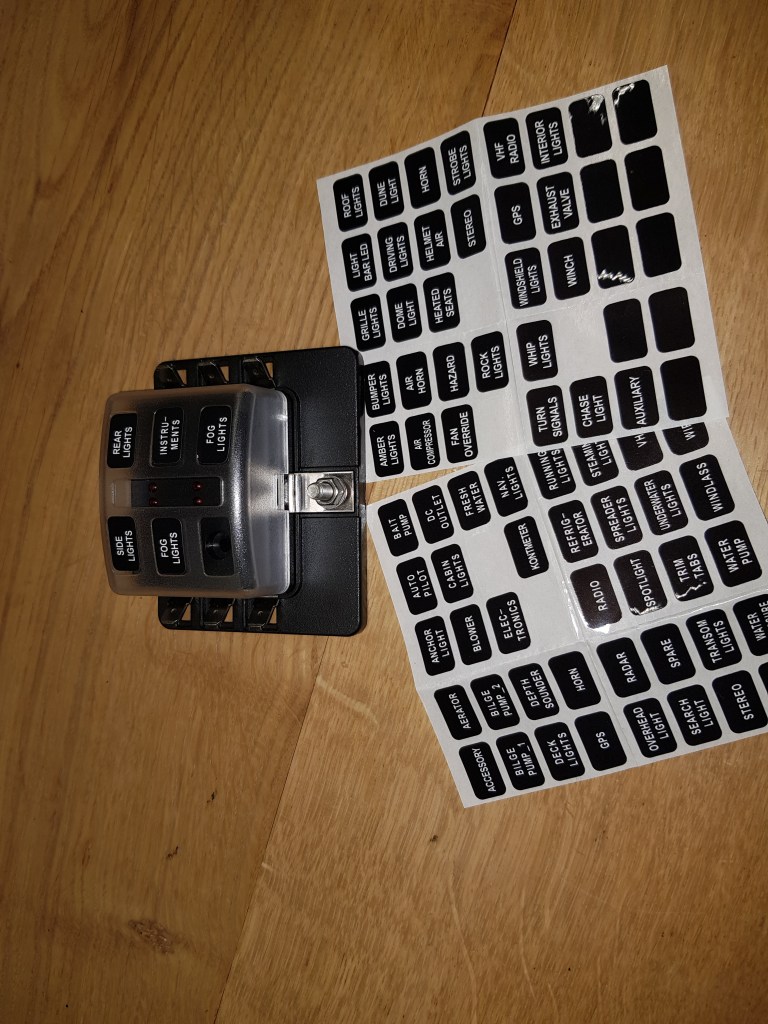
Secondary fusebox 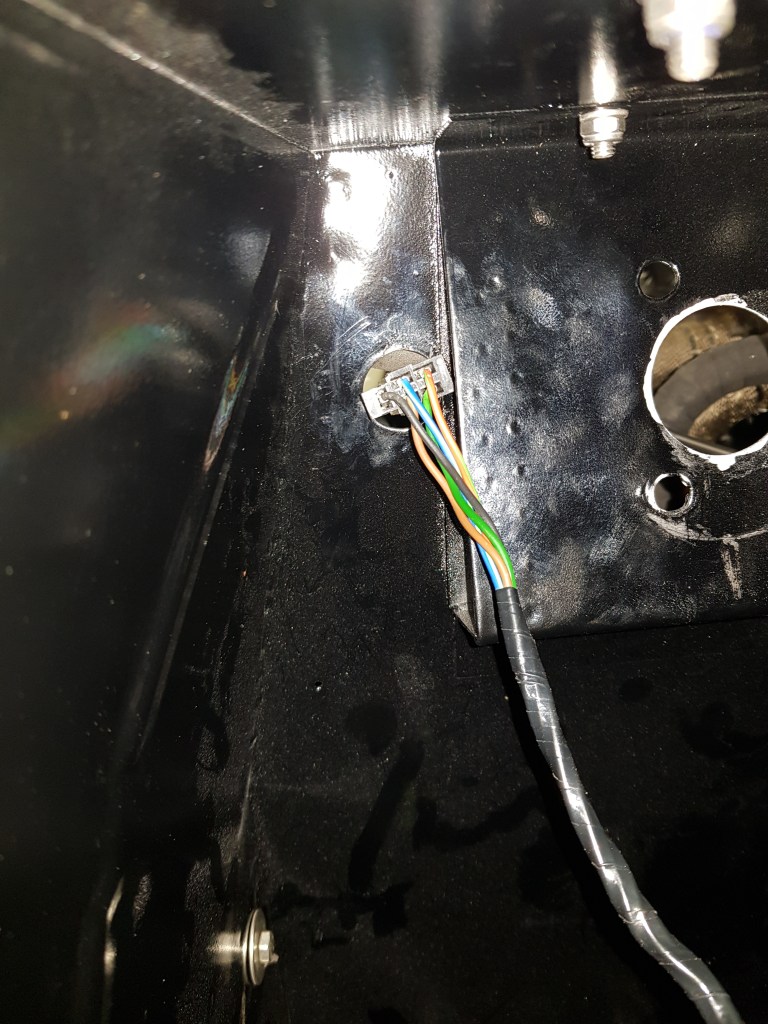
The stupid washer motor connector will is 2mm longer. Does not fit though even if upside with cables bend away (like the old one) 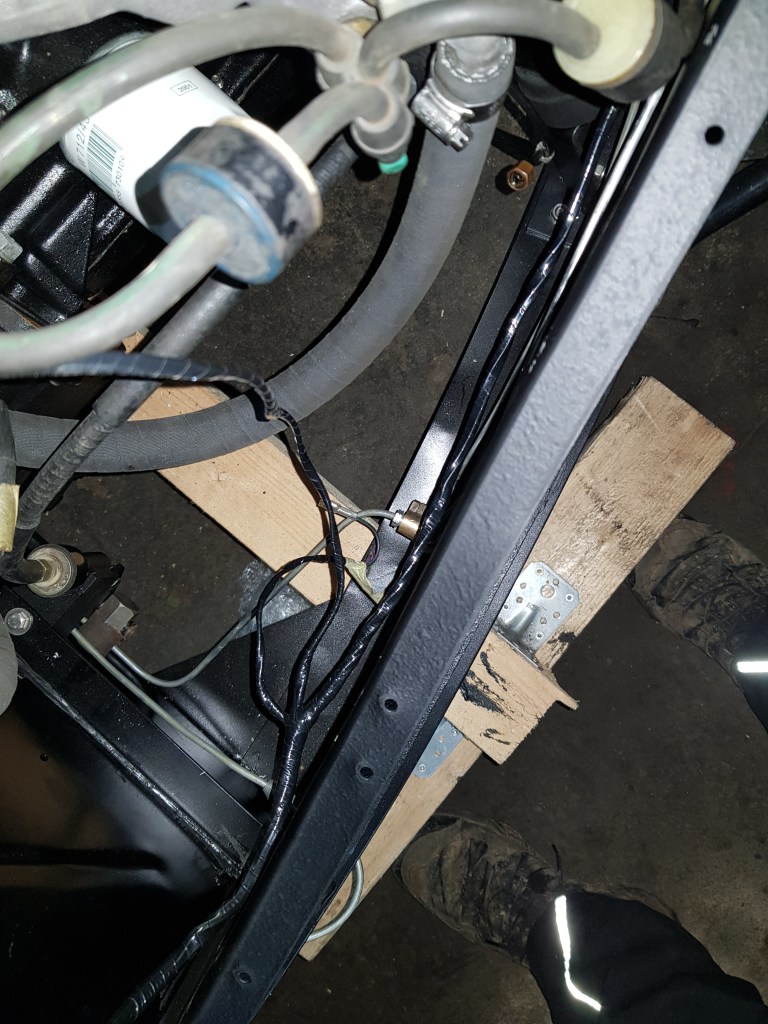
Connection to brake switch is tight but works out 
If I route the cable like the old one the loom is too short on the passenger side. 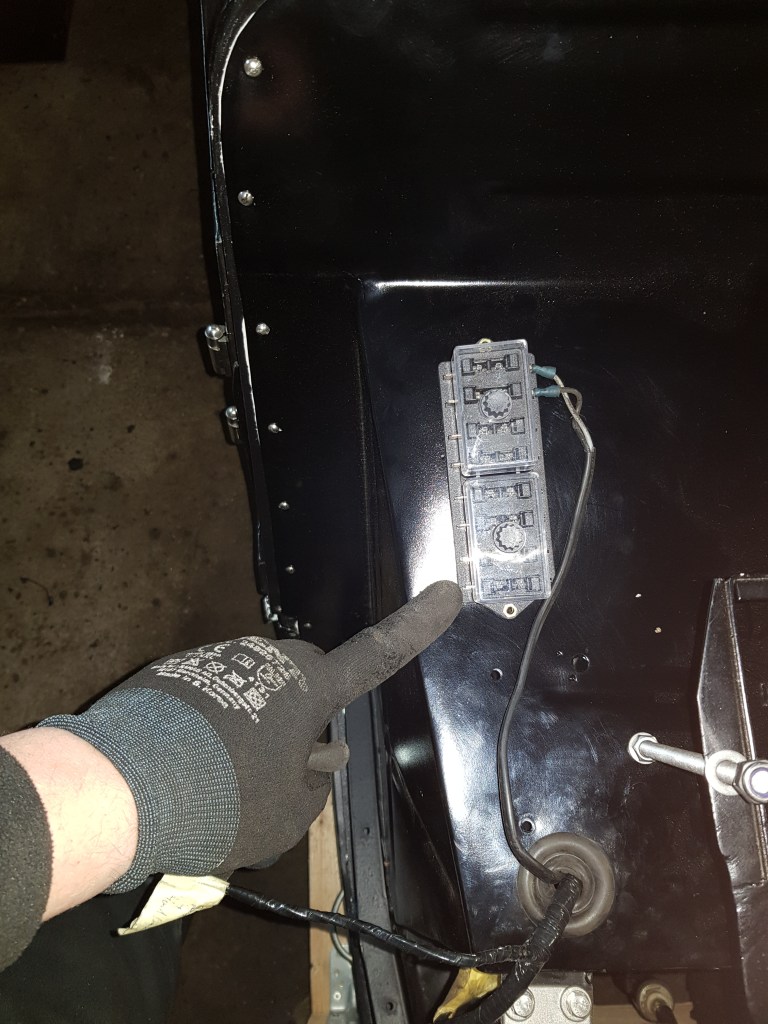
New location for the Main fusebox 
The beginning of my wiring diagram 
The “MorganWiring” shape library I am creating

Leave a comment