
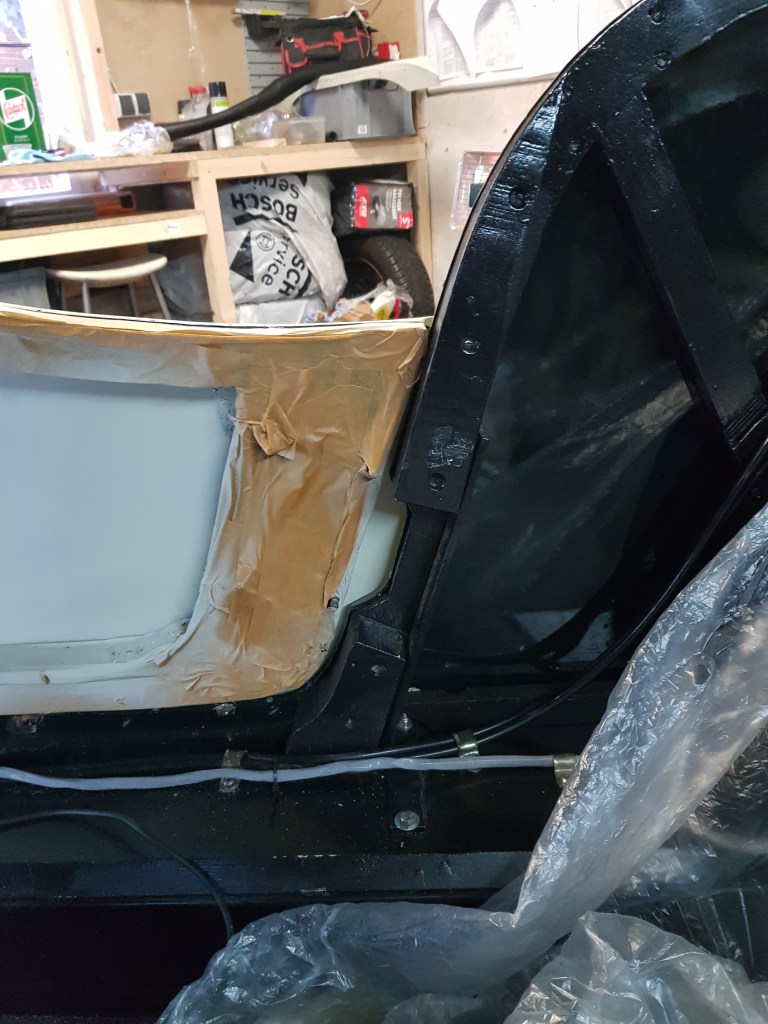
Quite a bit of progress today. After the test fit of the scuttle panel the decision was made to sand to the frame. There was a 2mm gap on the right side of the car as shown on a previous post. Using a caliper, I marked a 2mm line on the top and side of the frame and then used the orbital sander to take material off to this line. This worked surprisingly well, and only minimal adjustments were needed to make the scuttle panel fit. On the top the metal of the scuttle panel is not completely flush with the frame. If I am honest, I was not 100% satisfied with this until I looked at pictures from the disassembly process last April. While not easy to see on the pictures – there was always a bit of overlap.
Too make sure that I haven’t completely messed up, I went on and attached the door on the passenger side of the car. This took far longer than I thought even though I already had a test fit a couple month ago. Adjusting a Morgan door is hard. While it is possible to use shim to bring the back up or down – it is a question of where the holes for hinges are drilled when it comes to the distance to the scuttle panel. As the car still has the original hinge post and door on the passenger side there is not much I can modify.
The top part of the door fits really nice. I had to modify the scuttle panel part between the two hinges, and this also has a 1mm gap now. But no matter what I tried the front bottom of the door scratches on the scuttle panel. I then installed the catch and adjusted it – which also to quite a bit of time. In total I think I spent 3 hours just on the passenger door today.
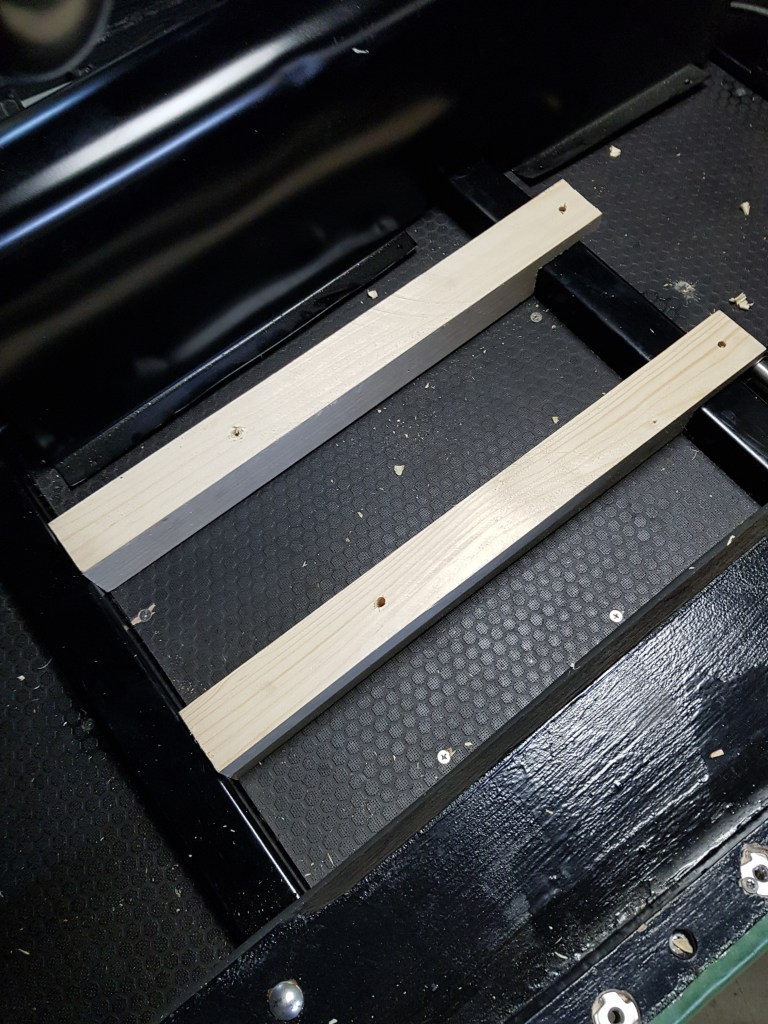
Instead of moving on with the driver/left door I decided to test out an idea to move the seats further back. Originally the seats are mounted on two 43cm and 65mm thick ash wood pieces screwed down to the chassis. From experience I know that most of the time you don’t have somebody on the backseats of a Morgan 4/4 fourseater. My idea is to use 50mm square metal pipe which extend 50mm of the rear crossmember. This additional 50mm offset and 15mm lowering should make driving a little bit more comfortable. However, I was concerned that the back of the seat might not fit between the drive-shaft tunnel and the plywood of the rear arch.
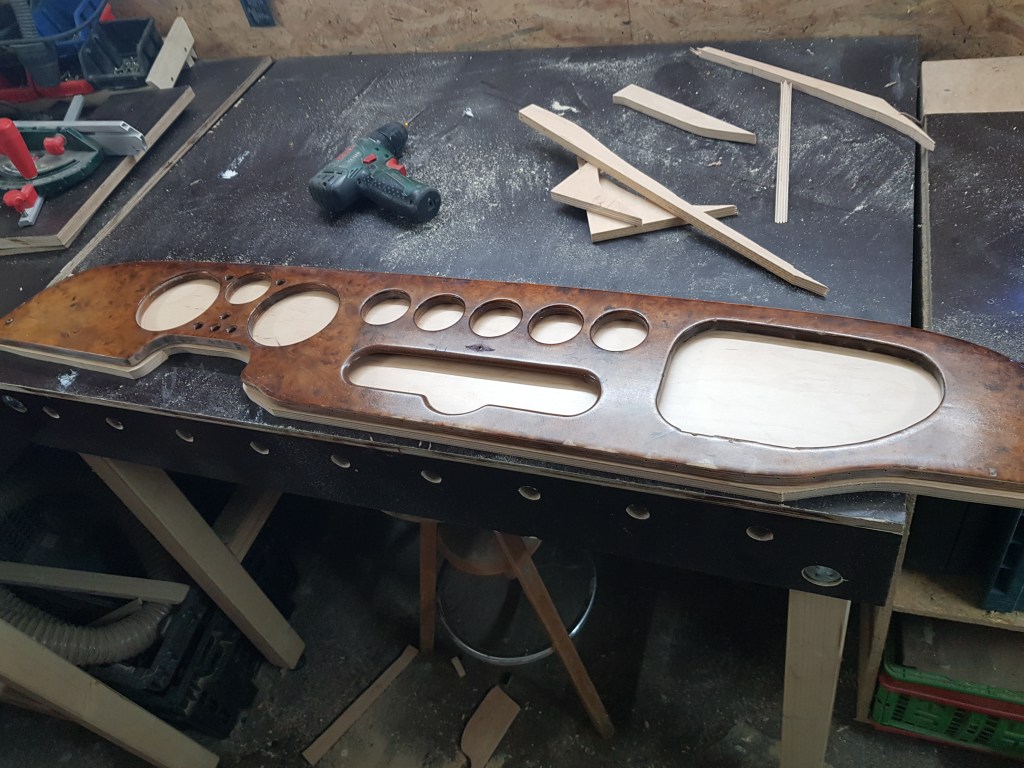
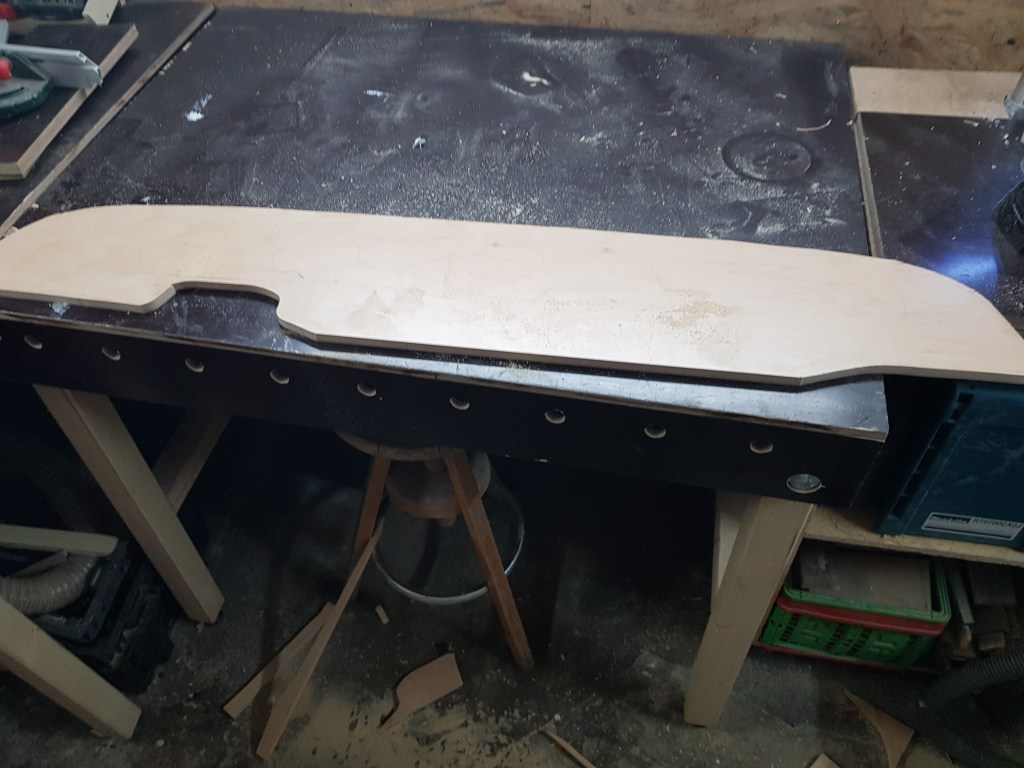
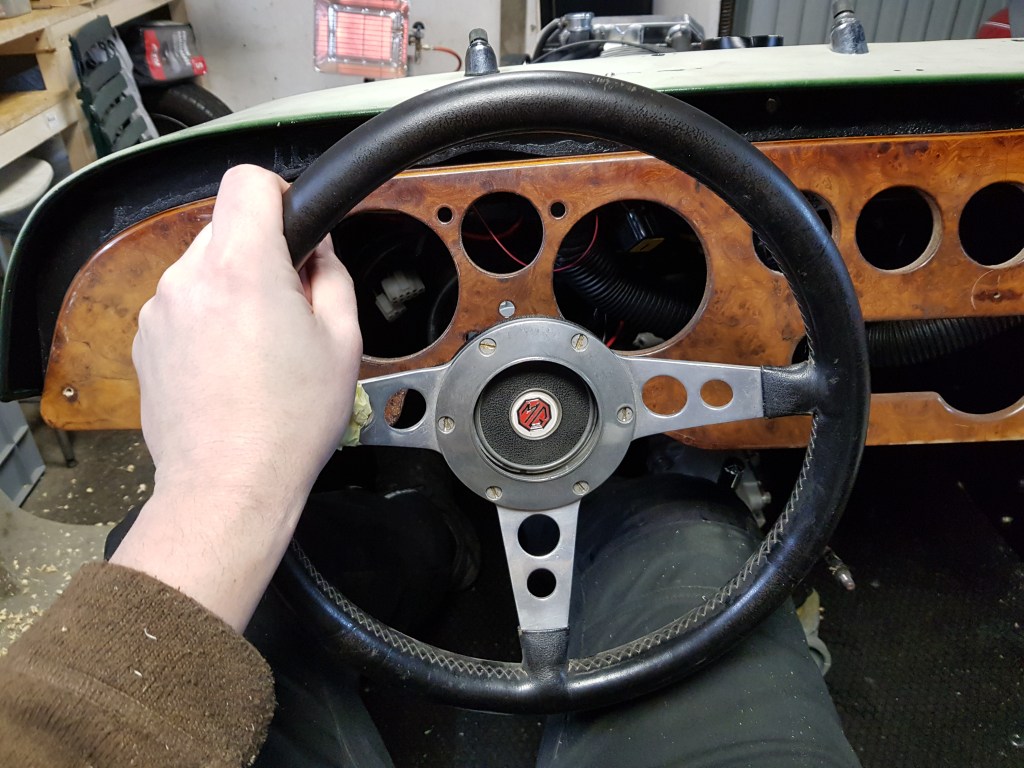
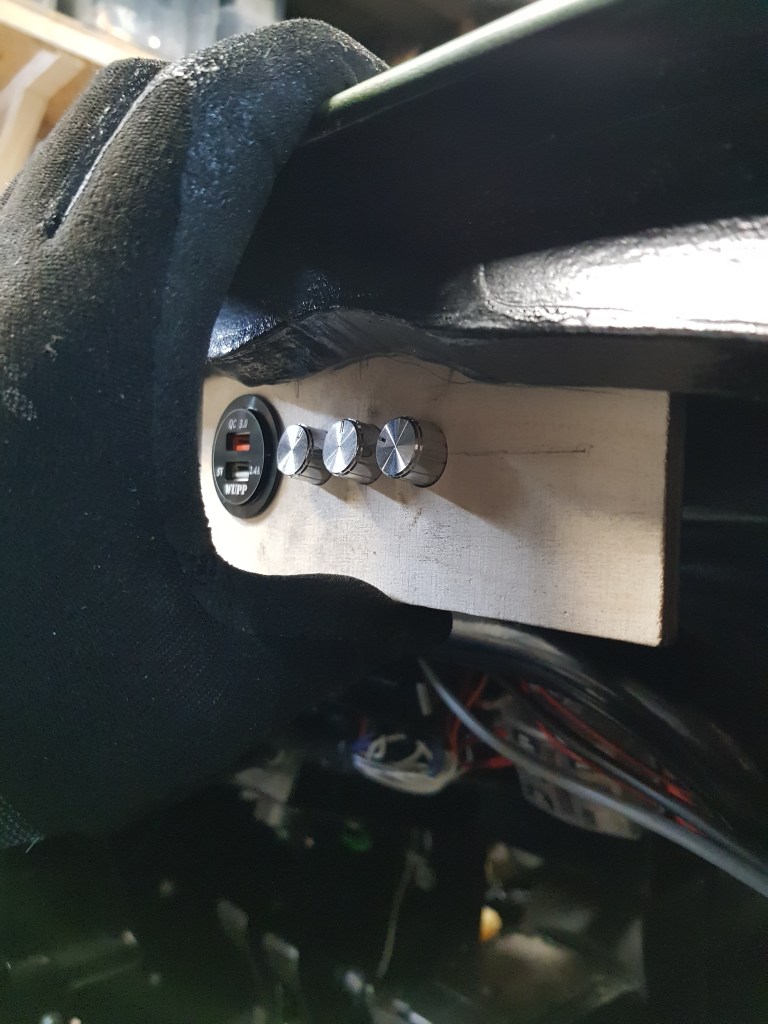
So, I drove home and spent some time in my “woodshop dungeon”. Some old scraps where cut into 48cm long 5x5cm bars. While at it I also created a copy of the dashboard from 12mm multiplex as well as a small test piece for the “entertainment panel” I intend to place in the glove box. Back in the garage I screwed the timber beams to the driver seat and had to offset it a tiny to the drive-shaft tunnel. This way the adjustment screw for the back of the seat will slide past the rear arch. The following “test-seating” was quite an enjoyable moment. I also put the (old MG) steering wheel and dashboard in and felt like a little kid doing a “test-drive” in the garage.
The newly upholstered seats combined with the modified seat position are great. The only caveat is that getting in and out will cause even more wear on the side trim. But there is a solution for this!!!.It is called “BDM858” – look it up at MogParts.net 😊
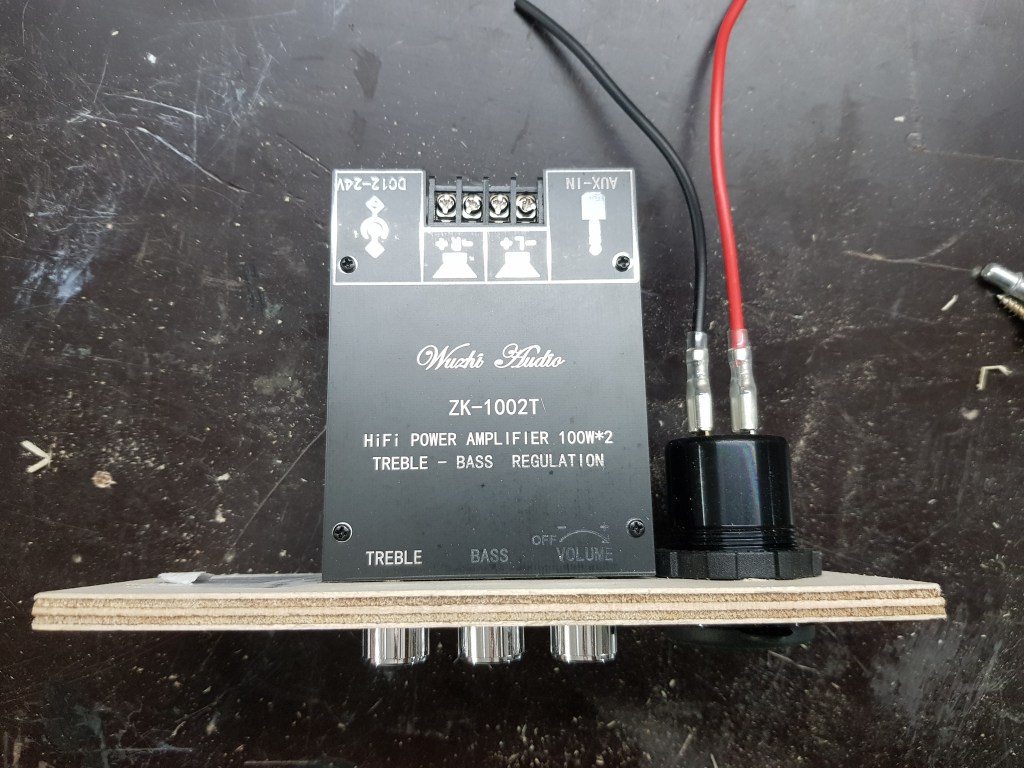
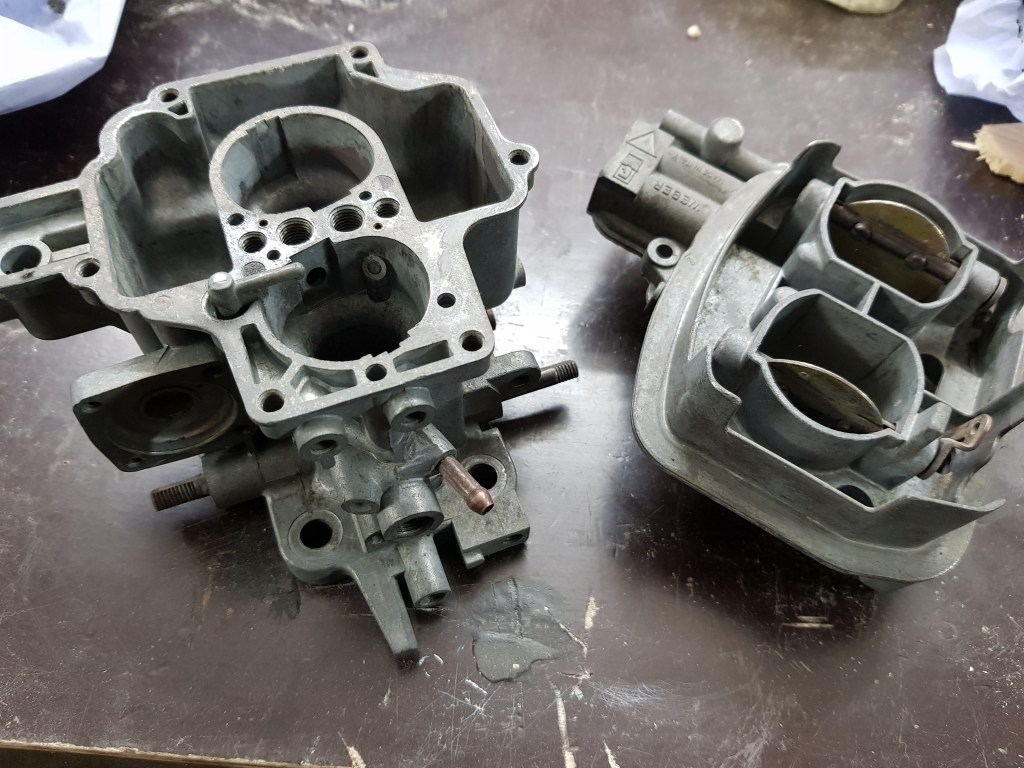
Before I went home I tried to figure out the best way to mount the Bluetooth amplifier and USB port in the glovebox. Fitting this will be a bit trial and error – I have an idea that I will test out tomorrow. Oh – and while I was working in the garage I also heated up the UltraSonic cleaner to 80C° and clean up the used Weber 32DFT I bought last week. Good news is that the throttle shafts of this unit have almost no play. It still needs more cleanup – the throttle body was by far dirtier than the one on my Morgan.


Leave a comment