")
Setbacks are part of our lives. When doing a classic car restauration as hobbyist you should acknowledge that sooner or later you will make a mistake – fail the goals your set yourself. Sure, with practice and experience you can minimize these times – but my takeaway for this week is that if something does not work out as envisioned – take a step back, have a Gin-Tonic, sleep a night and don’t get to frustrated.
Yesterday morning I rushed to the basement to check out how the glue-up of the veneer on the dashboard worked out. As can be seen on picture of previous posts I made all cut-outs and shaped the dashboard on the router table before I glued on the veneer. The decision to do it this way instead of applying the veneer before doing the cut-outs was made after I watched this Youtube video. When I first saw it I thought it was a good job – after my first own attempt I think Javette1 delivered a frickin’ brilliant result.
Trying to carefully cut away the overlapping veneer with the copy bit on the router table ripped parts of the veneer away. Using a cutter instead was also not good. This dashboard is a fail…. On the positive side the veneer glue up was perfectly flat and even. So, my next attempt will be the method used in this video – the curved Jensen Healey dashboard is more complex and well done.
It certainly was a good to join my daughter for a walk to the Drachenfels after this. The weather wasn’t perfect – but it was great to talk and think of different things for a while. The fail-army caught up with me again. A completely unnecessary 25€ “Knöllchen” (actually a nice German word of a parking fine) stuck to my windscreen… Back at home the 50x50mm steel bars I ordered arrived along with an invoice from UPS. Ordering from the UK sucks quite a bit now. While there is not import tax on the stuff I ordered – UPS is charging 19% handling fee – on top of the 19% vat.
Since I have to have a dashboard wired and connected next week, I decided to temporarily use the old one. If you read my previous posts, you might know that I added EconoSeal connectors to the loom. Originally the gauges and switches are directly connected. Knowing that I will most likely have a couple of iterations of the dashboard, I wanted to make replacements easier. Even if this job tooks many hours – I believe the result speaks for itself – especially if you compare it to picture from disassembly. For the Lucas toggle switches – check out this helpful video – it is the only useful explanation I found.
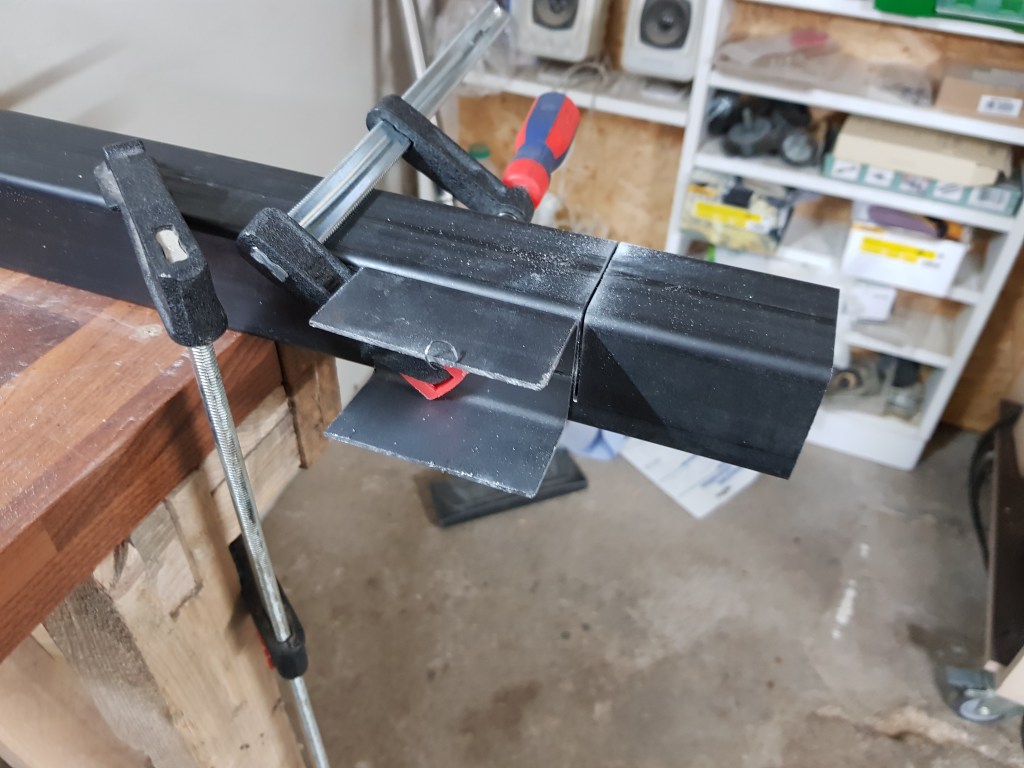
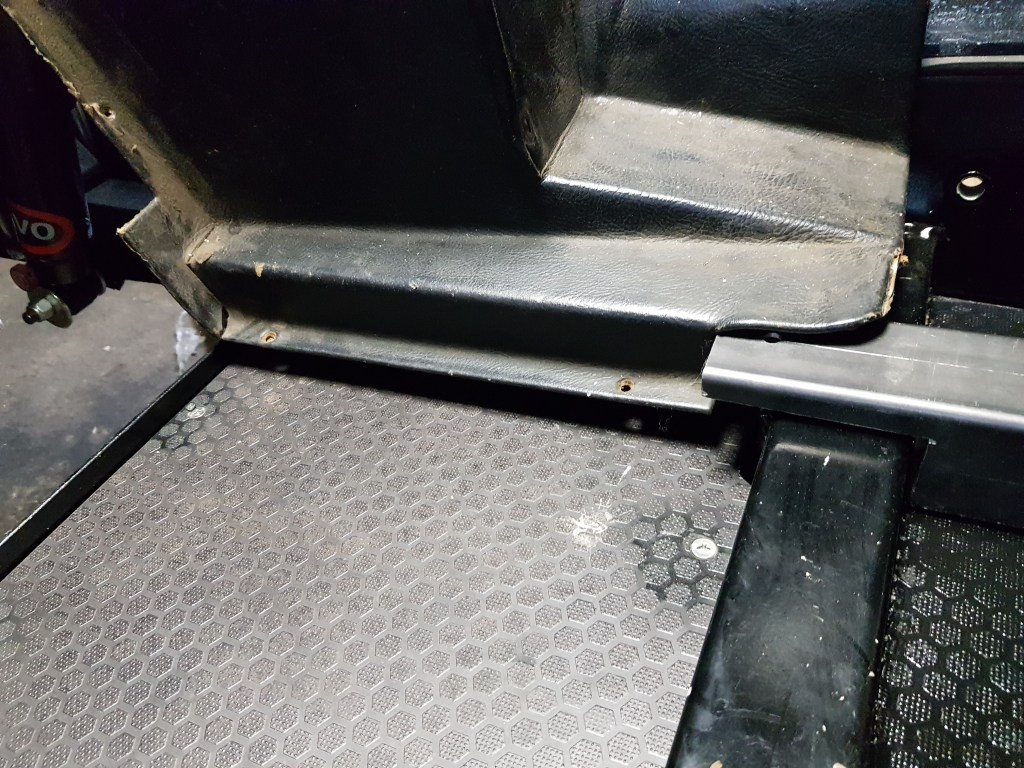
Cutting the steel seat supports with the tools I have at hand worked reasonably well. The first test fit also looks good. In hindsight I should have had those supports welded to the chassis before painting. Well, now I will just screw them to the floor boards like the factory did with the wooden supports. Tomorrow a 38mm metal drill should arrive. I need to drill a series of holes in the sides of the steel supports. This will allow me to screw them to the seats and then to the floor of the car. With the new supports I also need to change the box that covers the leaf-springs on the rear floor. Time to leave the fail-army again 😊


Leave a comment