
Before I could start working on Maggie today, I had to do some gardening. But my arms and back tell me that the word “landscaping” is closer to the truth. It was just after 6pm that I finally got to work in the garage. Jacking up the front of the MGB is easy and my jack stands fit perfectly under the chassis rails after cleaning them a bit. Lifting up the rear on is a bit tricky due to the larger 60 liter fuel tank from Moss. I really need to get a second pair of larger jacks. My second pair is a bit shorter and to level out the car I had to put them under the leaf springs – I would have preferred the rear axle.
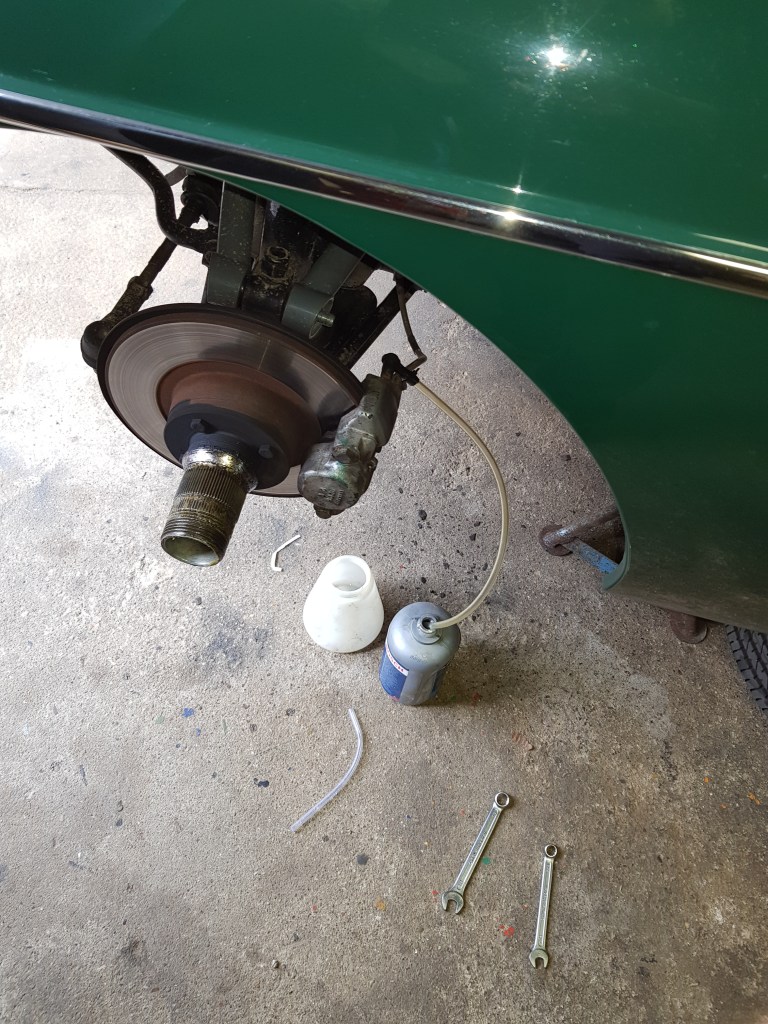
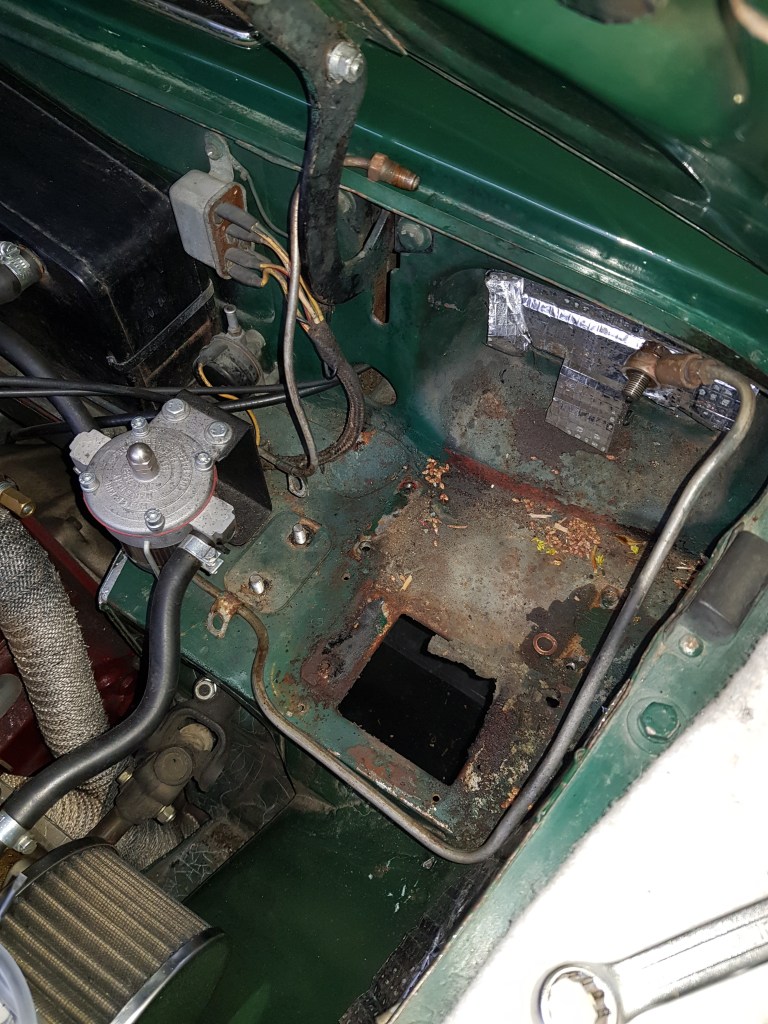
With the jacks almost fully extended it is quite nice to work in the engine bay. And there is enough space to use the crawler for some jobs I want to do under the car. The first job was to drain the brake and clutch fluid. The fluid tester showed 3 of the 5 LEDs – so the time is right to change it. Removing the pedal box was next on my list and it is an easy and self-explaining job. The seal beneath the pedal assembly was completely gone and there was a bit of dirt and surface rust. But overall, I am quite happy with the substance of the metal – it looks really solid without any major issues.
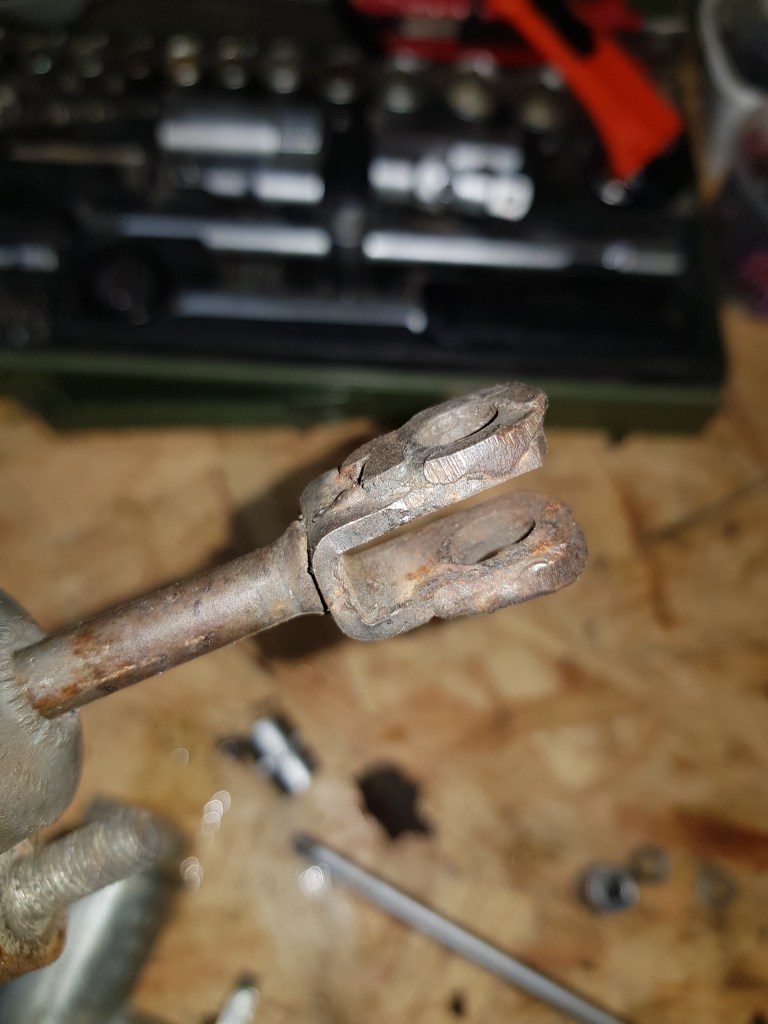
The components in the pedal box are a different subject, however. I am really glad that I took this apart. The bushes and bolt for the pedal have too much play – but there is a replacement available – even for the bronze bushes that are pushed into the pedals. The hole for the clevis pin in the clutch pedal on the other side is completely worn. This also killed the pushrod on the new clutch master cylinder that was installed by Frontline Developments about two years ago. If I am not mistaking – getting new pedals is impossible. So, I need to figure out a way to fix the oval hole in the clutch pedal. This will be tricky. The pedal box assembly itself has some rusty areas but is in good shape overall. I am sure it will look ace after blasting and powder coating.
Especially the right front wheel has play and the bearing did not sound good. Getting out the split pin was a pain and took much longer than I expected – must have been at least 20 minutes or so. The castle/bearing retaining nut should have been torqued down to 55 to 65nm – it was completely loose. The end float should be between 0.002 and 0.004 inch – it was much more on my car. After removing everything the inspection of the bearing showed quite a bit of pitting – it was about time that they get changed. I also have different bearing on the left and right side. Time to put in some Timken bearings on both sides.
The brake pads on the left are very unevenly worn. Originally, I did not plan to also overhaul the calipers – but I might do this now as well. The rear brakes look really good – I replaced the slave cylinders last spring and will just repaint/coat the drums.


Leave a comment