
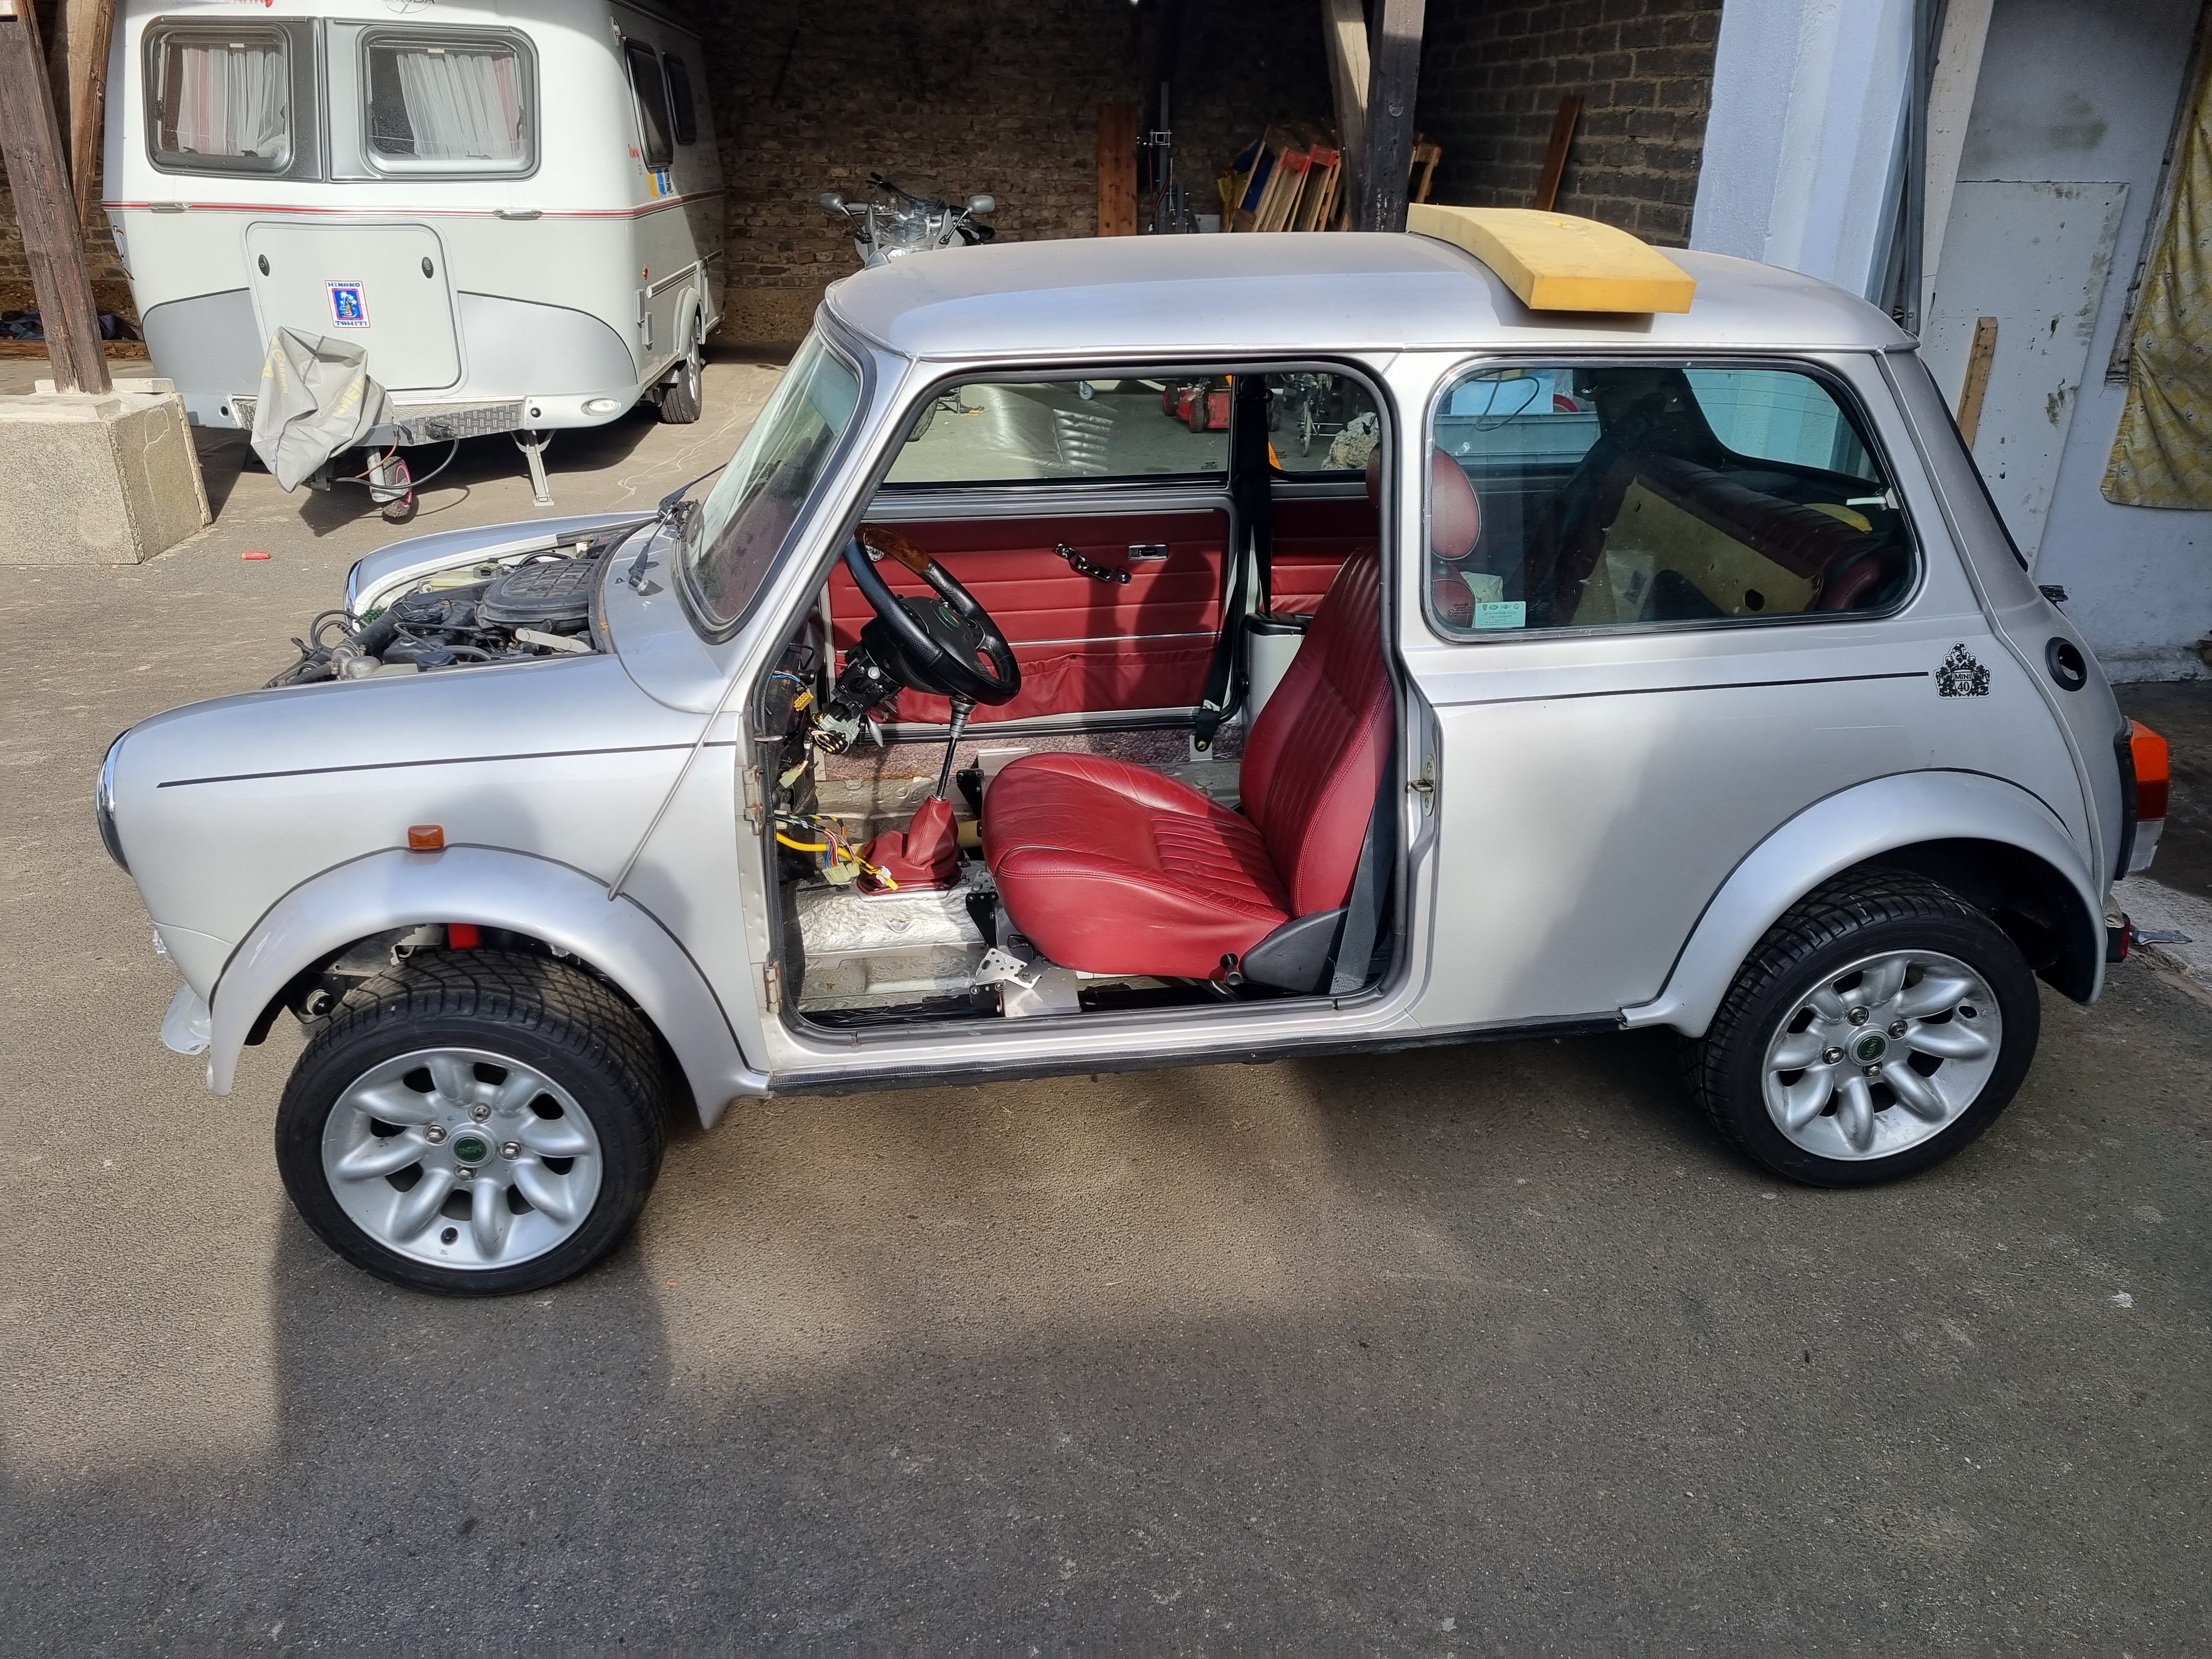
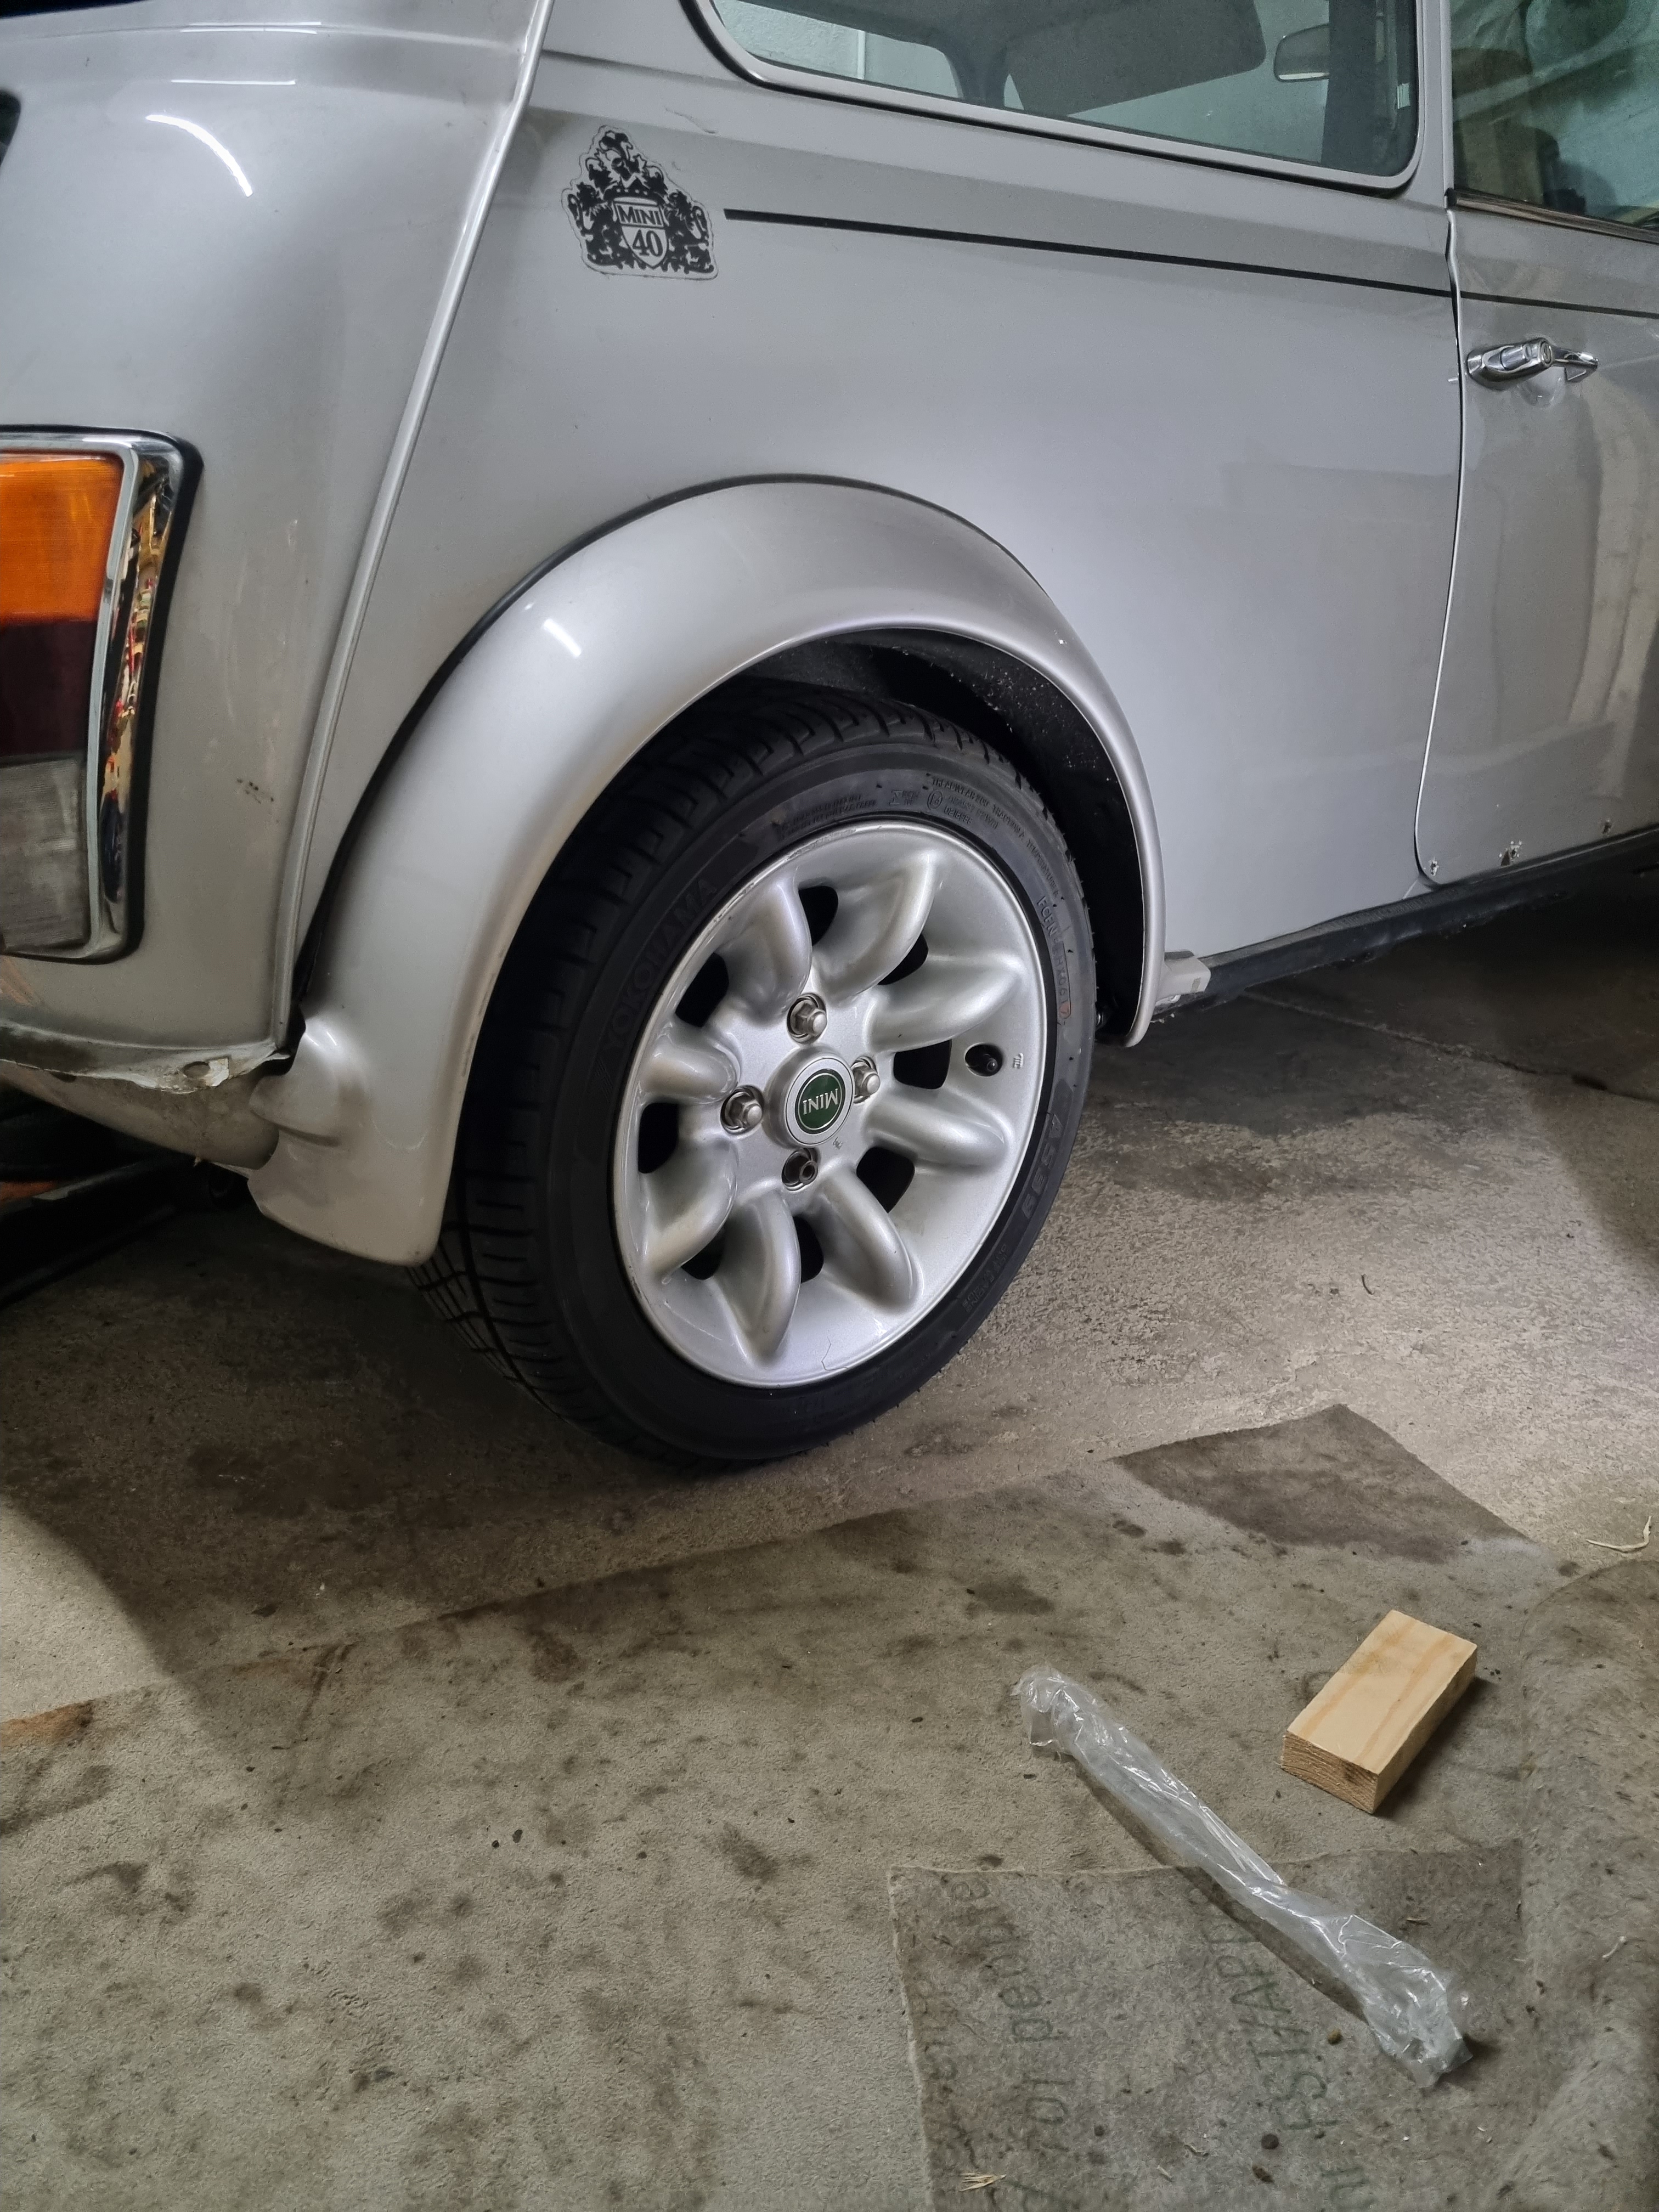
After I completed the subframe, steering and suspension overhaul on the Mini40 and rolled it out for the first time – it was already clear that it won’t take long until it will return. So, guess who’s back this week? The Mini40…. With the new rubber cones and old trumpets, the suspension was high up – the car looked a bit like it was off-road ready. On the picture below you can see what it looks like when it just rolled out – an hour later it was already a bit lower – but still too high.
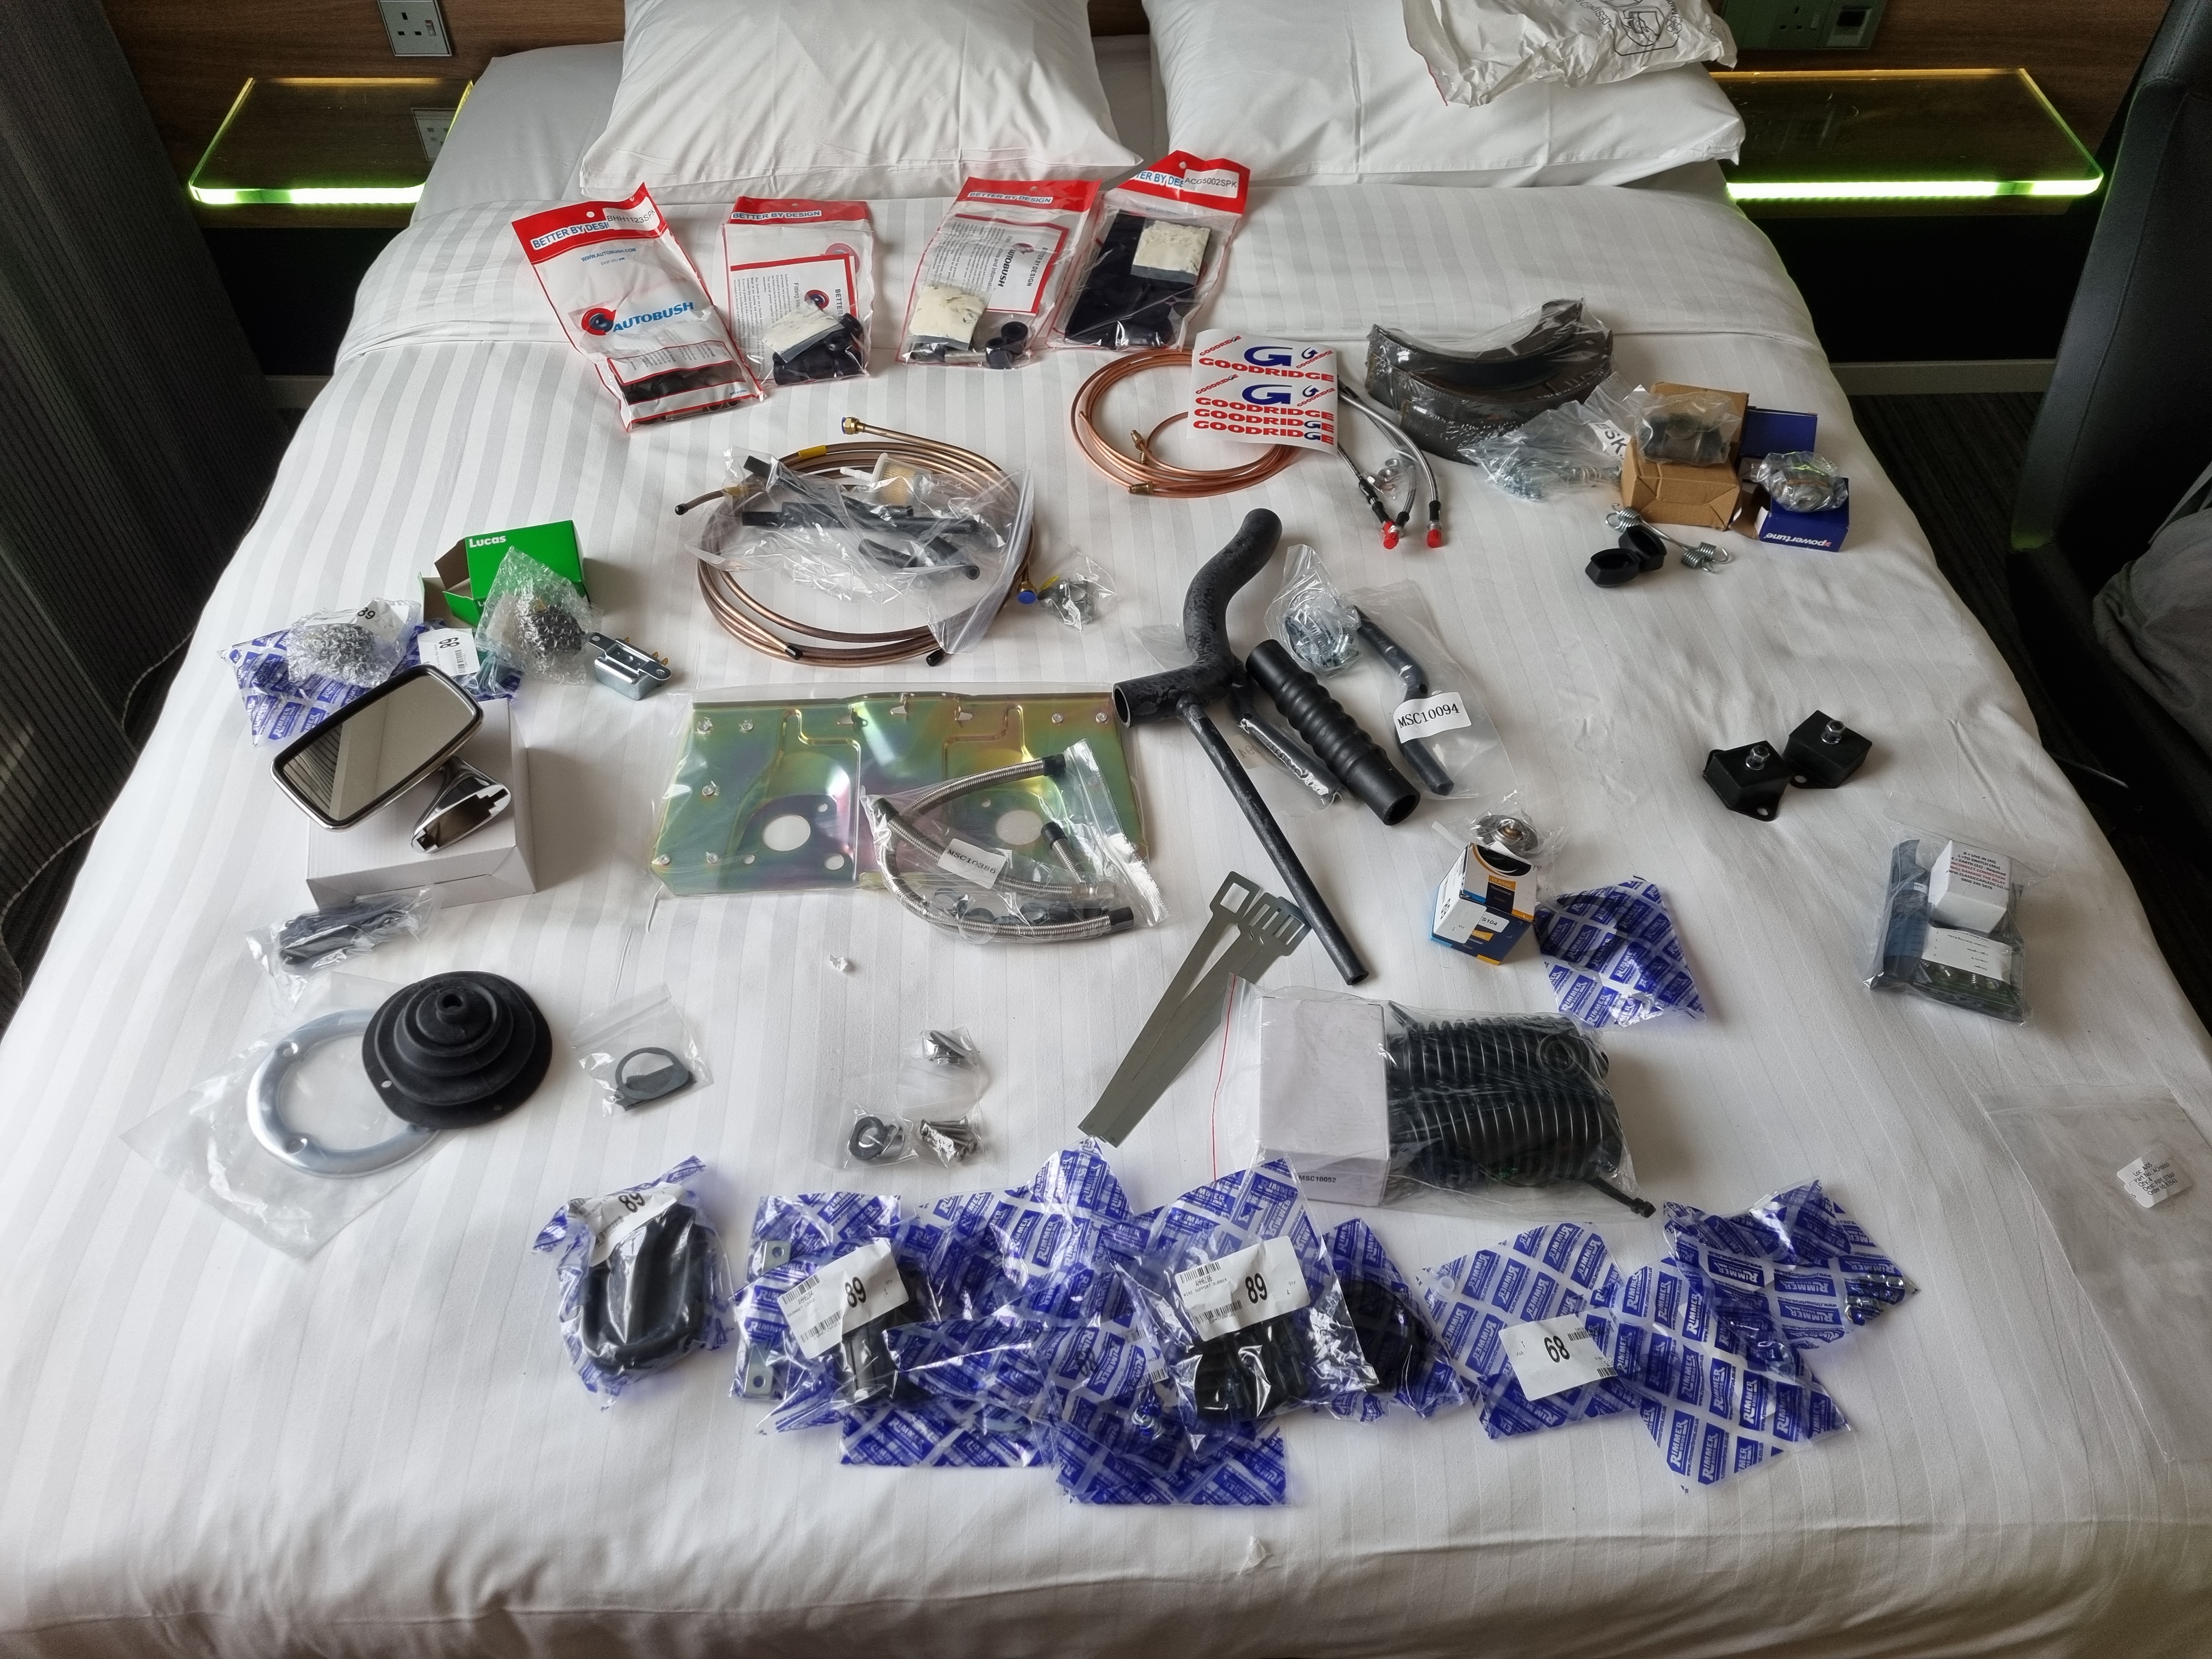
In hindsight we should have ordered HiLo’s for the suspension right away. We wanted to keep the car as original as possible – after all it is a limited-edition model. But having control on the ride-height is preferrable. As I spent a weekend with two of my kids in the UK last week, I bought a HiLo kit at MiniSpares and brought it along with a bunch of other parts I ordered over the last few weeks for the MG. Fitting everything in my suitcase was a challenge. The new brake disks and some other parts had to stay with my son until next month.
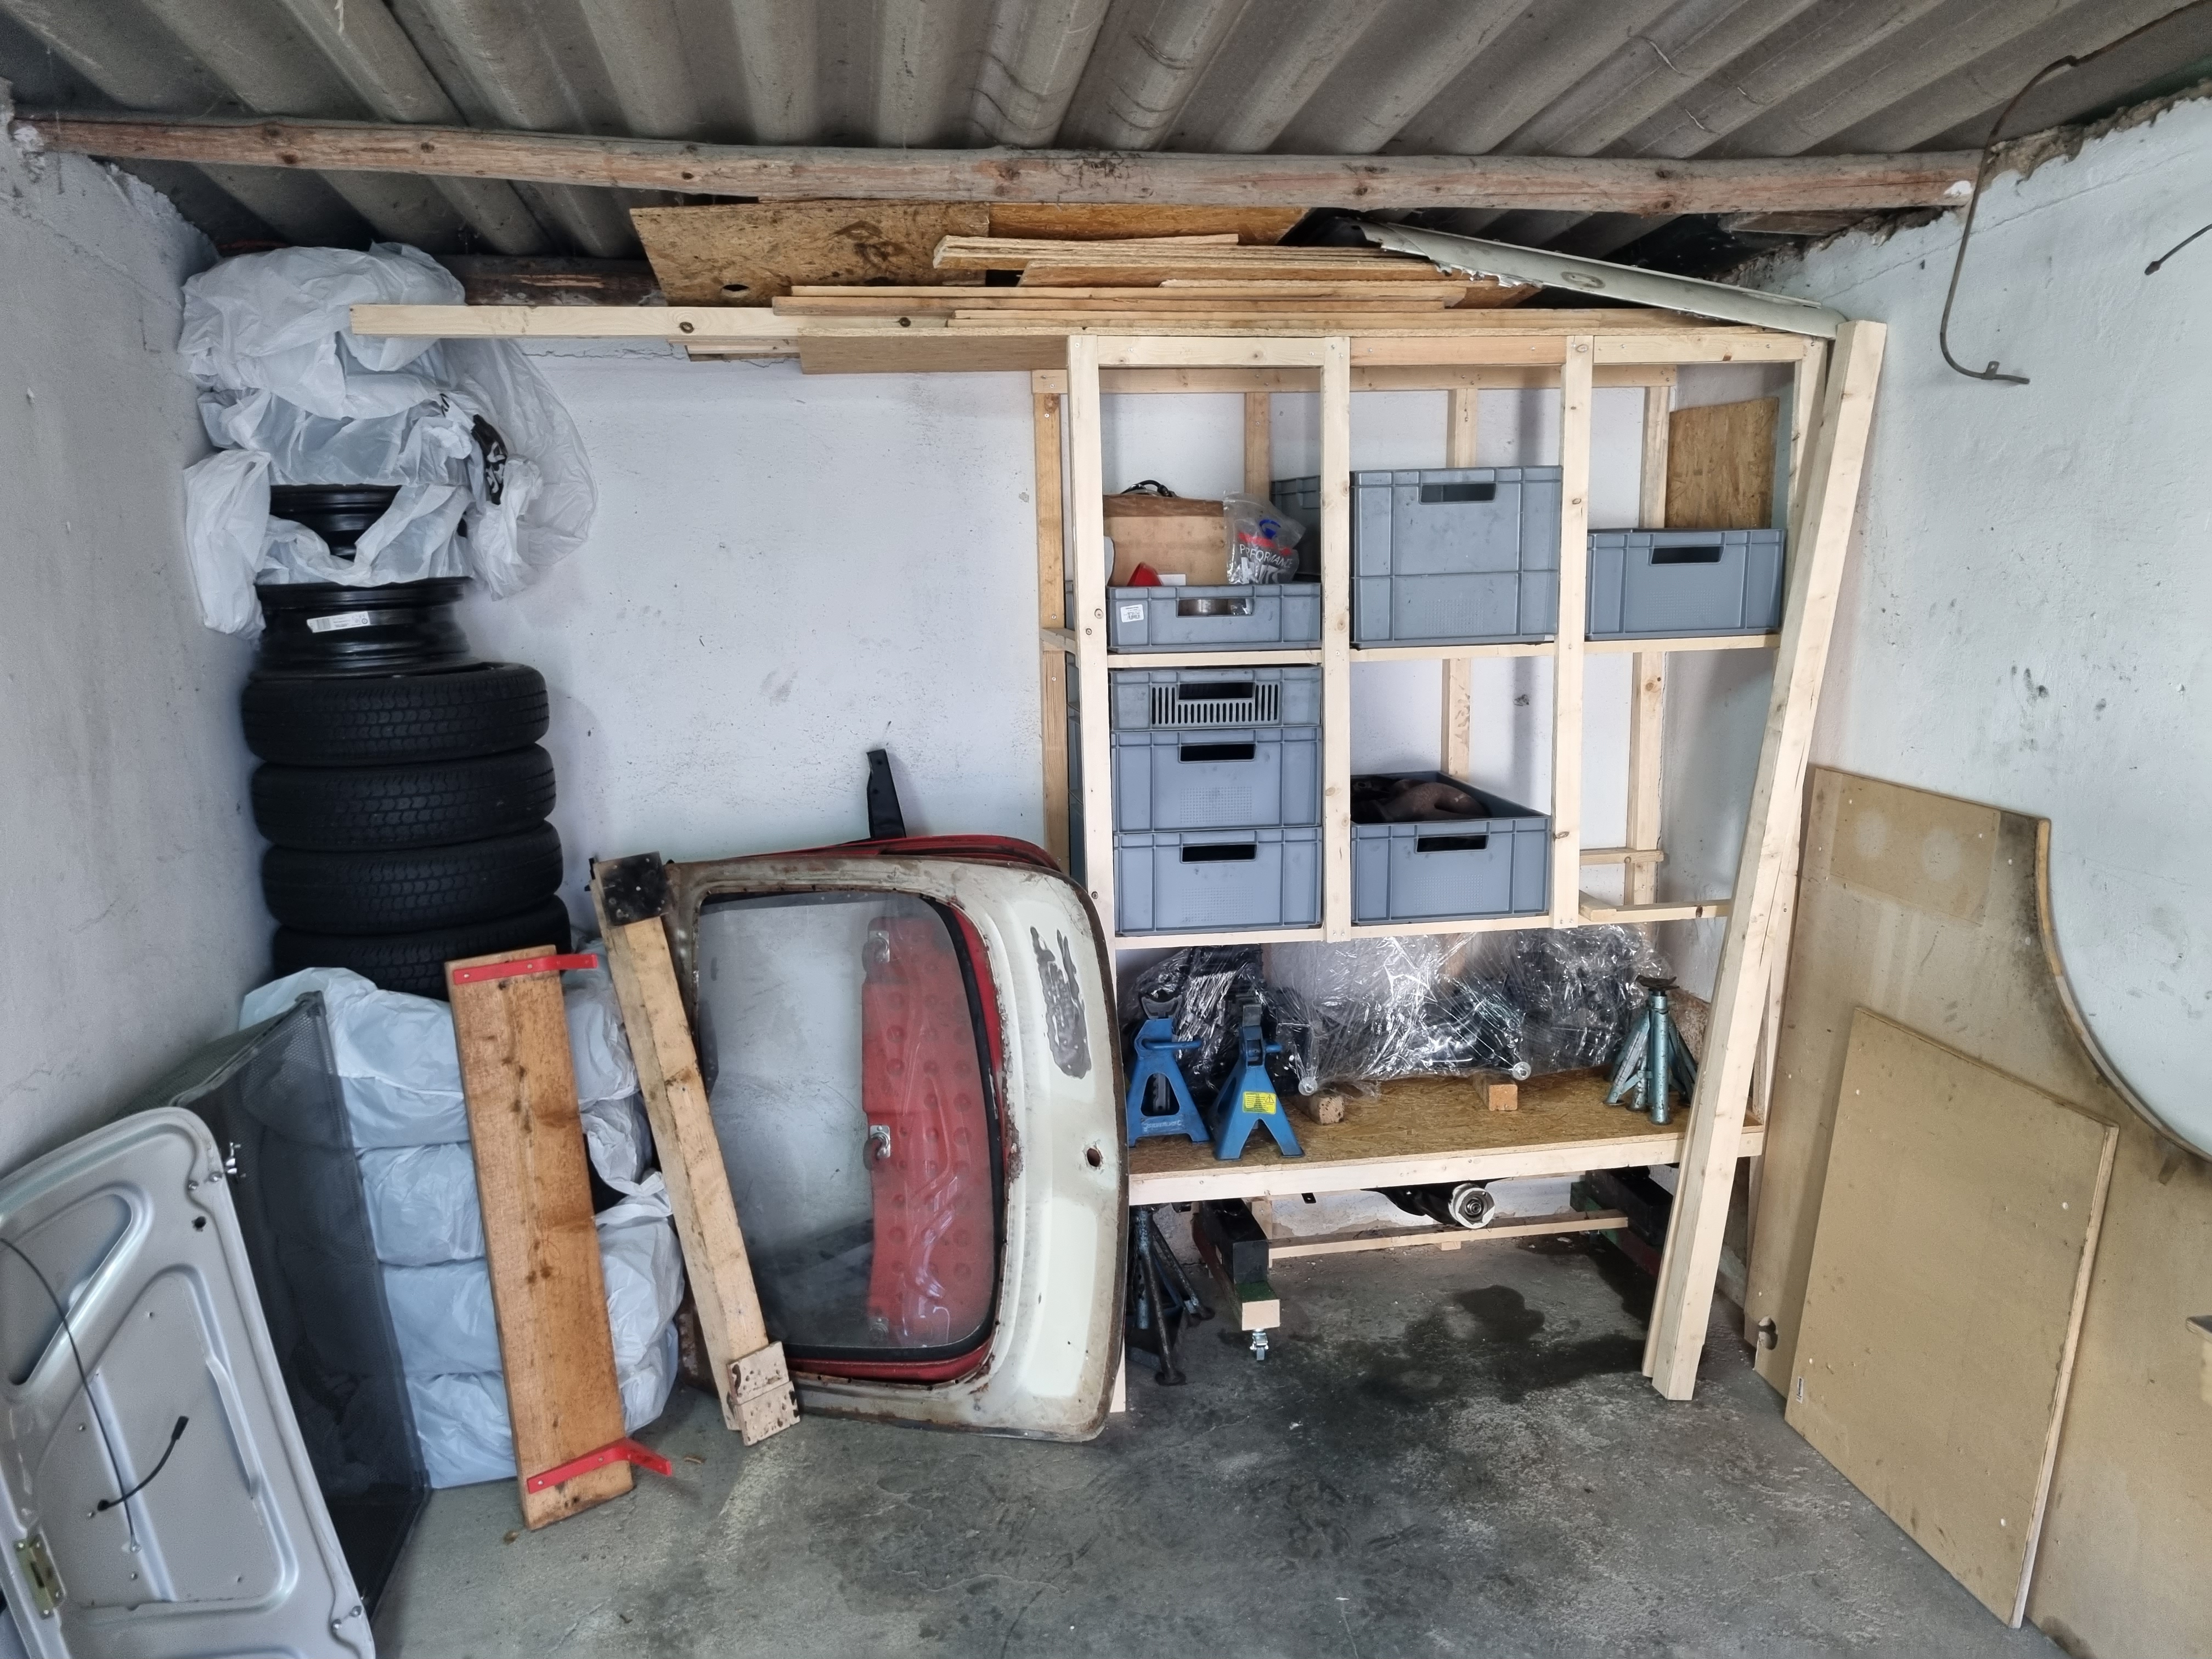
While the garage was empty at the beginning of the week – I decided to quickly build a shelf on the back wall of the second garage I have now. The plan is to store all finished and restored parts over there – mostly in Euroboxes. The Mini returned before I could complete both sides of the shelf. Changing the rear suspension trumpets with the HiLo’s is a quick and easy job on the Mini – especially as the fuel tank was still not back in completely (as the body work will be done next).
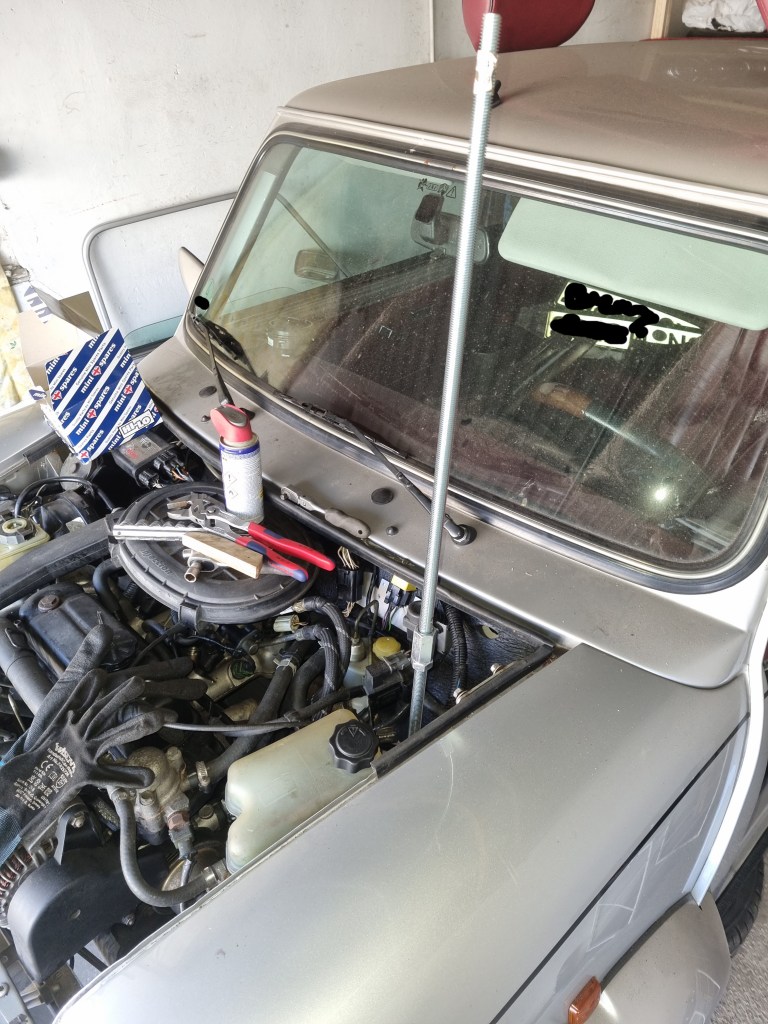
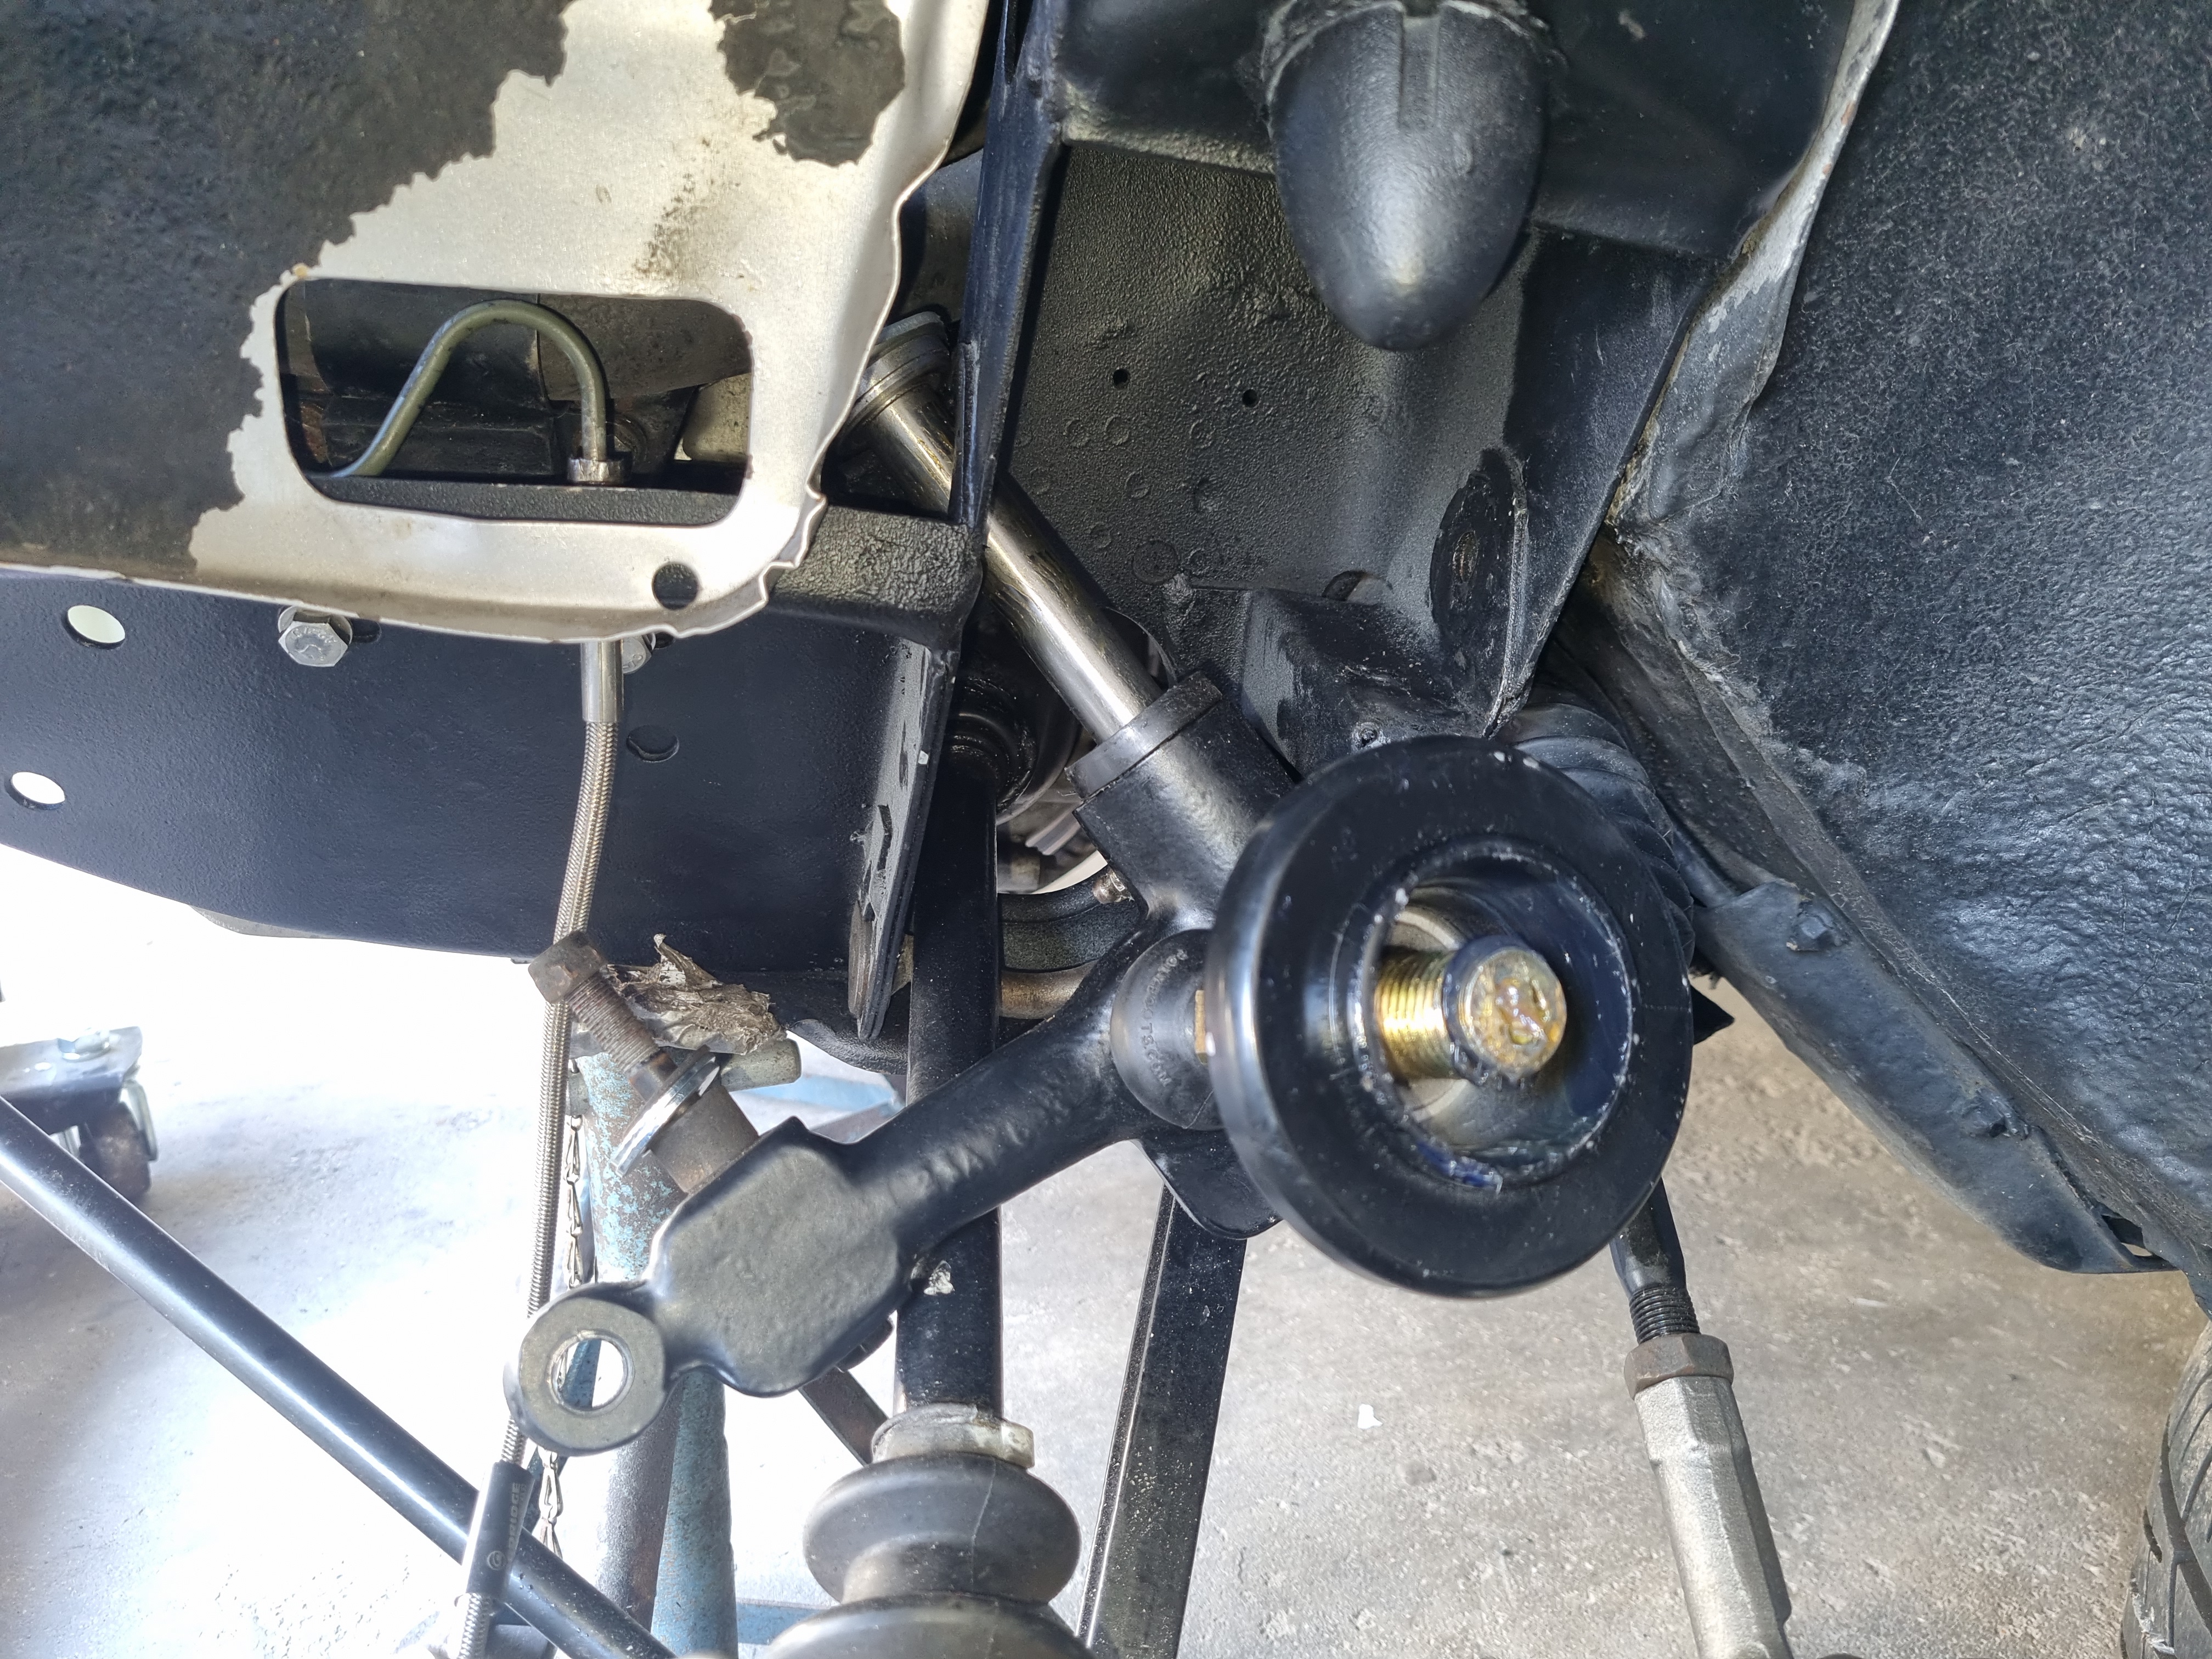
On the front suspension is a bit more work. First you need to get access to the big screws that hold the subframe, remove those and install a spring/rubber cone compressor. On the right side of the car, you need to remove the wiper motor. On the left side of an MPI mini there is a bracket that holds a relay. In order to get access to the 7/16 screws on the front of the upper arm pivot – I also removed the ECU and plastic air intake on the right – and the horn on the left side. Thankfully the MPI Mini has the radiator in the front – on the older Mini’s I worked on I always ended up removing the radiator.
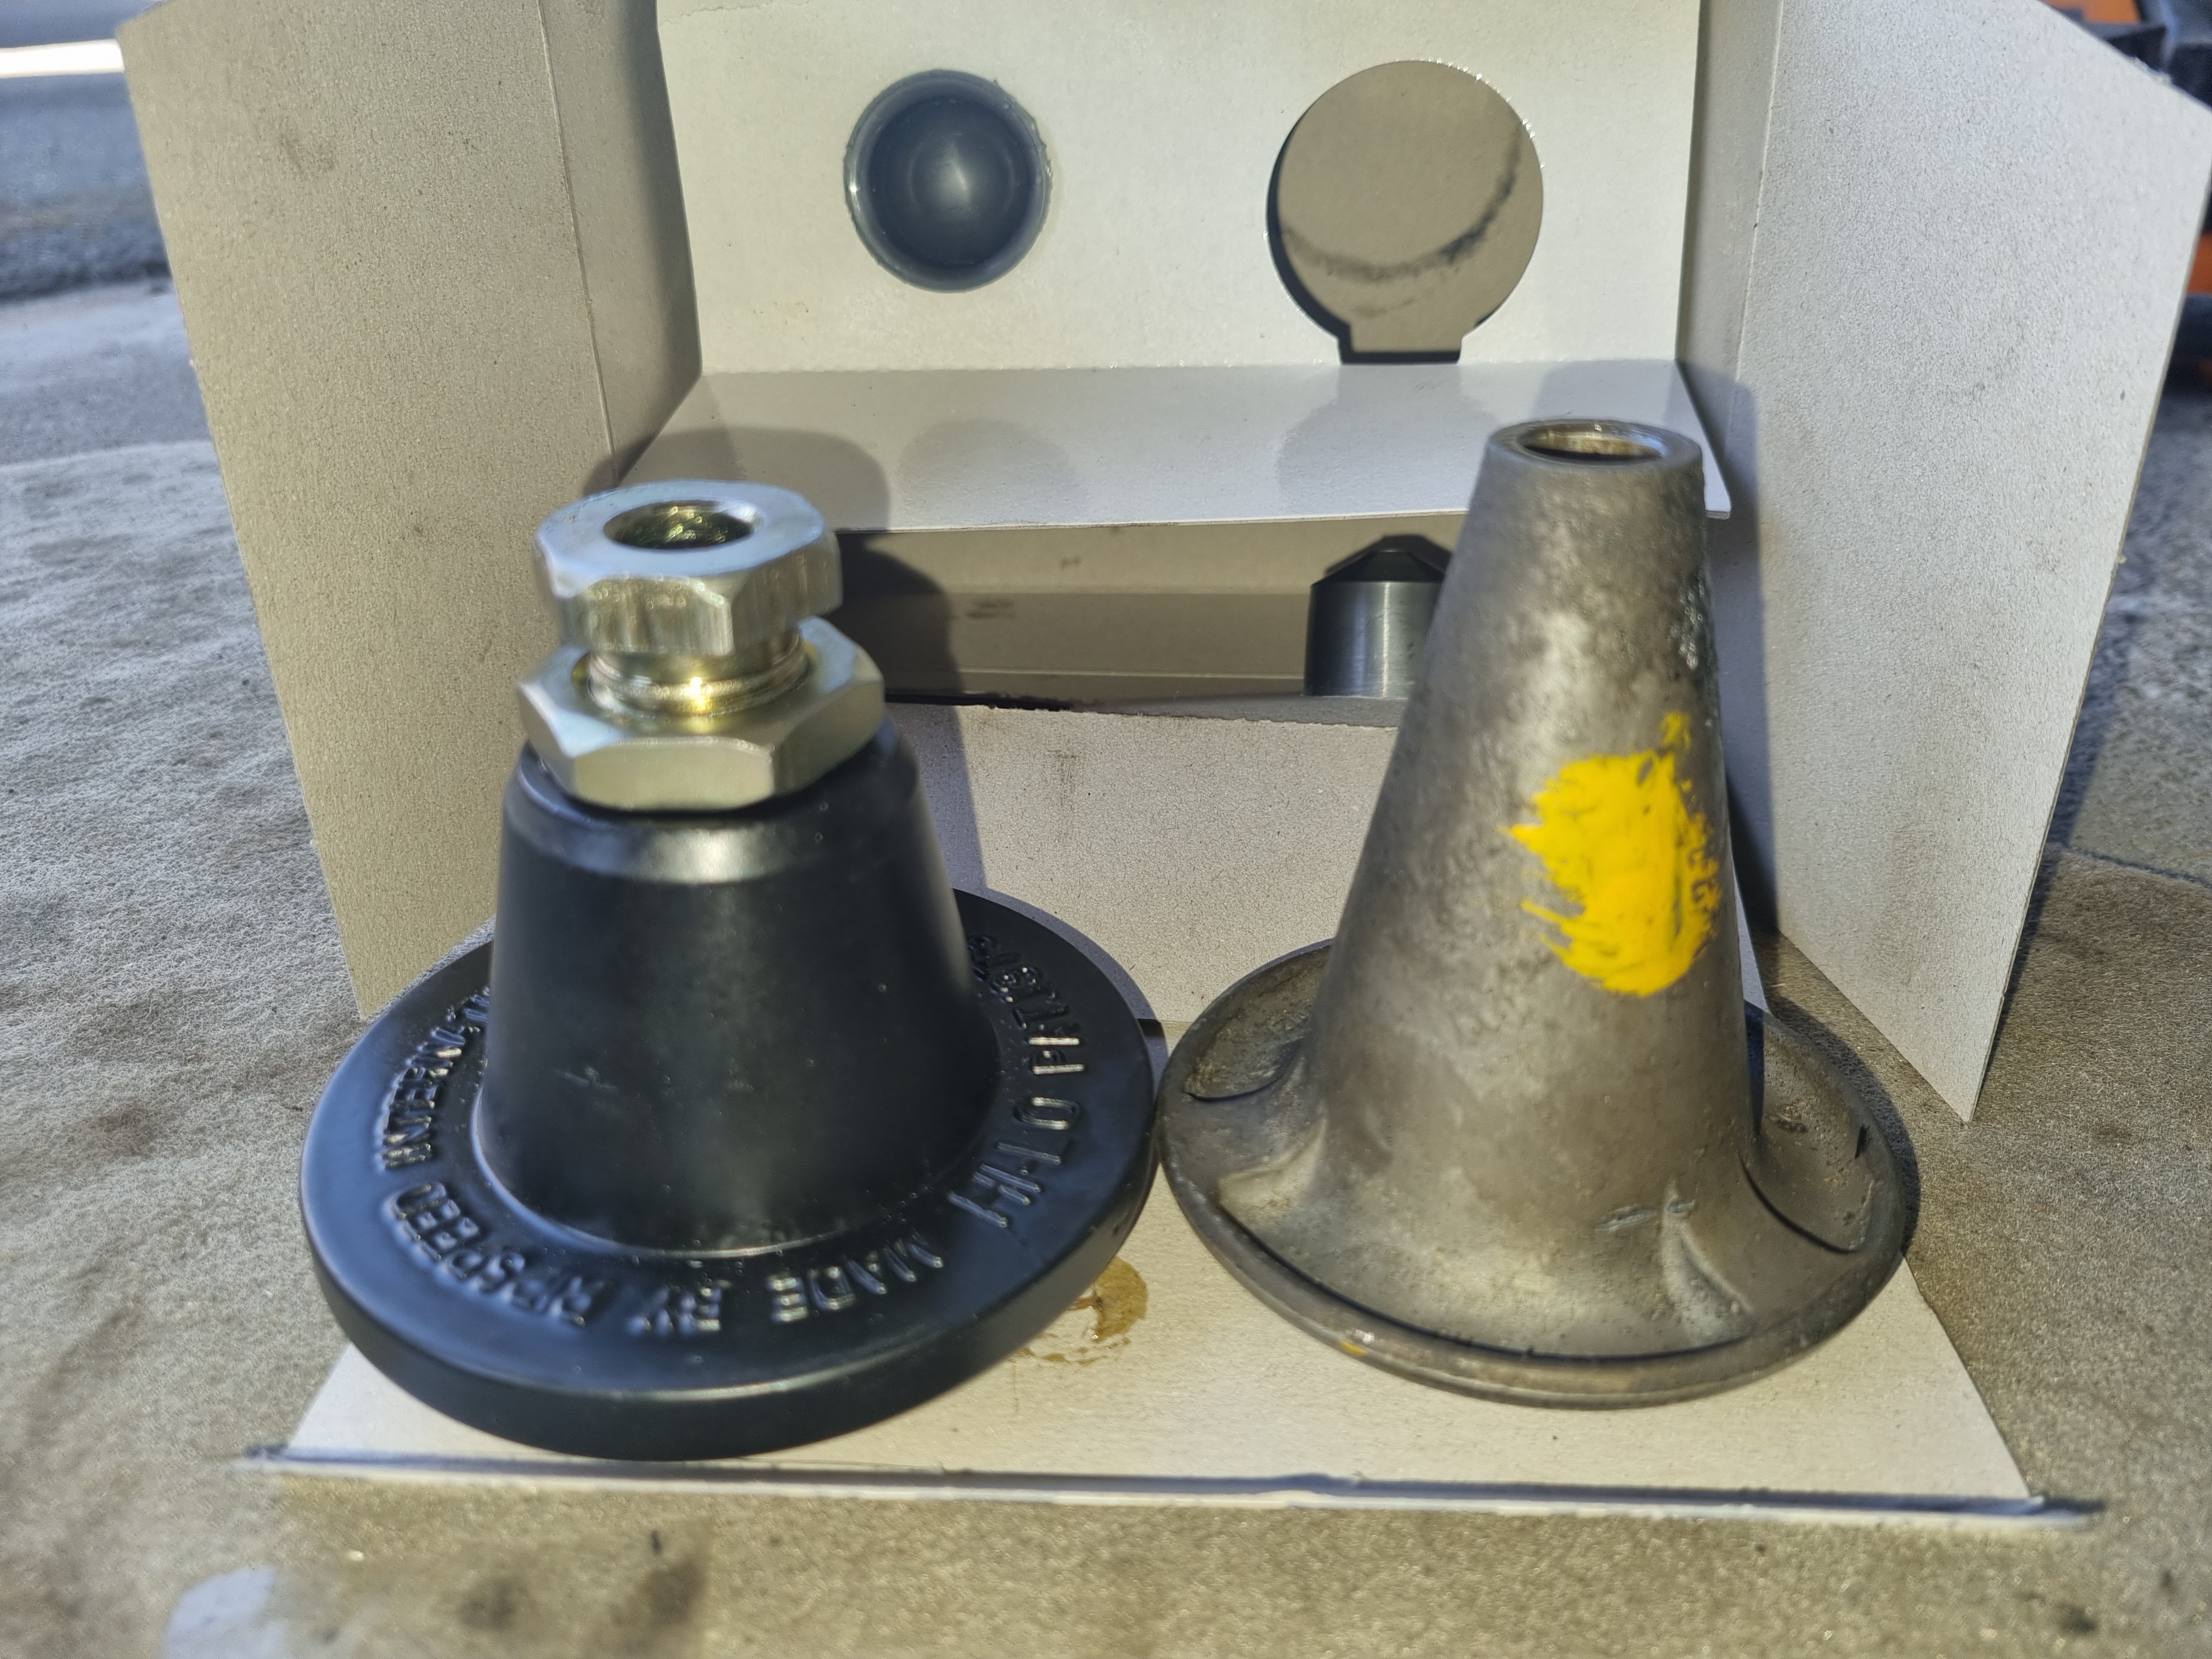
The cones have an M14 thread, and I have the matching compressor – which I used on a couple Mini’s by now. And on the right side of the car, I had no problem. Access to the nuts on the pivot is tight and I had to move from the floor to the front of the car several times. Overall, it took me about an hour to get this side done. Quite an improvement from my last two replacements which took more than twice as long.
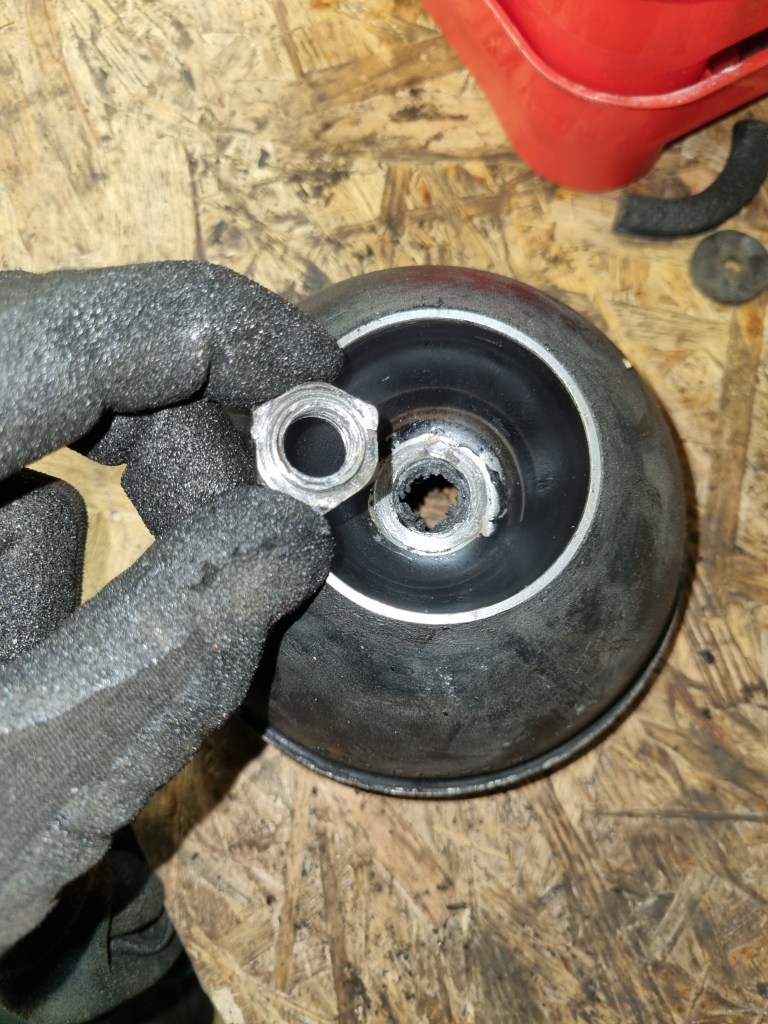
The left side however turned into a little nightmare. The main problem in my opinion was the inadequate quality of the rubber cones I got from MiniSpares. Specifically, the fact that the rubber covers the nut in the cone – but also the quality of the nut. Somehow, I ended up killing the thread of the nut and on my compressor. Therefore, the quick afternoon job turned into a much longer – multiday session as a matter of fact.
A bit frustrated and without an idea on how to solve issue on the Mini, I continued to work on the MG leaf springs instead. I already cleaned them and coated them with rust converter – now it was time for fresh paint. Brantox was too thick of the springs – so I used a few spray cans with black Hammerit. The rear axles also received another coat of Brantox 3-1. The combination for Ovatrol oil, Brantox Nitro and Brantox 3-1 worked quite well. Drying time in the warm basement was as a few hours as written on the description. What I didn’t like is the look of the brush finish on rear axle. So, I sanded the axle shafts again and rolled on the last two coats – which looks a bit better.
With excellent weather on Wednesday, I decided to finish the work on the other part of the shelf first. It covers the entire back 2,9m wall, has a height of 2m and has exactly the depth of an Eurobox – 60cm. The Euroboxes rest and slide on 25mm high runners made of plywood. I rounded of the edges on the router-table, and it is important to pre-drill the holes for the screws. A few new Euroboxes with lid should arrive shortly – a picture will follow once I have the storage system complete.
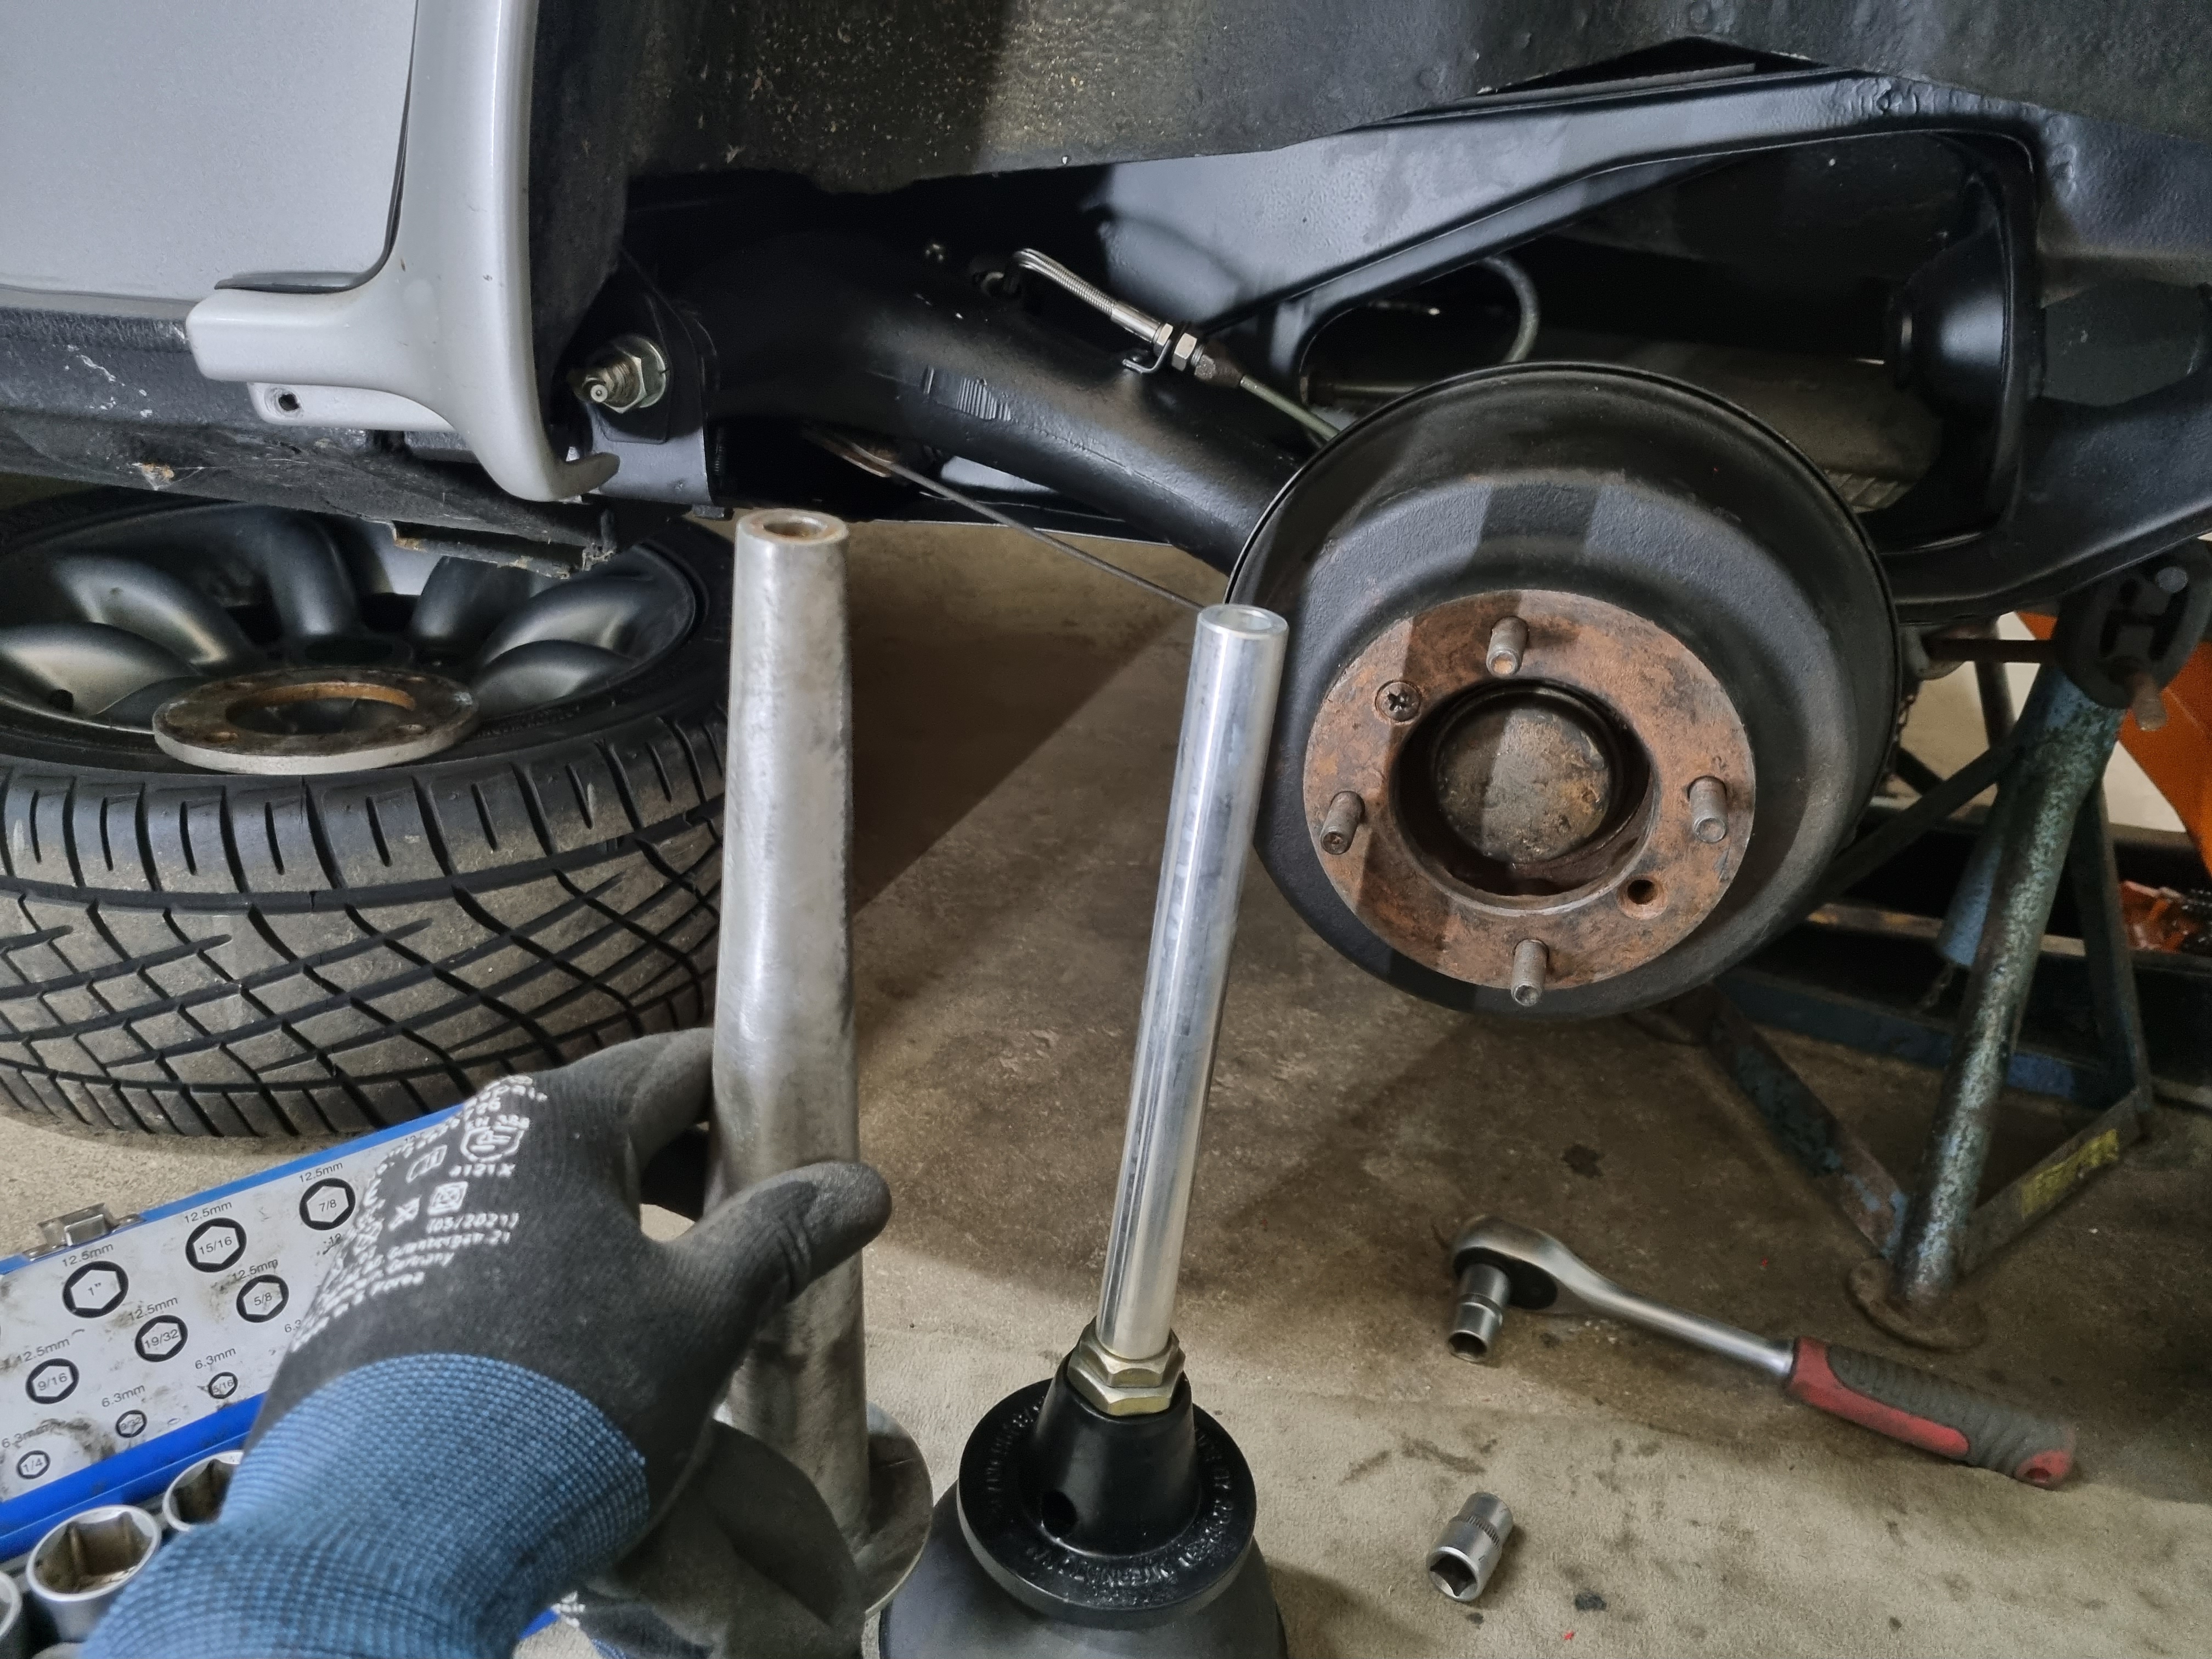
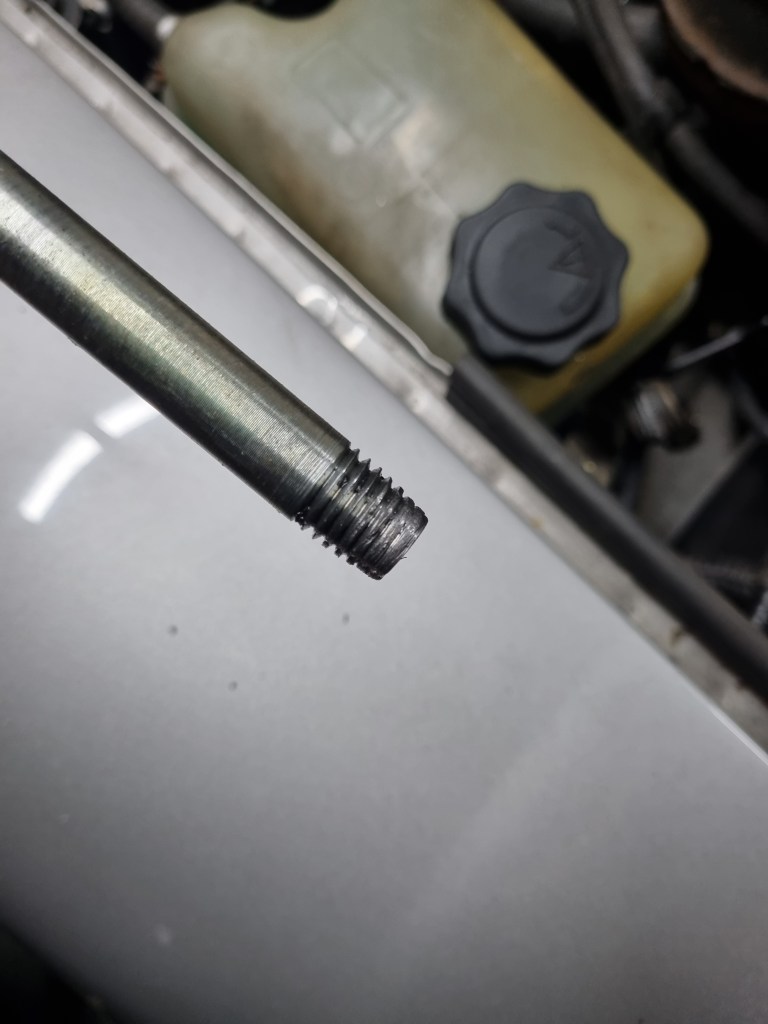
While doing this I got a new idea for the Mini40 cone compressor problem. I bought a piece of M14 threaded rod and used an angle grinder to create three groves on the end of one side – similar to what a thread-cutter looks like. With a bit of cutting oil the second attempt to cut a new thread into the cone was successful. I made sure that I could screw in and out the rod a couple of times. Next, using the tube of the spring compressor I was able to get the HiLo in on this side of the car as well. Obviously, the last step is to get the compressor out again. But after this the threaded rod would not come out again, as the nut ripped off from the cone. The only way to solve this problem is to compress the cone again, take out the top arm and Hilo and to counter the 22mm nut from below.
Once that was done, I had to replace the rubber cone and redo the entire operation again. Instead of one hour – this side took me 5h in total!!! Well, I guess things like that can happen on old cars. Today I will hand over the Mini again to the body shop and I can focus on my projects again.


Leave a comment