
After fetching the square tubing out of a recycling bin last week, I was really looking forward to building a dolly. This is required to transport the MGB bodyshell to the workshop. The ones I previously built were made from lumber and for safety reasons this is not allowed. Earlier this week I ordered 200mm castors instead of the 100mm castors I used so far. These are now attached to two 140cm long 5×5 square tube beams that needed a base plate to attach the castors.
As I neither have a plasma cutter or welding machine, Stephan was so kind to let me use his shop and tools this weekend again. After cutting all pieces to length, I used the plasma cutter on the 5mm thick steel plates I also sourced out of the bin. It was only the second time I used a plasma cutter, and it takes a bit of practise to do clean cuts with it. On the first two plates I had to do quite a bit of clean up – after a while I found the right speed and the cuts were much cleaner.
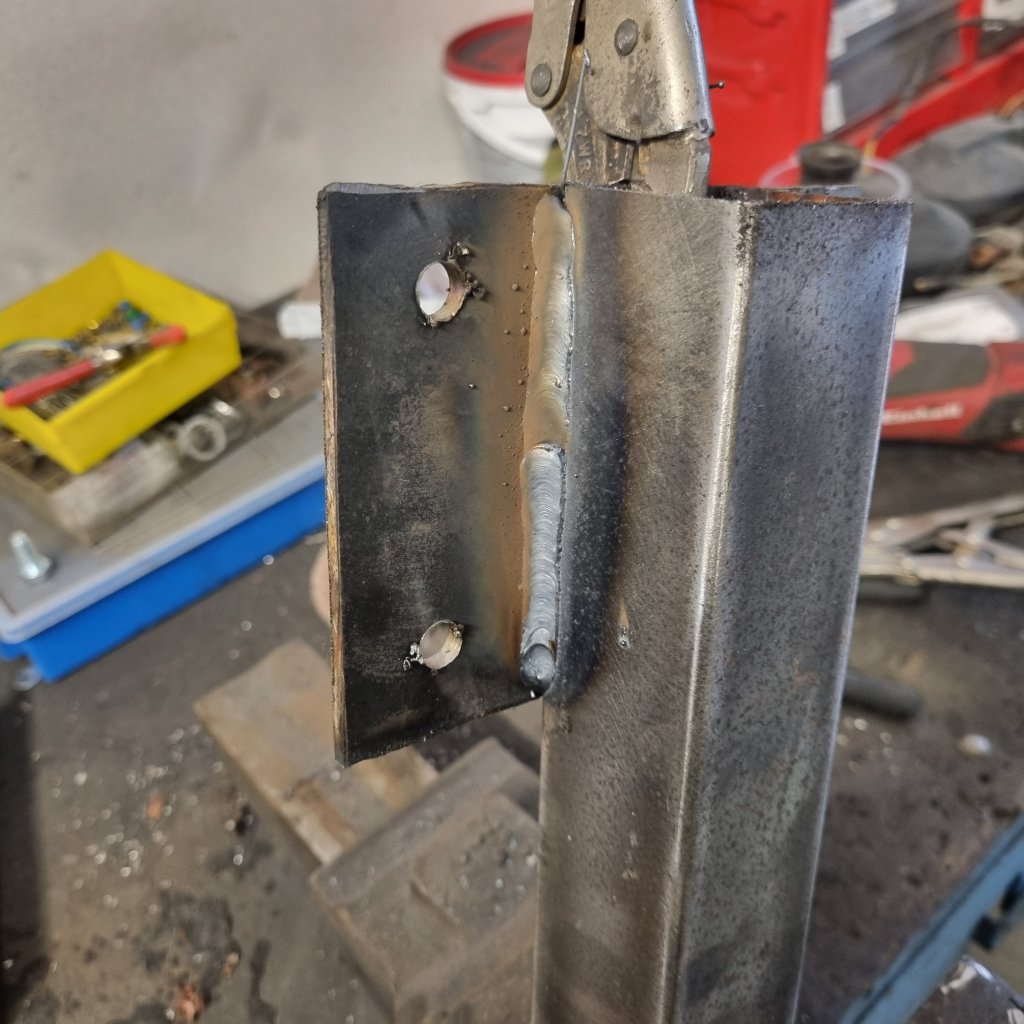
Welding is another thing I haven’t done often. This project was good to get better at it. The first weld was really bad, and I had to grind it down and do it again- but I think the rest doesn’t look too horrible. After attaching the anchor plates for the castors, I added L-bracktet on the top of the beams. The long 6x6cm square tube will act as truss to connect front and back. For the MGB (chrome bumper model) the distance between the front leaf spring mount and the center of the front wheelbase is 181,4cm. The truss piece is actually a bit longer – this leaves room if I need to use the dolly for another type of car.
For the rear I used to 50cm long pieces with a 10,5mm hole in the top center. They are spaced 939,8mm apart. As the leaf spring bushes are a bit wider than 5cm – I use some washers to fill the gap when attaching them. Both the rear and the front uprights are held in place with two 10×10 anchor plates which are secured with M10 bolts. This works well on the roll over jig. If I need the dolly for another type of bodyshell later – as I need to do is build is some supports. The front pieces are 15cm longer and cut with an 8° angle. I welded 22cm long plates to these uprights these will attach to the bolts for the front crossmember.
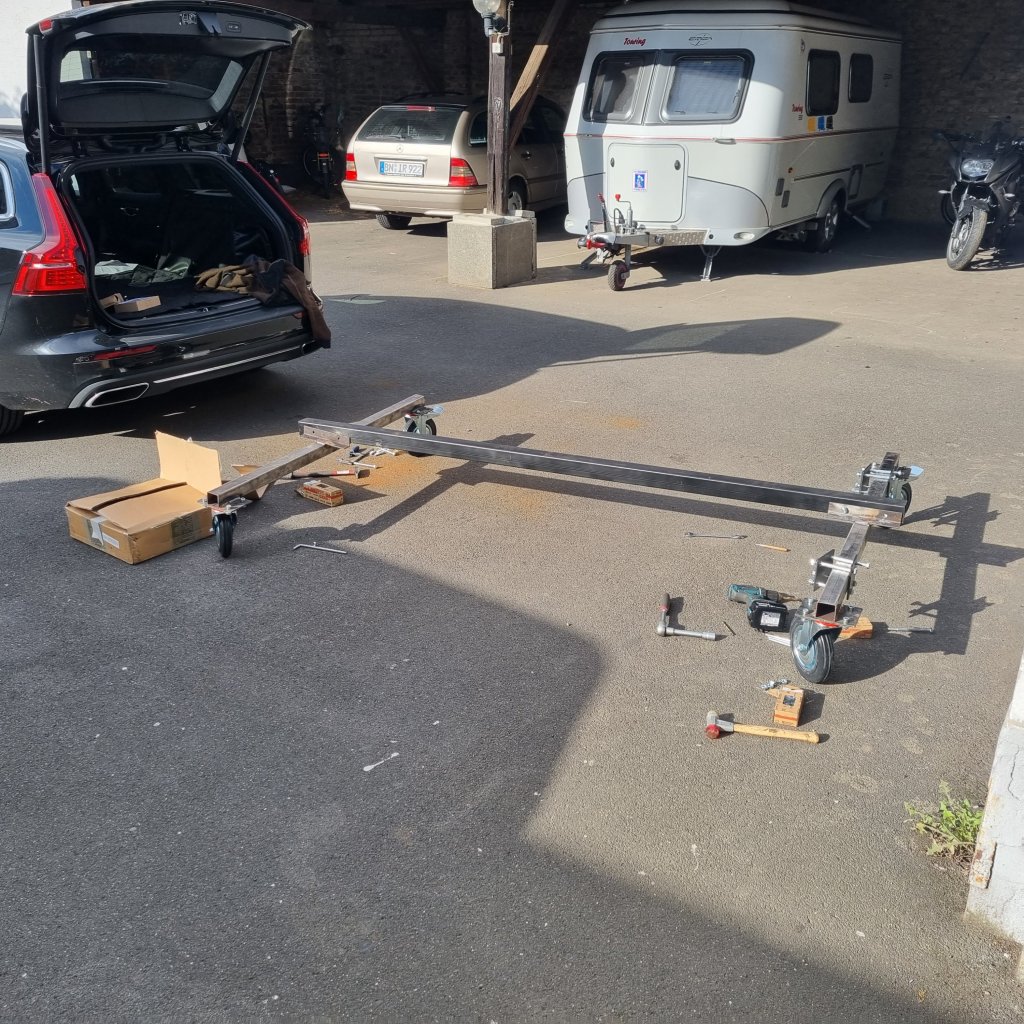
As it started raining just as I started to assemble the dolly, I moved inside the garage and under the shell – which is currently attached to the roll over jig. The dolly also should make it easier to get the shell on and off the roll over jig. By jacking the dolly up and resting it on jack stands, I will get around using my engine hoist for the procedure. After trial fit, I took everything apart again, used some degreaser to clean the parts and applied a few coats of black paint.
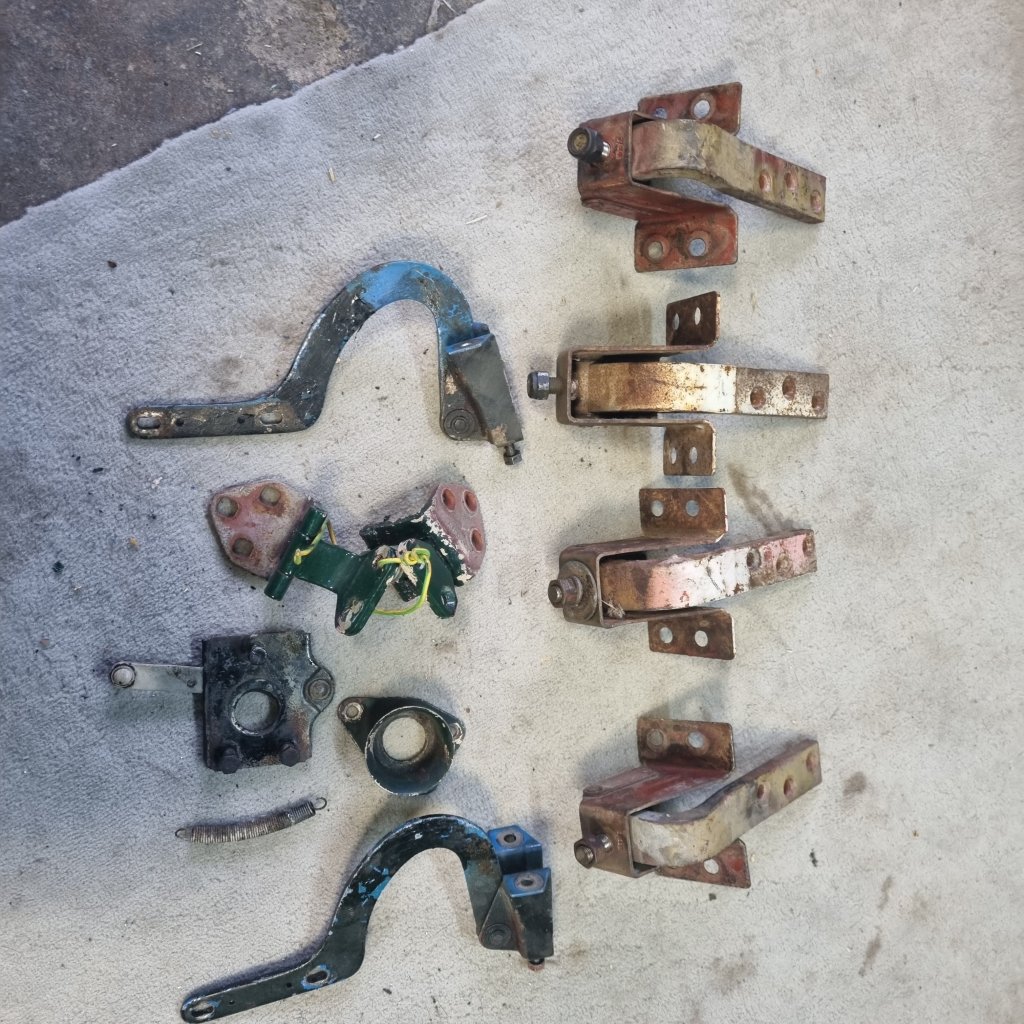
While this was drying in between coats – I started to clean up some parts got from Ebay. I tend to have the door hinges media blasted – but I am unsure if this is really a clever idea.


Leave a comment