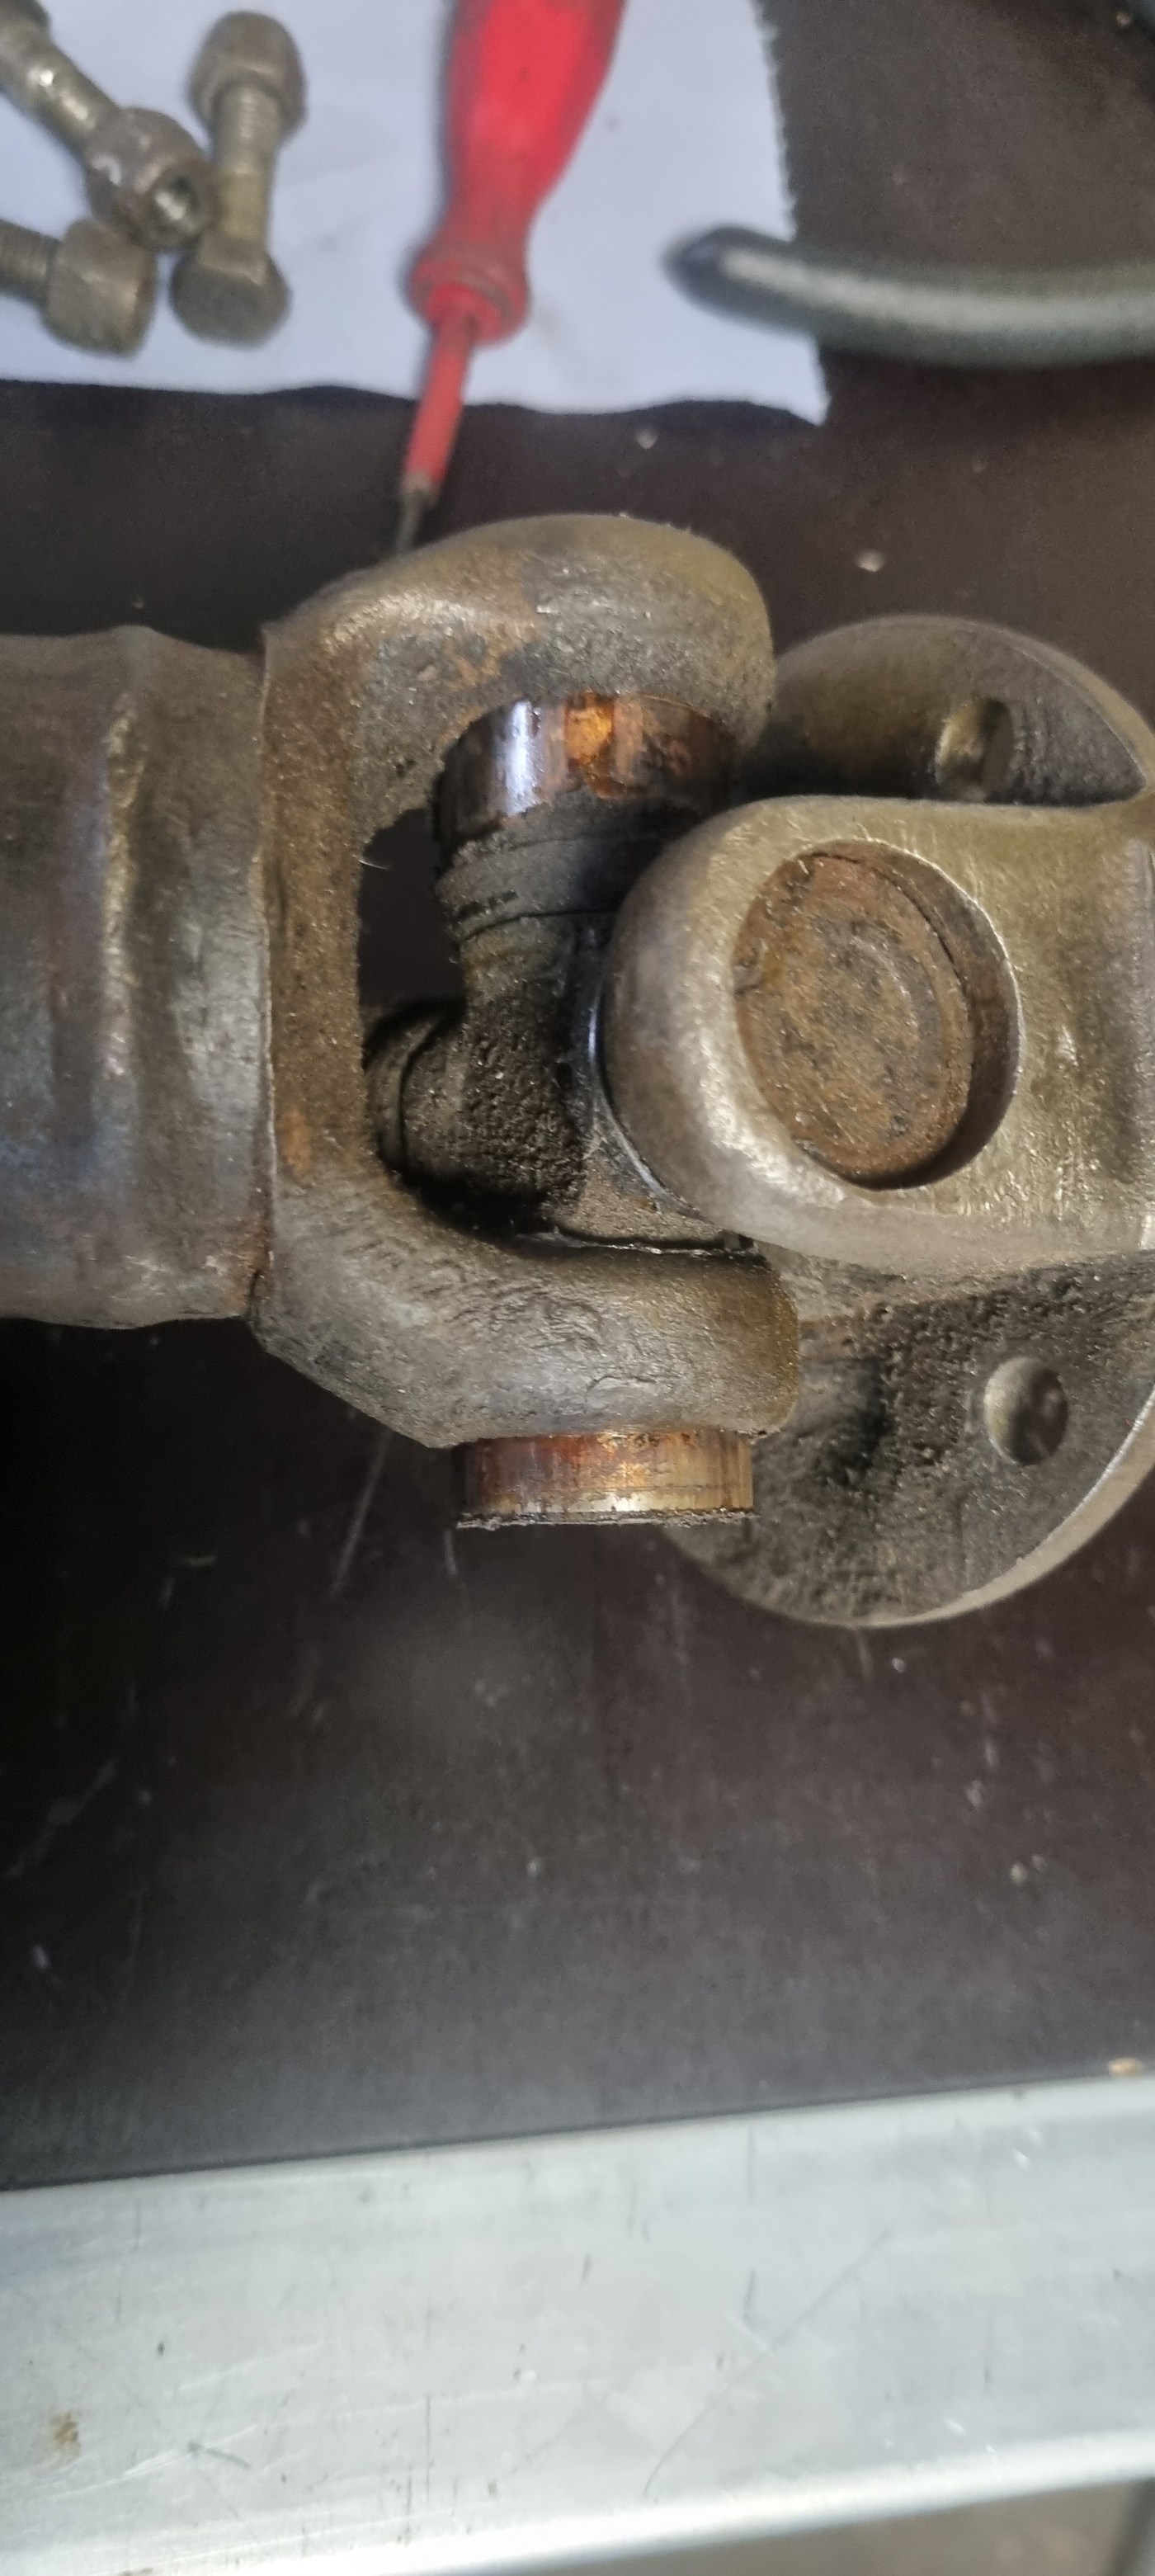
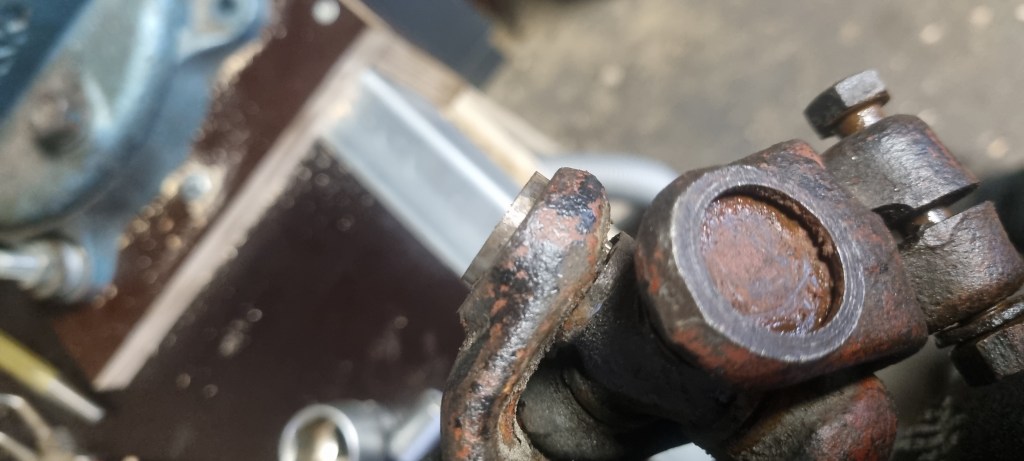
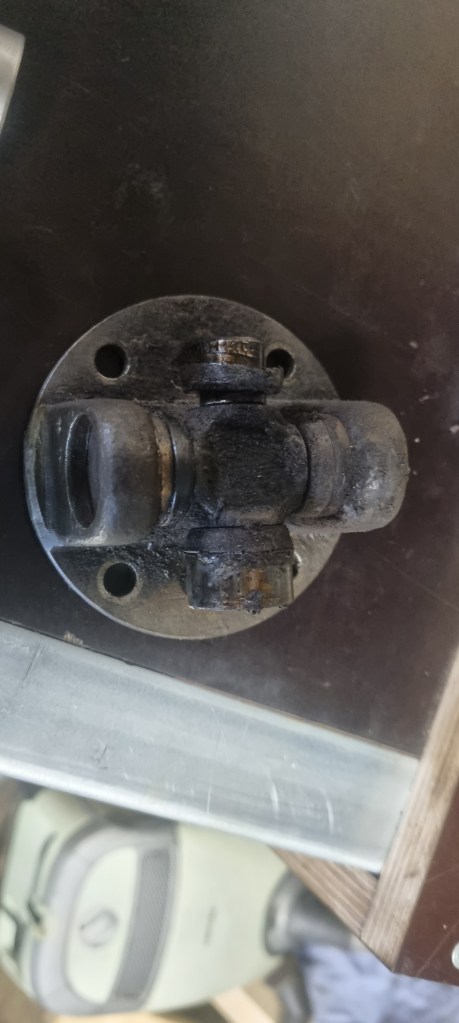
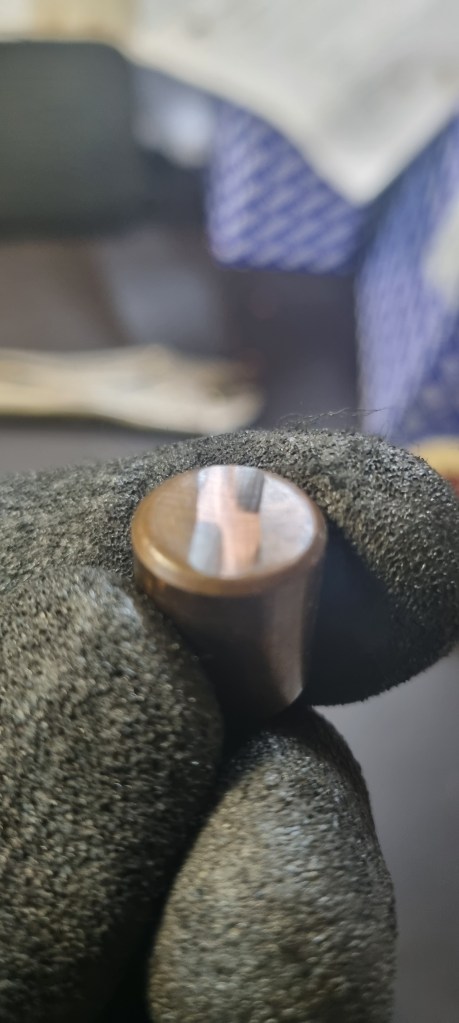
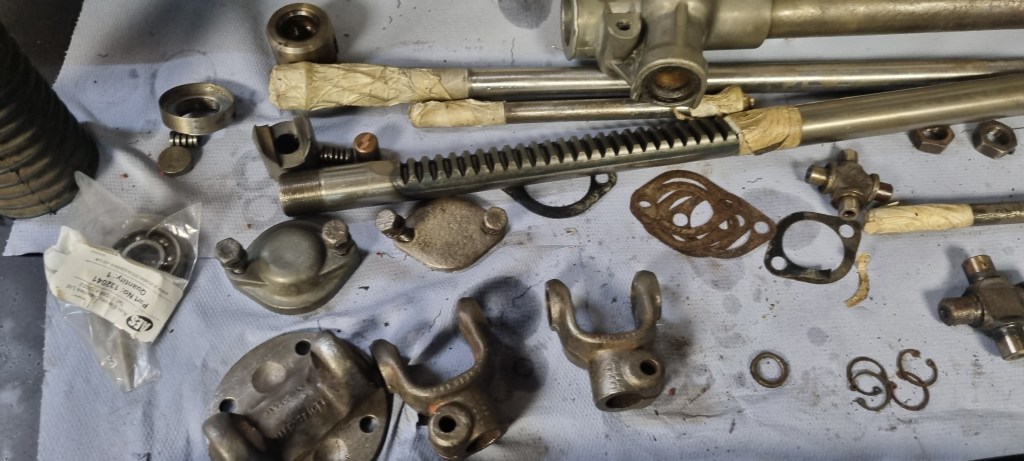
After taking the old steering rack apart, assessing and ordering the required parts, the next step was cleaning and prepping for paint. But I still had to take apart the steering column universal joints. I am certainly not an expert for this. So far, I only replaced the joints on a MGB prop shaft – following the Workshop Manual and by watching a really good explanation video from Dr Doolin. Section J.4 in the manual describes the process for the steering u-joint and it is pretty much same.
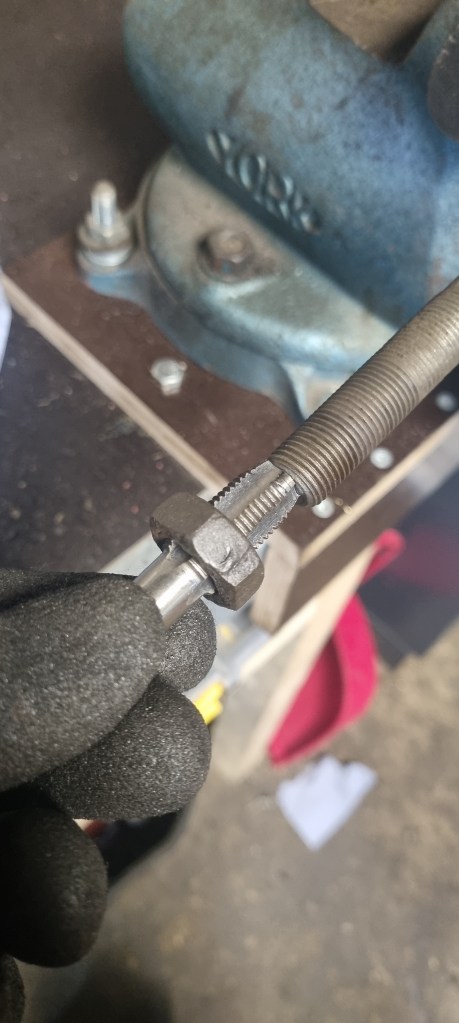
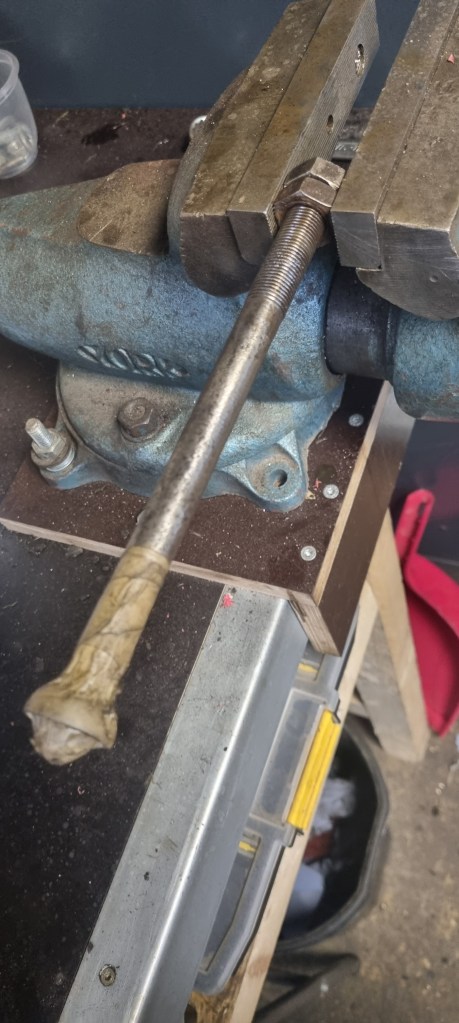
But before I could do this, I had to get my vise back on top the bench. This was mounted on the far left of the bench before – but as the Morgan is blocking this part of the bench – I wanted to have more flexibility of placing the vise on the bench it in the future. I wacked together a simple holder and had to drill through the new bench top. Needs some refinement – I will work on this tomorrow. After getting the vise temporarily attached to the bench – I tried to grip the bearing with the vise. Worked fine for the prop shaft last time, but I could not get to work on the small steering column U-joint. It slipped out a couple of times and I just ended up damaging the jaws of my vise.
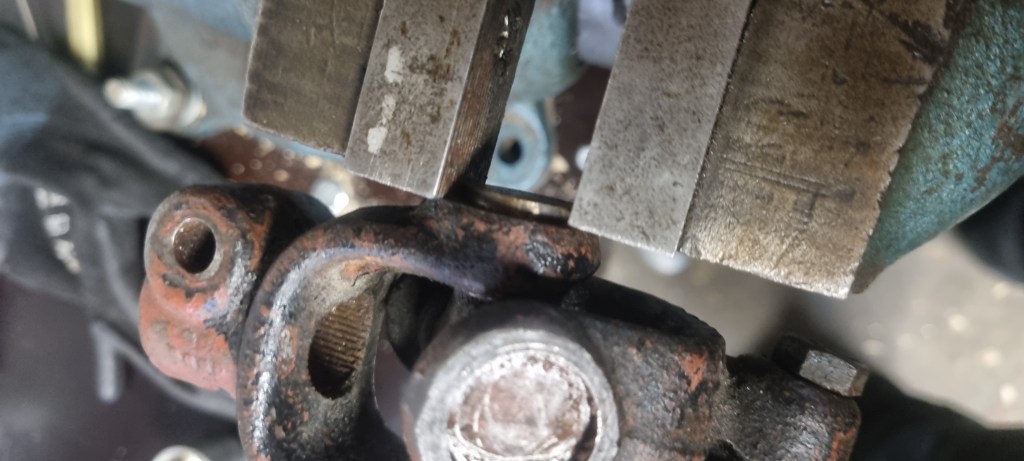
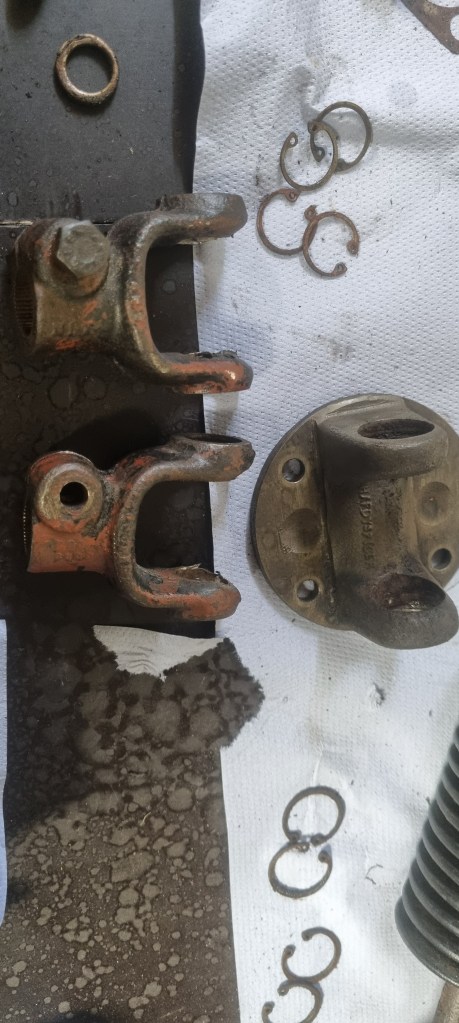
As I also have another prop shaft which has a completely seized bearing on one side – I decided to test the procedure on those bearings again. The bearings on the side I had to fix were out in a few minutes. Then I noticed that a bit of dirt (turned out to be metal) is preventing the yoke on the steering column to push out the bearing further. A bit of cleaning and a few wacks with the hammer – and I could also pull the bearing easily.
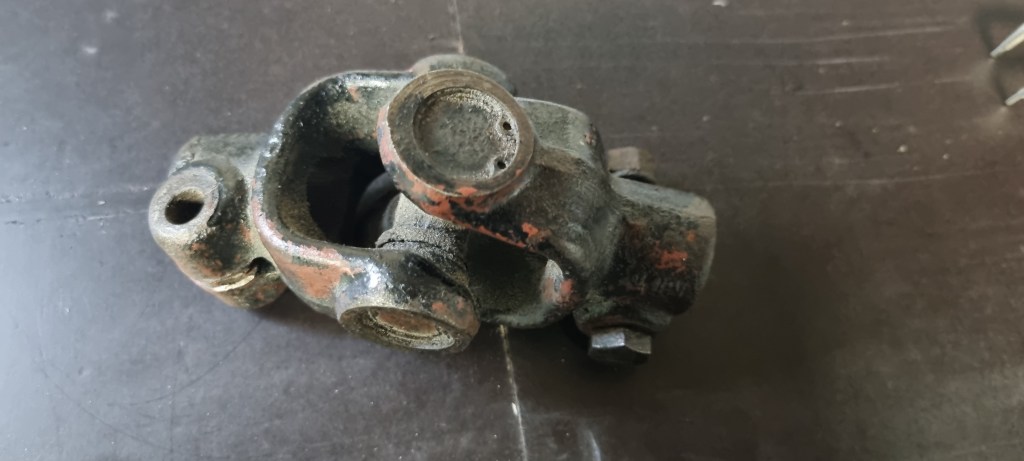
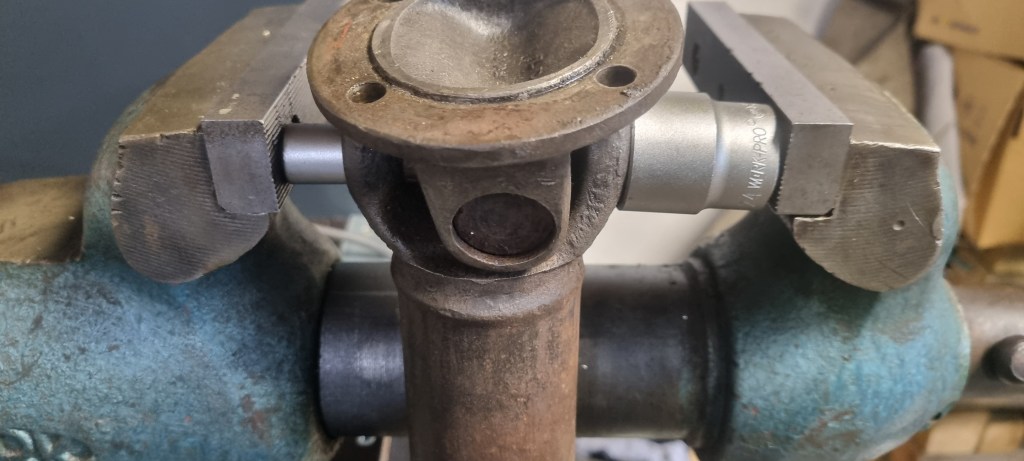
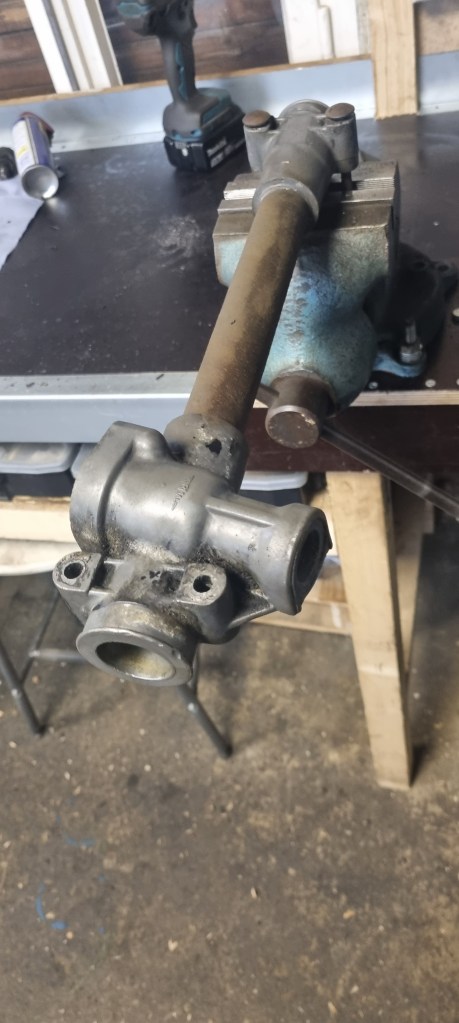
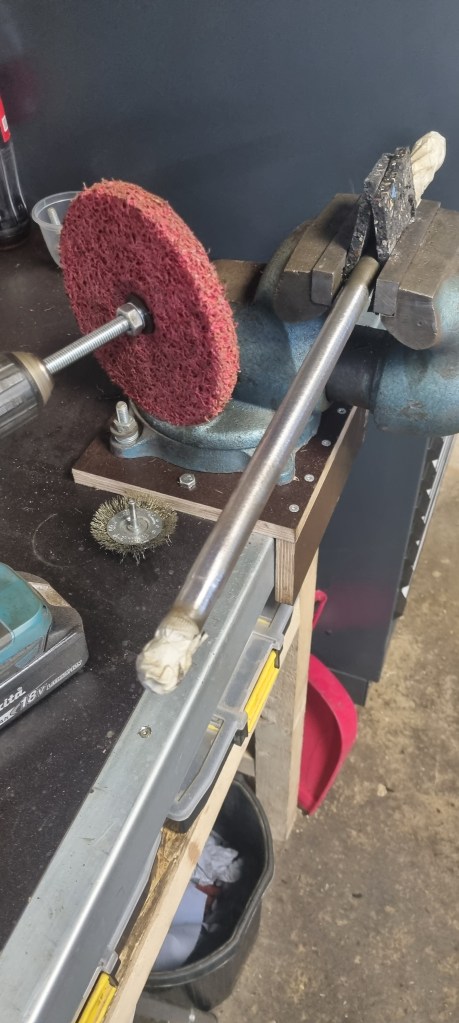
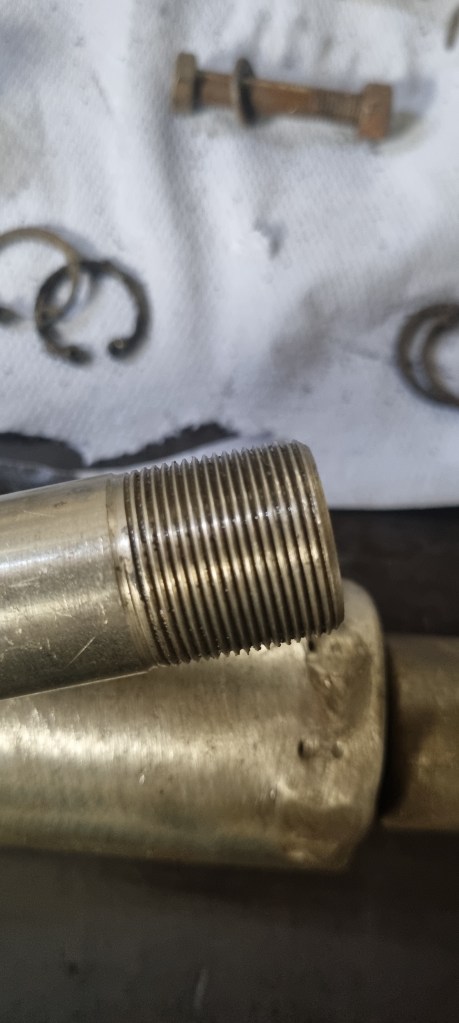
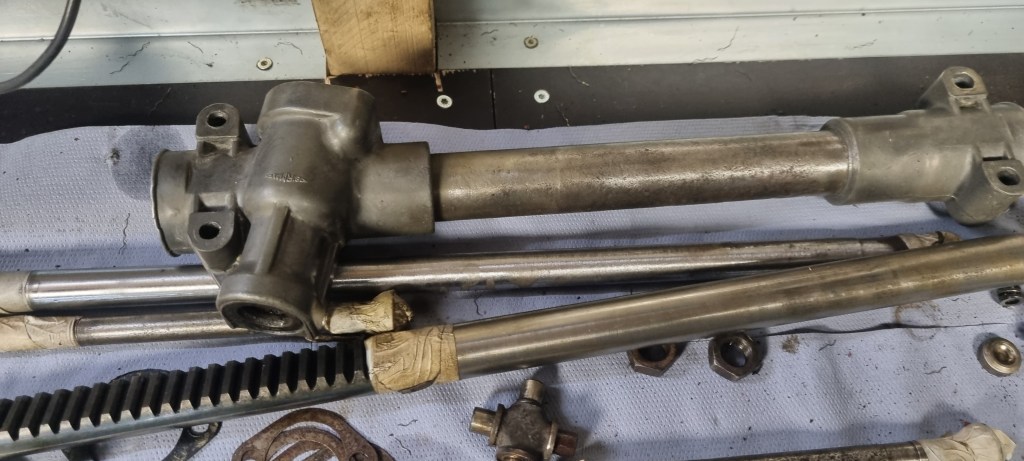
The next two hours went into cleaning dirt and rust off all parts with the wire wheel and a clear-strip disc. The tie-rod threads were rusted badly. I started out finding the right sized thread cutter by using the nut – then tried to run the counter part on the tie rods. But I just could not get the right fit. With the help of the wire brush, WD40 and the old nuts, I was able to get the threads clean and useable again. This reminded me that I had one task left: taking off the locking ring from the rack. And this is where I f*** up. I don’t why – but I turned the locking ring in the wrong direction – further onto the rack instead taking it off. When I noticed this, I was already at the end of the thread and the locking ring was stuck now.
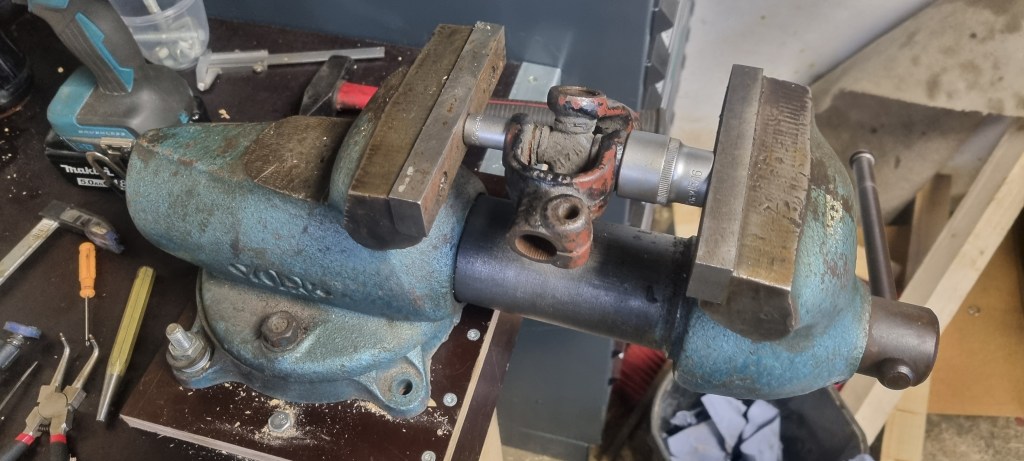
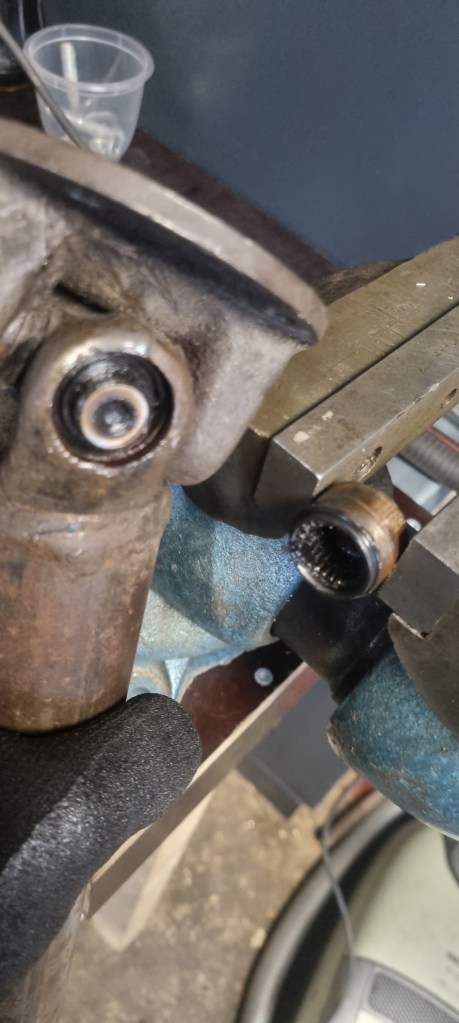
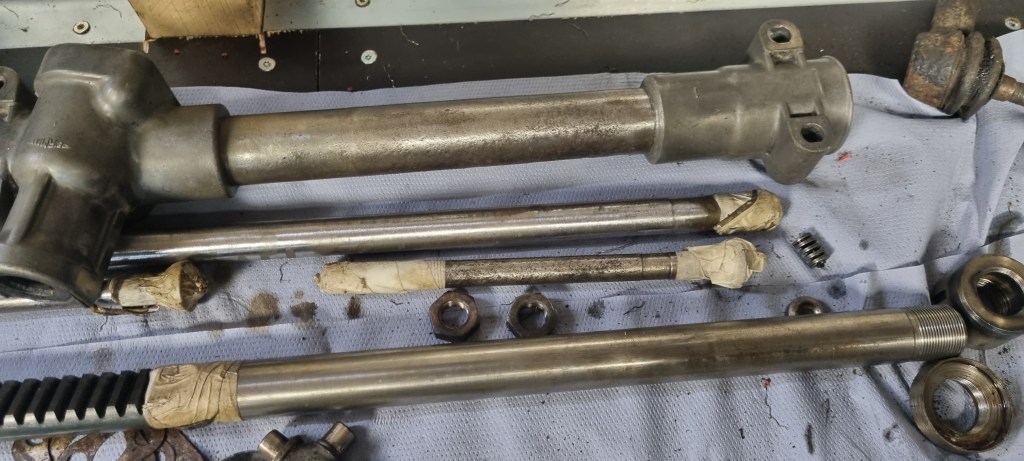
The only way I could get it off is by applying tape around the edge and sticking it into the vise. This allowed me to turn the rack until the locking ring came off. But the damage was done. The locking ring thread was damaged and destroyed the entire thread of the rack. On the pictures below you can see the difference between the two ends. Unfortunately, neither the locking ring nor the ball housing are available as spare parts any longer. And I don’t have the right sized thread cutter for the rack. To make a long story short: I just killed a steering rack.
Well, things like this happen. And it is most likely the reason why many(most?) people just replace the entire steering rack. A new one is about 250 to 300€. The good news is: Getting a used steering rack is quite easy. And as I plan to visit the MG & Triumph Spares Days in Stoneley Park this February – I now have a reason to be there early 🙂
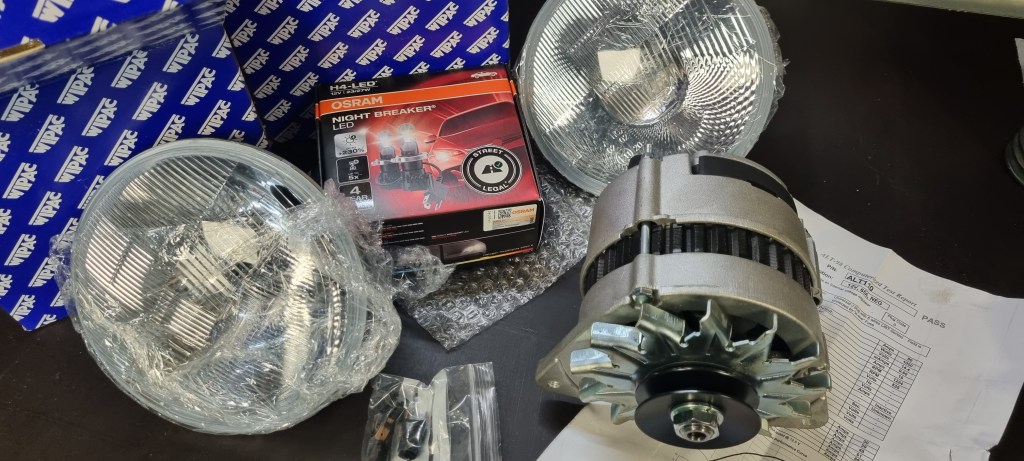
Speaking of parts: AutoElectricSupplies did another super-fast delivery. A set of Wipac headlights and a new alternator arrived today (ordered on Wednesday). The alternator is intended for Miffi – but I might be using it on the MGB 18V engine first. The headlights are the only ones allowed on classic LED conversions with Osram Nightbreaker LEDs. They will be fitted on a fellow MGB driver’s car this weekend.


Leave a comment