
Back 31 years ago – my parents took part in the 1992 Morgan vs. MG Highland Games. The event is a combination of a touristic Rallye, a few “Highland-Games-activities” like crankshaft throwing or tug-of-war and a slalom on the second day. Even though my family was clearly “Team Morgan” – I remember that it was the first time I saw an MGB GT (V8) and feel in love with the car. It took 25 years until I finally had one 🙂
Last year I hoped that the Morgan will be ready for 36th edition in Kassel. But with the rear axle issue and several other things on the Morgan task list this did not work out. Having completed these now and a planned date for the interior of C6622 – I unsuccessfully tried to convince my wife to take part with me this year. But, luckily (and surprisingly), my best friend Thomas agreed to join as driver.
Thomas and I took part in the Eschweiler Classic Rallye in Maggie a few years back. He also drove the Morgan once – long before I started the restoration. Long story short – classic British cars are not close to his heart. Nevertheless, in January we signed up for Team Morgan. But after a brief email exchange with Franz, the organizer of the 37th Highland Games, he convinced us to switch to Team MG. Thomas preferred to drive the MGB GT and I happy agreed – as it took pressure of me to finish Moggi intime.
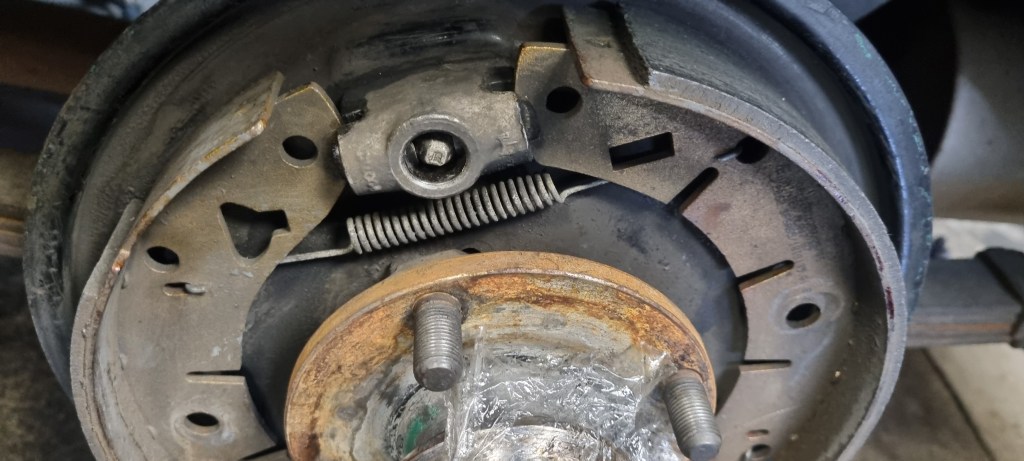
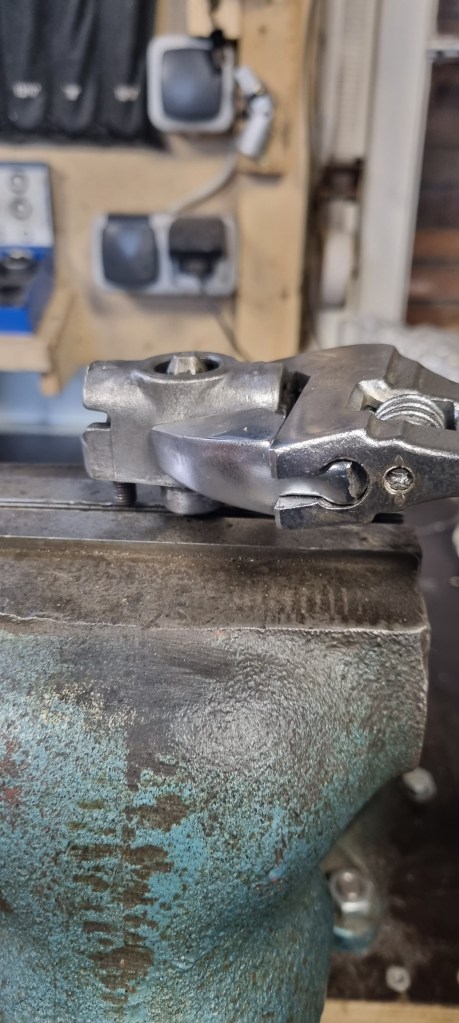
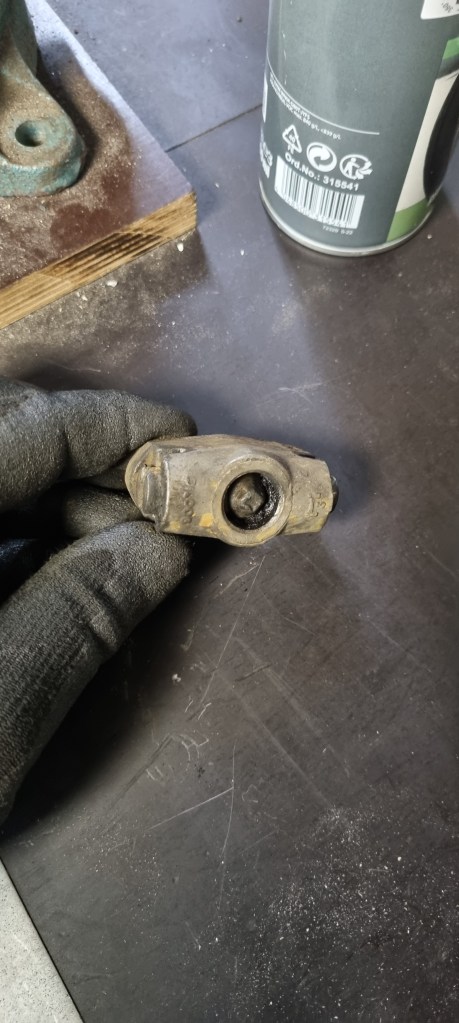
After the trip up to Northern Germany in Maggie two weeks ago, I wanted to address some minor issues that I came up. So last weekend adjusting the handbrake and bleeding the brake system was top of my list. The entire rear brake assembly has been renewed in 2020. This included new adjusters, which turned easily last year. This time they were ceased. If you run into this issue: do not try to apply force. I learned the a few years back on my Mini. Instead remove anti rattle springs from the brake shoe, free the adjusters and take them out.
Clean them and stick the 1/4″ screw end into a bench wise. After cleaning use WD40 or similar for lubrication on the screw threads. Carefully use an adjustable spanner and slowly turn the entire adjuster back and forth. Takes a few min but afterwards the adjuster will be like new. A bit of white grease on the adjuster screw and pins – hopefully, this will last longer than the grease I used before. Bleeding the brakes was done with my wife’s help. The “buddy system” works better for me compared to the Gunson One-Man bleeder kit – which for some reason always spills and creates a mess.
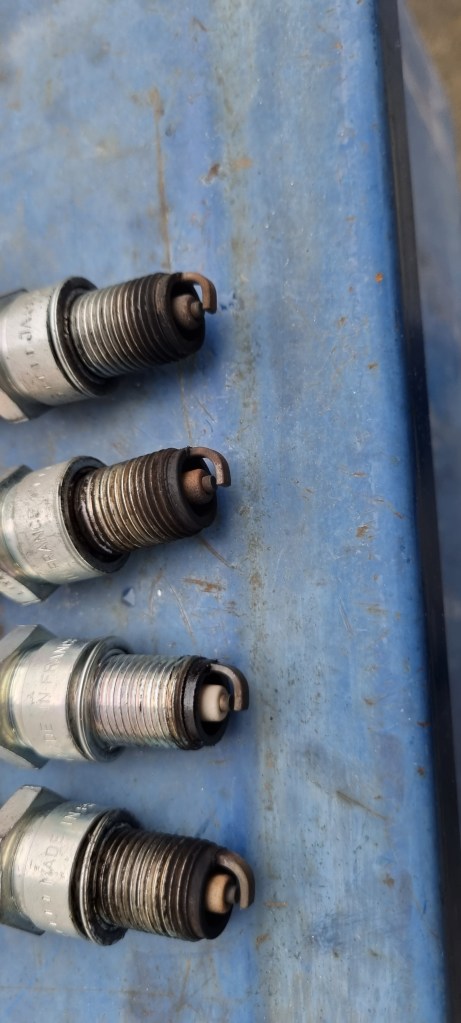
Moving on to the engine bay. Another compression and valve clearance check after the approx. 1000km trip up north showed that everything is in decent shape. All four spark plugs have a light brown colour – I had issues with this in the past. Ignition timing still did not feel perfect. With a CSI Pro distributor, it is important to follow the base adjustment as outlined in the documentation. The check with the strobe light showed that at 1000 rpm, Maggie has the 15° advance needed and programmed – good – so no further adjustment was required.
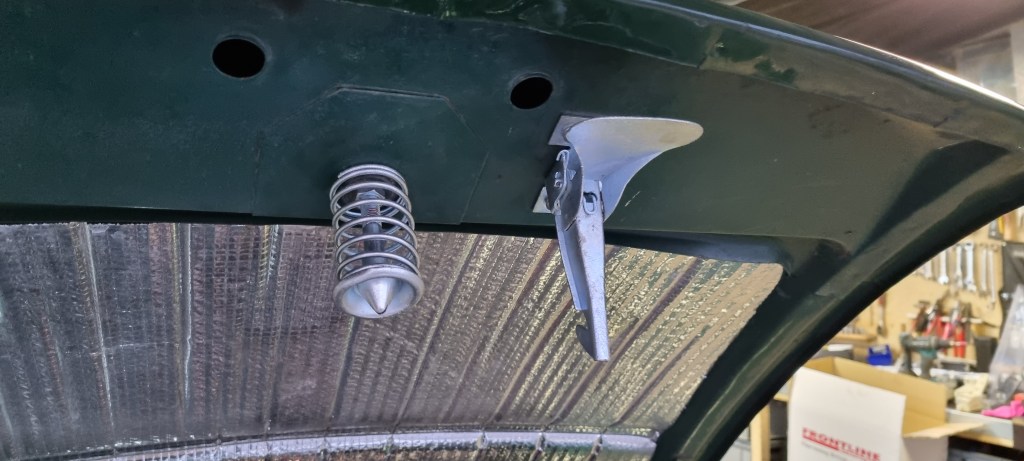
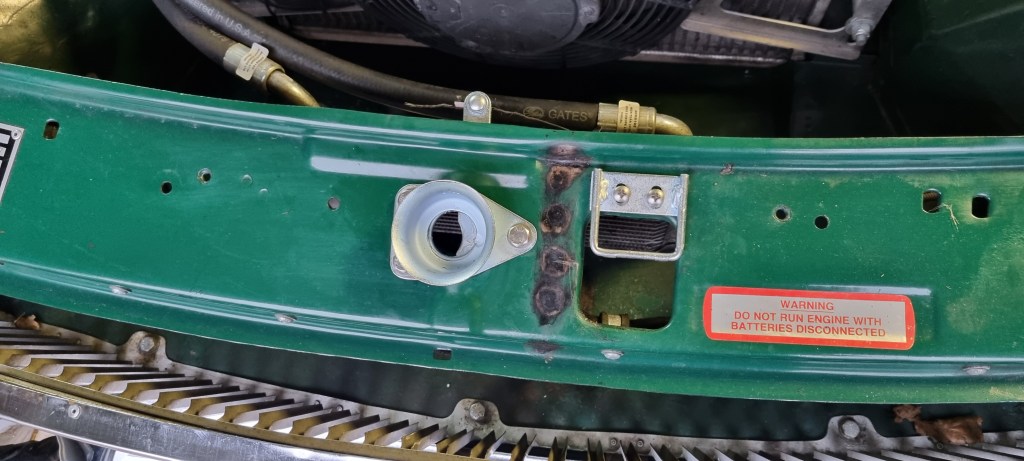
Last prep task I did was to change out the bonnet catch. This is the first time I took from freshly galvanized parts for project Mildred and stuck them on Maggie.

Leave a comment