While I preferred working on classic cars, occasionally I do maintenance or smaller repairs on newer models. Mainly because these are the cars my kids own, and I want to help them save a few bucks. Usually these are simple tasks, like oil changes, renewing brakes, or fixing wheel bearings. A bit more ambitious was a task on “Liselotte” – the (now sold) Ford Streetka of our oldest daughter – which required a clutch change a few years back. This was challenging, but I found an excellent YouTube tutor and successfully completed the change.
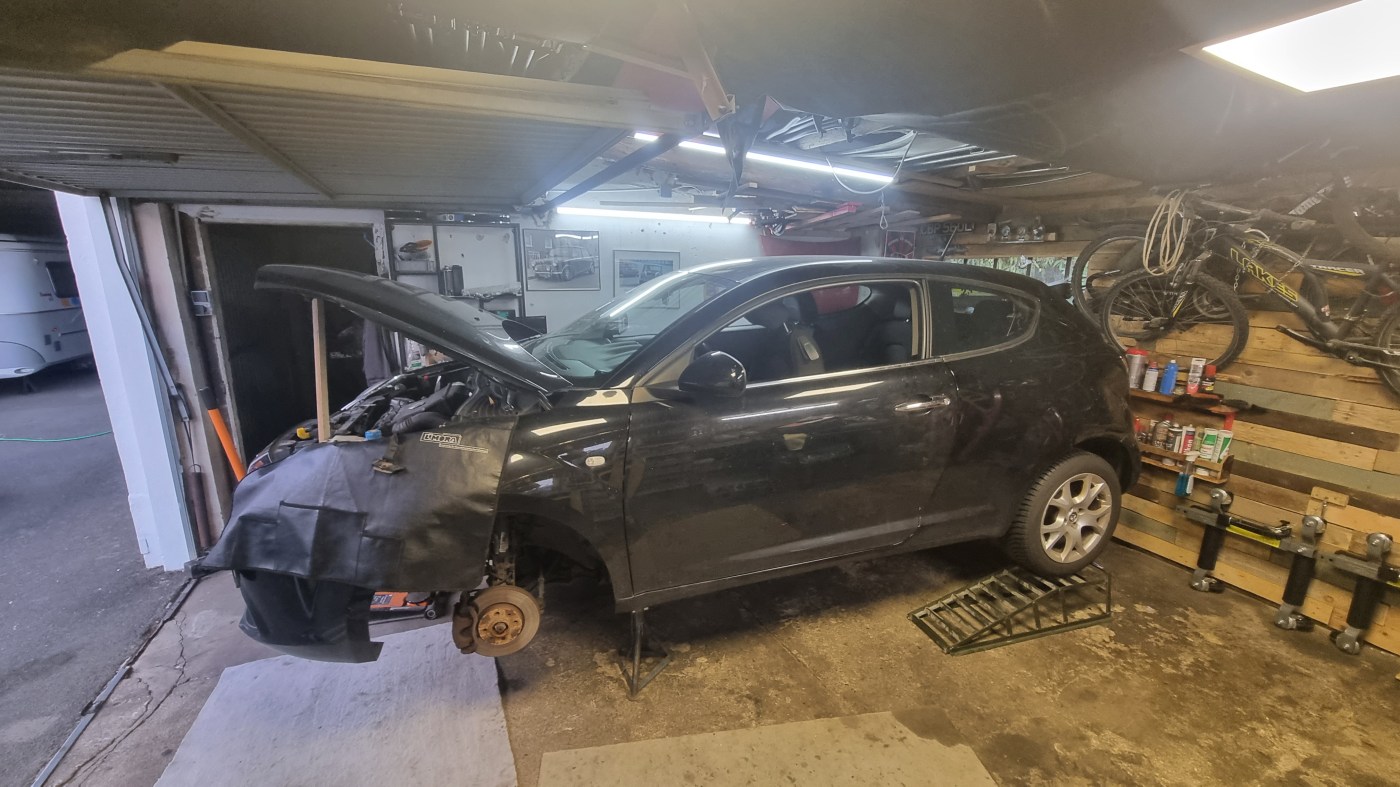
When my second daughter mentioned issues with the clutch on her 2008 Alfa Romeo Mito (aka Alessio), I was not really that keen to take on the job. Mainly because I remembered that it was a lot of work on Liselotte. After checking the potential costs for the job at a garage it was clear that it would be somewhere between 750 and 1000€. A three-part clutch kit at Autodoc is not expensive. The mentioned tutor Kevin-Albert Williams also has a video on the Mito clutch. The steps are documented well – it looked easy – what could go wrong?
Spoiler alert: In hindsight the decision not to have the clutch changed in a professional garage was stupid!!! If you read this and happen to live in the UK between Sheffield and the north of London – do yourself a favor – head over to https://www.williamsmobileclutch.co.uk/ and have a professional do his job.
The first few steps are easy. Jack up the car, put it on axle stands, take of the wheels, and start separating the lower control arms. I have done this on classic Minis and MGBs a couple of times – on the Mito it is slightly different but easy as well. Getting the driveshafts out of the diff was not as easy. It looked simple on the video but finding the right angle and tool took me several attempts. As later in the process the engine will be lowered, which requires the exhaust to be loose – I took it off at this stage to have better access to the right-hand drive shaft.
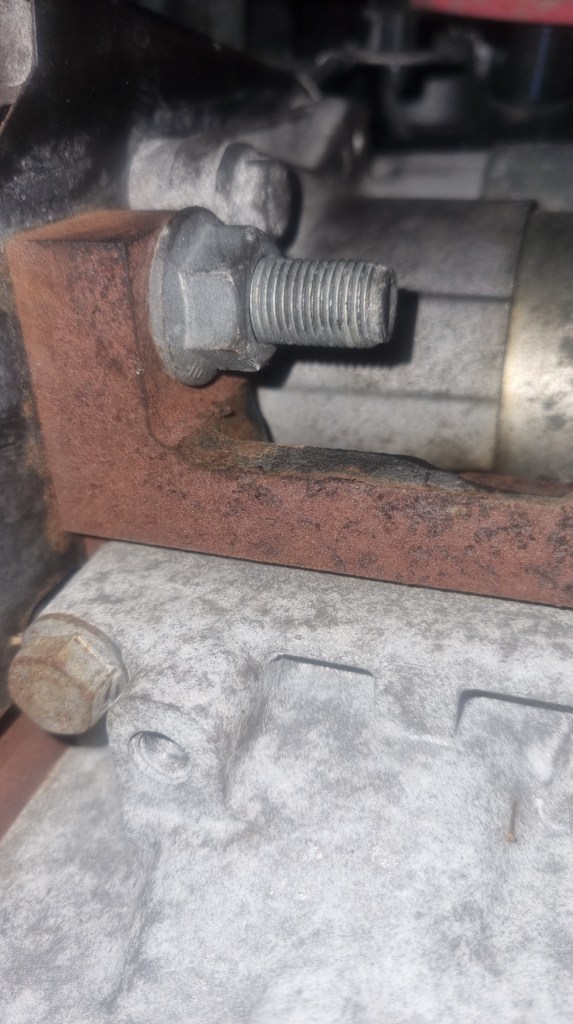
Early in the video Kevin-Albert removes a nut, a bolt from the starter and another bolt that for the dust shield. Again – it looked easy – but finding the right sized spanner and angle to loosen them was tricky. If you must crawl under the car and walk to the bench every time – you can clearly skip a workout session at the gym. The lower two gearbox bolts (15mm nut) were another battle. You can also see in the video that even with the impact gun, they needed some more persuasion. After a bit back and forth with the impact gun they eventually came out. For the gearbox mounts I needed inverted Torx nuts (in Germany also called e-profile) – a tools I never needed on classic cars.
After all bolts, the wires for the shifter, the clutch slave cylinder and cables are removed, my video tutor wiggles the gearbox onto his belly easily in a single continues move. I am frickin’ glad that no camera was around when I did this. It took 10 to 15 min to wiggle the gearbox of the engine and it was physically exhausting. After a short break I took the old clutch out. It was slipping under load and the surface does not look as good as the new one – but it also does not look that horrible. The last clutch I got out of Mildred – my MGB GT – looked worse. But the clutch release bearing in the gearbox is a different story. This looked quite worn. But in theory this should have made shifting more difficult – not cause a slipping clutch under load.
Well, I had to stop for tonight. In total the job has cost me 4h so far. As least two more hours (if not more) will be required to get everything back in. The difficult part will be putting the gearbox back on – I hope and believe that the rest is straight forward.


Complex cars indeed….
LikeLike