
Is it the third or fourth time I am rewriting this post? With all the iterations I went through mentally – I cannot even recall….
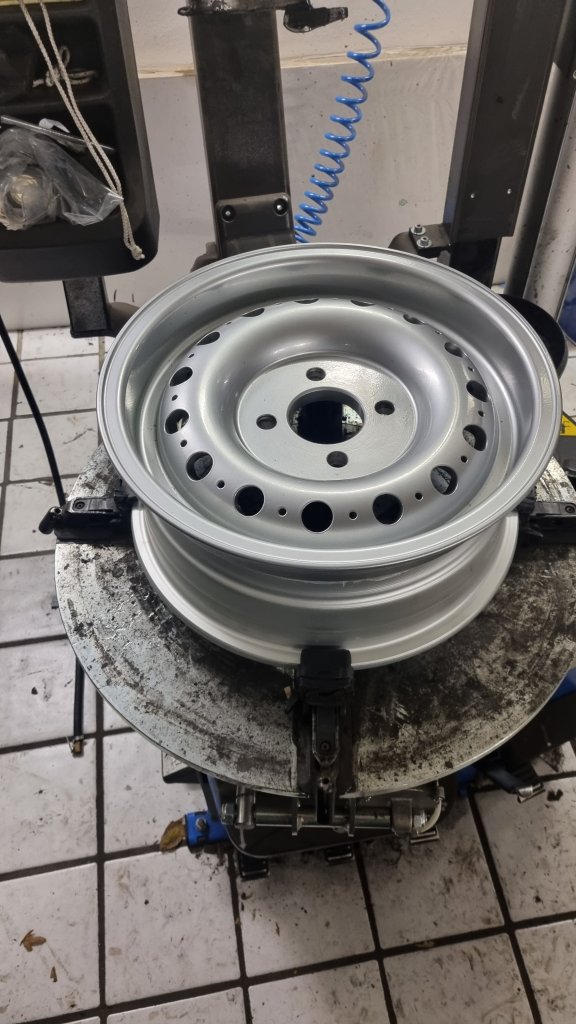
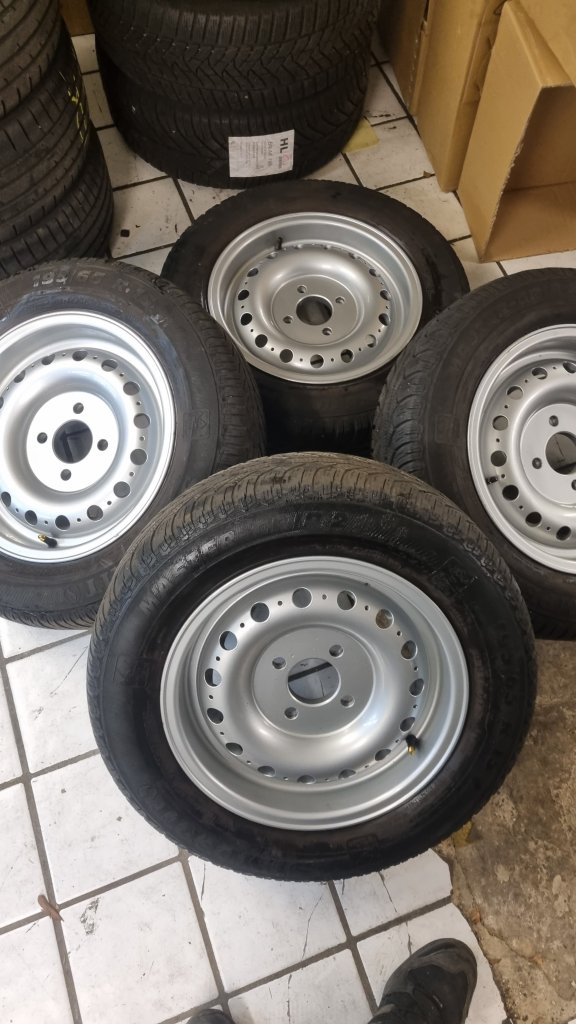
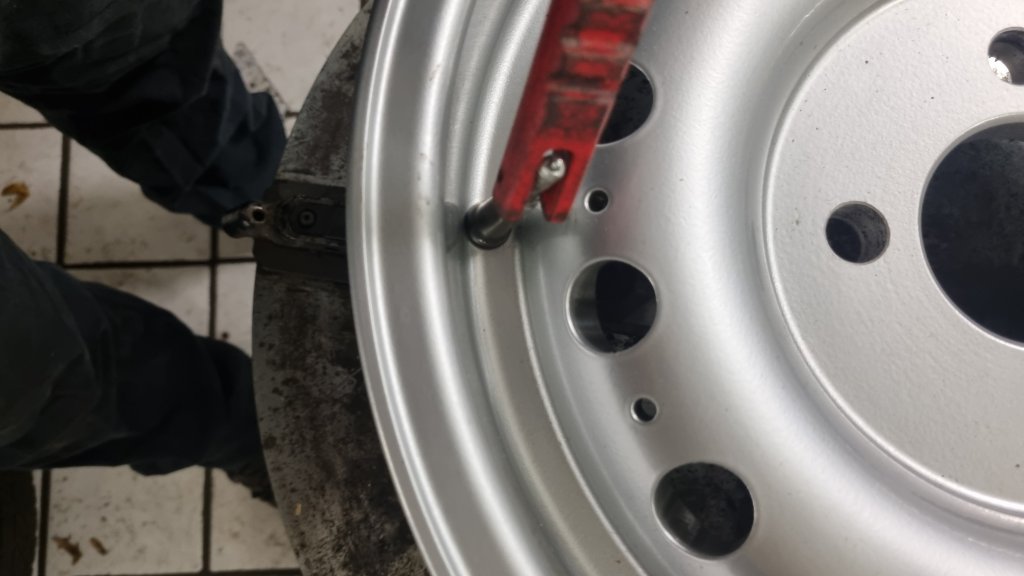
The weekend started with a visit at Stefan’s garage. He had some old 195/65R15 tires I could trial fit on the new Dunlop D-style wheels I bought for the MGB. While at it, he showed me how to use the pneumatic tyre changer machine. After the second wheel I was able to (somehow) handle the machine myself – but as will many things – practise is essential here. Currently I have Dunlop Classic Sport 185/70R15 on the MWS wire-wheels. These fit without any problems. Major drawback of these tires is that they became quite expensive. Stay tuned on how this is going to continue….
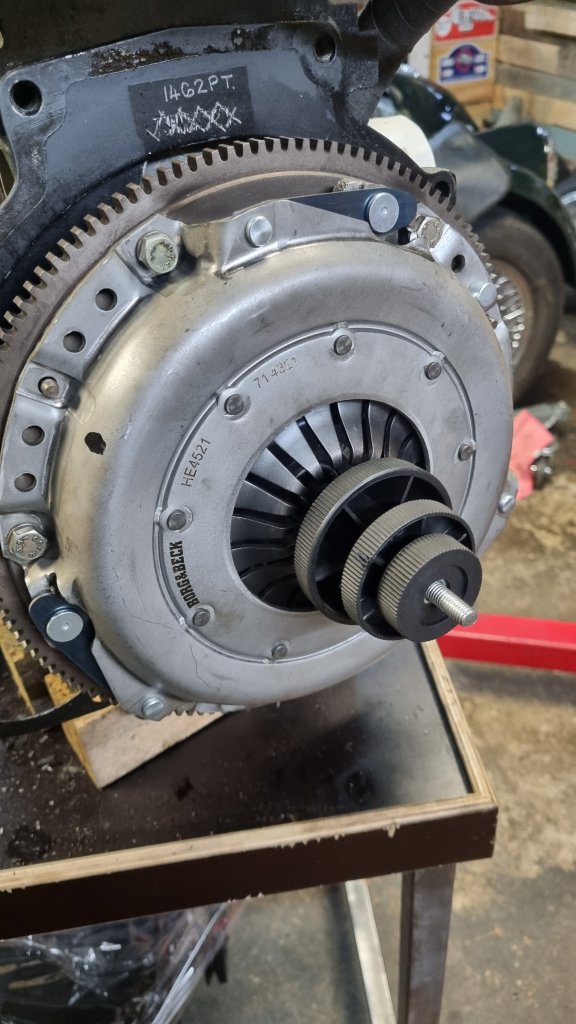
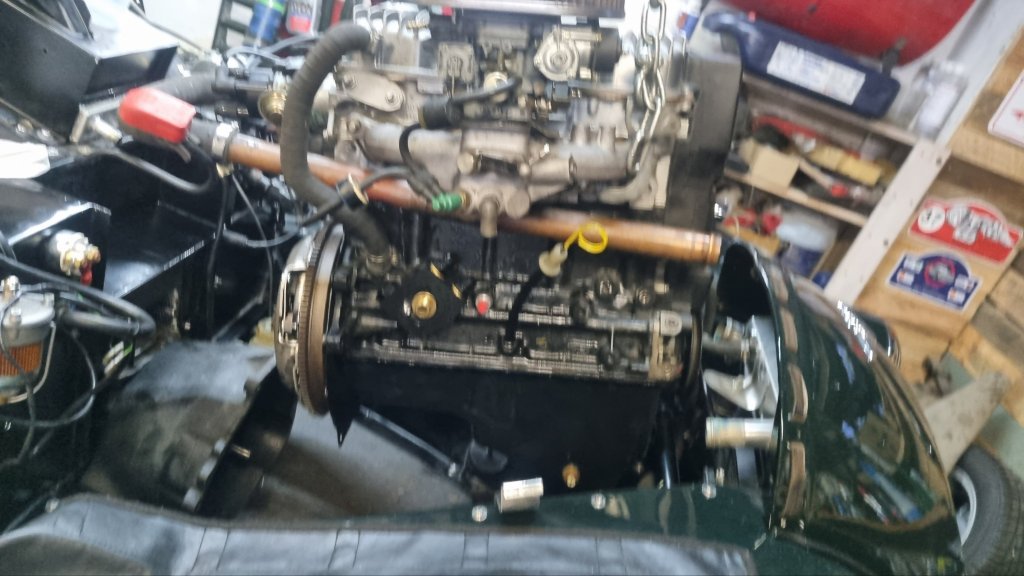
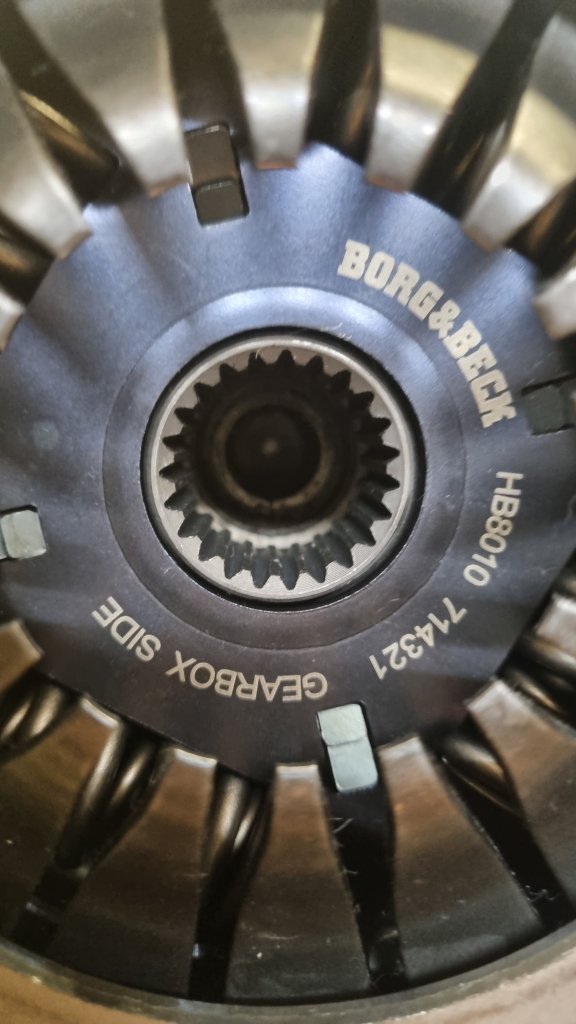
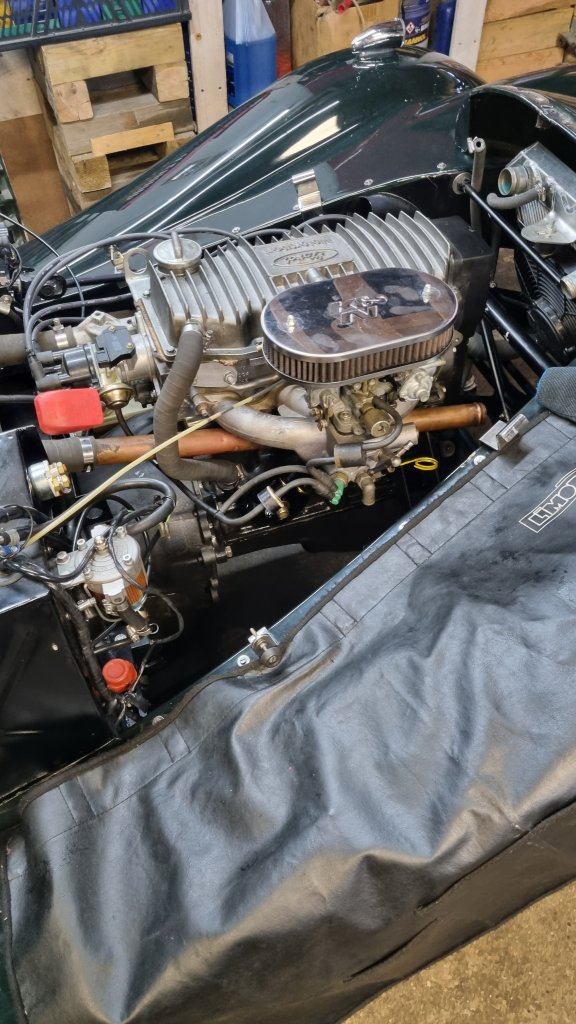
Stefan also looked at the clutch plate and release bearing. While I could not spot the visible difference, after a bit of a scratch test – he pointed out that the surface of the clutch disk became too hot and therefore is too hard. As I am switching from a LUK to a Borg&Beck clutch – the pressure plate, the clutch disk and the release bearing had to be changed. Installing this was quite easy and after the experience I made on my daughter’s Alfa Romeo Mito – I paid more attention in correct alignment. After cleaning up the engine bay from and engine block, I was tempted to give the engine block a new layer of paint because it came off on a few spots. Bu in the end I left it as it is.
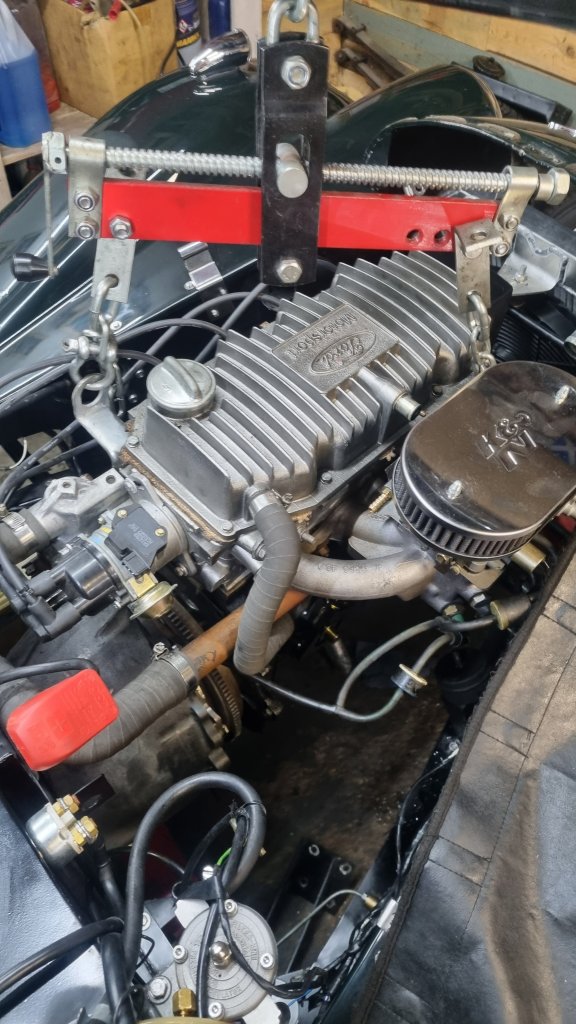
I considered removing the cowl completely – but tilting the engine to the back, the motor fits into the Morgan’s engine-bay without too much hassle. As you can see from the pictures, I took a shortcut and left the inlet manifold installed – I would not do this again.! While lowering the engine, the manifold slight touched the top of the inner wing – resulting in an avoidable paint scratch. It’s covered by the bonnet, but still is annoying as heck.
Aligning the gearbox and engine was somewhat of a battle. In the end I found a method that worked for me: I used three parts of threaded rod that I have used an alignment guided. This trick worked like a charm and after an ever so slightly twist on the balancer on the front of the engine – the Ford T9 gearbox and Ford CVH engine joined-up without an issue. Truth to be told – it took two hours to get there and come up with the idea of using the threaded rod…..
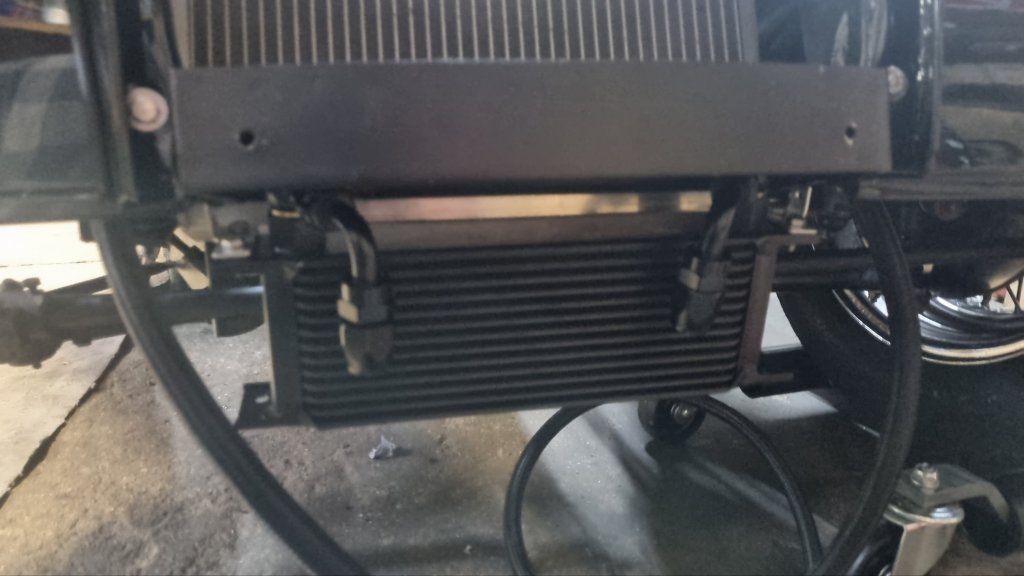
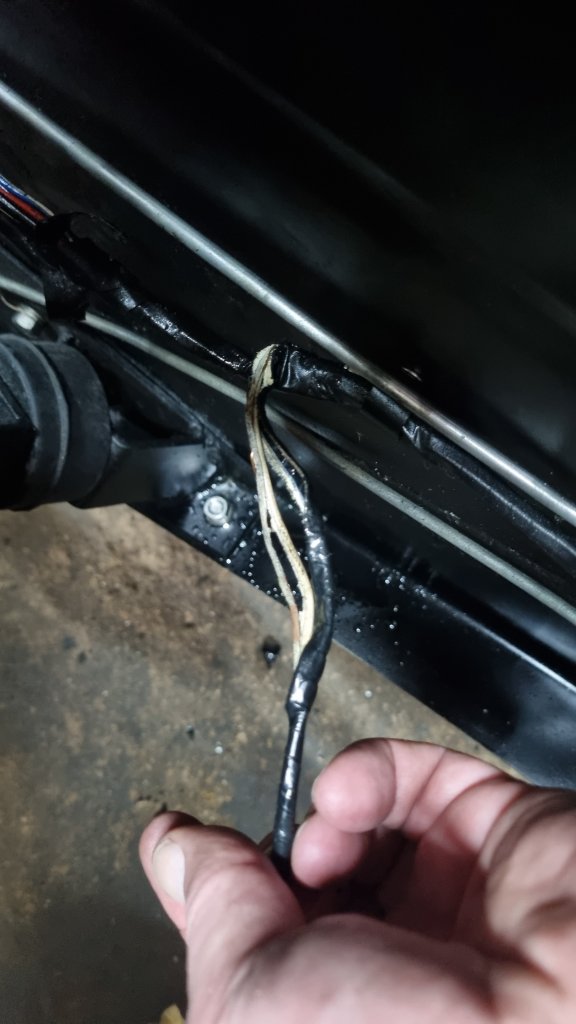
With the engine still on the hoist, I bolted down the engine mounts and gearbox screws. Once this was done – the engine install was done. I reassembled all auxiliaries and parts – expect for the exhaust manifold as this might go to coating. But while doing all of this- I noticed something. And this is also the reason I started the post a few times.
Maybe I have failed to explain why I am taking apart the Morgan. A few weeks back, on the last planned tour for 2023 – we had serious issues with the Morgan. While driving with my daughter – thick white smoke came out of the footwell for a short time. The car lost post power and I believed that the clutch had gone for good. The test drive around the block felt equally bad. But while the engine was out to exchange the clutch – I notice a far bigger problem.
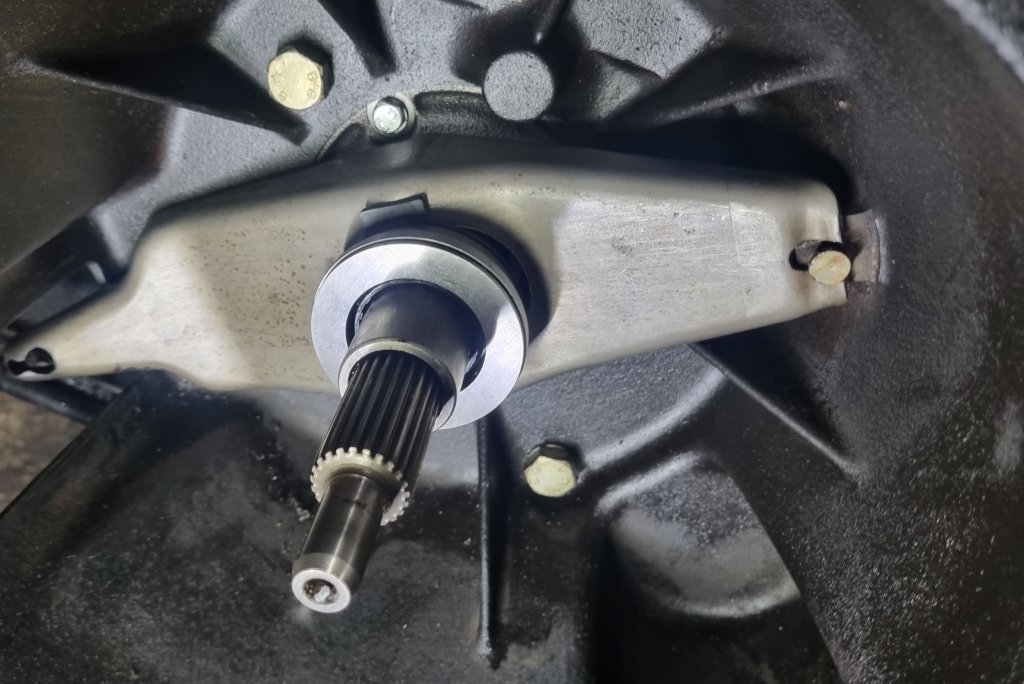
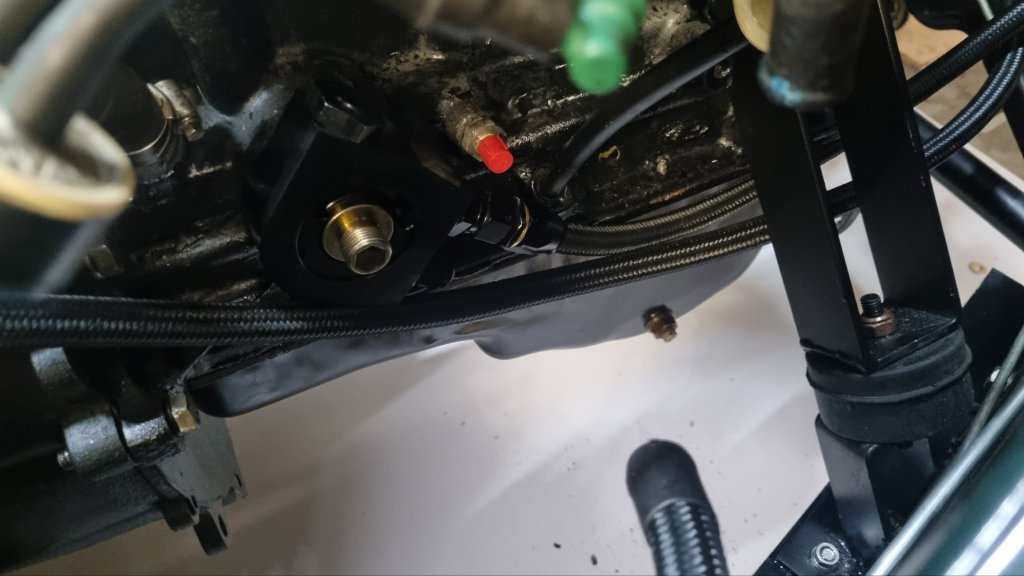
Why did I rewrite the post a couple of times? It is hard to admit that I made a major mistake. First in diagnosing the clutch problem. It sure is a problem – but not the core reasons why the car broke stopped driving this year so many times. An entirely different problem might have caused this!!! I will get into more detail in a bit. For now, the last picture below will give you a clue. One thing is for sure: I had a lot of luck…. Leave me a comment if you know what the cause could be I assume…..


Honestly no idea but these er mature vehicles sure test our powers of deduction eh???
LikeLike