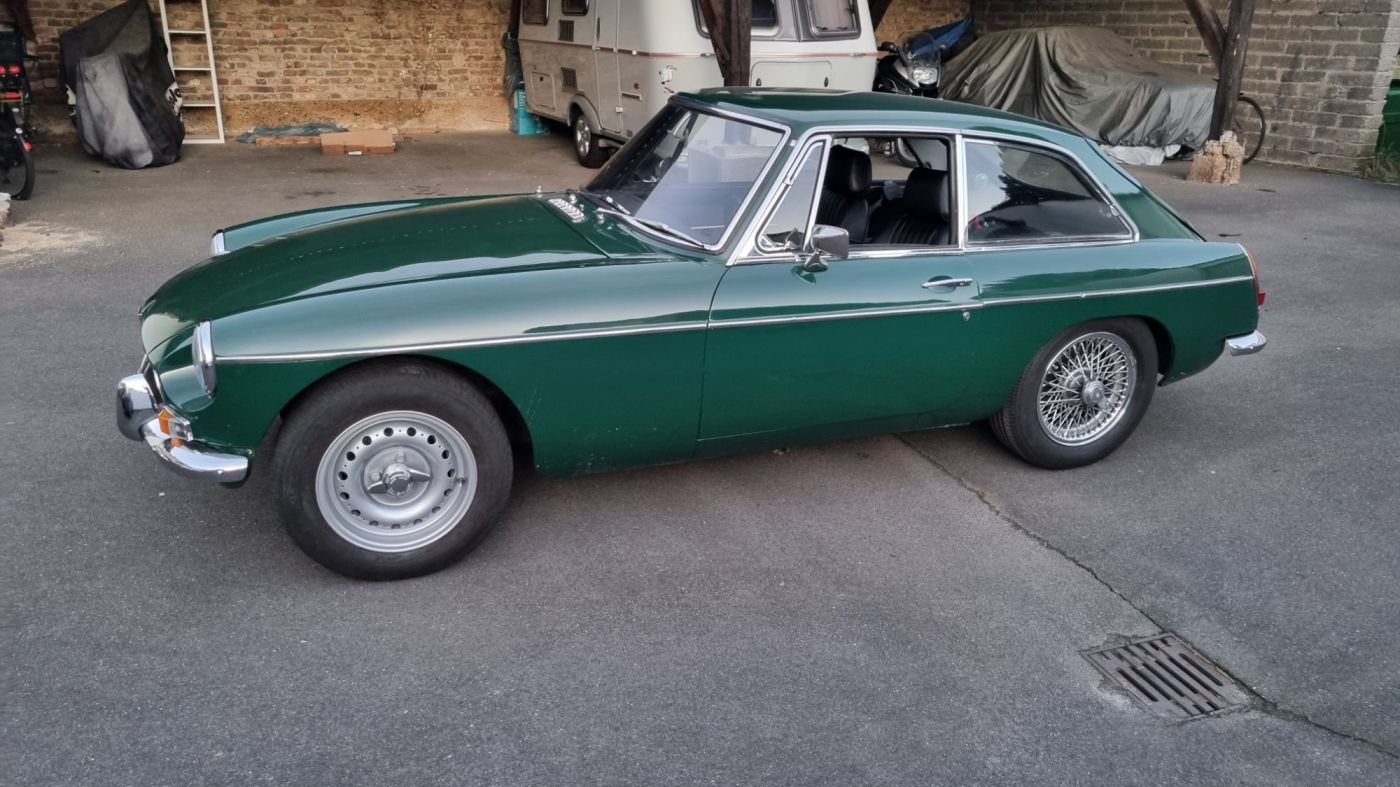
As planned, I want to use the first few days in January to replace the Maggie’s Salisbury tube rear axle. Back in October I picked up an overhauled one that now also has a Blackline LSD. As this axle is for bolt-on wheels, I also need to change the front hubs. As I prepared the bolt-on hubs a few weeks back – I expected the change to be done quickly. But as soon as I had the brake caliper off, I realized that a few more things need to be done.
After cleaning up the axle stubs and suspension parts, I applied new grease. The axle stubs swivels without effort and have no play. But some gravel roads have chipped off paint from the lower control arms, spring pan and axle-stubs, resulting in some spots with surface rust. After some consideration I decided to leave it like this for now. But what I could not ignore were the squinched and somewhat brittle Polypads on the crossmember. As a Brown and Gammons castor correction kit for Mildred that includes new SuperPro pads was on the shelf, I went ahead and replaced those as well.
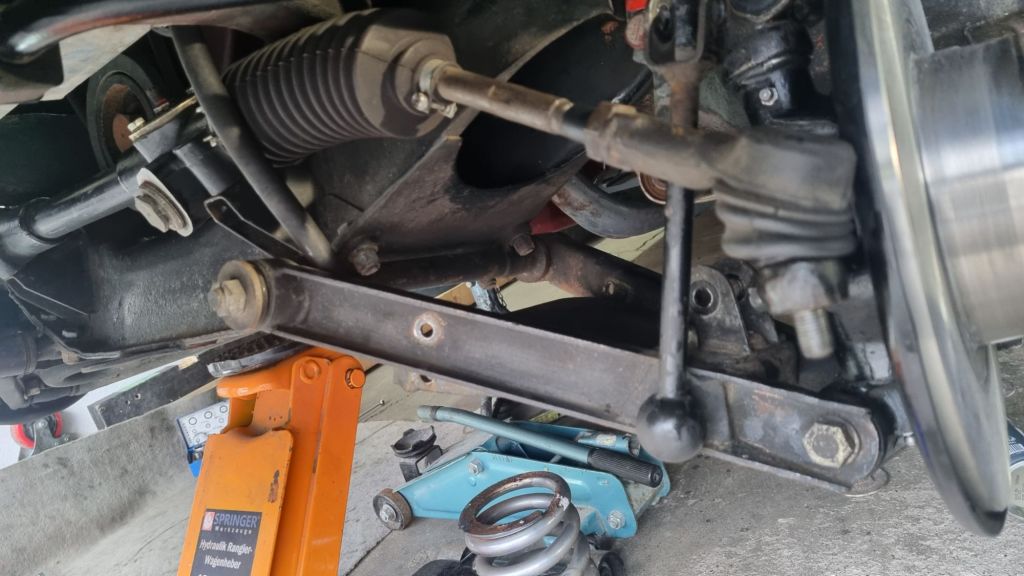
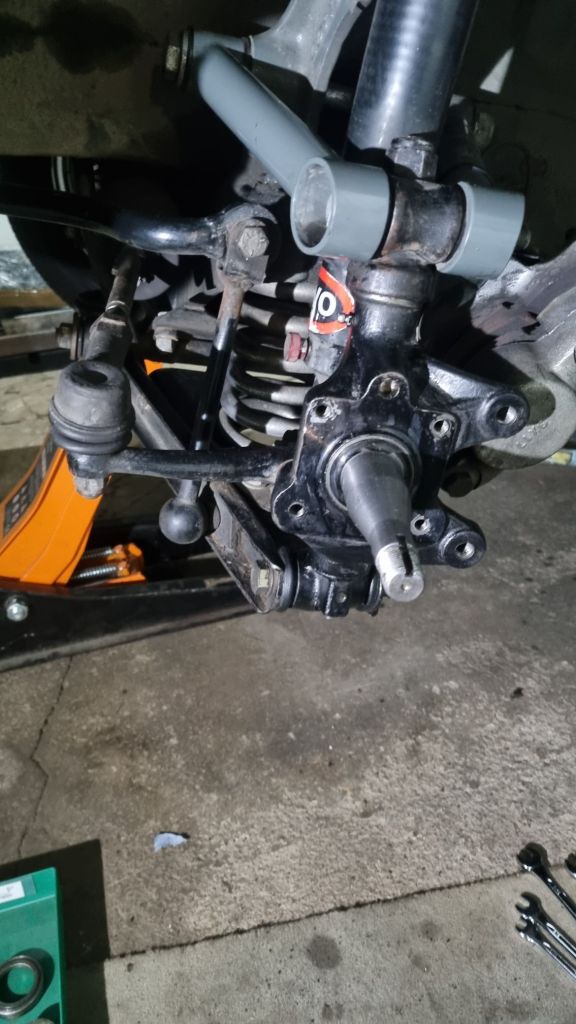
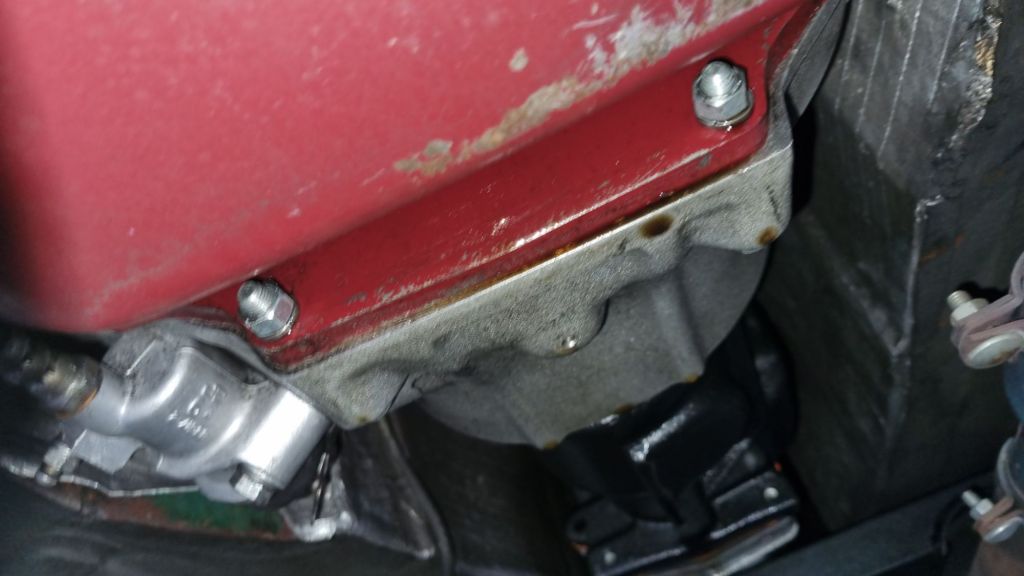
And after printing out the installation instructions – I stumbled upon an interesting and to me shocking find. In order to correct and reduce the castor, the front on the crossmember needs to be dropped. Maggie’s entire front suspension was rebuilt and upgraded back at Frontline in 2018. That included the Frontline Castor Correction Kit. I never expected that it could have been fitted incorrectly – so I never checked of bothered to think about it. But if you look closely at the picture below, you will notice that the thick end of the wedge is pointing to the back.
Puzzled about this I quickly printed out the Frontline fitting instructions, that confirm that the wedges were not installed correctly. Even more shocking is the fact, that with wrong installation the castor angle increased to approximately 10degrees and that I absolutely loved the handling of my car. Either way – it had to be addressed. The Brown and Gammons and Frontline fitting instructions have some differences. For my garage installation it was easier to remove the upper nuts of the Crossmember bolts in the engine bay. I loosend all of them but put them back on with a few turns.
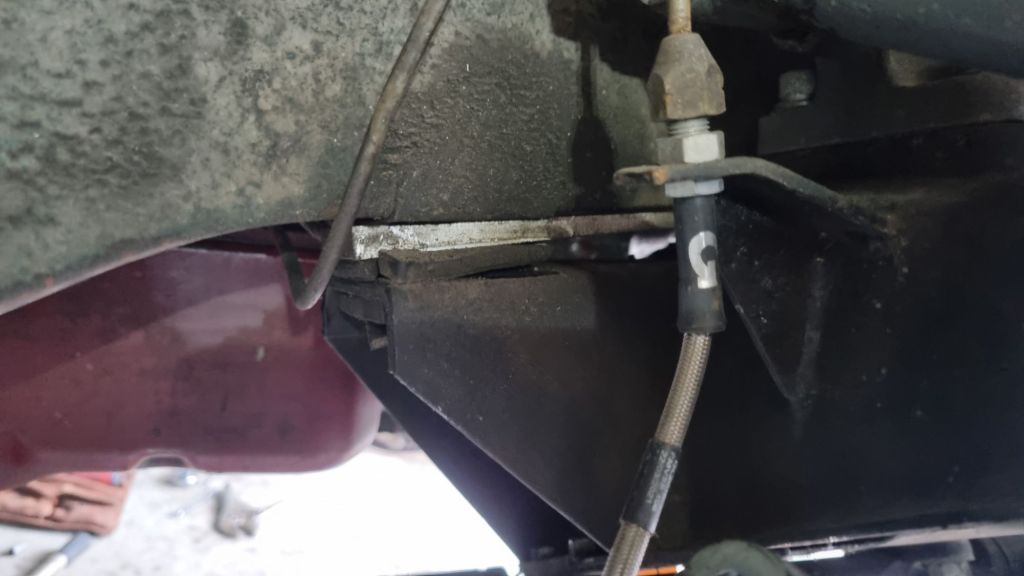
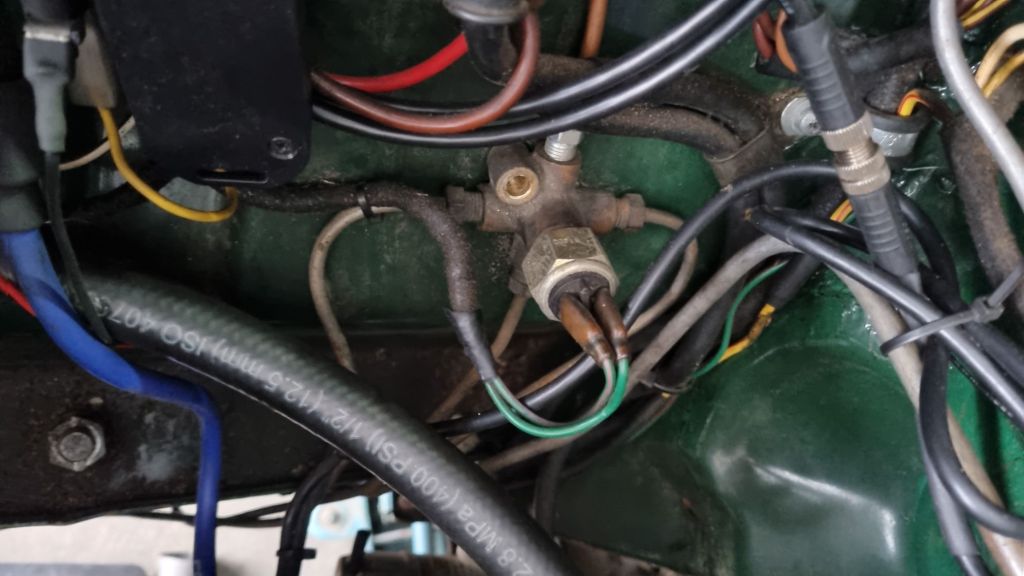
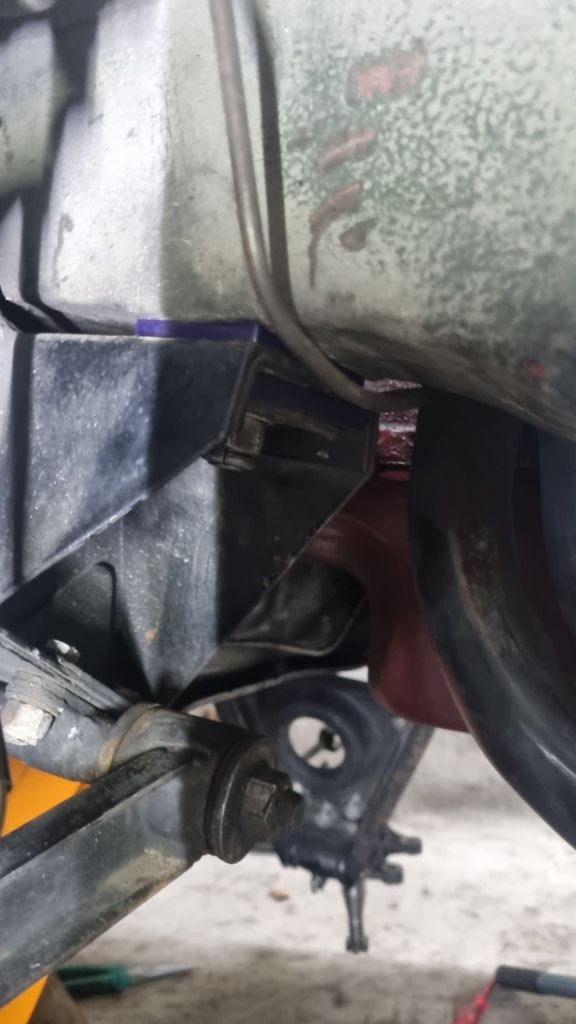
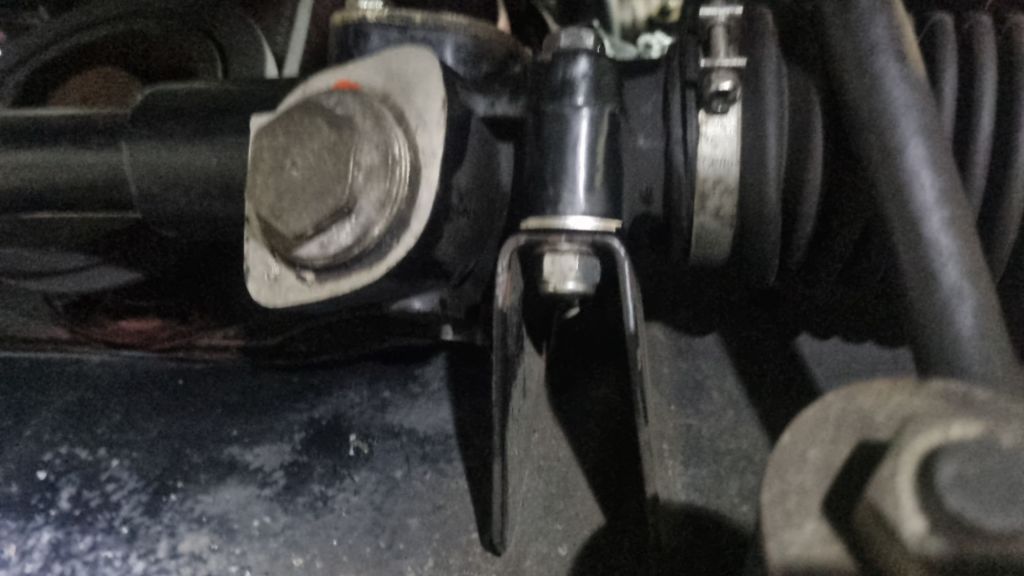
To get access to the crossmember bolts in the front the springs have to be removed. This is quite easy on the MGB even without a spring compressor. Just put a jack under the spring pan. Remove the brake calipers, tie-rods ends, anti-rollbar and bolt for the shock absorbers (in my case the Costello arms and AVO dampers) and slowly release the pressure from the jack. Next, I removed the four bolts that hold the steering rack to the crossmember. On the chrome bumper MGB crossmember the brake pipes are secured by clips on the back of the crossmember – bend those back to allow a bit of movement for the brake pipe. To ensure even greater flexibitliy in the pipe I also removed the screw from the 4-way connector in the engine bay.
This way I could lower the crossmember a bit (around 1 cm) to get rid of the Frontline wedges and poly pads. I always had the crossmember supported by another jack and only took out one bolt at a time – leaving it supported with the remaining bolts. This worked perfect on one side, were the crossmember bolts had been seated with enough cooper ease. On the other side – one bolt was rusted. I pulled this by adding some oversize washers that acted as spacers and an impact driver from below.
Once this was done – the rest was just putting everything back in reverse order. The only change here is that the angle of the steering rack is different now. Mainly due to the fact that the Frontline kit was installed incorrectly. For this I removed the lower bolt of the steering U-joint. As I have a Weber carb installed – there are plenty for room to access this – might be a bit more difficult on a car with standard HS4 carbs. The Brown and Gammons kit includes shims for the steering rack – I had to add all of them underneath the front bolts.
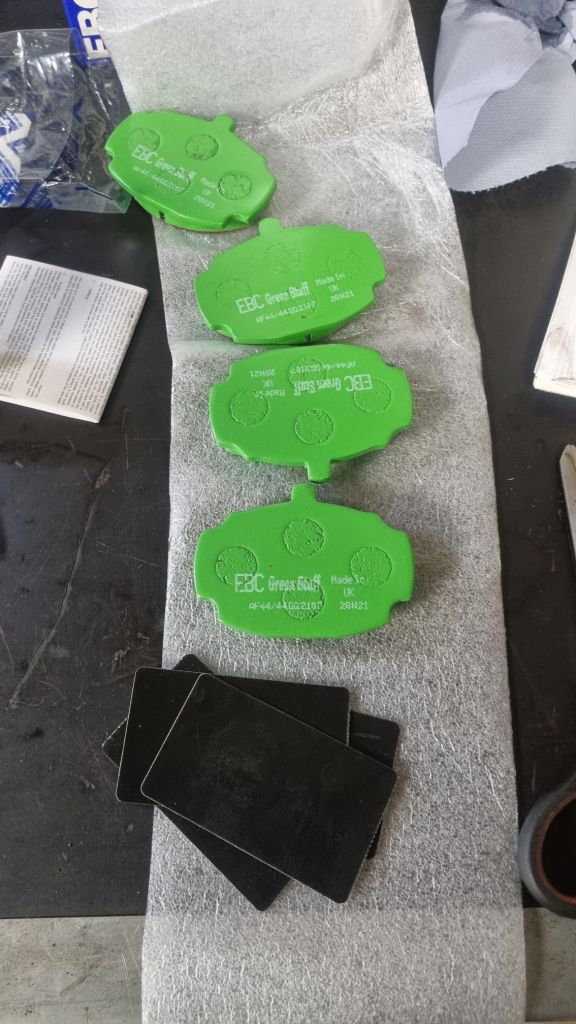
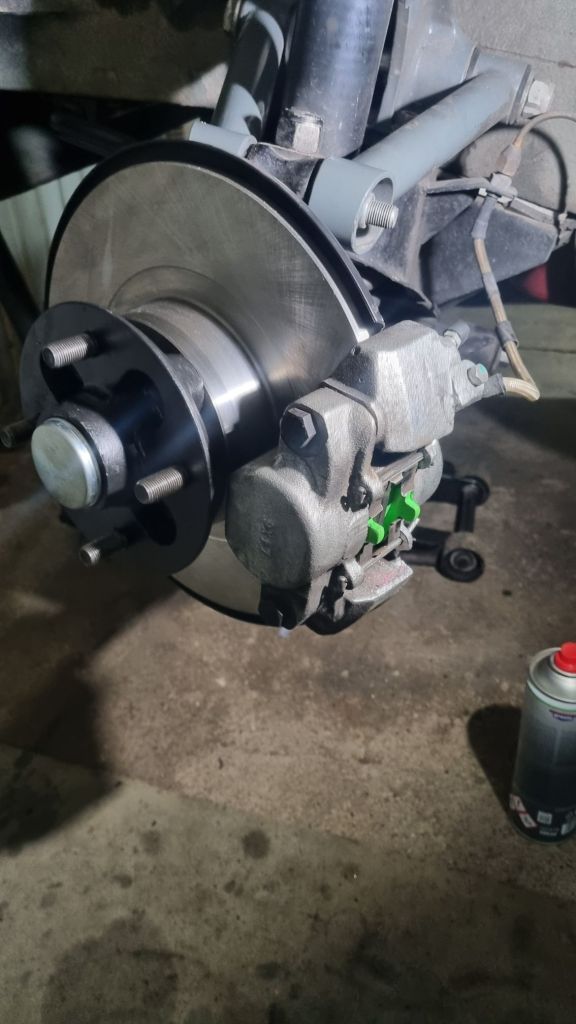
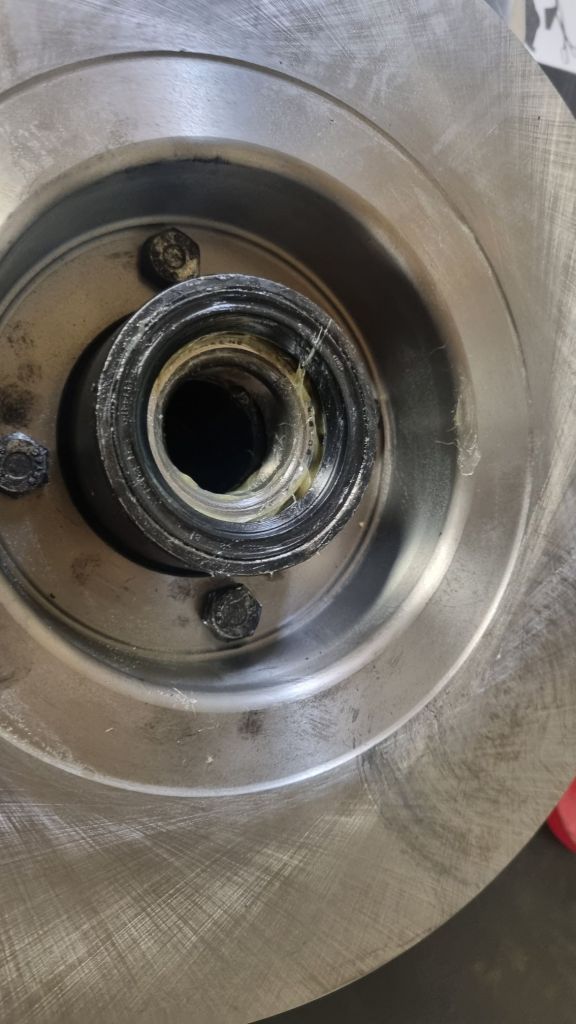
With the crossmember sorted – I could focus on the rest. The old brake discs showed significant wear after about 5 years of use. As I intend to swap the bolt-on wheel and running rear onto Mildred when she is done, it made sense to assemble the new brake discs I got for her. The cheap brake pads I put on back in spring 2021 had only a slight and even wear – but it is good practise to replace the pads when the discs are changed. Instead of going back to the Mintex M1144 it is time to test EBC Green Stuff that was recommended to me a couple times.
All in all, the task took much longer than I expected. In total I spent three evenings. One factor was the tight space in my garage. On both sides of the car, I have around 70 cm room to work. But it was still manageable. Just before completing my work – I noticed that a bit of oil has accumulated at the back of the engine. The last two years Maggie’s bottom was dry. I will need to investigate where this is coming from. But it also helped to decided that I will prioritze Mildred’s engine rebuild now. This way I can test everything in Maggie.
The test drive today was another surprise. The combination of a -correctly- installed castor correction kit, needle bearings in the stub axles and EZ PowerSteering make the steering too light and easy for my taste. Even with PowerSteering switched off – the MG reacts on the tiniest touch at the steering wheel. I need to check the wheel alignment – it could also be that Maggie does not have the correct tow-in alignment in the front right now. But this is a a task of part 2 when I will be starting with the rear axle.
Update Jan 12th2024: I just found this awesome Youtube video for a Midget StubAxle Rebuild. There is plenty of great advice and tricks. Next time I will do a stub-axle rebuild I will measure the EndFloat for the bearings when clamped to a vise – much better than doing it on the car.
Uü


Beautiful old MG!!!! My Dad had a BRG MGB GT and woiwowow he really loved that car!!!
LikeLike