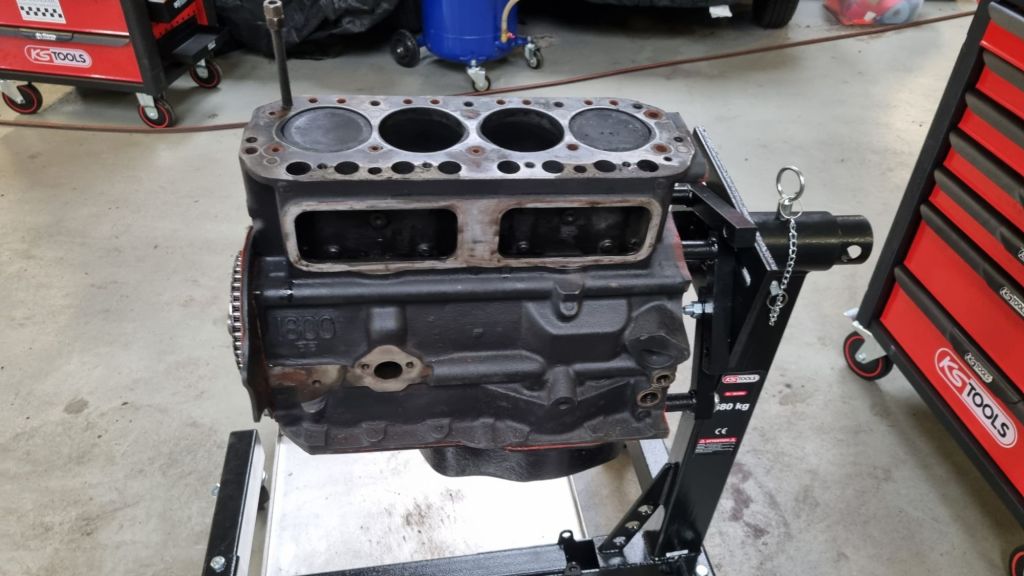
The decision to do a bit more than an buff-up on Mildred’s engine was made a bit more than a year ago. After cleaning, painting and appling all new seals to the engine I started working on an engine test stand. But I did not fit a radiator at this point – so the only thing using the starter to over the engine to check if I get oil pressure as well as doing a compression test. The pressure on cyl 2 was very low – a factor that let me take off the cylinder head. This was rebuild by Peter Burgess last year. What I didn’t take into consideration that the engine sat for a long time. It could very well be, that after getting the engine to temperature – the result might have looked different. Anyhow – I opted to a complete rebuild.
Yesterday the “assisted tear-down” finally started. I choose GB Classic as partner for the overhaul. Sure, there are tons of videos, articles and books out there that explain the steps. But experience is always key. And they make an exception and I can join Andreas – who is working there – to learn from him the entire process. They also have the contacts and experience with an engine builder that will do the required machining.
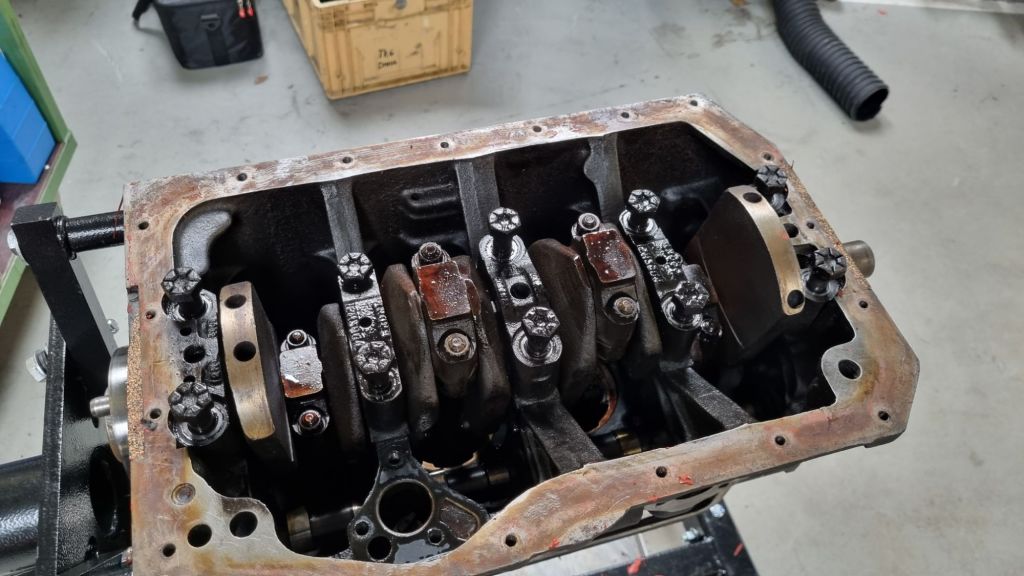
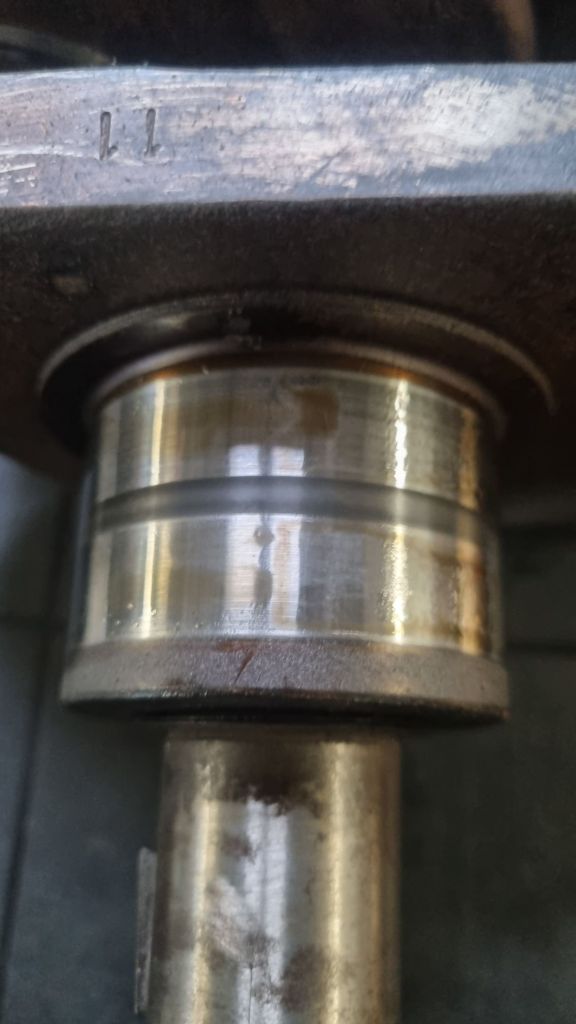
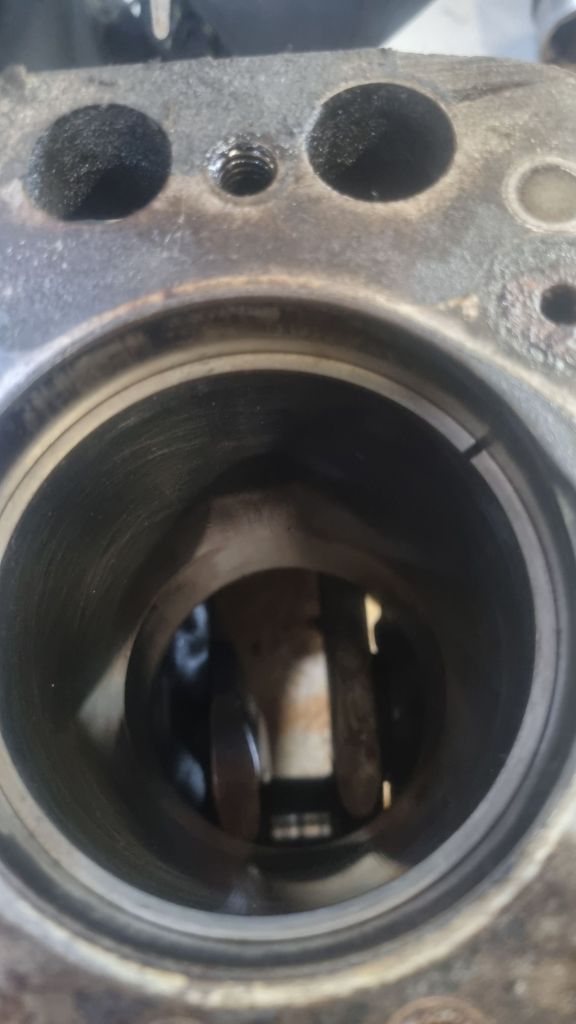
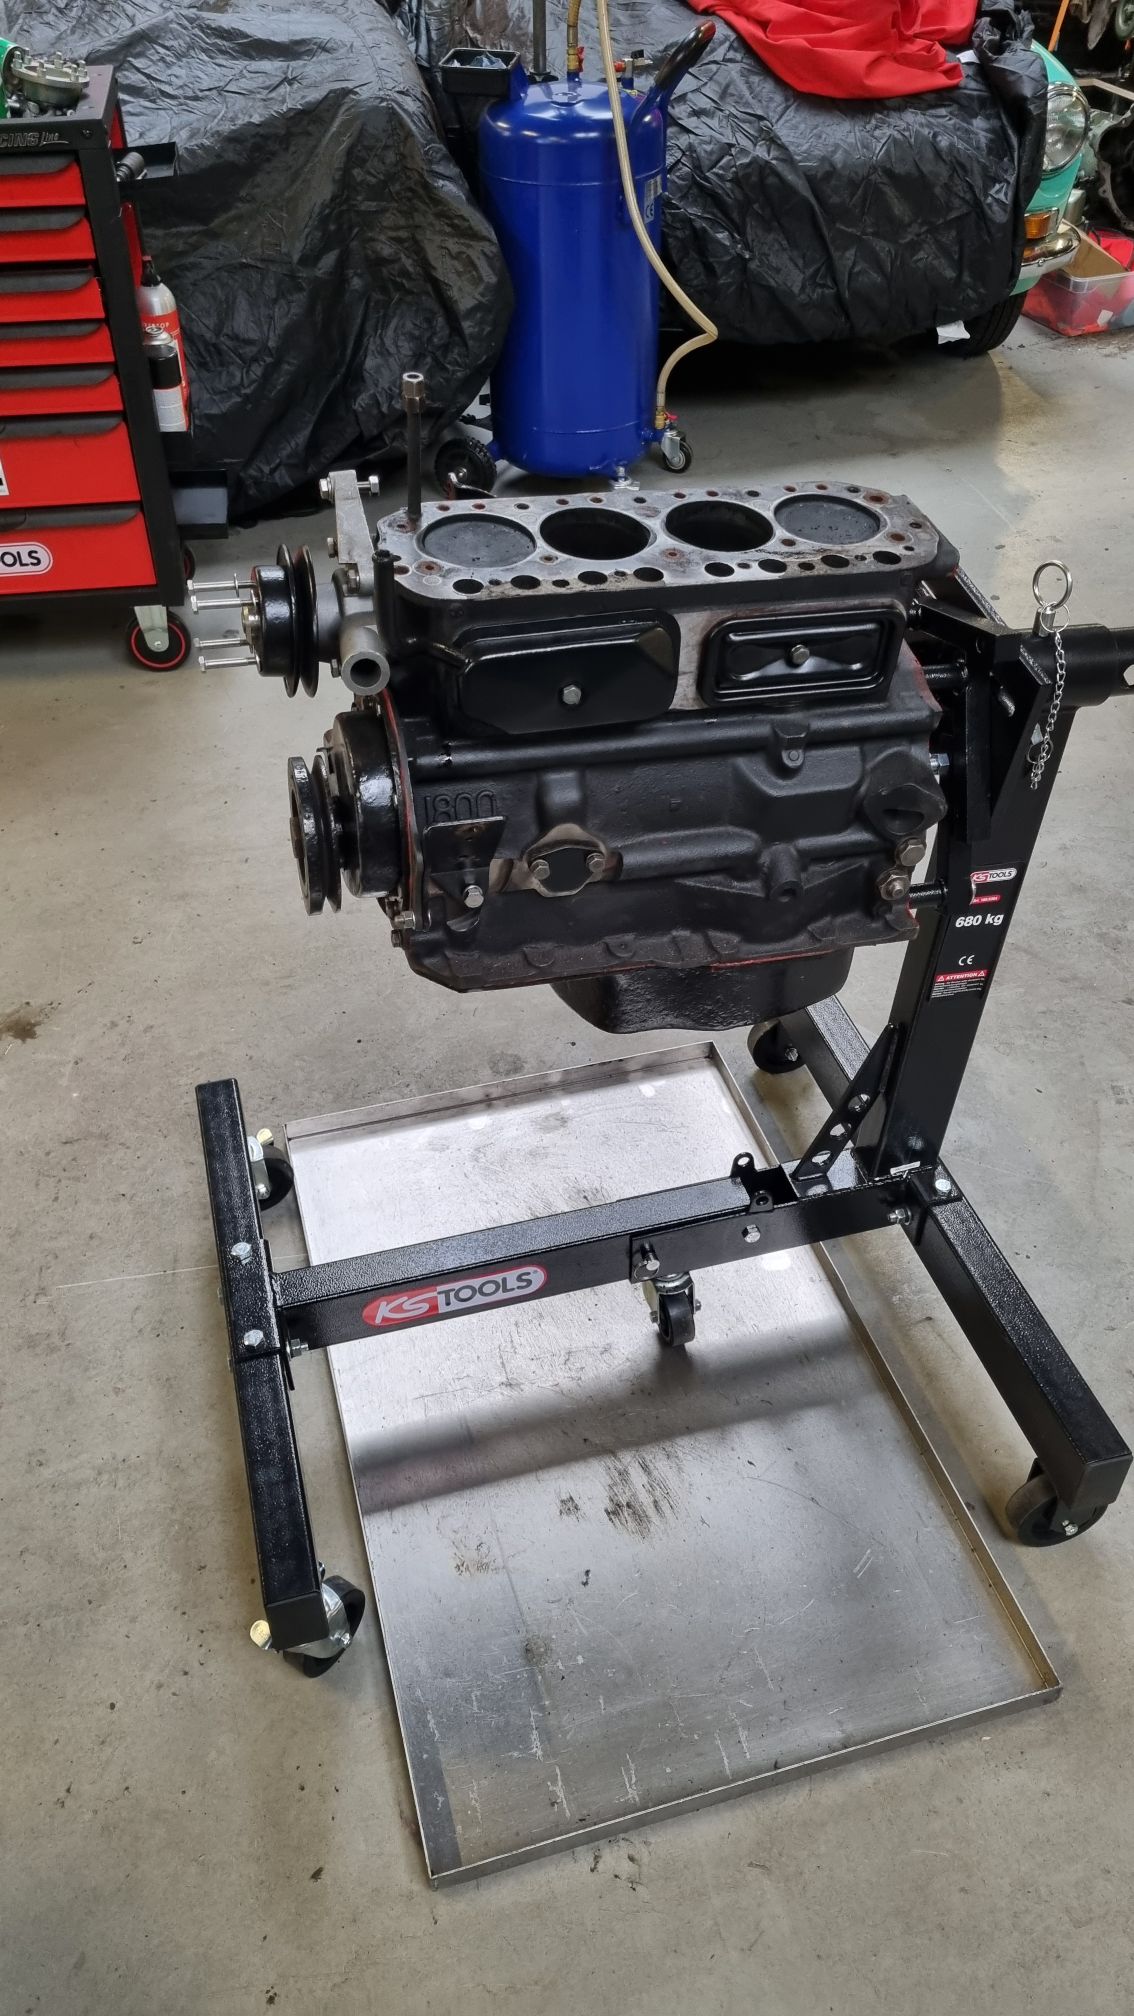
We took of the backplate before mouting it to the engine stand. The cylinder head last summer. It was reworked by Peter Burgess to his Stage 2 spec. Back then one of the head studs gave me a hard time as it was completely seized. We tried heat and more penetrating oil – but it would not move. So the left it for later and removed the engine mounts, side covers, cam followeres, oil pressure valve, distributor drive and everything on the front of the engine. After that we turned over the engine and got the pistons out. All of this took about two hours.
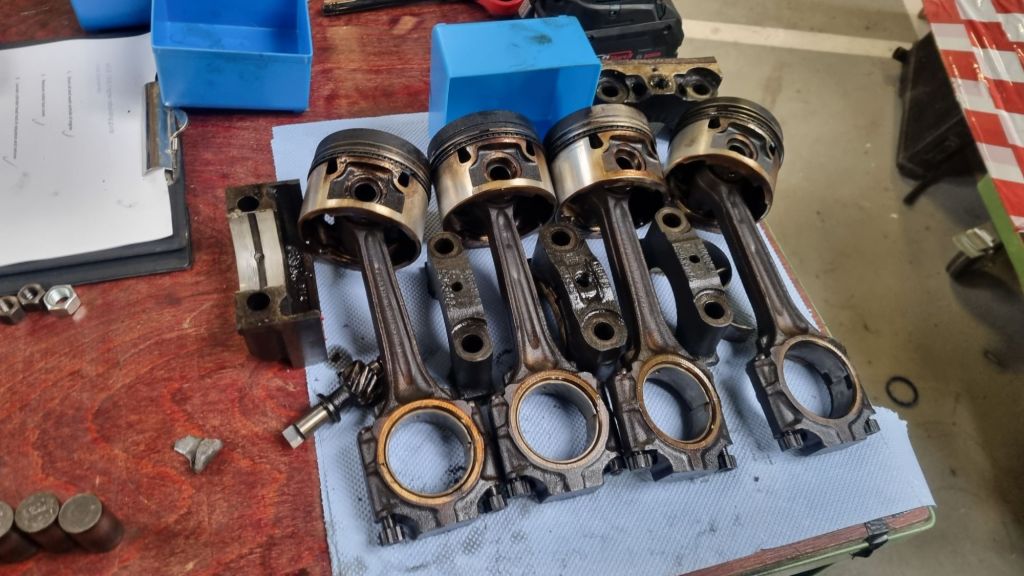
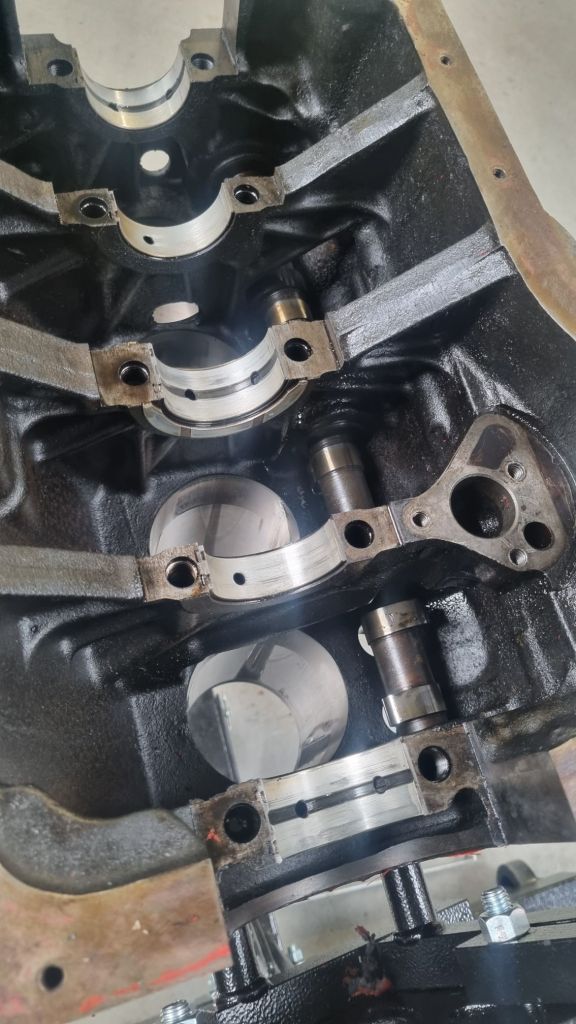
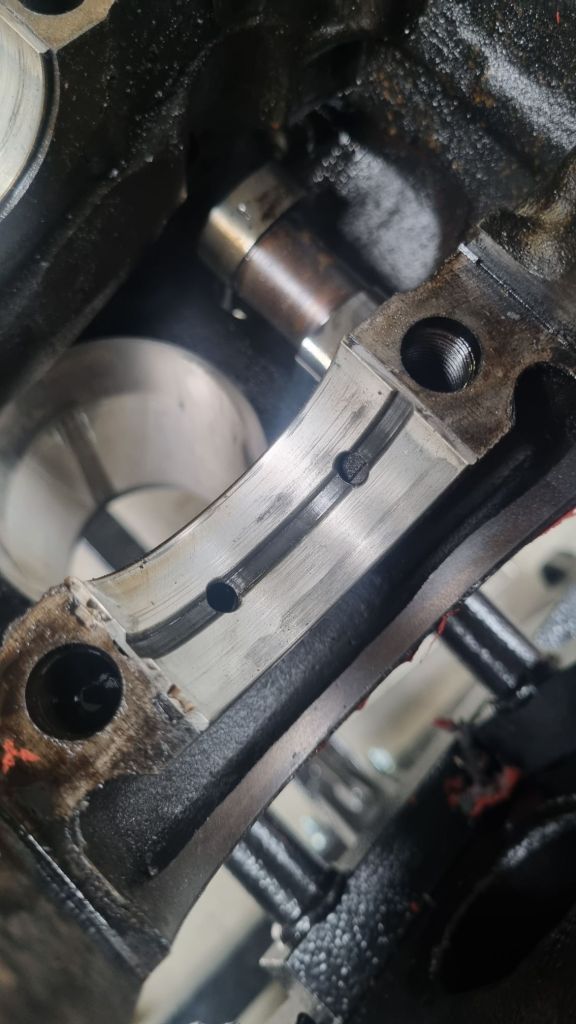
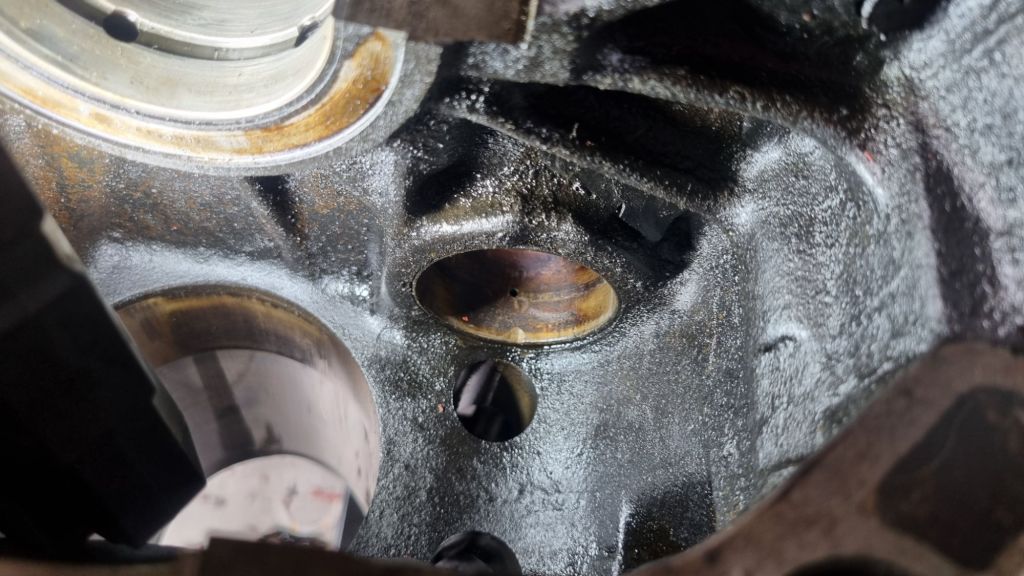
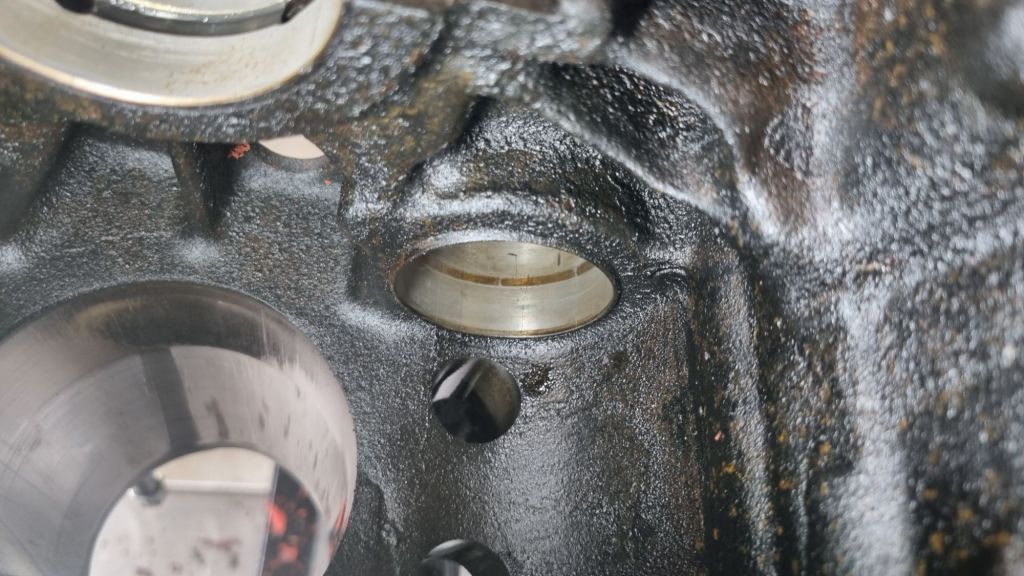
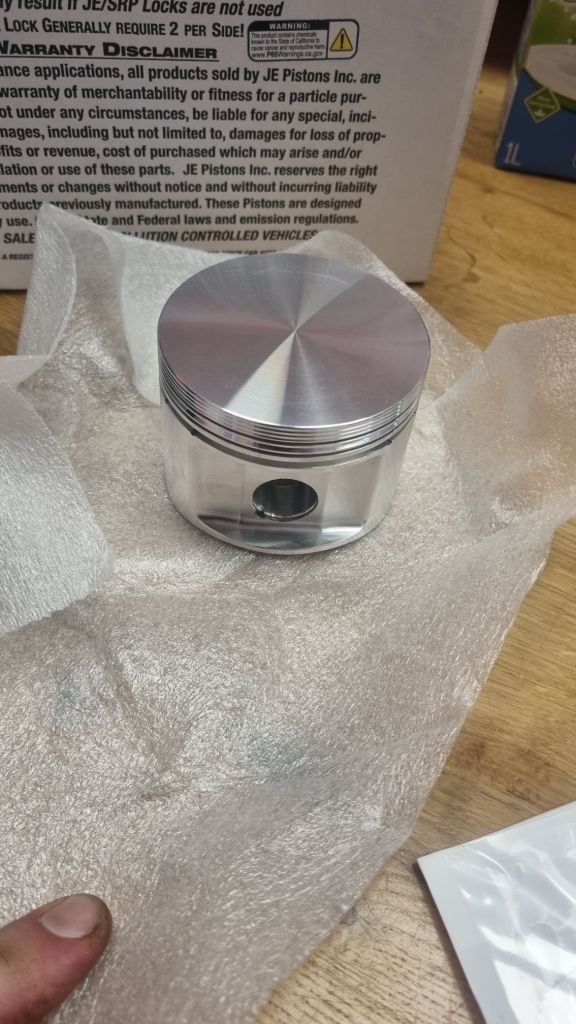
After a lunch break we continued with the main bearing caps for the crankshaft. All of this went quite well and easy. Last thing to come out was the cam shaft. The inspection of the parts showed, that somebody already worked on the engine before. The pistons looked quite good and relatively new. They have a +0.40 oversize. All crankshaft bearings didn’t look horrible – but most of them showed small scratches – most likely caused from dirt that was left in after reboring the engine. As far as we could tell the crankshaft is good and straight – but this will be checked by the engine builder.
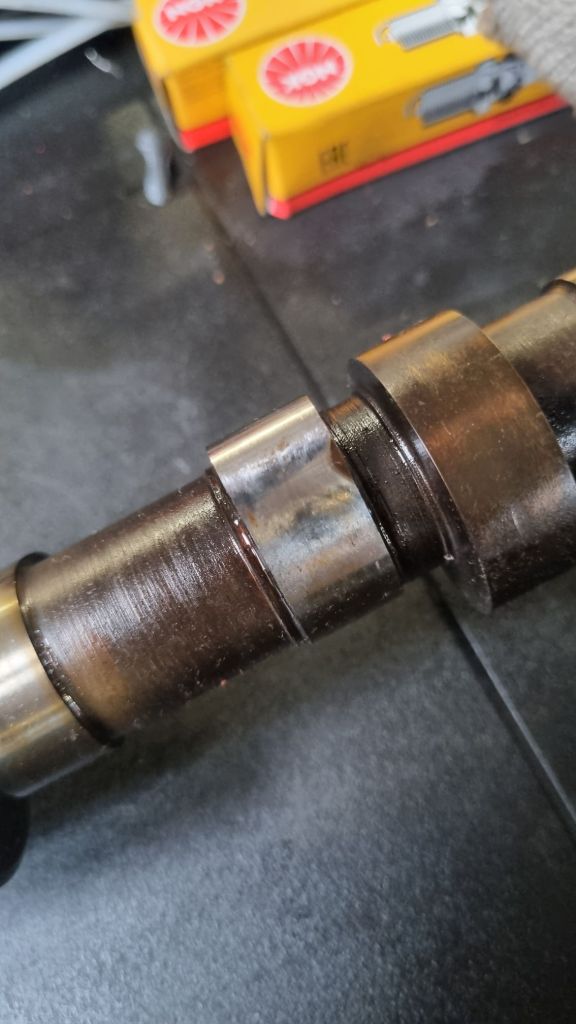
The crankshaft thrustwasher had a standard size and showed no signs of wear. The same cannot be said about the camshaft. All cam followers had small marks on them. And all eight camshaft lobes showed the same small damage on the front side – close to the top of the lobe. The front and rear camshaft bearings were might be reusable – but the one in the middle clearly has an issue. They will be replaced. The entire “camshaft alley” (I am not sure if this is the correct term in english) needs to be checked on straightness.
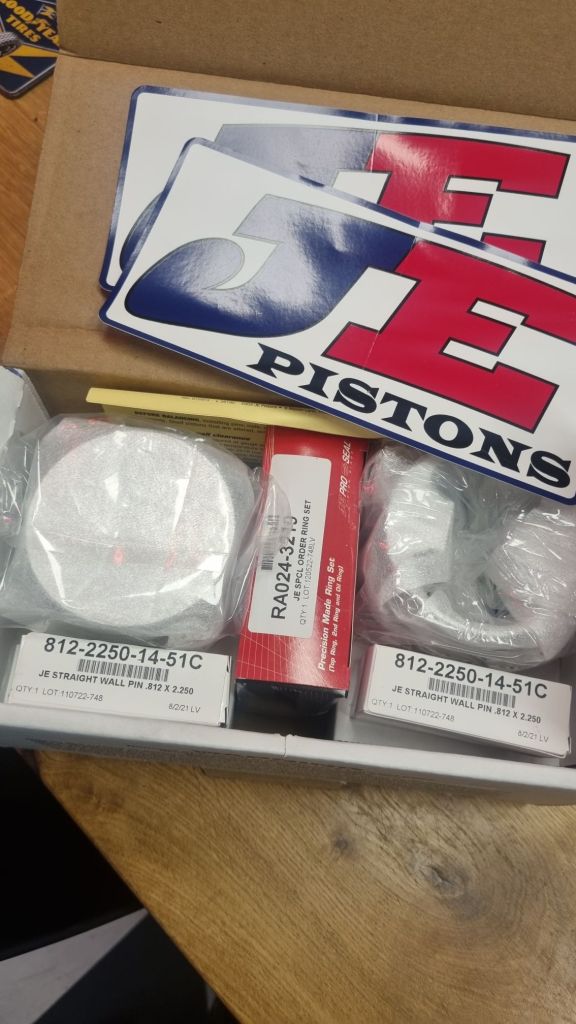
Next up is sending the block along with a few new parts to the engine builder. More on this in part 2.