
When we took Mildred’s engine apart back in February, the plan was that it would go to the machine for 4 to 6 weeks and get the assembly done in June. My intention was to get it completed, attach it to the Mazda 5-speed gearbox I bought last year and change Maggie’s engine out.
This would allow me to tune and test the new motor this year and when Mildred’s bodyshell is finally done and painted, I would know that the entire drive train is good to go. This would have also allowed me to check why I often have a few drips of oil and the end of Maggie’s Ford T9 gearbox from time to time. This is not critical right now but necessary at some point.
But things often don’t work out as planned. The machine shop that GB Classic’s is working with seems to be super busy. So far, all I have been told that the work on my engine block still has not started yet. The only positive thing about this is that I can complete my engine test-stand first. I started with this a long time ago, but other tasks were more important – so it moved to the back log. And with Milreds’ engine not going to be here anytime soon – it is time to test out the 18V582 engine I bought last year.
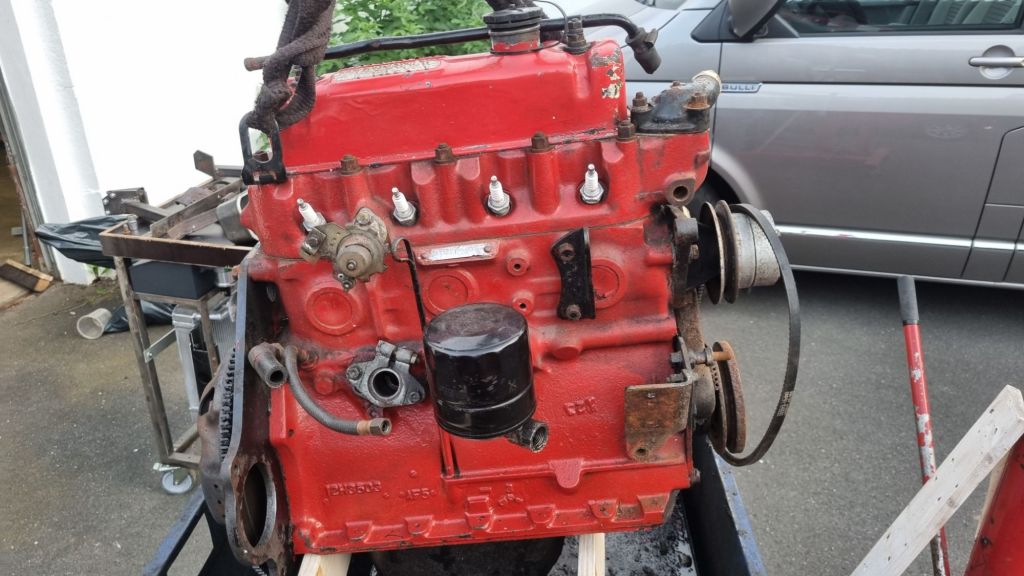
This engine came out of a last 1973 that is not continuing its life as one of the very last built Frontline LE50. Allegedly it was running very well. Alternator, HS4 carbs were included – just the exhaust system and the distributor were not. After removing all bolt on parts – included the engine mounts, I used an engine degreaser that I applied with a brush and afterwards wiped the dirt with a towel. The red paint is from a cosmetic overhaul that a previous owner did. Easy to tell as the engine mounts and a few other parts were not taped off properly.
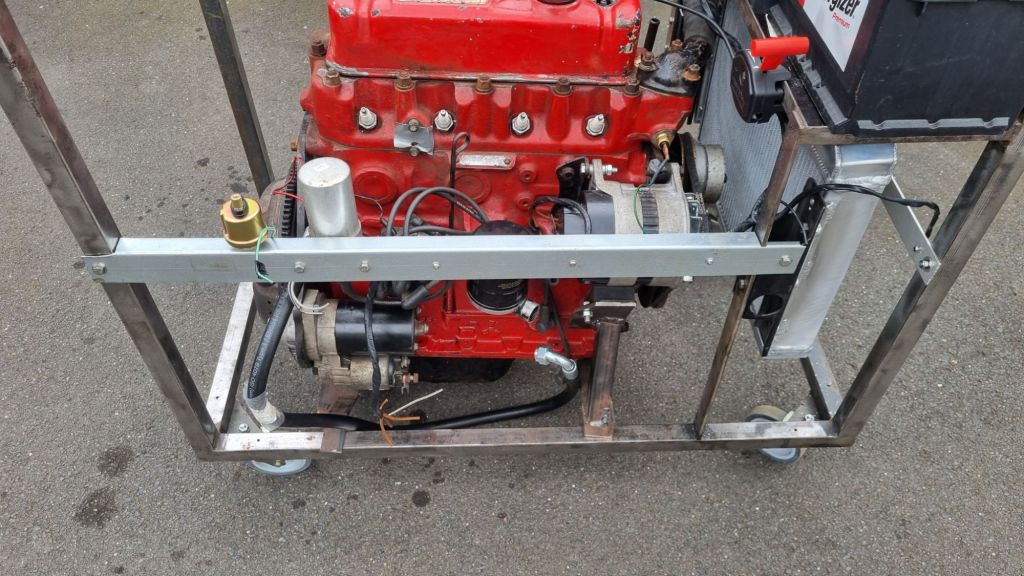
Afterwards I screwed in the engine brackets I welded up last year. When I put these together, I did not have a radiator installed yet. Now the unit sits a bit further back and the exhaust does not clear underneath the frame anymore. What I want to achieve is that the exhaust system can lay on the ground, when the engine is running. It is off by maybe 20mm. The oil pan still has ~60mm clearance to the ground. Best option is to rebuild the brackets – lowering the engine by 20mm and moving it 10mm closer to the edge on the distributor side.
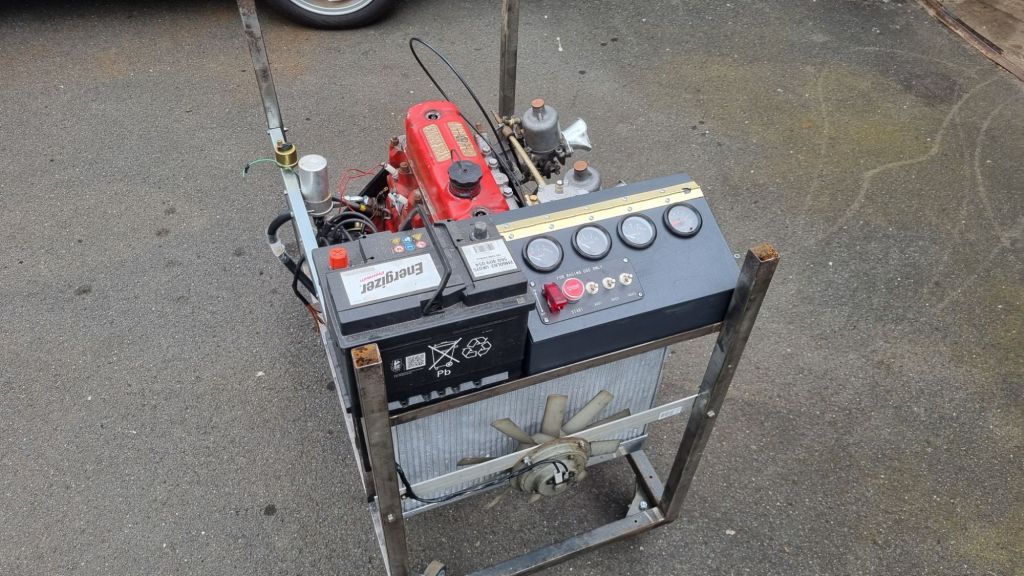
As throttle I am using a cheap lawn mower lever. When we later do the engine break-in phase for Mildred’s engine and cam, we need to maintain 2500rpm for ~25min – the throttle should make that quite easy. For the test stand, I intend to use an eclectic temperature sender and oil pressure sender – the gauge kit was just 35€ and came with sensor – I did not want to risk damaging a more inexpensive Smith dual gauge on the test stand – but will revert to this if the eclectic stuff doesn’t work.
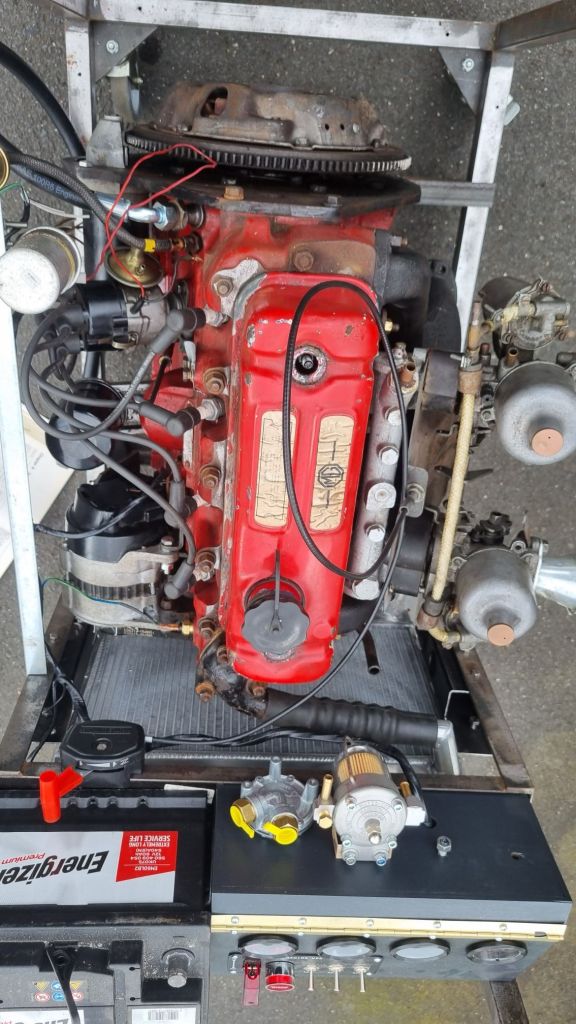
I added a L-shaped metal piece I had left from my workbench build. This holds the oil pressure sender and coil and allowed me to hide all the cabling behind it. I think this gives it a very clean look. To complete the engine, I ordered a few parts: An adapter piece for the oil cooler hose, new vacuum pipes, fuel line and a blanking plate for the heater valve. Today I also decided that I will mount the battery on a tray underneath the radiator and shield it off, add a foldable bracket for a fuel canister and build a sheet metal box about the flywheel for safety.
Before I can finally test the engine there is still plenty to do. The coolant system will be cleaned with some citric acid next weekend. I will first flush it with the garden hose – then seal the bottom hose and fill it up with citric acid and let it soak for a day or two. The oil pan will also come off and cleaned and painted. If the engine is really running well – I don’t want to change oil twice. The engine will also allow me to test the HIF4 and HS4 carbs I have overhauled.


Leave a comment