
After last weeks engine rebuild session it took me a while to clean up everything. The only thing missing to finish the engine are the ARP main bearing bolts. As mentioned last week I mistakenly bought ARP studs. These are used for the 18GB engines – 18V requires bolts. A set is ordered and should hopefully arrive next week.
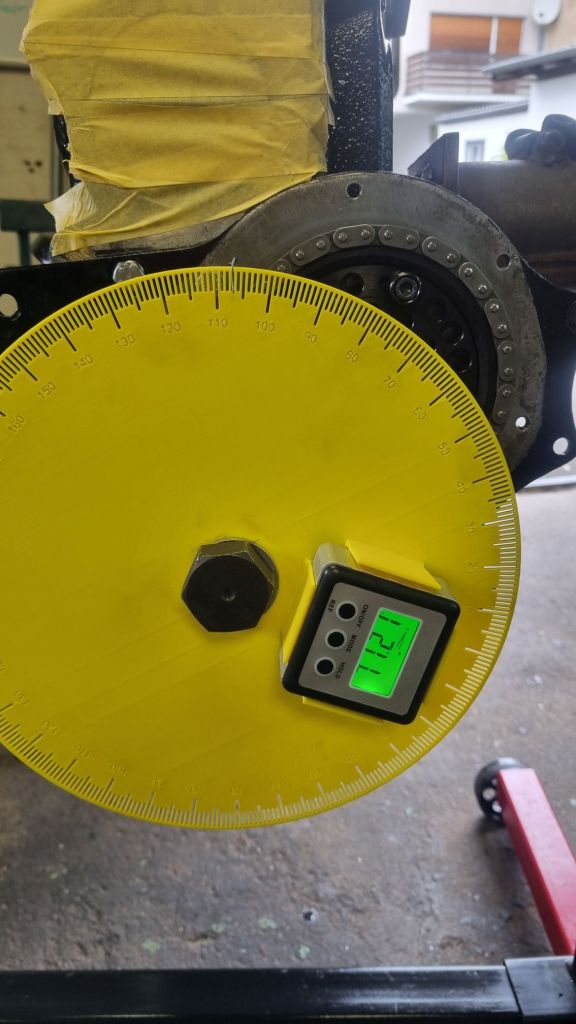
What I wanted to learn and practice was setting the cam timing. Michael and Henrik did most of this last week. While I watched – I still had questions and wanted to double check that everything is correct. First up I printed my own version of a timing wheel. And why not add a holder for my digital angle gauge.
Following the steps in Peter Burgess book I first got the true TDC. Using the push rods I then checked that the cam is not 180 degrees off. On the Piper HR270 cam the intake valve in cyl 1 needs to open 108° after TDC. This is measured with a gauge on the push rod. I did entire sequence three times – and the result was always between +/- 0.8°. So this is all good. Time to move to more cleaning.
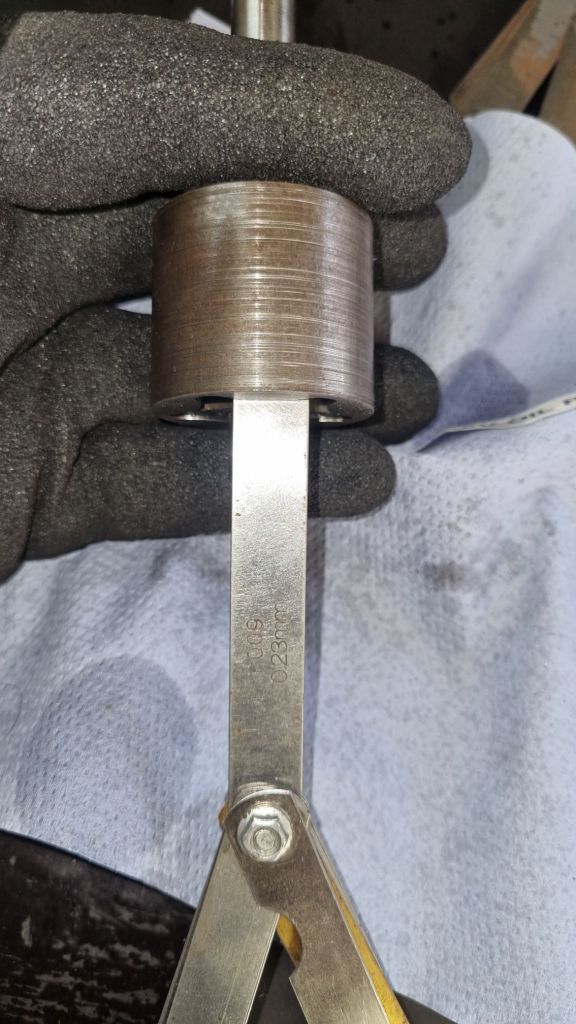
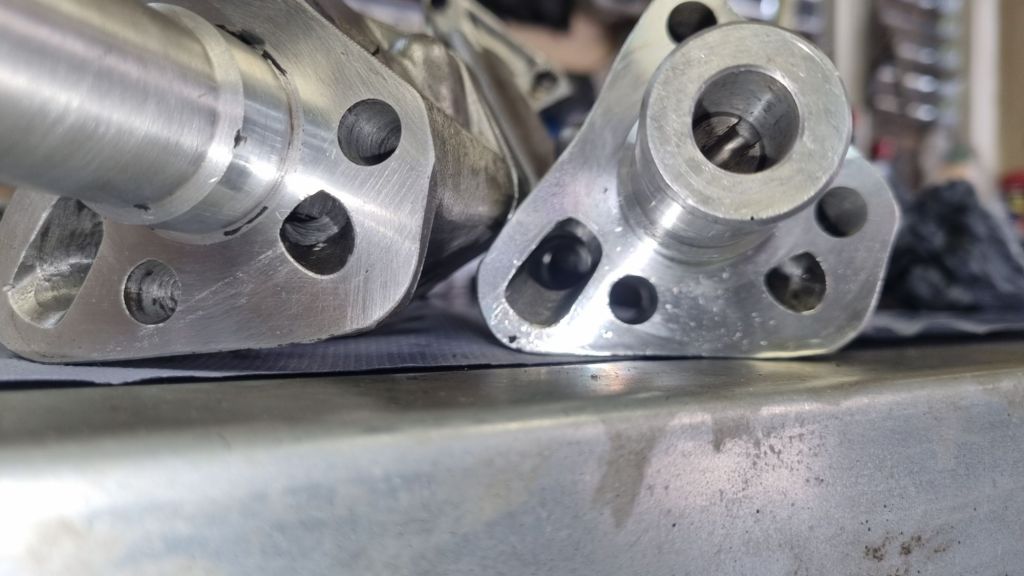
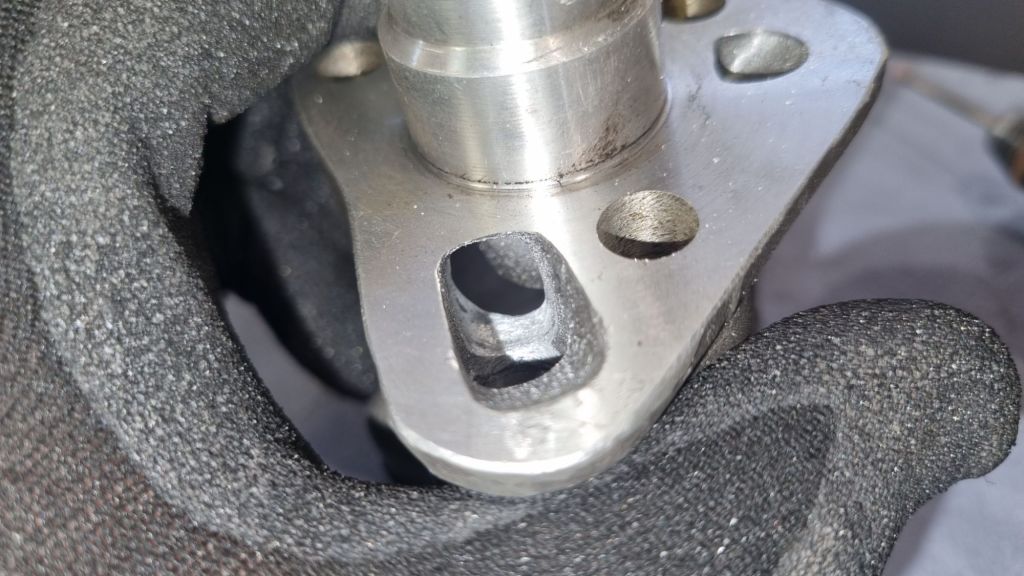
While sorting and putting all remaining engine spare parts back into storage – I realized I have almost everything to restore the spare 18GB block I still have for Maggie. This won’t happen any time soon, but it cannot hurt to check the two oil pumps I still have. One came out of the 18V581 engine – the other was a standard pump from MGOC Spares. I did not use this one as I also had an uprated one.
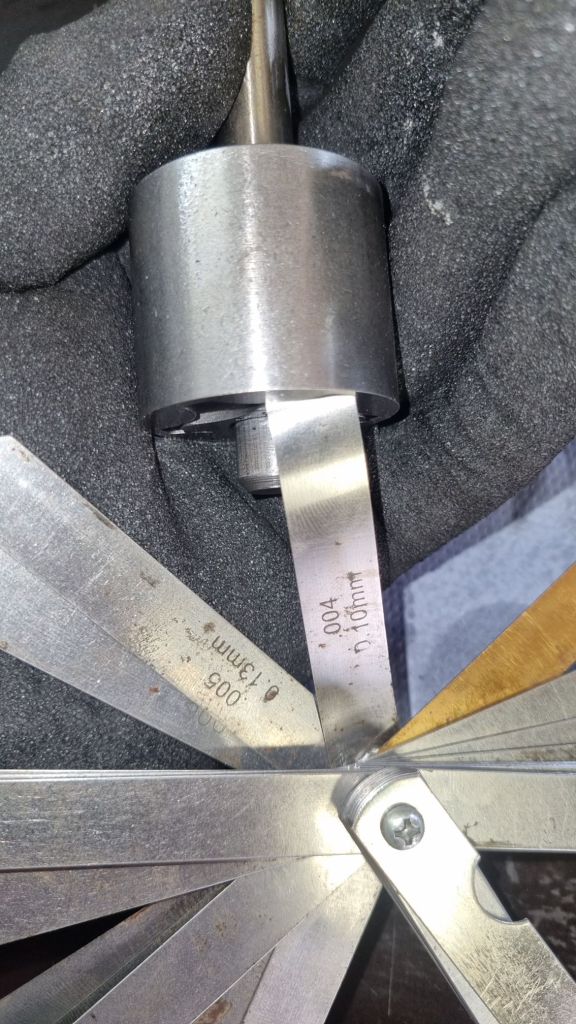
I checked the old pump when we took Mildred’s engine apart in March 2024. Maximum gap according to the workshop manual is 0.06thou – this one has 0.09 and 0.10 thou – so it is no good anymore. A while ago I saw an excellent video from Union Jack Classics. He talks about the poor quality of the replacement pumps.
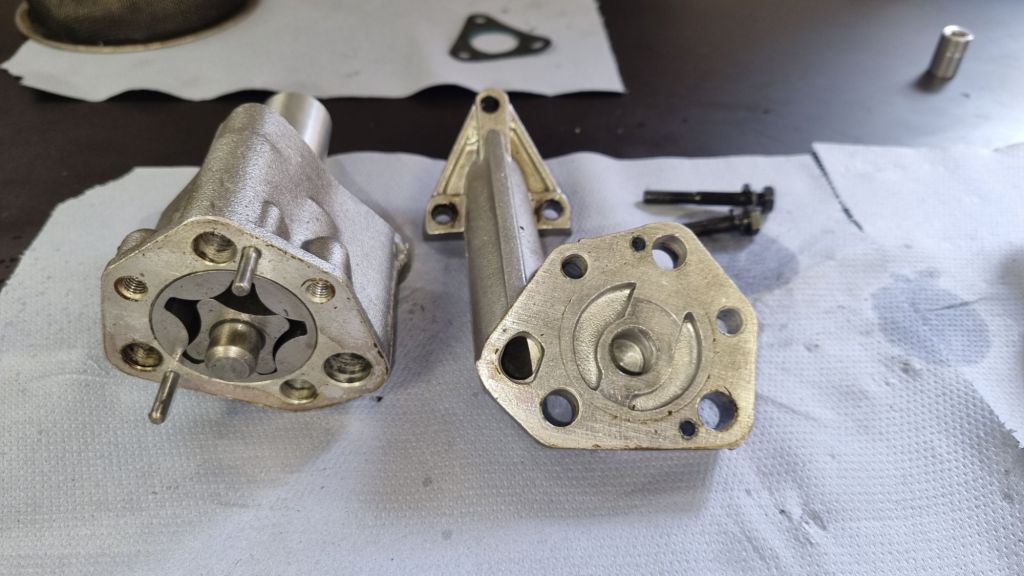
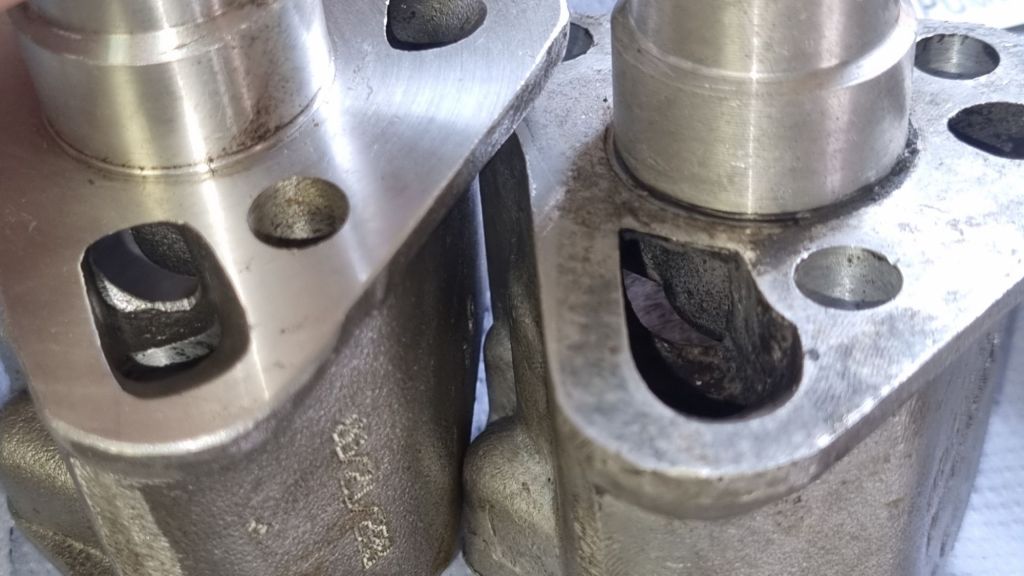
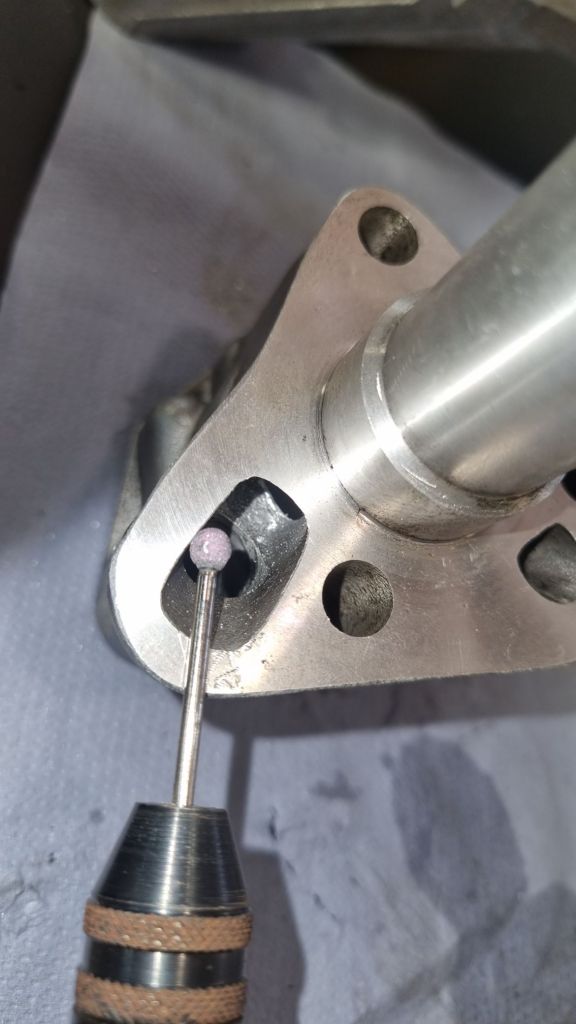
With both variants on the work bench is a good time to check this out. And he is absolutely right. While the rotor has a perfect 0.04thou gap, the channels to the strainer and inside the pump have sharp edges and smaller holes. Equipped with a dremel I followed his advice and smoothed out the ridges in the new cast.
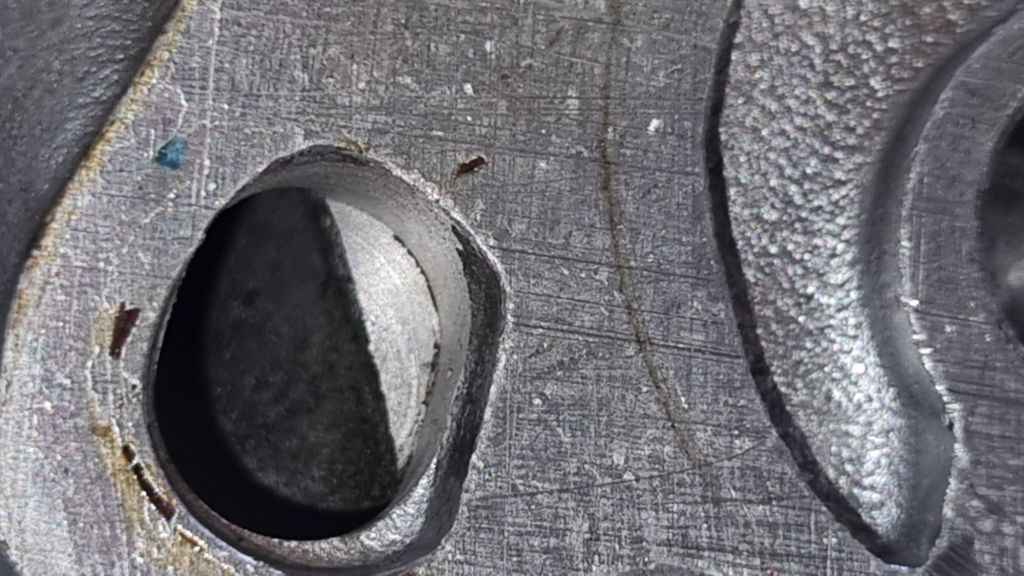
But even after 20min of work it was still not as good as the old one. The old rotor piece had bad streaks (obviously caused by debris) but the walls in the casting had hardly a scratch. So I swapped the new rotor into the old case. The gap at the top was perfect – so this is the oil pump for the new engine.
Now I really wanted to checkout what the uprated version looked like. And as it turns out: this is nothing else but a standard version but already smoothed out with a dremel. The casting is identical, the rotor as well. It is visible that someone use a dremel to open up the channels – just a bit more than I did.
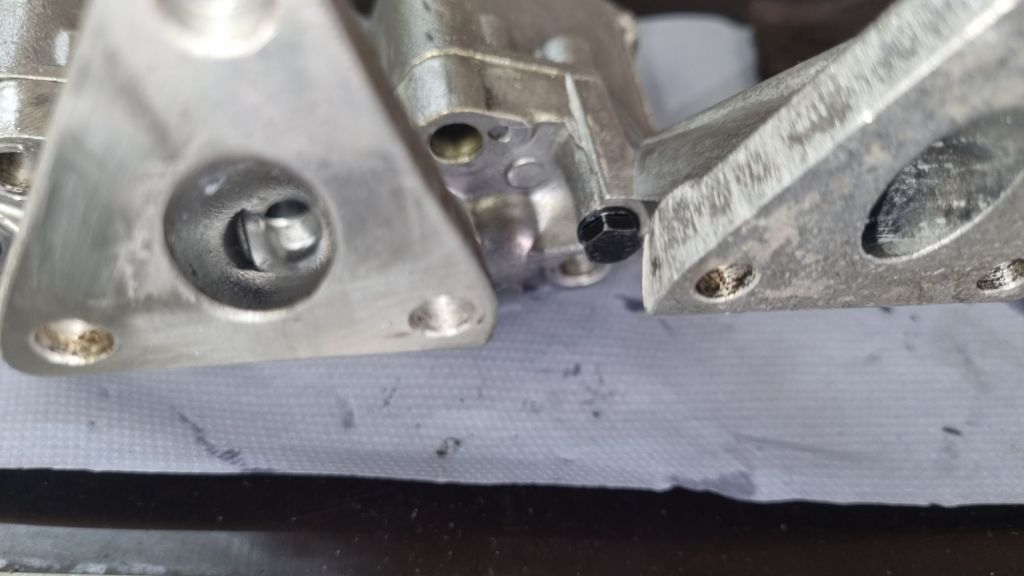
As a bit of a change I addressed an issue on the Morgan. On rough roads there are a new rattle and clonking sound. I figured that this might be the gearbox bell housing touching the much thicker clutch crank i built a while ago. The easy solution to this is to slightly raise the gearbox end. I cut and drilled a 5mm steel plate and pushed this beneath the gearbox mount. This worked perfectly – this sound is gone (but the Morgan’s front suspension still makes horrible sounds if you hit a pothole…)
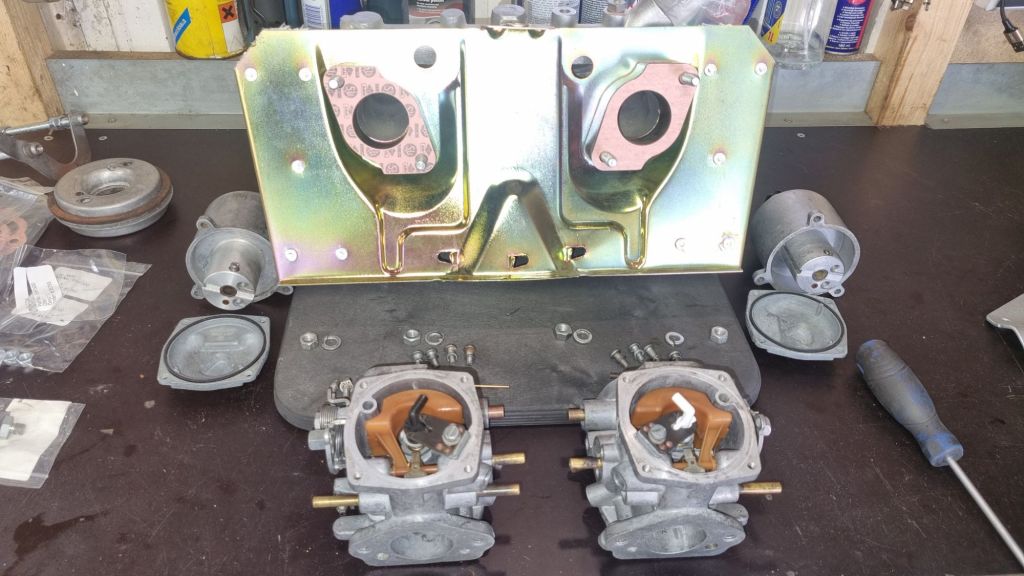
Next up are the HIF4 carburettors for the 18V581 engine…


I too didn’t care for the look of the “new” oil pump and instead chose to rebuild the old one. Still have that new one on the shelf. I’ll look at for article you referenced, as I have a Dremel tool also. Thanks.
LikeLiked by 1 person
Is there anything you can do if the old rotor has a gap that is too large? I wouldn’t know what to do with the old part. Sliding in the new rotor into the old case seemed the best option for me
LikeLike