
No, this is not about some form of data transmission. And no, I am not going to remove cables from the MGB wiring harness. But I as I started working on the loom I realized I don’t have a few cables colours I need in stock.
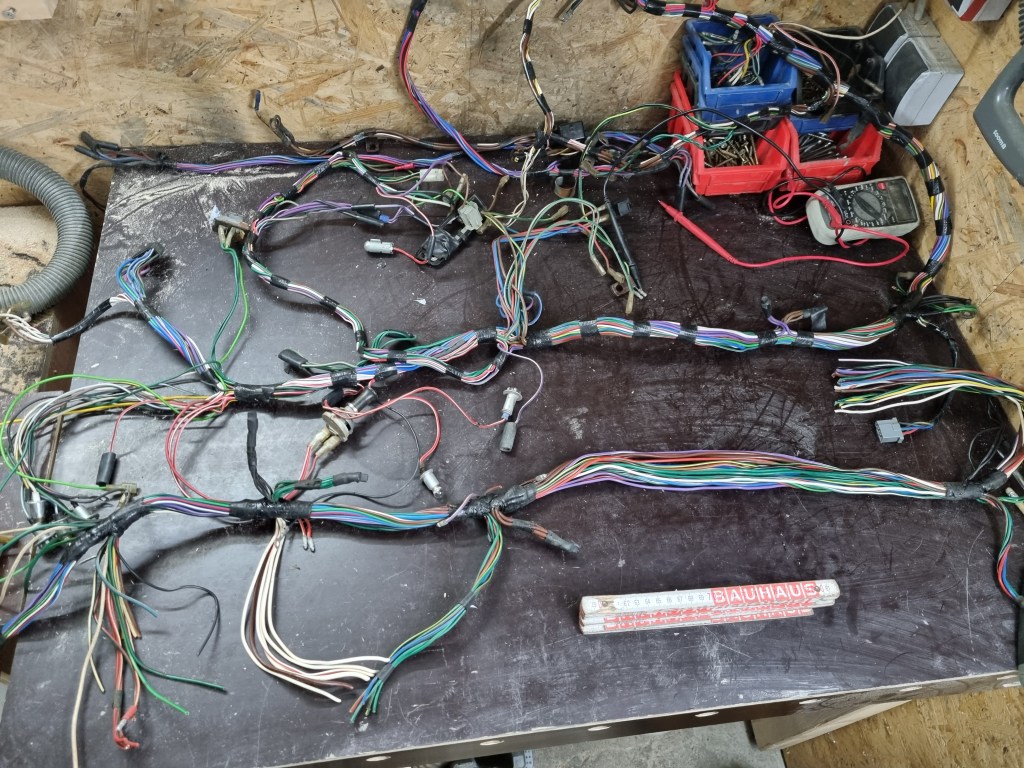
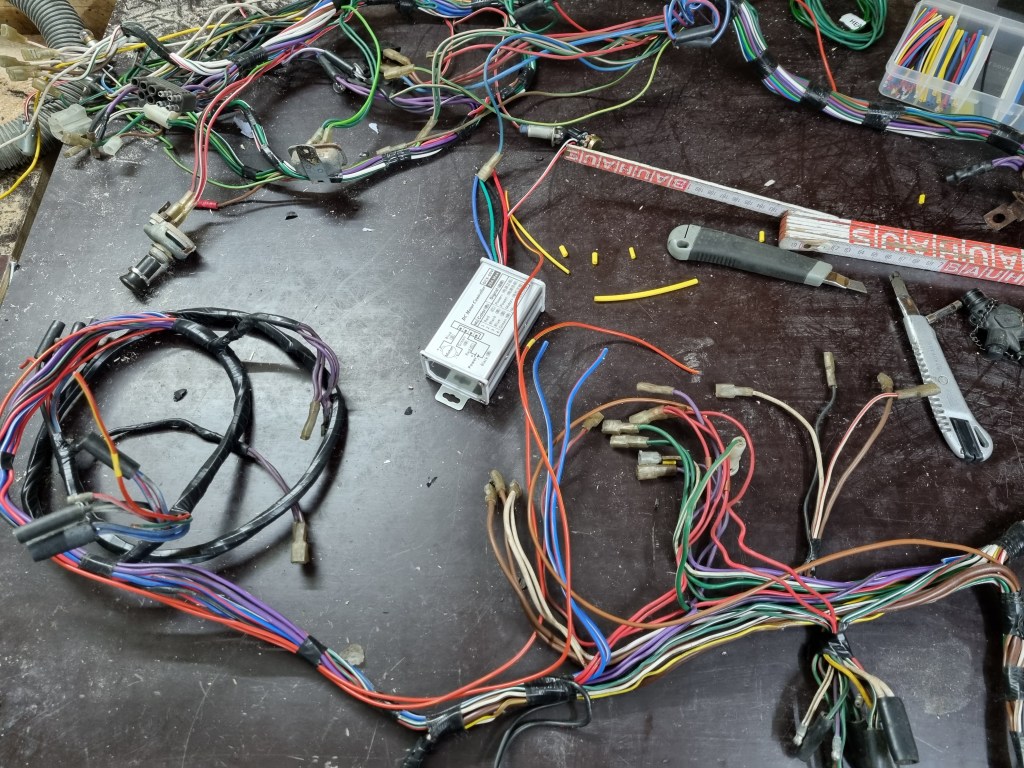
As I still must wait for the Mini40 parts, I decided to get back to the MGB loom this week. First, I had to sort all cables I had left from the Morgan and Mini work I did last year. And as I am working with old, dirty cables I will do this on my workbench in my basement instead of my office desk. In addition to Mildred’s 73 UK wiring harness, I also have a piece of a wiring harness from the 1970 LHD GT replacement shell. Now, whoever took the car apart did not care too much about the old wiring. The main tool to get it out was a wire cutter. It is really just a fragment.
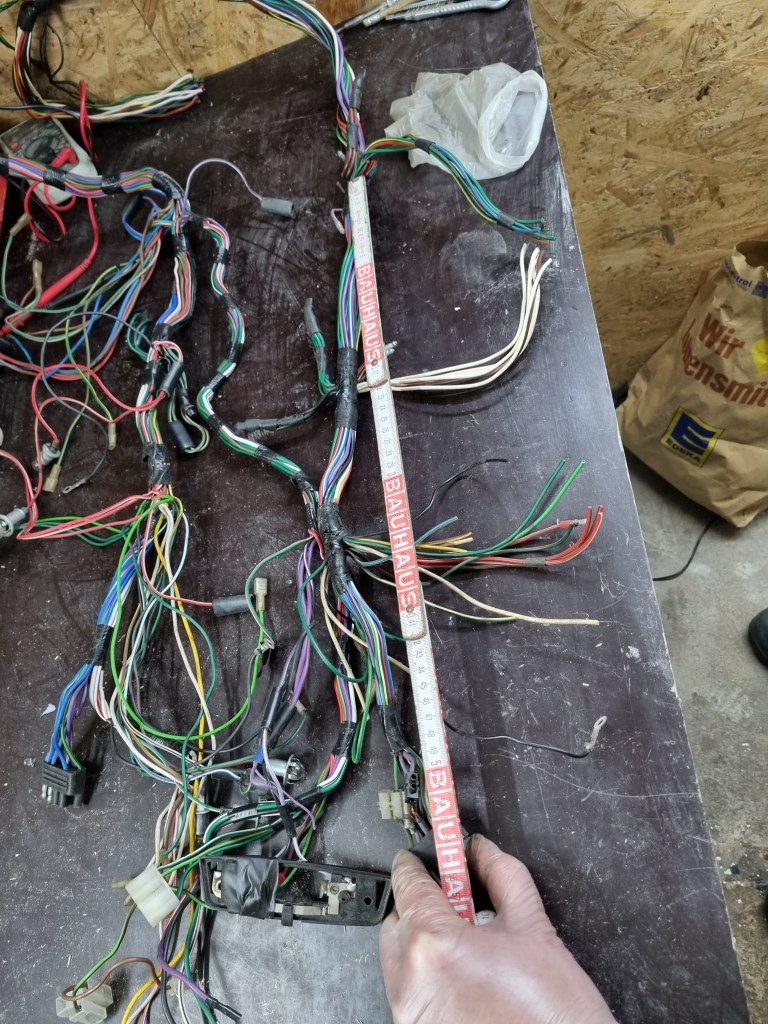
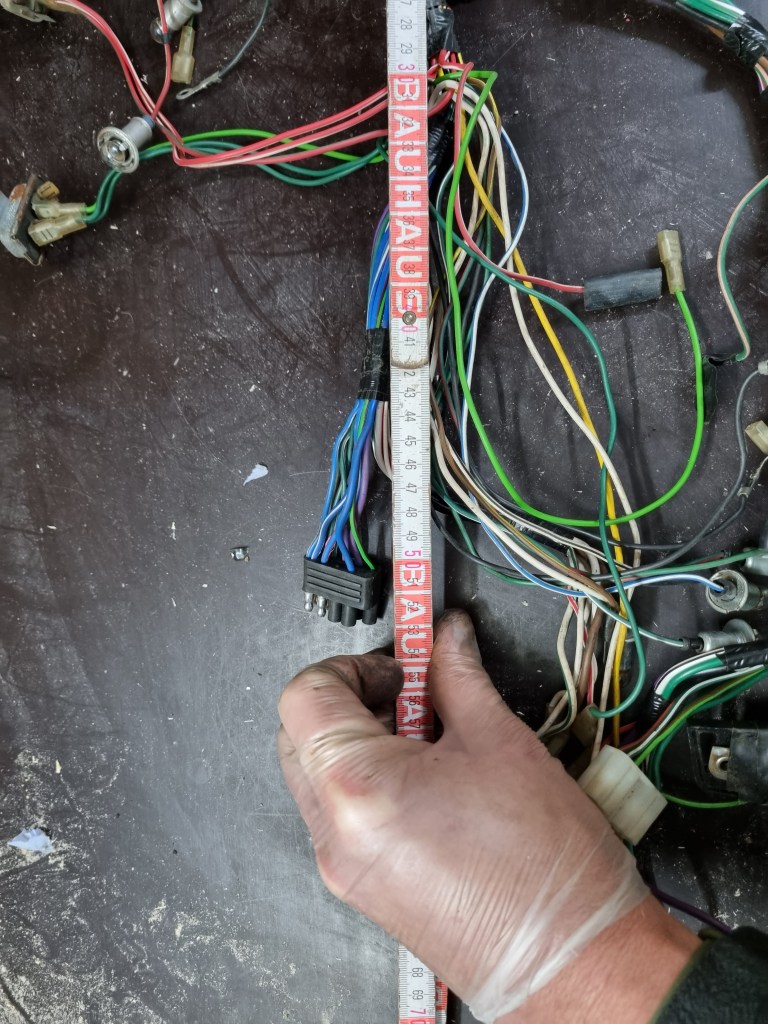
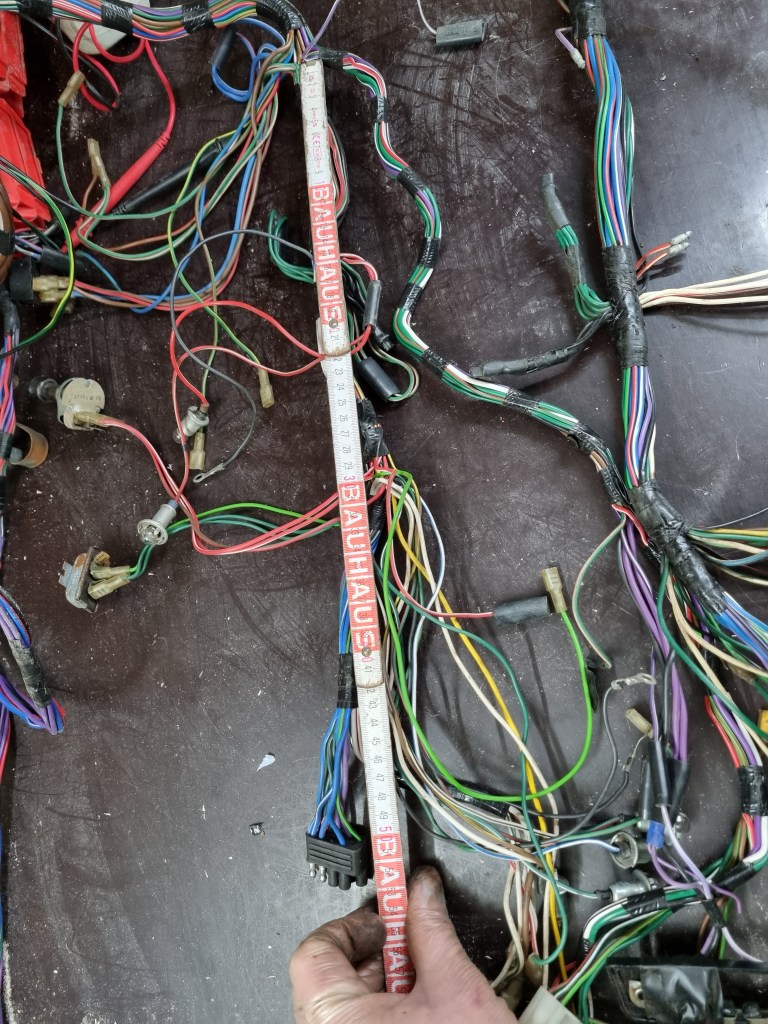
Nevertheless, it is still good for a few things. It allows me to measure the length from the wiper motor connection to the cable for the indicator stalk, instruments and so on. I thought that this might be important as I will convert the car from RHD to LHD. And if you order a replacement loom – they ask you it is for an LHD or RHD car. But now I believe it doesn’t matter and a few resources confirm that MG used the same loom. And after measuring I tend to agree.
A good reference point is the wiper motor connection in the harness. The wiper motor is in the same location for LHD and RHD cars. As the loom fragment I have is from a 1970 car – it logically is slightly different due to the changed dashboard and console. From wiper motor connection to the indicator stalk I have 107cm in the 1970 loom, 101cm in the 1973 version. The 6cm don’t make a difference as the indicator stalk cable is long enough.
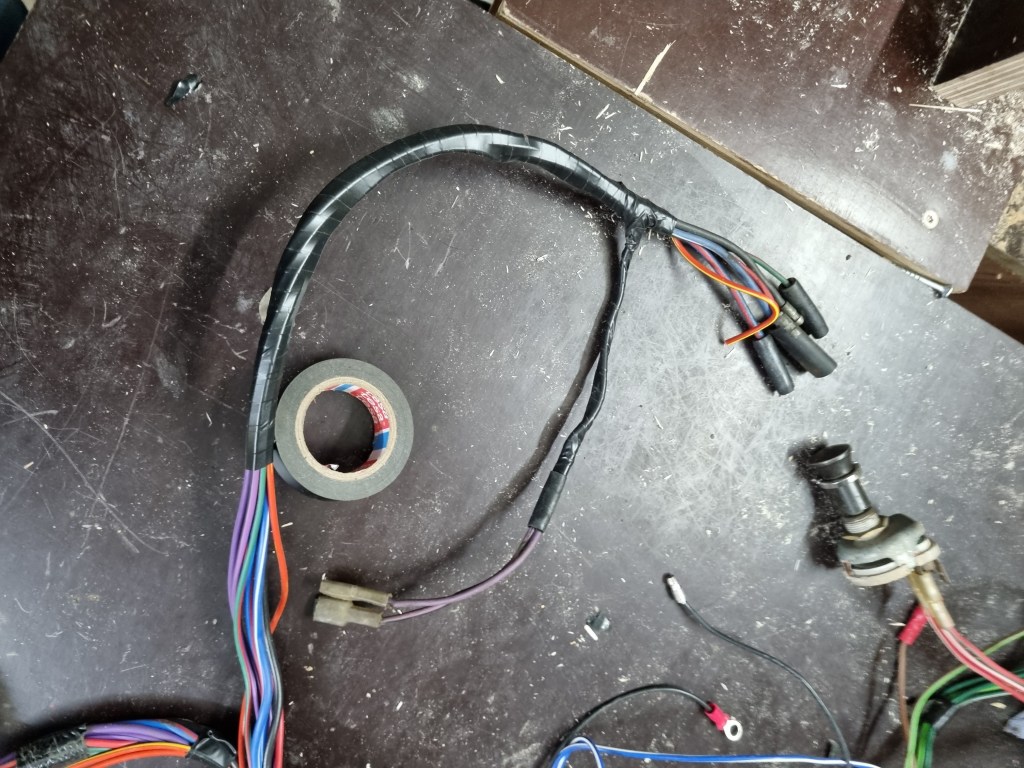
With this out of the way I started adding cables to the loom from the front – going all the way to the fuse box. First up are red-yellow fog light cables. As I only had PVC 14/0.30CSA cables – I opted to two individual cables for each fog light going into the same relay – even if this is a bit overkill. The standard Lucas LLB323 bulb needs 48w. 48W Divided by 12V – means I need 4amp per bulb. The cable I use is good for 8.75amps. And if I ever will install fog lights – I will use the LED conversion bulbs – they only draw around 7.2 watt. This is also important for the fuse choice. On standard bulbs – I will need a 10Amp fuse – with LEDs I will switch to a 2.5Amp on the fog lights.
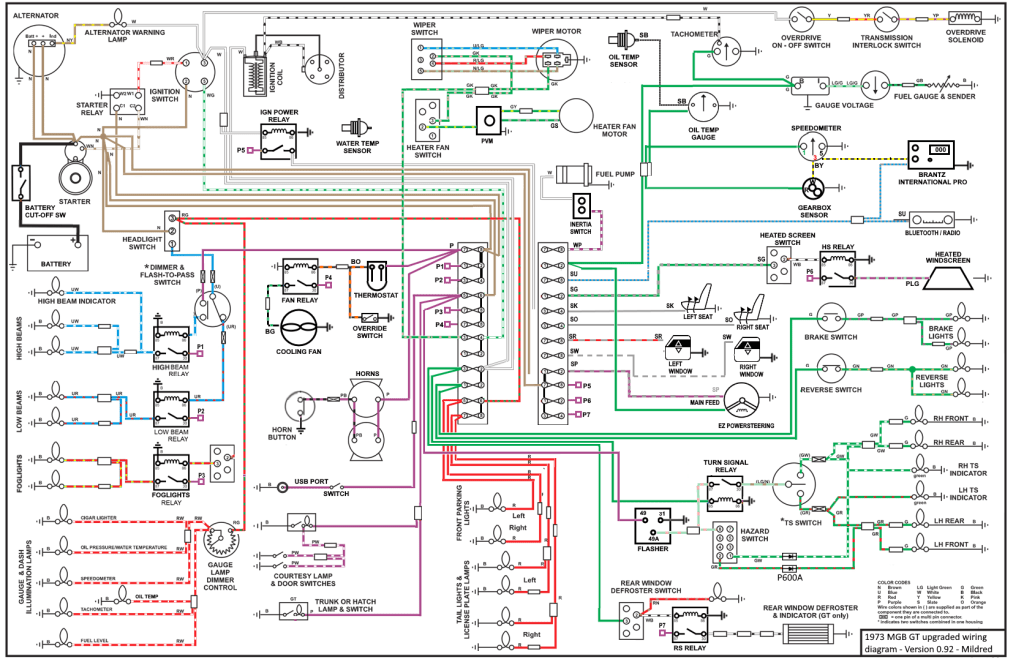
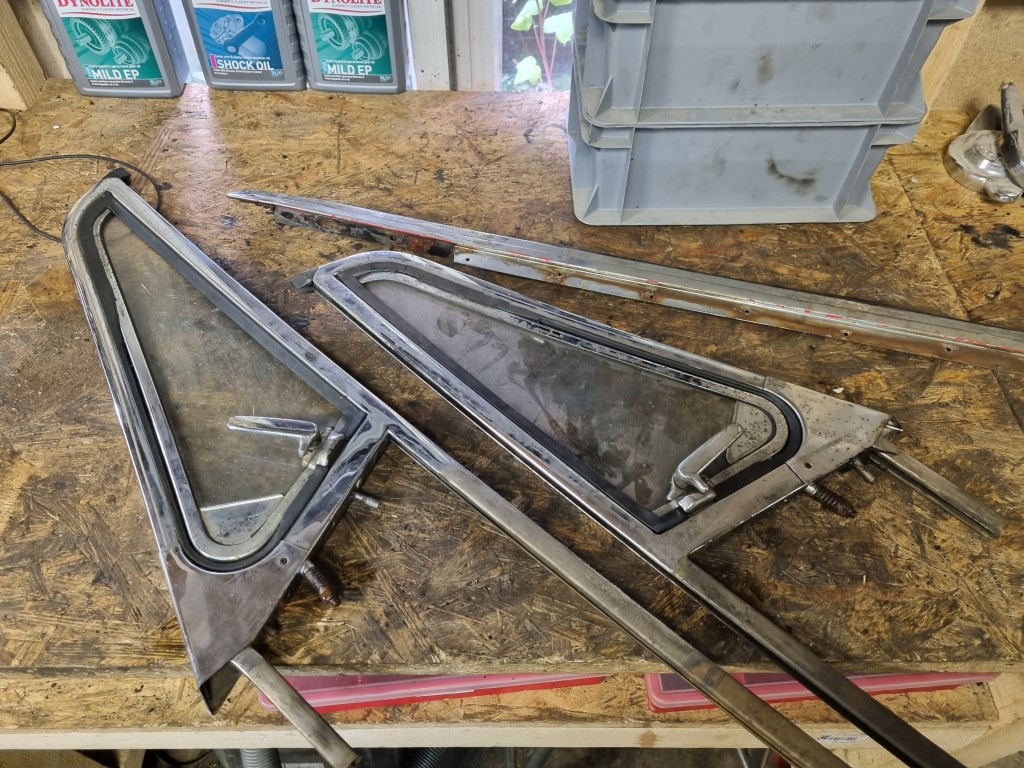
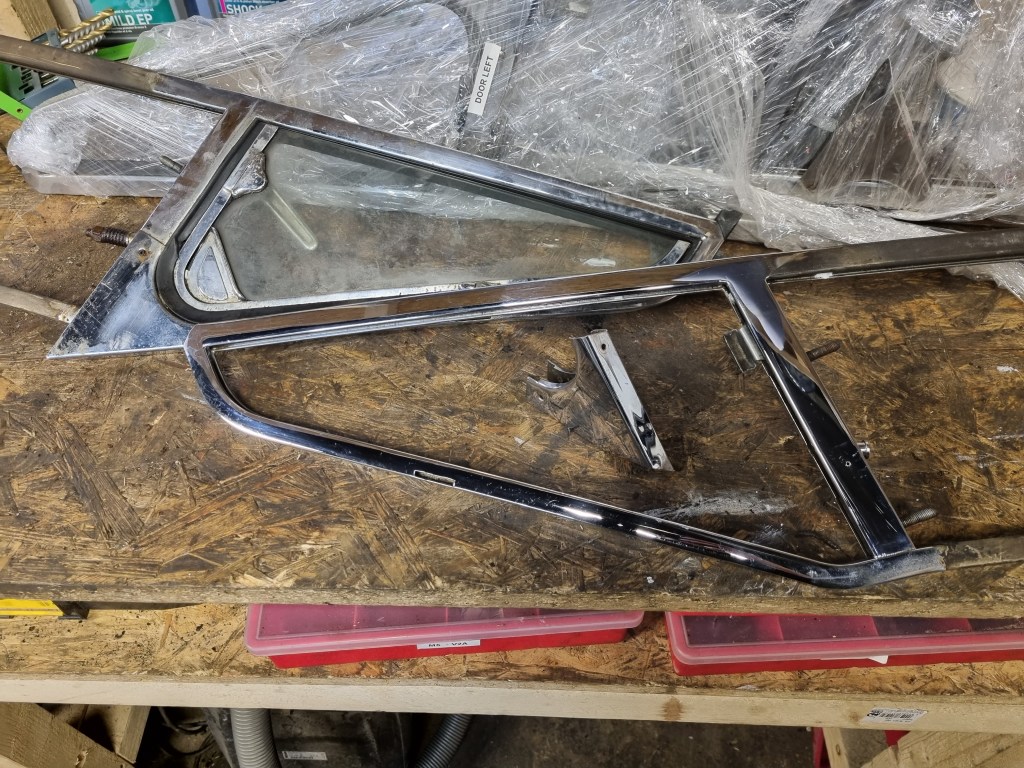
Instructions for the planned Revotec fan are clear – I took them from their website. The suggested override switch by Andreas in the comments was just added to my plan. This is still work in progress. To find the correct junction point for the fan cables – I wanted to take a few measurements on Mildred. But right now, Mildred and Moggi are pushed close together in my garage – which makes it difficult to work on her. And moving the Morgan closer to the workbench – means I need to do more clean-up and sorting in the garage. This led to a small detour. Instead of moving the collection of two pairs of quarterlights once more – I decided to finally take them apart and clean them.
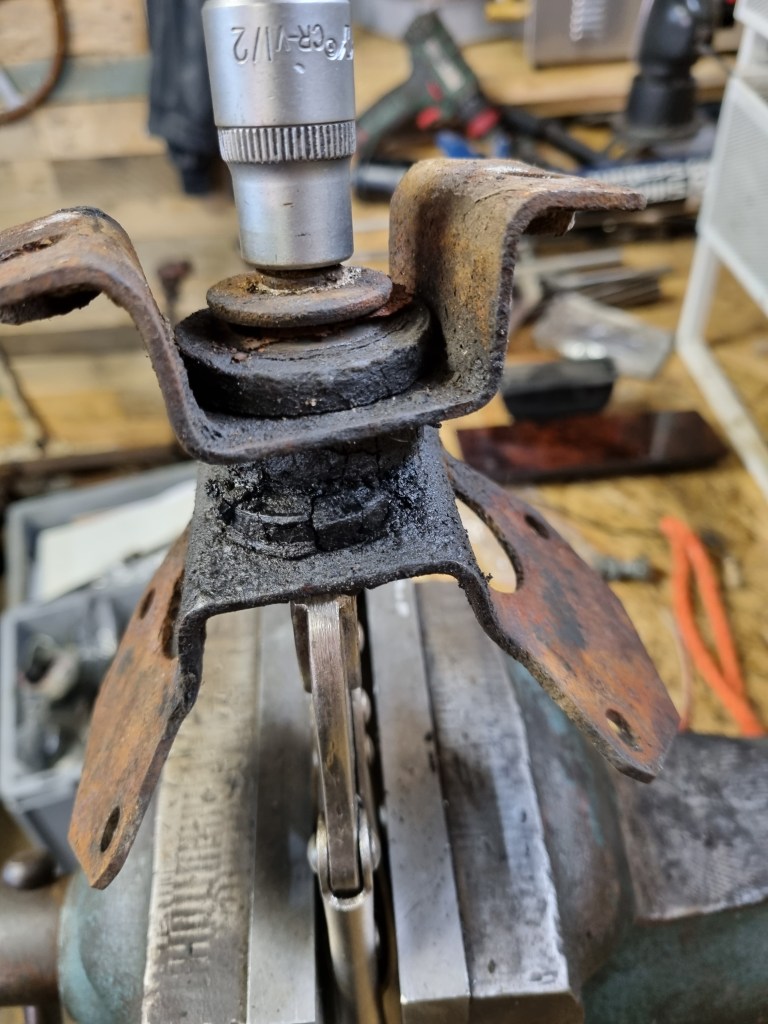
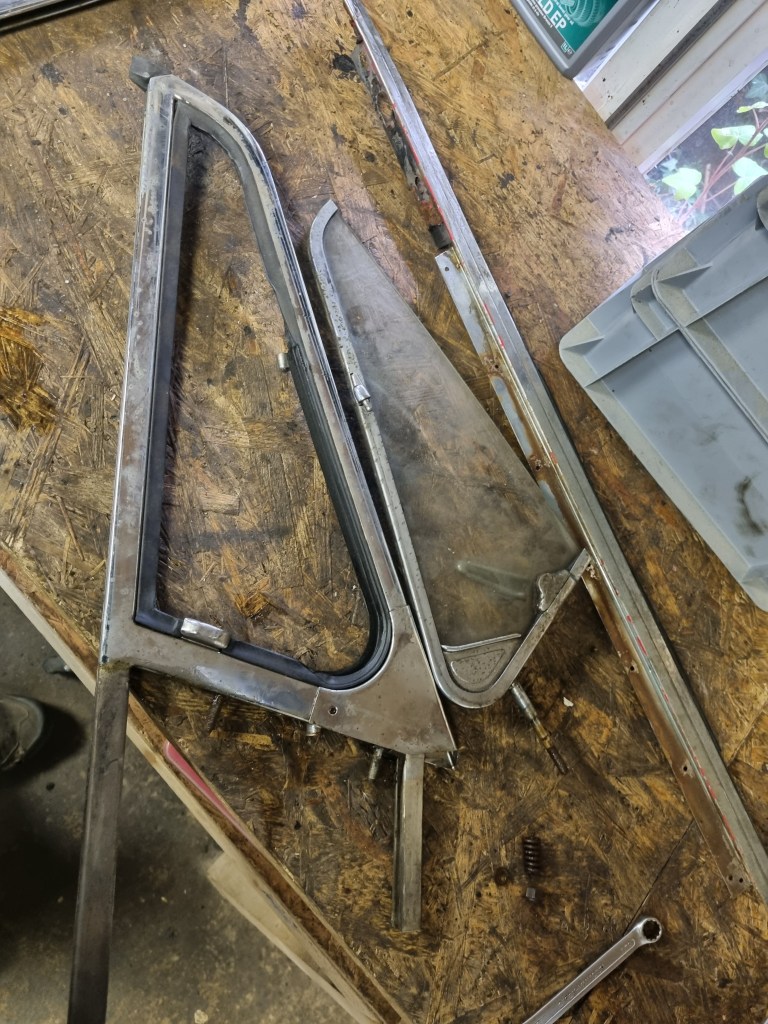
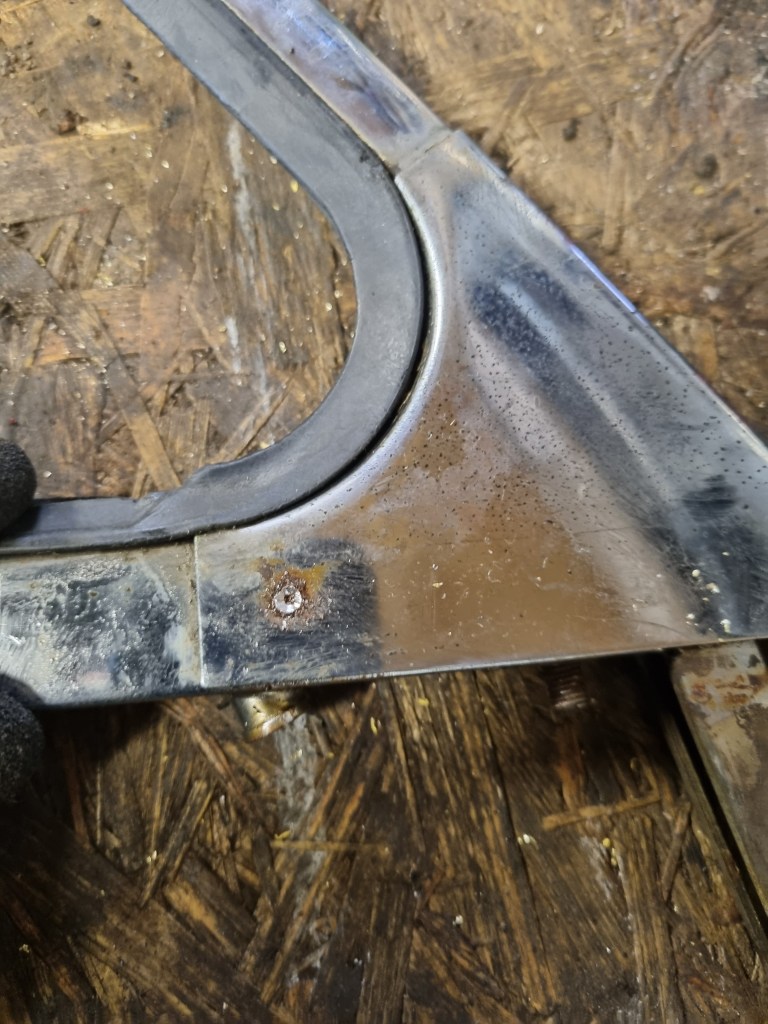
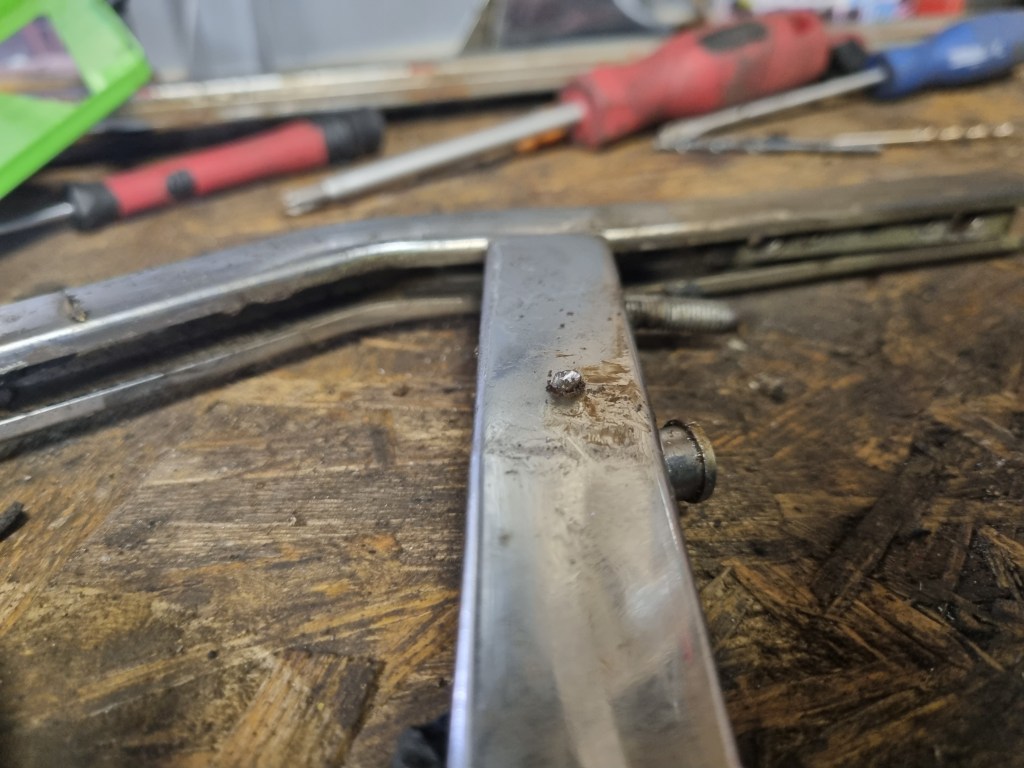
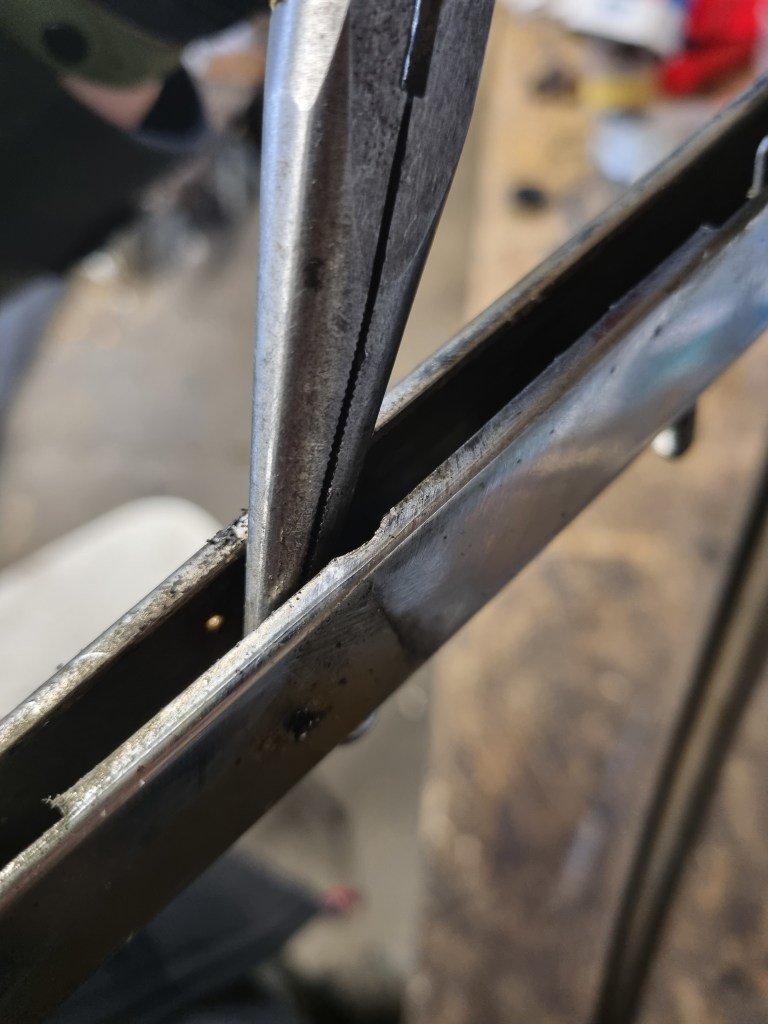
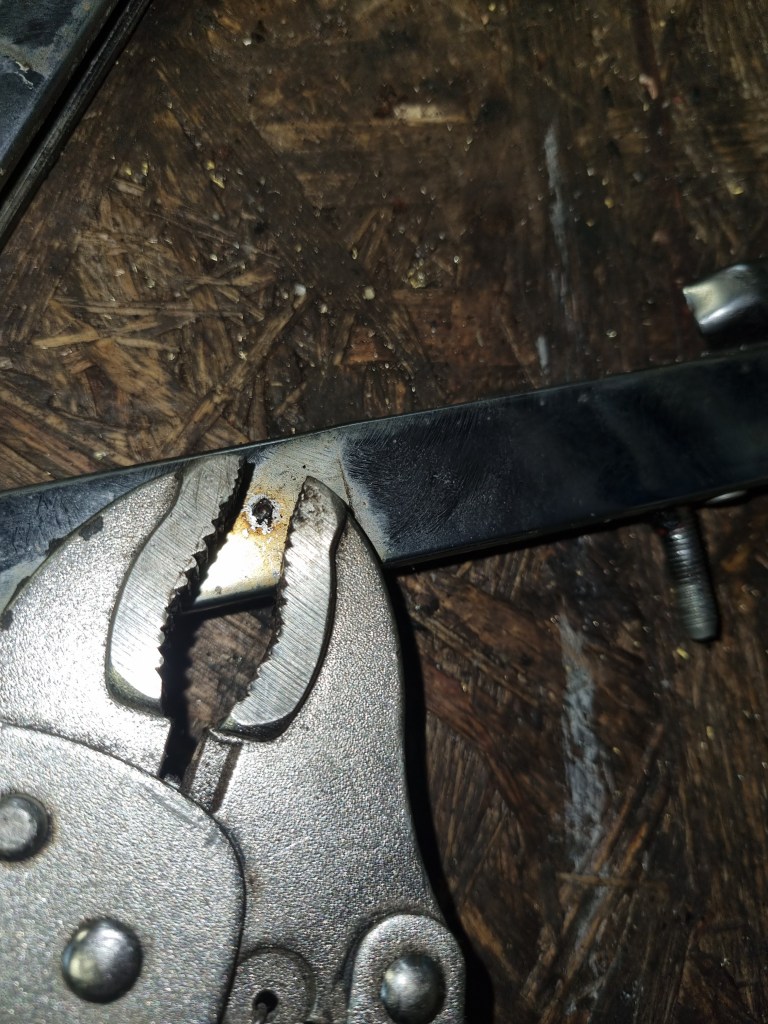
The front triangular capping pieces have 3 screws. The two smaller ones are completely rusted on each quarterlight. They had to be drilled out – which was not as bad as I expected. The trick is to use a drill bit that has the same size as the screw head. Don’t drill too far – I used a small screwdriver to push the cover piece up ever so slightly. Drill slowly – at some point the cover will then pop up. The goal is to keep a small piece of the screw – then use mole grips to get the rest out. On two screws I used a thin Knipex two turn the screw out a little from the back – then used the mole grips.
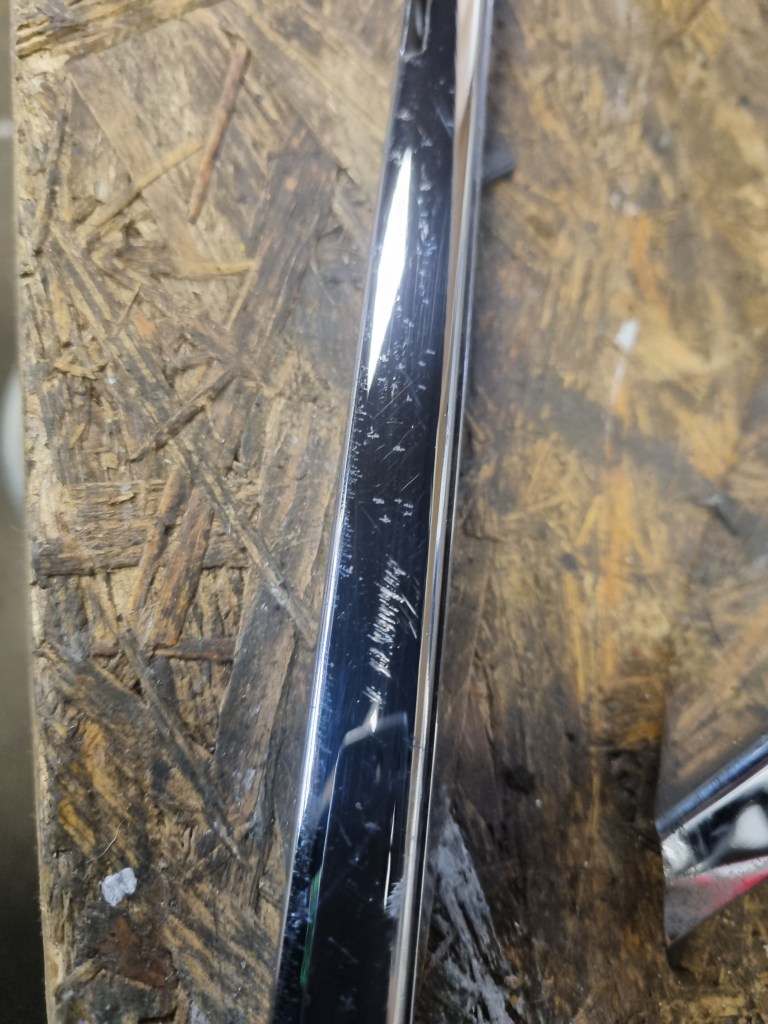
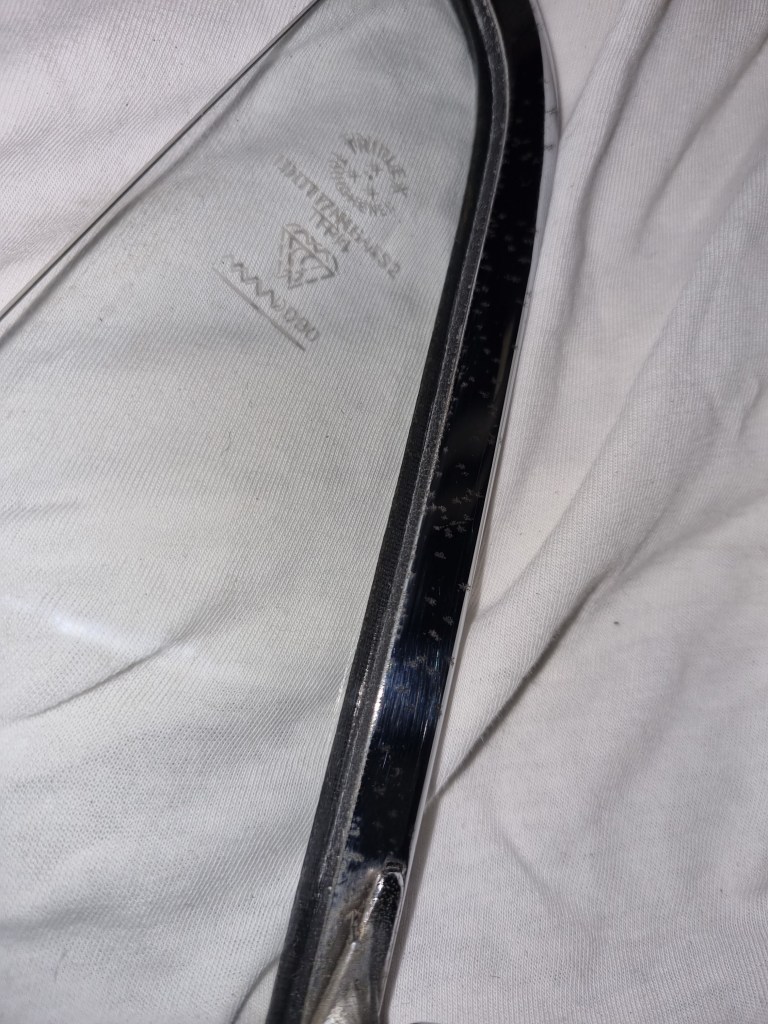
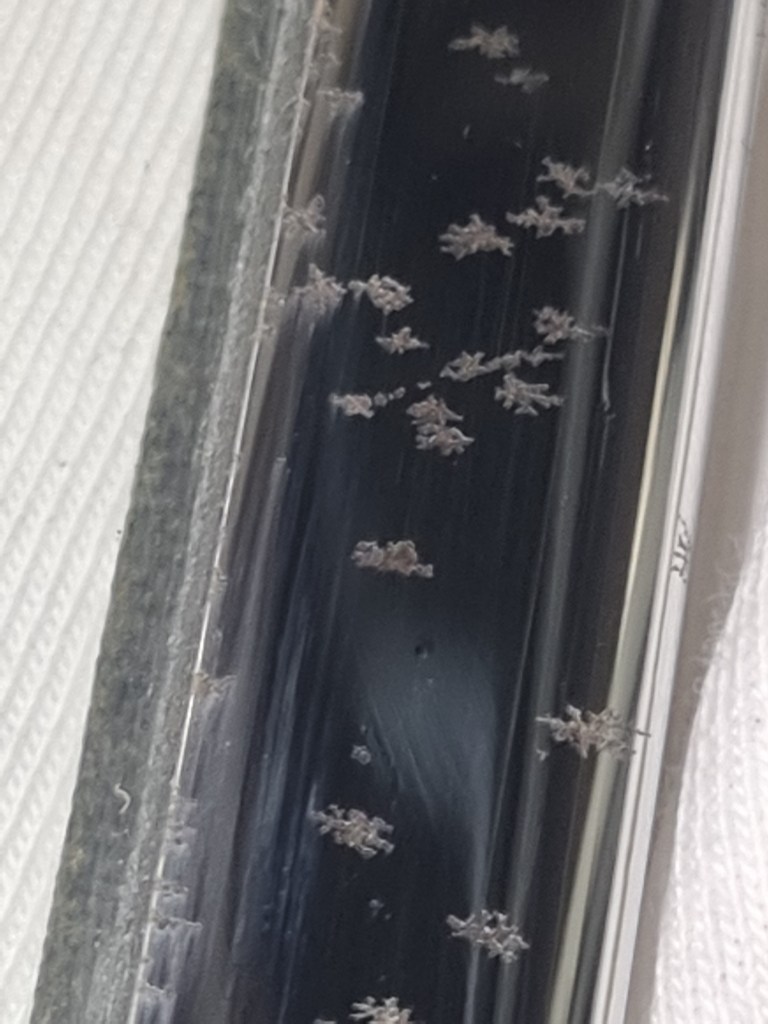
Cleaning/polishing is another topic. I only realize that I wasted almost 3 hours with this when it was getting dark outside. What I am not sure about is if the quarterlights were chromed or made of stainless steel. The ones from the 1970 shell should theoretically be the chromed version. From some point in 1973 onwards MG switched to stainless steel. The pitting marks on chrome are usually like little bubbles. But to me the marks left look like pitting you find on stainless steel. Well, I am not an expert on this and I need to find a place that can polish the parts.


Hi Tim,
to my experience the LHD and RHD looms are not always the same; my GT is converted to LHD….
When working on the your ’new‘ loom place the 3 switches (ignition, wiper/OD (? depending on the type of dash), indicator/high beam/low beam) from the beginning close to the position of the steering column to find out whether the connectors fit properly. Good luck….
Also note that the position of the indicator switch differs in RHD and ’normal‘ LHD cars – right side in LHD, left in ’normal‘ LHD.
All the best Andreas
LikeLike
Hi Andreas. Following your earlier recommendation I already ordered a new LHD indicator stalk as well as new switches for the 1973 dashboard. All of this should arrive in February.
But as I just received papers for the 1970 shell, I am now considering looking for a 1970 dashboard. Project Mildred is currently switching from a 1973 to a 1970 car…. And I decided to keep the 1973 bodyshell as a potential future project 😜
Regards
Tim
LikeLike