
As I already wrote in an earlier post last November – my MGBs rear axle was in the paint-shop that burned down. It was unclear when and how I get it back as it was covered in soot. But the seller of the replacement bodyshell kindly provided an old spare axle he had in stock. And a couple of days ago I finally also got my axle back out of the burndown workshop.
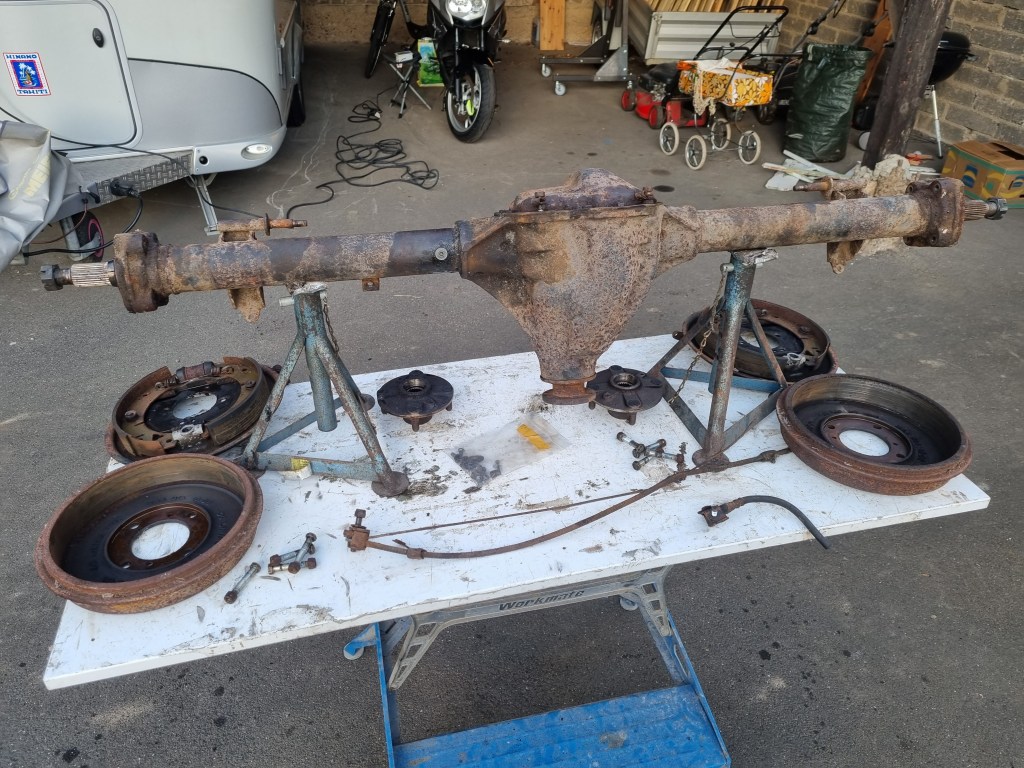
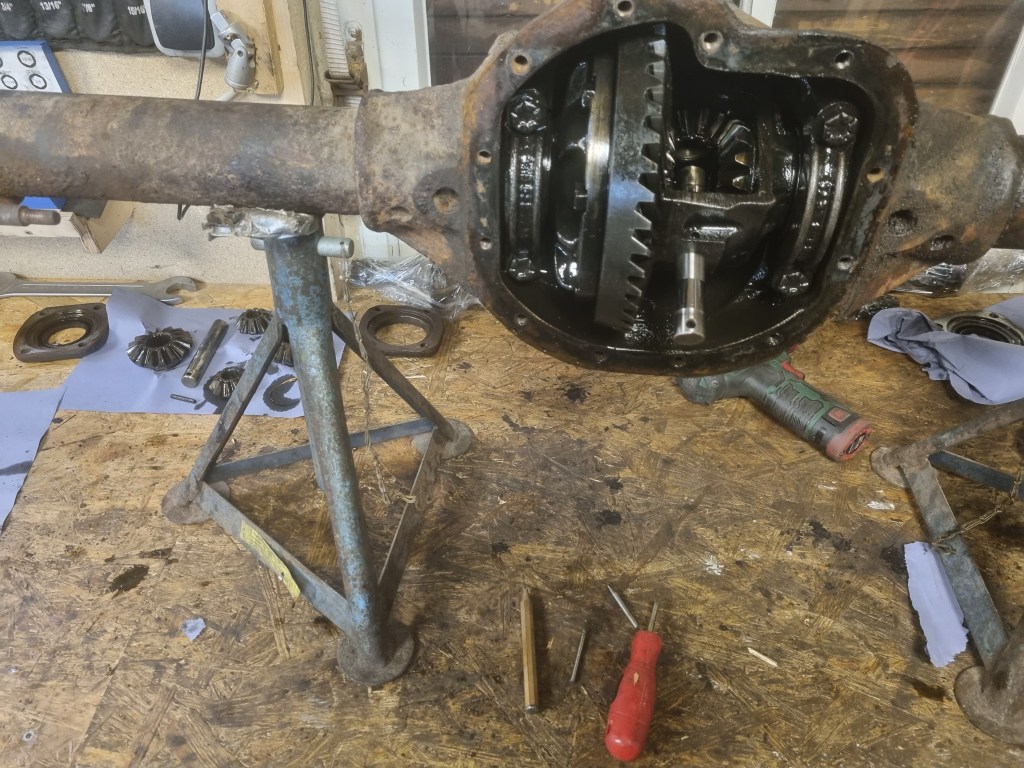
The downside of this is that I now have two heavy pieces of metal in my garage that are permanently in my way. So instead of moving them to another corner temporarily it is time to get them sorted out. The necessary spares (thrust washers, oil seal, axle bearings etc) for one axle were already part of an order last year – so this is also not an excuse. Stripping down the axle that was installed in Mildred took less than an hour. And as the sun was shining yesterday – I thought it is a great idea to quickly take the replacement axle apart an prepare it for sandblasting. But instead for a few minutes the dirt and rust kept me busy for the entire afternoon. I have no idea how long this axle was stored outside – but it was really badly rusted.
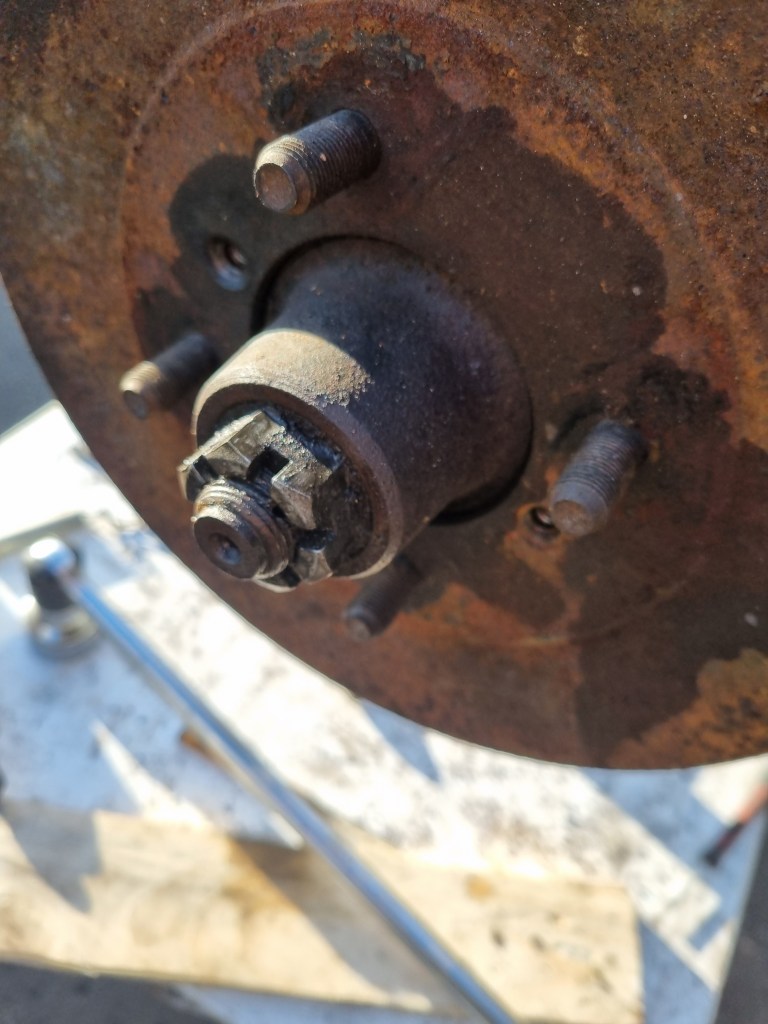
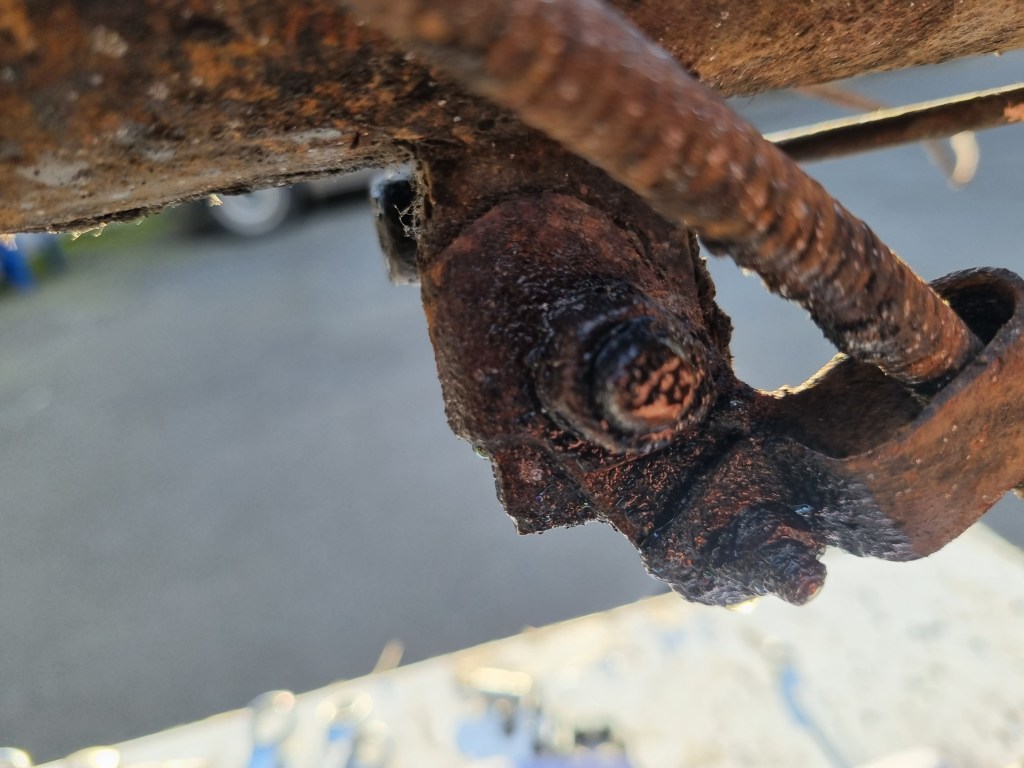
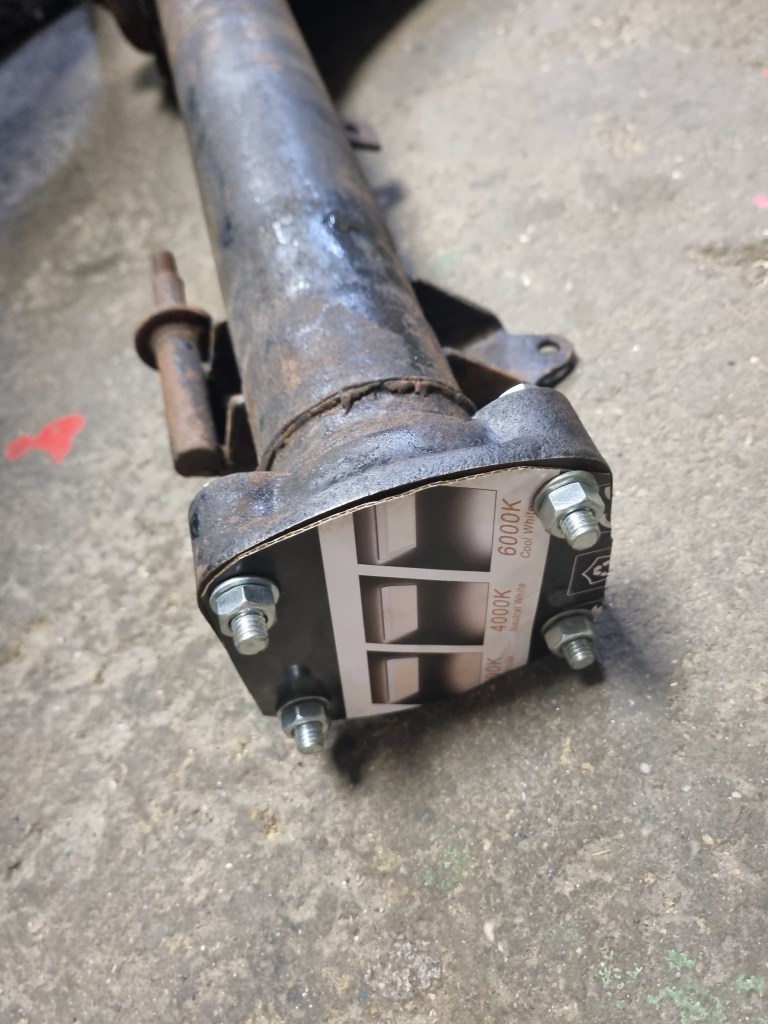
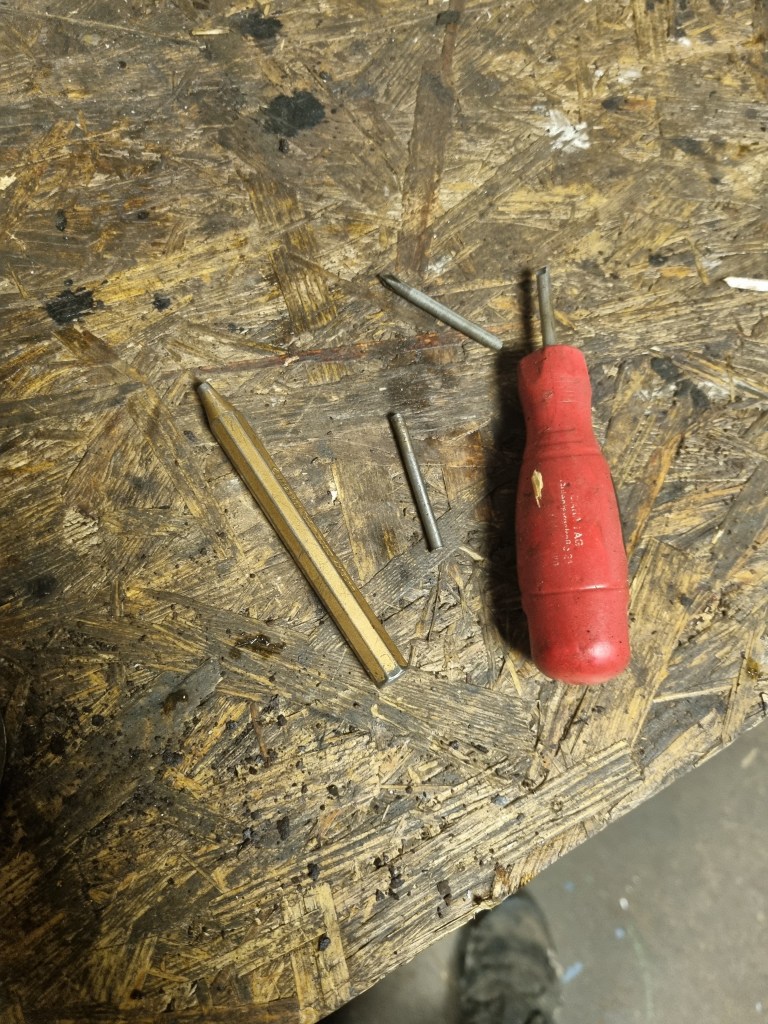
Getting the old brake lines and castle nut off, turned out to be a pain. First, I locked up the rear brakes as good as I could. An impact driver is on my wishlist – but right now all I have is a breaker bar. I ended up securing the axle on a wooden pallet and extending my breaker bar with a 1,5m piece of steel tube. Eventually the castle nut gave in.
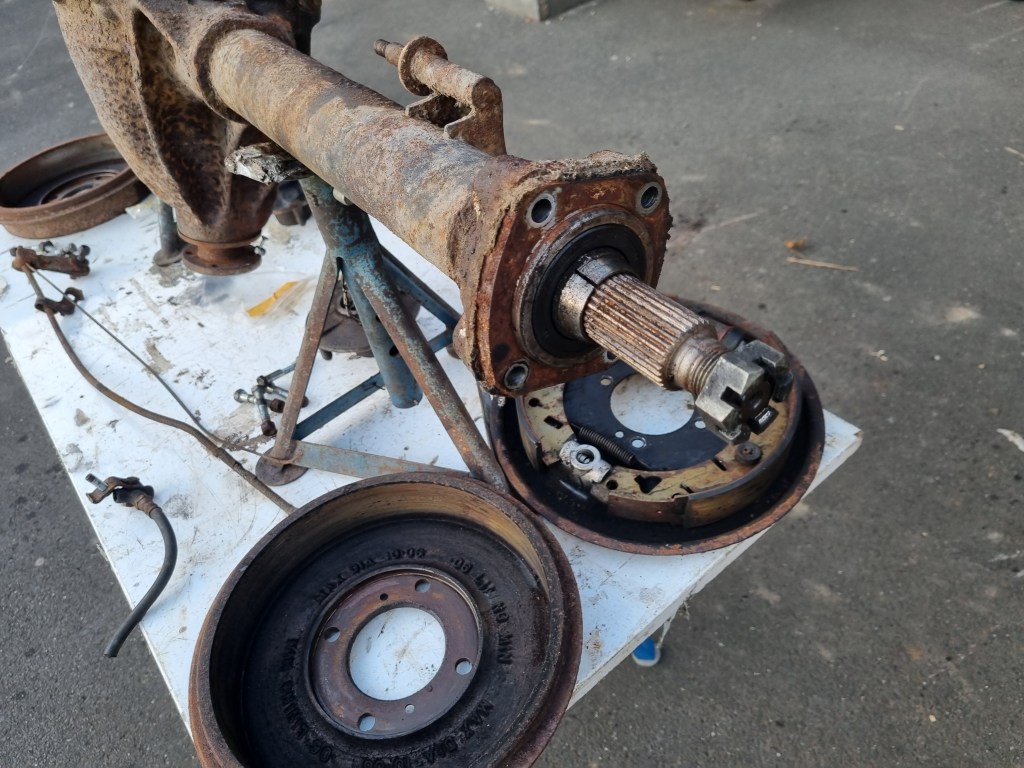
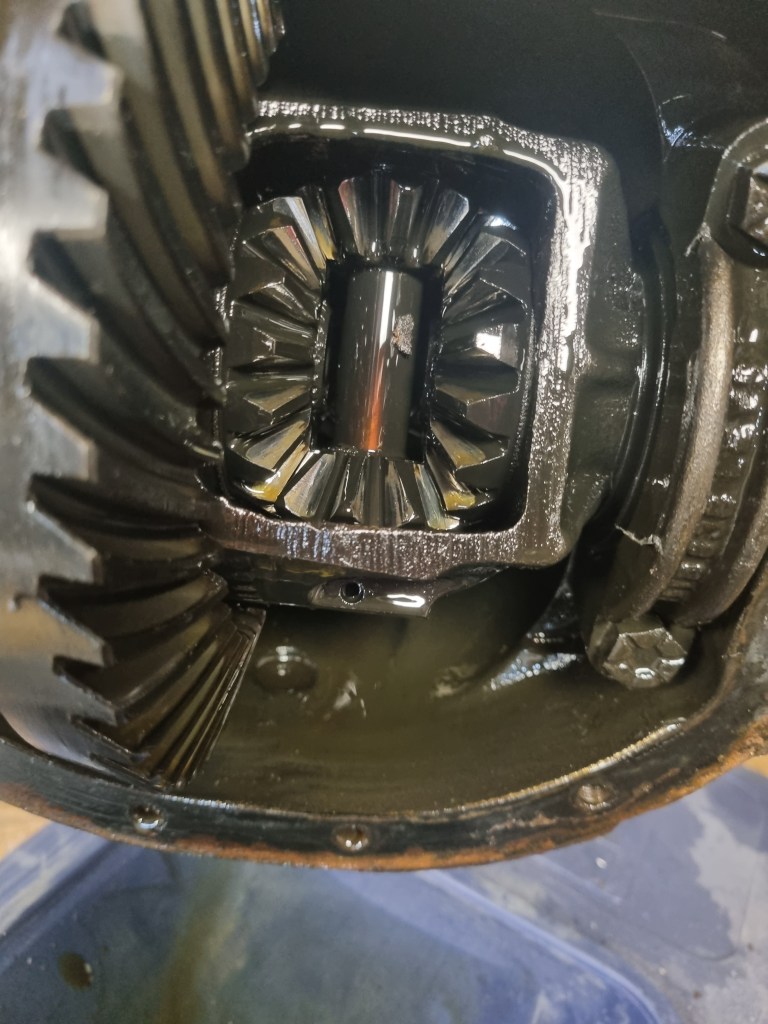
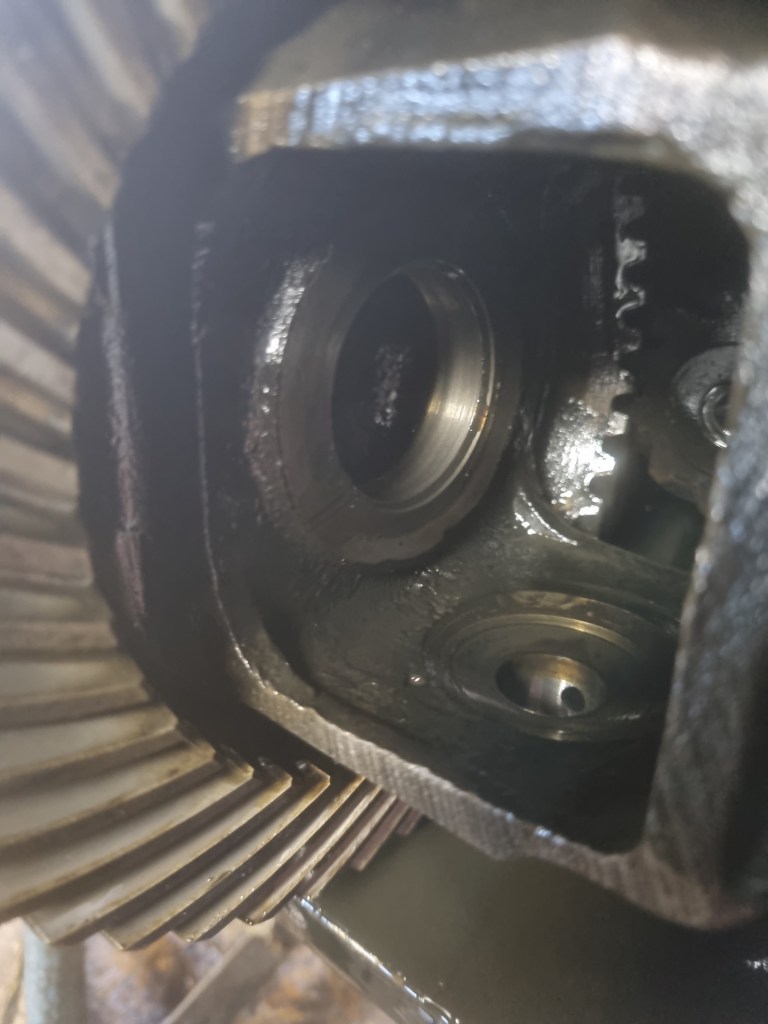
Today, the weather wasn’t as good – so pulling the axle shafts and diff gears had to be done inside. The workshop manual doesn’t include good instruction to de-clunk a rear axle – but there are some good videos. MikeatYoutube and DrDoolin made it look quite simple. And actually, it was easy on one axle – but the rusted one gave me more trouble. The pinion shaft is stuck in the diff (not the housing) and whatever I try I can only pull it for 4,9cm.
Tomorrow I will give it another try – but if this doesn’t work, I will leave it as it is for blasting and tackle it at a later point. I only have spares to repair one axle right now anyway.
UPDATE: Oct 13th 2023 – the second part about the assembly can be found here.


I had a clunk that thrust washers would not fix. After turning the pinion shaft I noticed there was no preload on the bearings. I then torqued the pinion nut starting at 100 lp ft. At 120 there was a little pop as the nut tighten. I checked the drag and it was 5 in lps. then checked back lass and it was .008 as was marked on the ring gear. All back to gather and no clunk , ran for 100 miles still good.
LikeLike