")
No more Swedish specialties – it is time to just finish the work my son’s Saab 900 Turbo for now. The missing bolts & brackets I mentioned in part 2 arrived last week but due to work and other obligations I had limited time in the garage again. When I finally got there, I noticed that I made a stupid measuring mistake. Bolts are measured without the head – but I noted the length with heads. As a result, the M12 bolts I ordered were 10mm too long. With washers added on both sides they still fit anyway.
My estimation that I just need two hours last weekend to bolt everything back in was too optimistic. This might have been enough if I had a proper car lift – but with the car just on jack stands it is a different story. As mentioned, I also had to remove the fuel tank. This was a good opportunity to check the fuel sending unit for faults. Saabeth’s fuel gauge usually works when the car has just been filled up. It also shows when you hit the reserve. But in between full and empty it often does not work at all. I inspected the sending unit and tested it with a multimeter. The resistances changes when I move the float to various positions – so I can rule this out as fault. Finding the cause for this problem will be challenging.
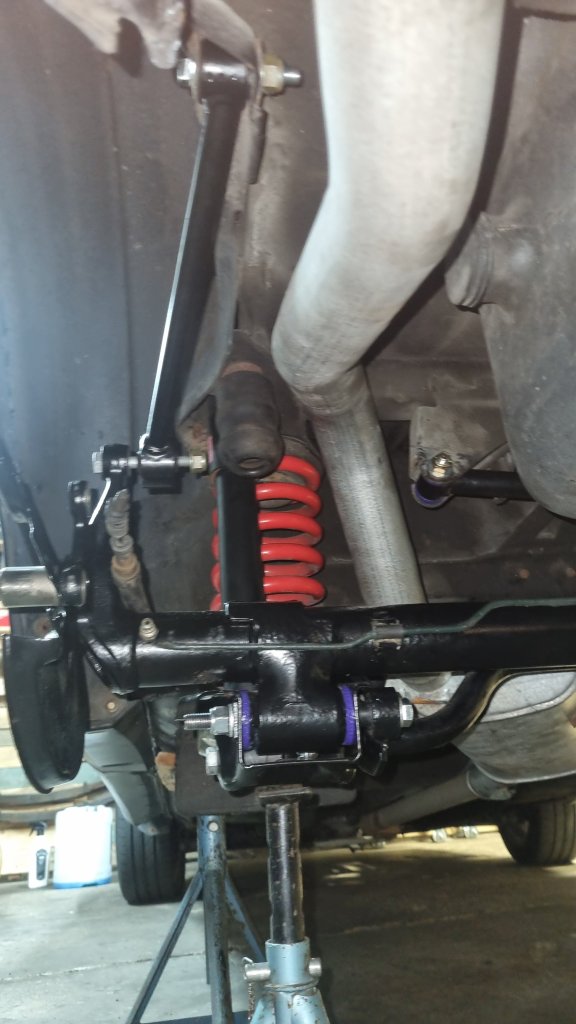
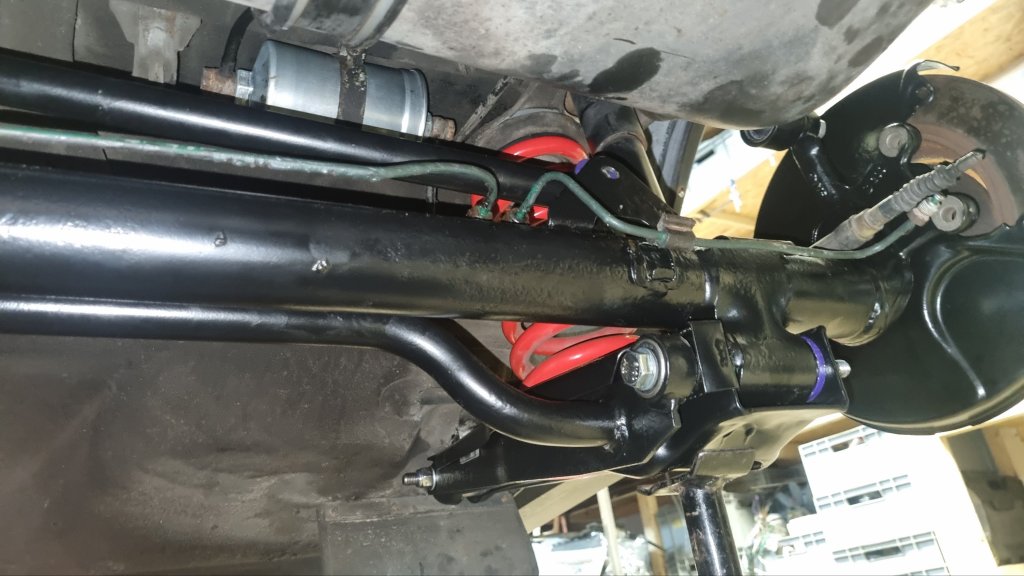
With the rear axle and tank out – it was also the best time to change the fuel filter. Impossible to say when this was done the last time. Next, I should have bolted the torque bars and Panhard to the car. Actually – I even had his on my task in the right sequence. As the fuel tank limits access to the right side of the car – it would have been much easier to bolt them in first. But task notes don’t help if you do not read them. So instead, I prepared the new stainless steel fuel tank holding strips by fitting the old rubber and bending them into shape. Getting the tank back in alone turned out to be tricky – but eventually managed it. Rust should not be an issue on the new straps, but I covered the threads in Cooper ease and put shrink wrap around them – whoever need to remove the fuel tank in the future should have a much easier time. Hopefully, it will not be me again.
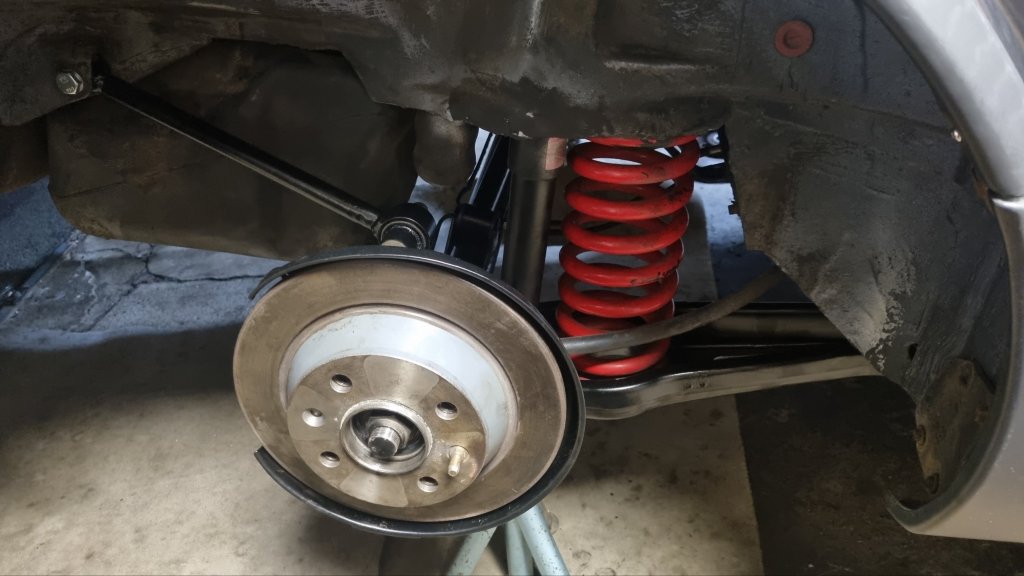
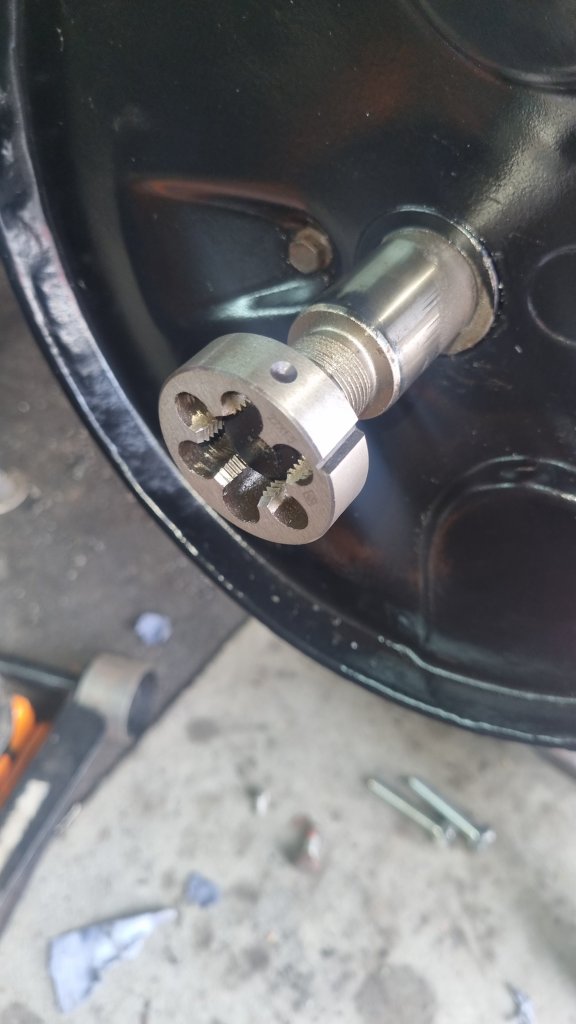
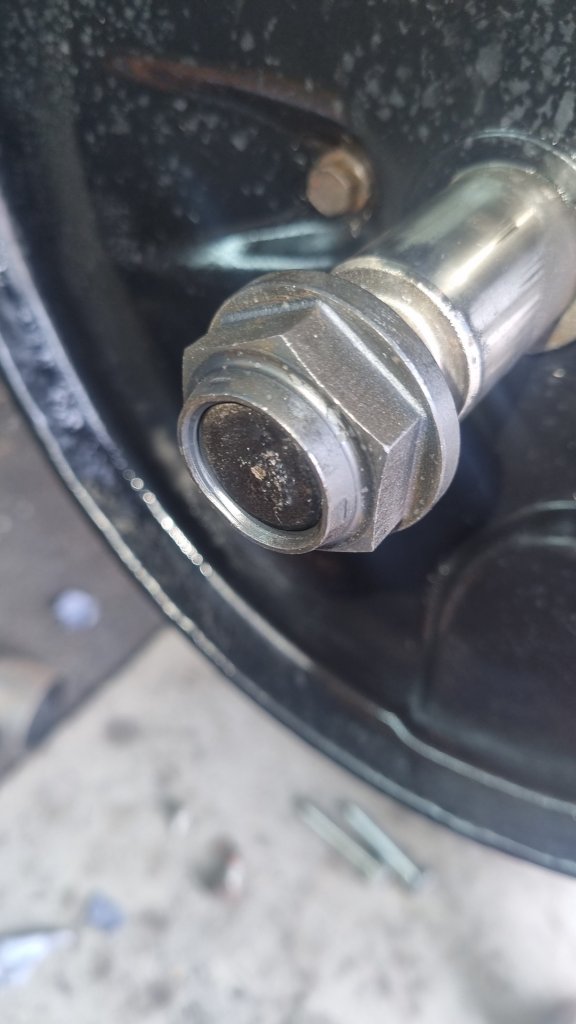
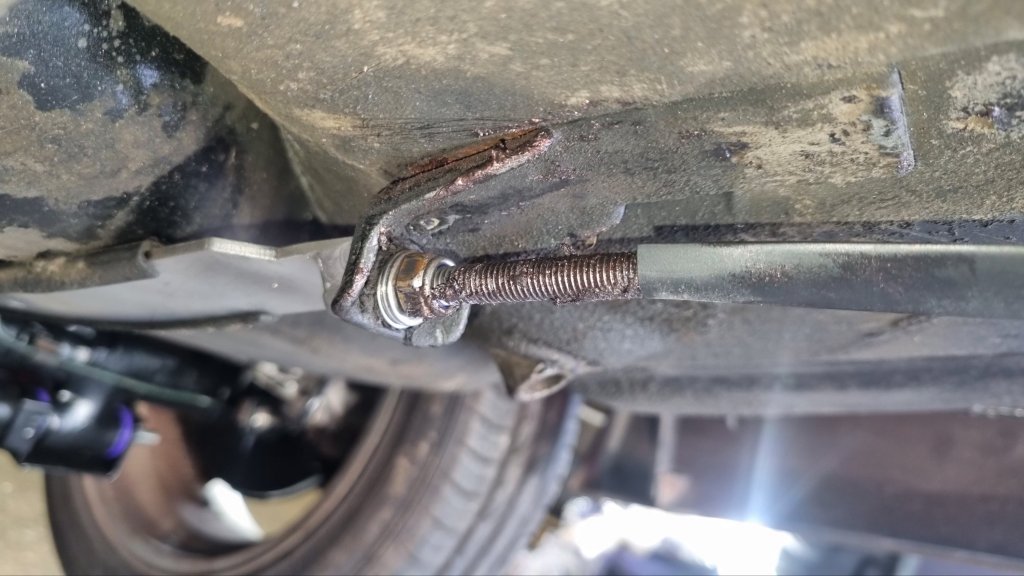
When I was done the torque rods came back to my mind. With the fuel tank back in place – it took quite long to tighten the left torque arm. Fitting the rear-axle to the front mounts however was easy. With the front bolts in-place the springs came back in. After tightening all nuts & bolts to the specified torque settings the wheel bearings and brakes came back on. In theory a simple job – but one of the axle nuts was damaged and I had to get a replacement and this the threat with a 22mm (1.5stepping) threat-cutter.
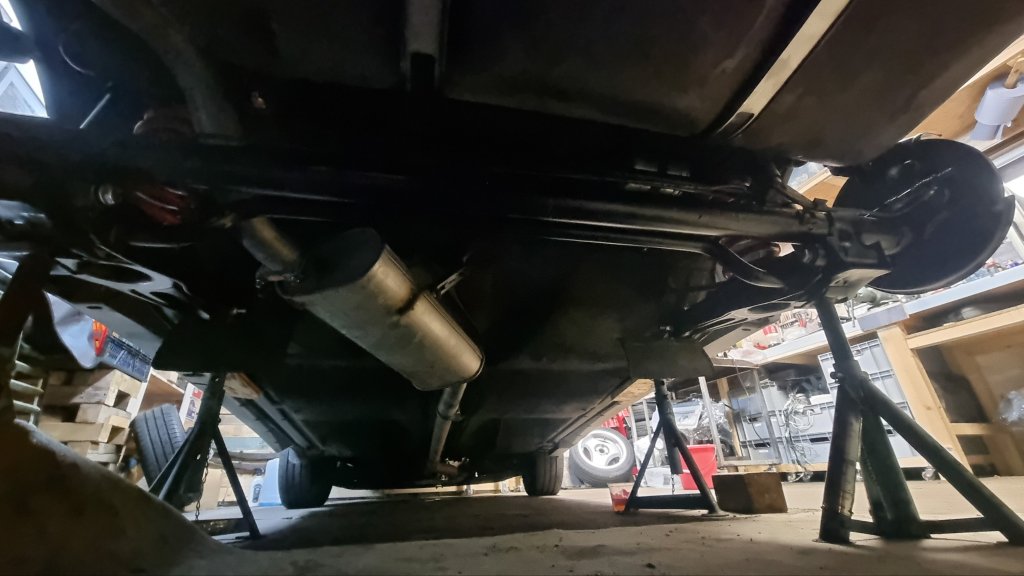
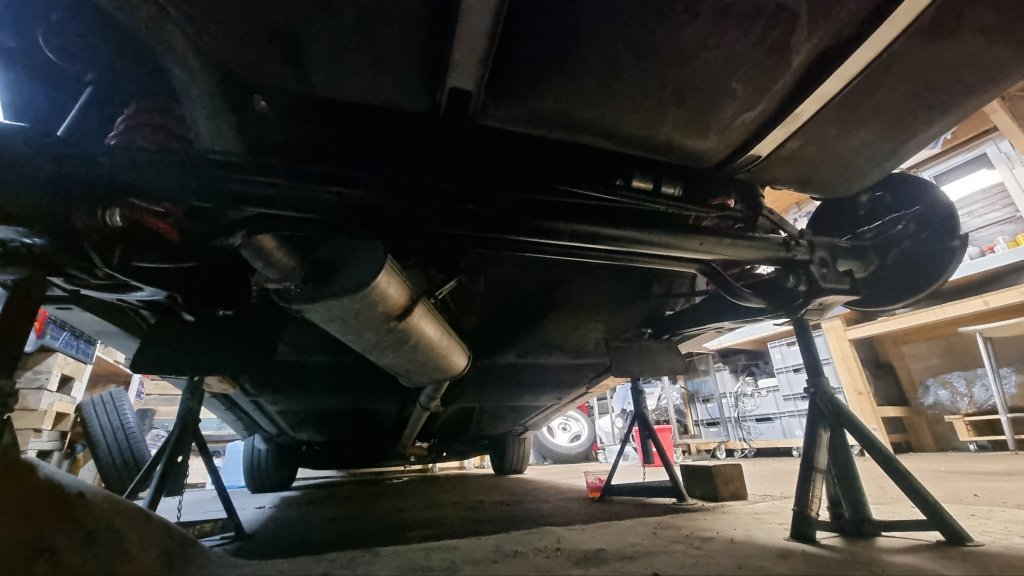
After double checking the break lines, putting on the handbrake cables back on, Saabeth is finally back on all four wheels. I am pleased with the results. The overhauled rear axle looks awesome. The poly bushes are a significant improvement. The new exhaust and the main reason I started all of this is also back on. Next up is a bit of work on the engines sump guard as well changing all fluids (oil, brakes, clutch, and coolant)


Tim VERY good work mate I trust that your lad is very grateful!!! I love to future proof my motorcycles when I work on them. Grease all round.
LikeLike