
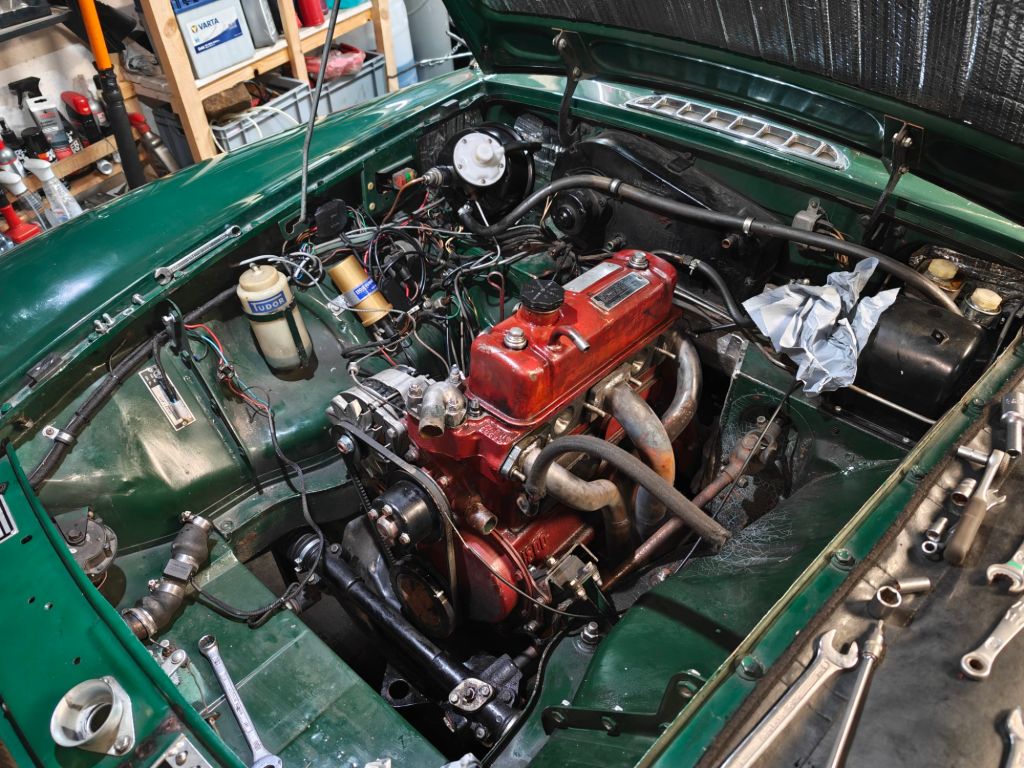
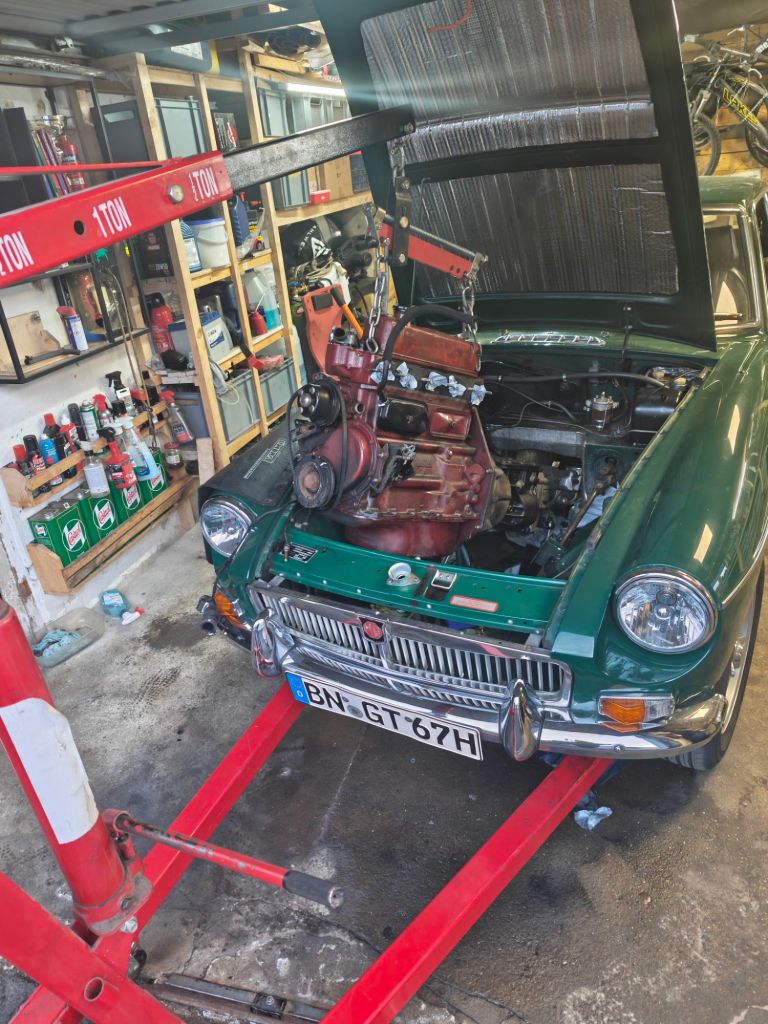
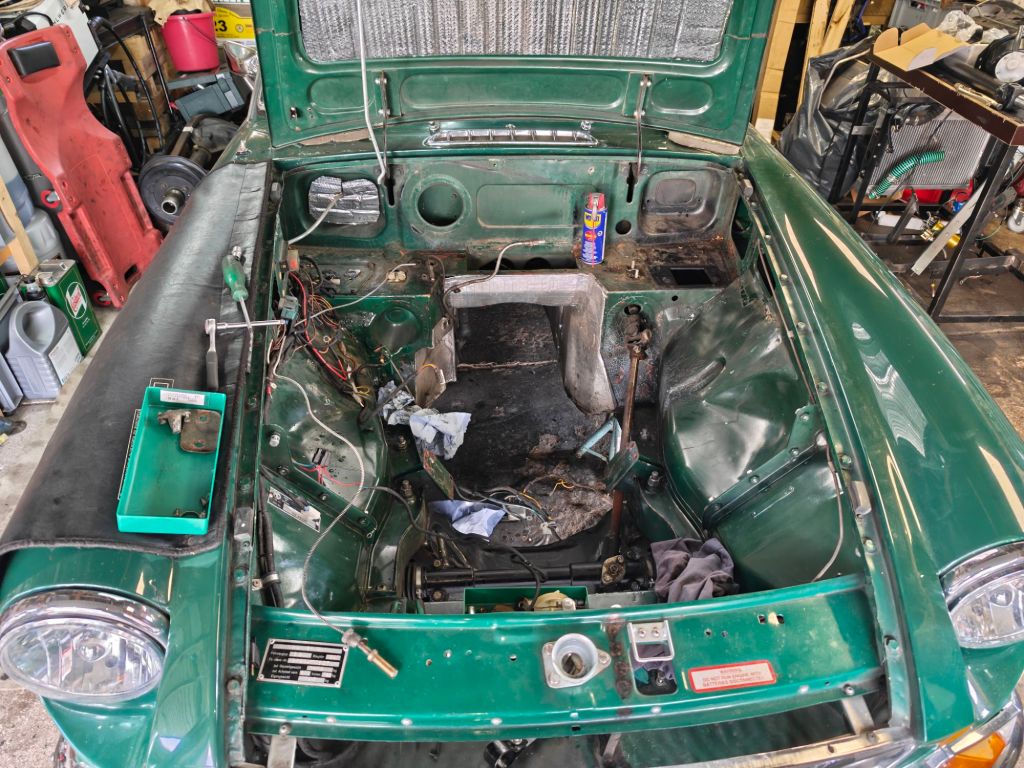
A day after Part 4 was released a 20min run with 2000-3000rpm to settle in the cam-follower was completed successfully. But with Mildred’s body-shell is still far from being ready – it was unclear when I could test the engine. And with a few smaller issues in Maggie’s engine and an ever louder noise coming from the Ford T9 gearbox – a somewhat crazy (and not entirely thought-thru) idea was executed. The by far easiest part was removing Maggie’s 18GB engine. After removing the Serck radiator (which received a drain plug), Weber DCOE 45 carb and Maniflow exhaust (which might be coated) the left-hand side was clear.
On the right-hand the temperature sensor was stuck. Following a recommendation from the MGEXP forum I read a whole ago – I removed the thermo housing cab and gently wiggle the sensor left to right and up and down. DO NOT PULL – it will only destroy it. Initially I wanted to leave the alternator in but it would have been a pain to unbolt the engine mounts. I almost forgot the heater valve control – fortunately noticed it when I installed the engine hoist.
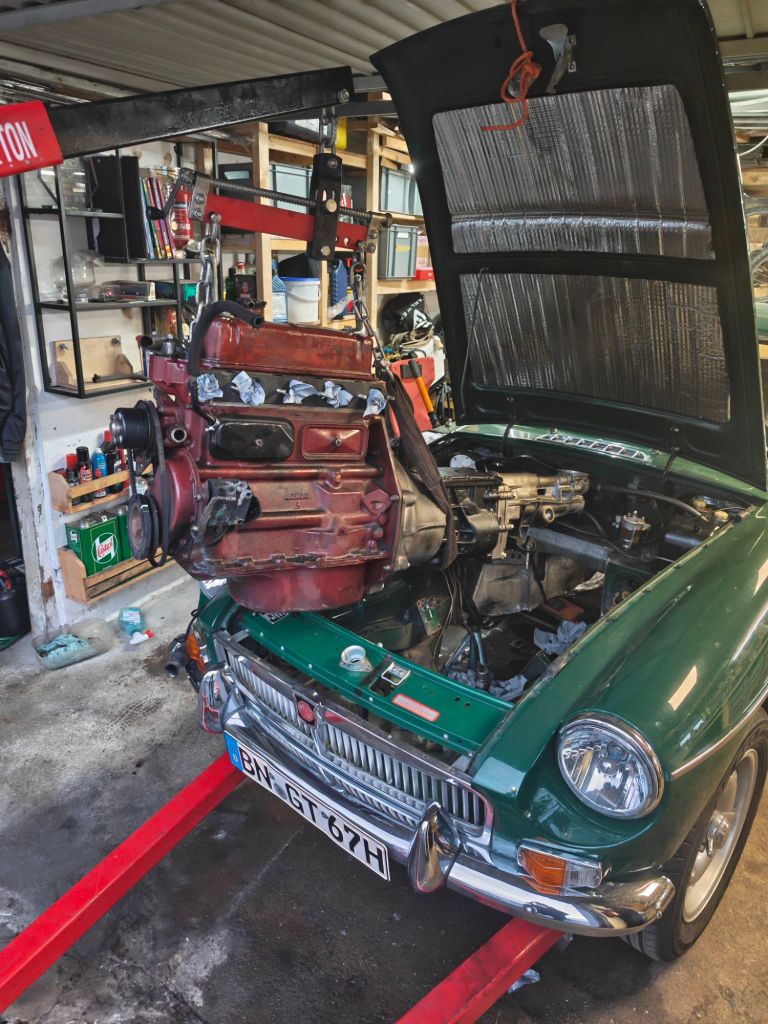
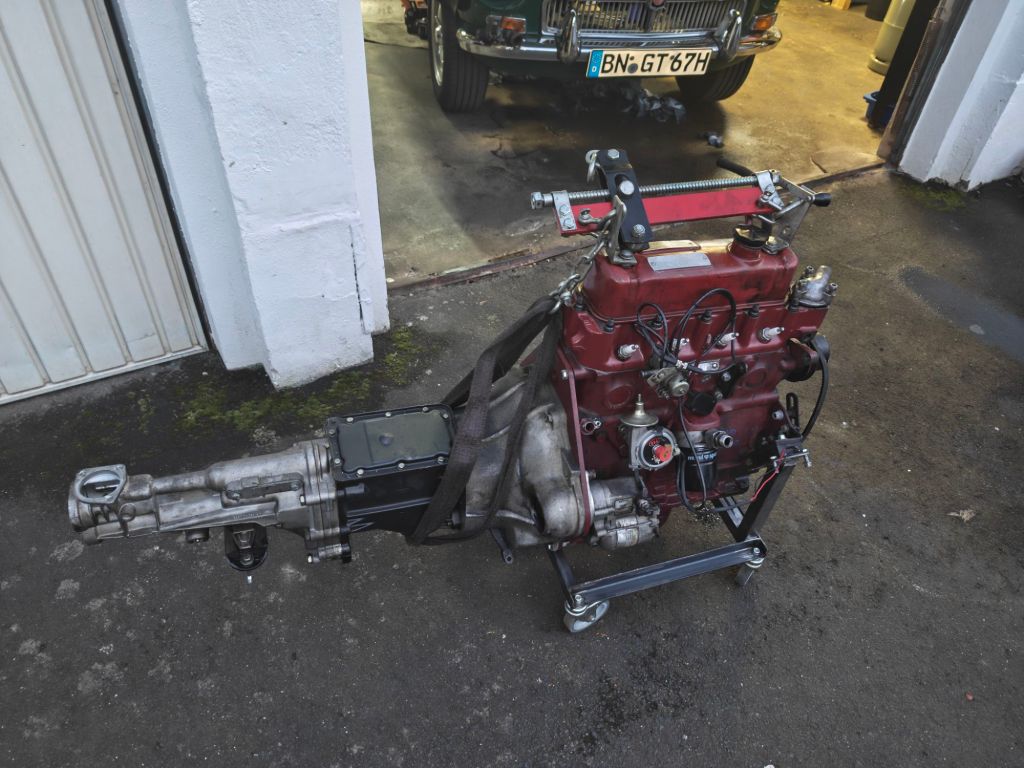
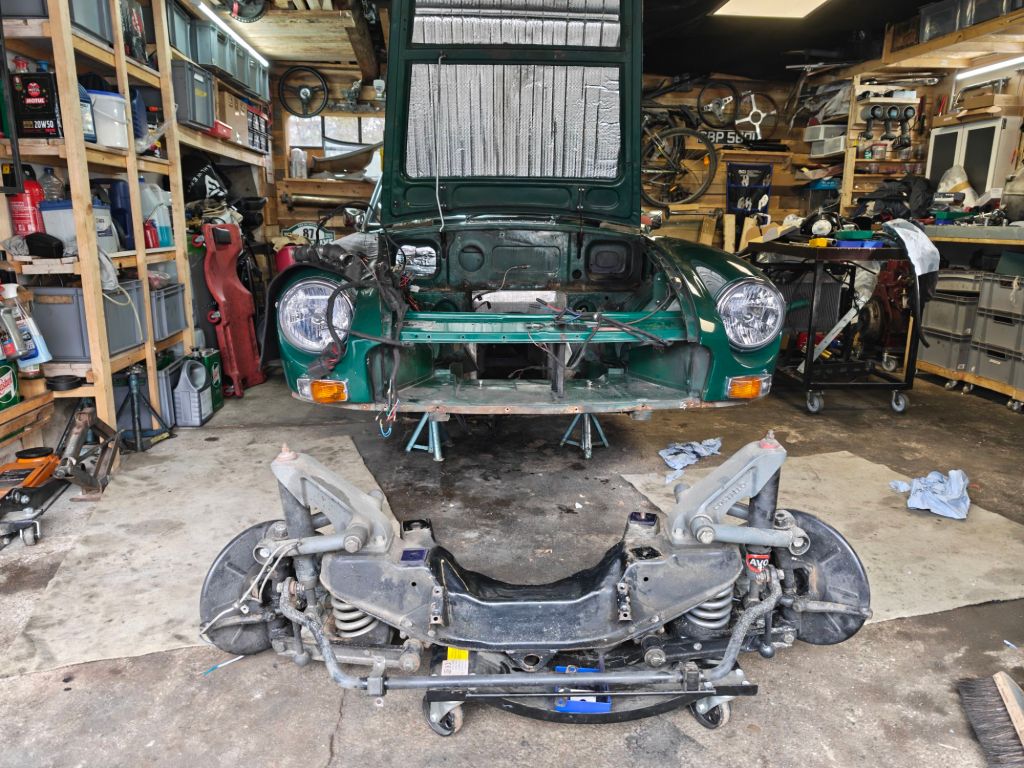
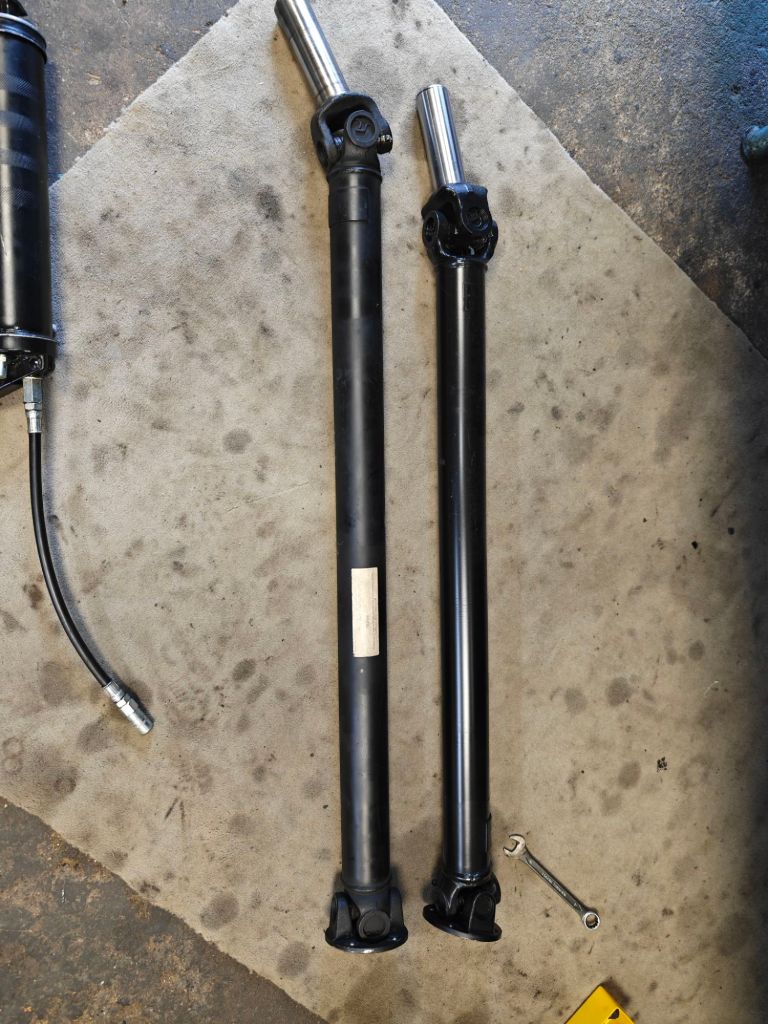
The Ford T9 gearbox conversion comes with it’s own cross-member and drive shaft. The came out nice and easy. What I did not think about: the Ford drive-shaft has a floating design. When I tilted the engine backwards on the hoist – the entire gearbox oil will flow out of the rear. Quite a mess. After quickly building another engine dolly – the engine and gearbox were out of the car after 8 years and 45000km. The removal was done on one evening – just a few days before I took the Saab on a trip to the UK. It will get an overhaul and a close-ratio conversion (thank you for the hint Florian) at First Motion in the UK.
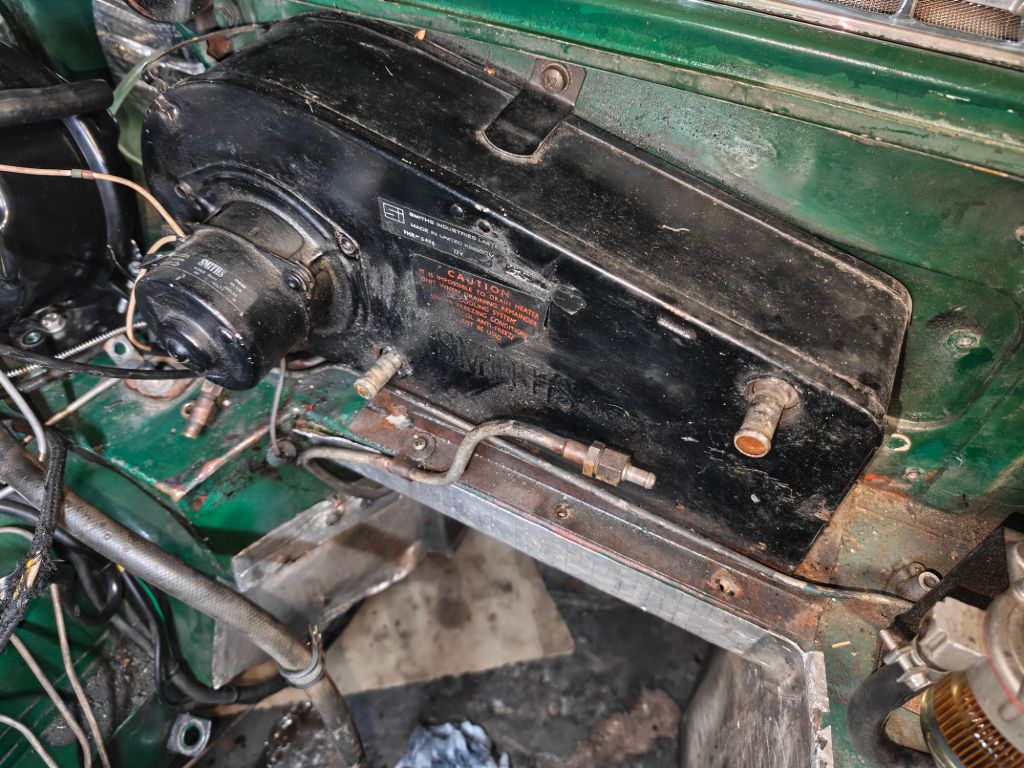
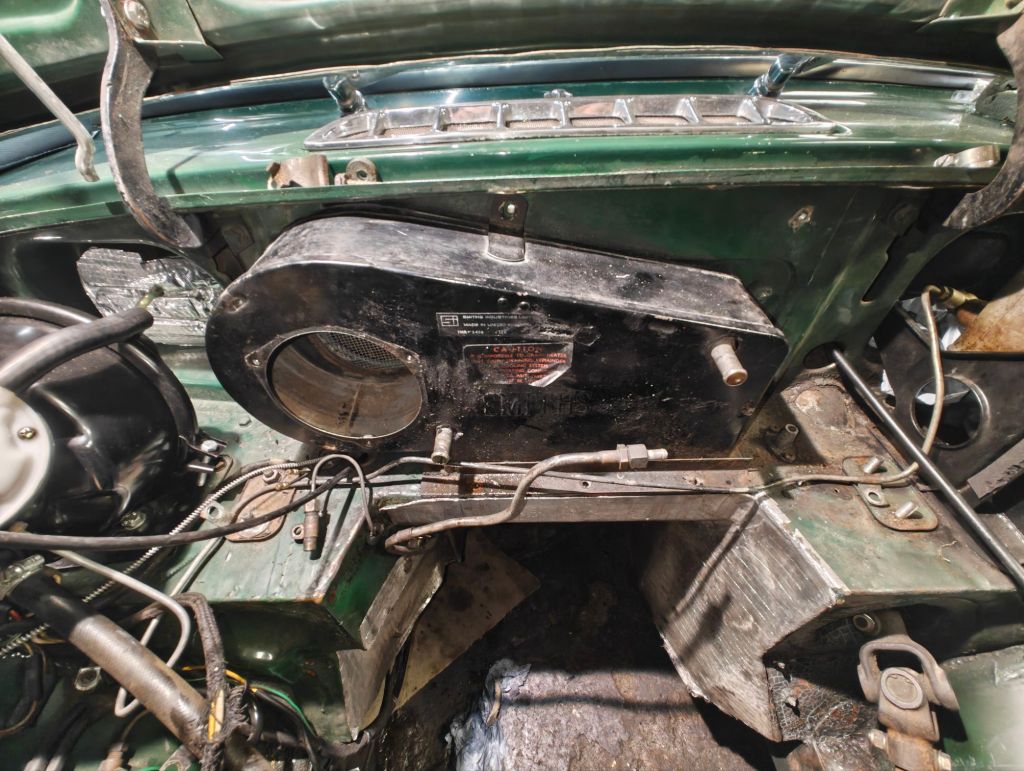
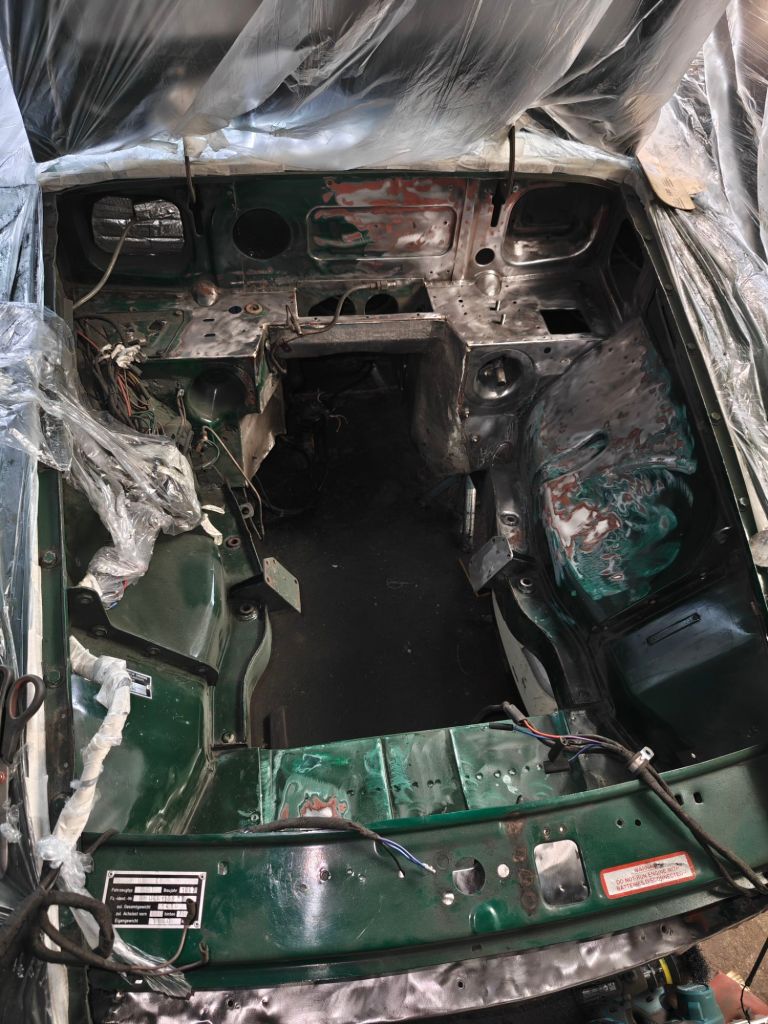
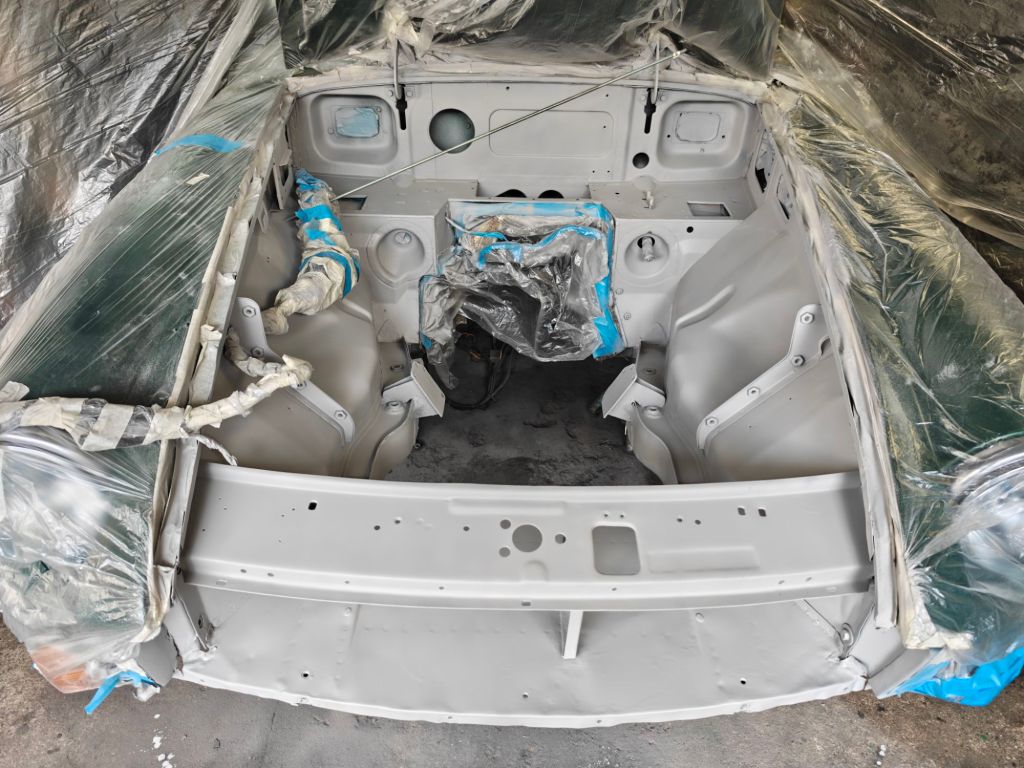
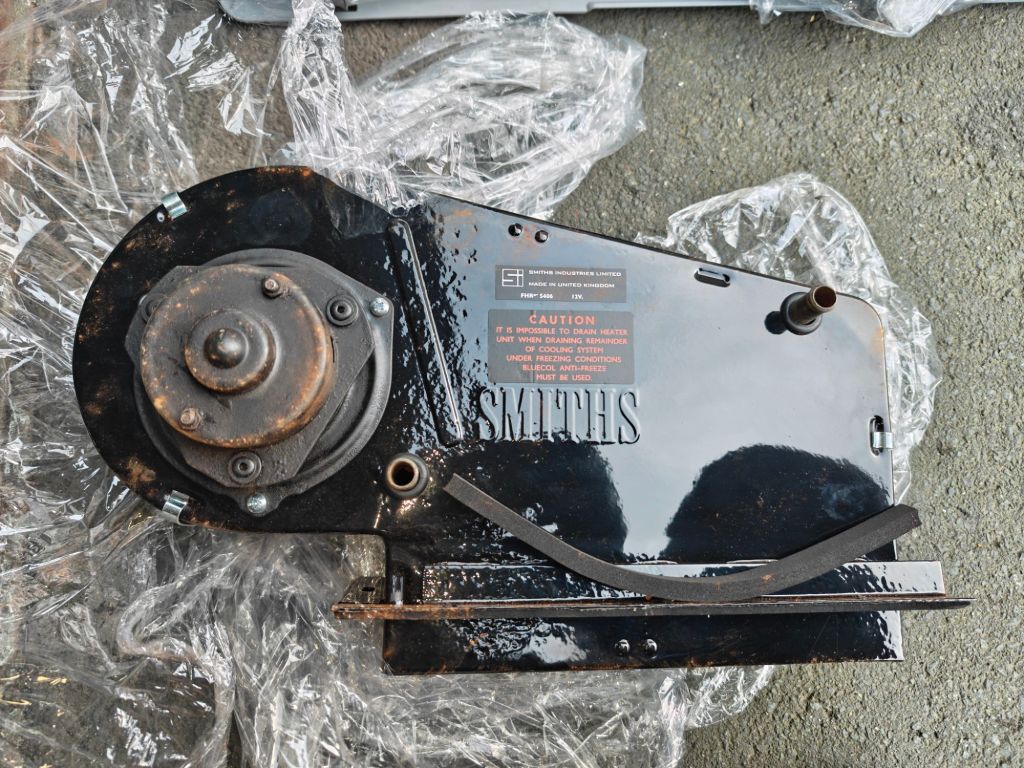
Initially I intended to simply drop in Mildred’s new 18V581 without making any changes to Maggie. But looking at the engine bay – I found a few rust spots. What also bothered me for a long time is the rattling heater core in the Smith heater. And as I have a few restored heater units on the shelf – why not take the opportunity and do some cleaning? In the end I took out pretty much everything – beside the wiring harness which would have required cutting a few wires. In hindsight this would have made painting a lot easier and I regret not having done this.
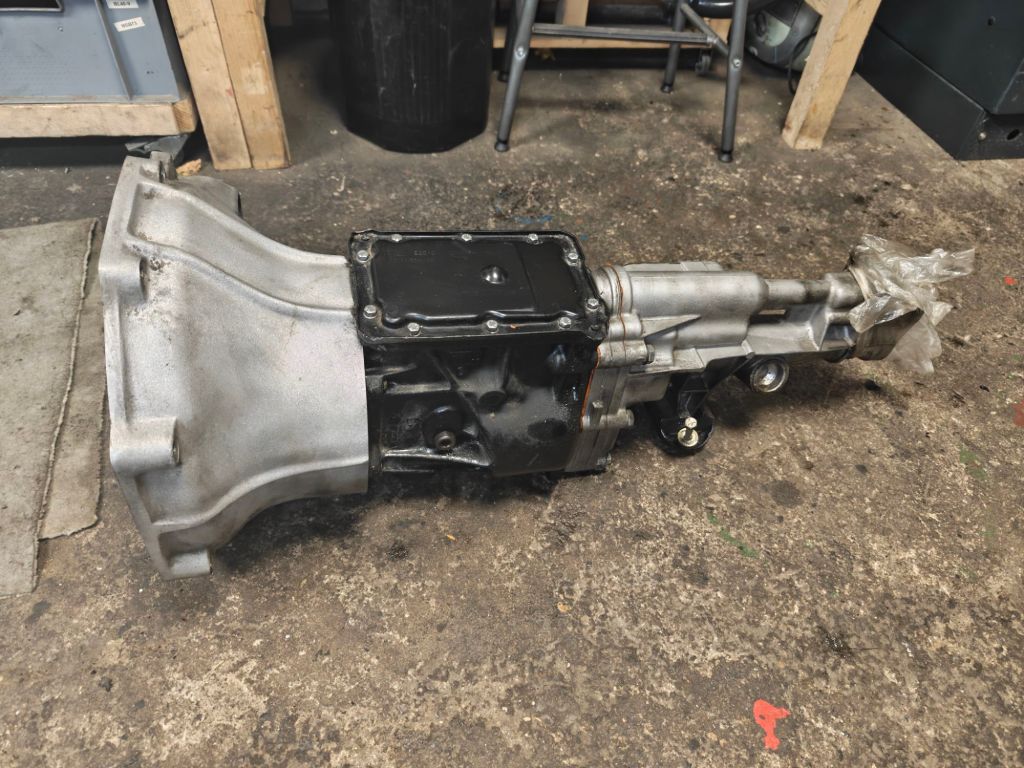
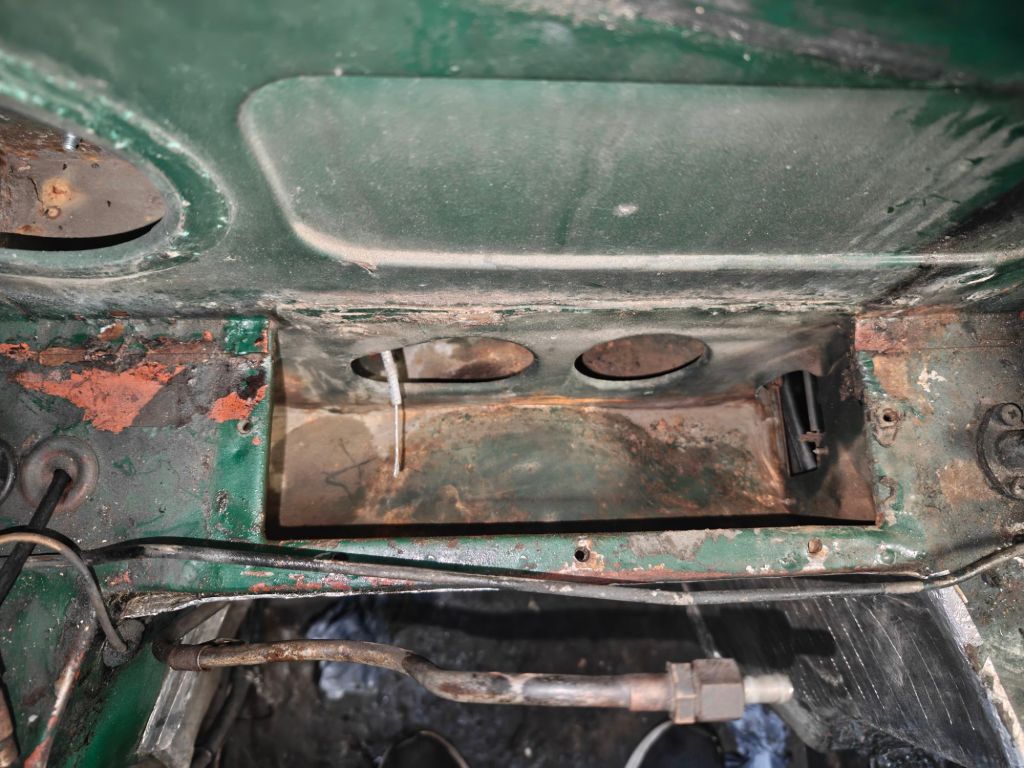
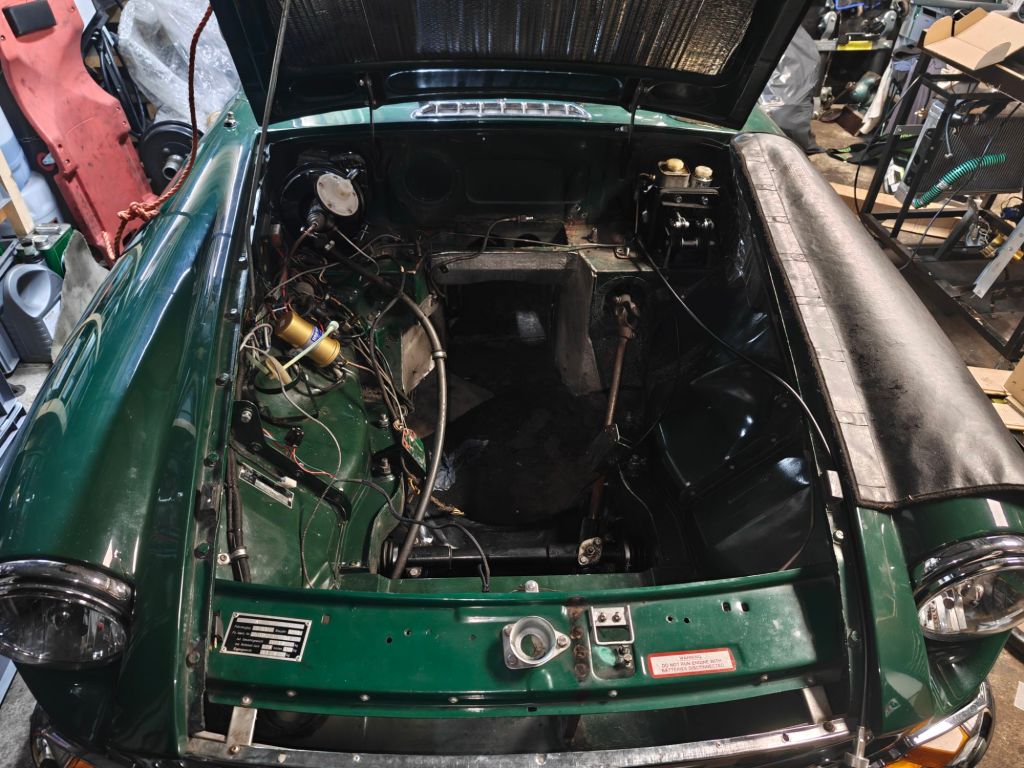
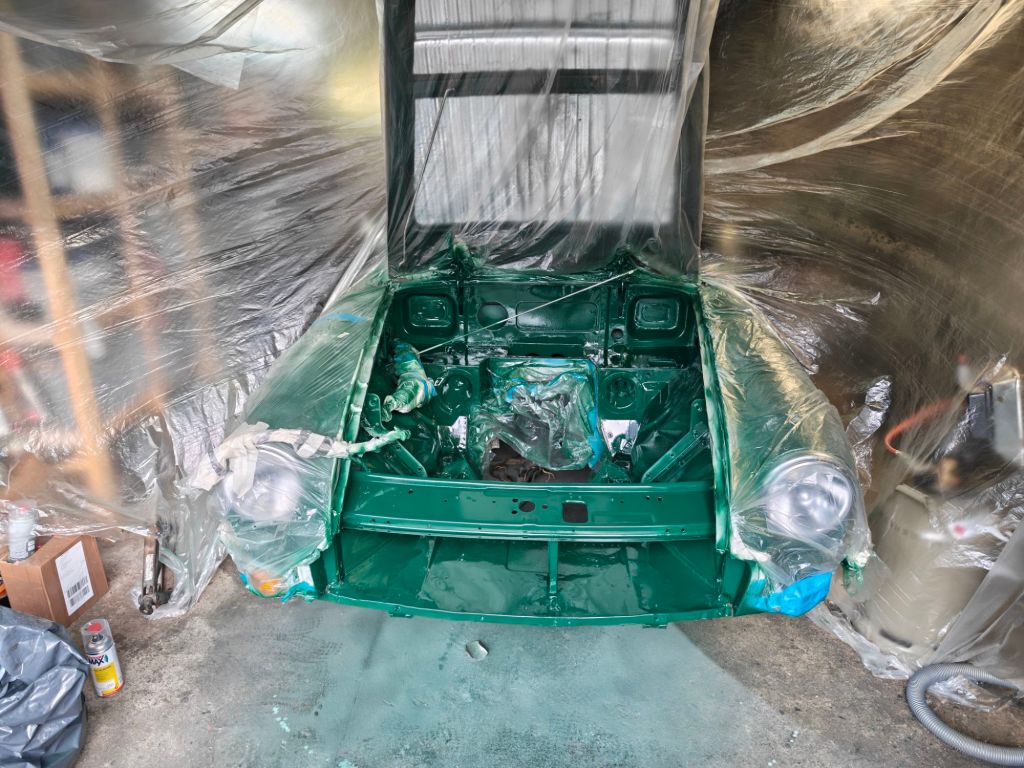
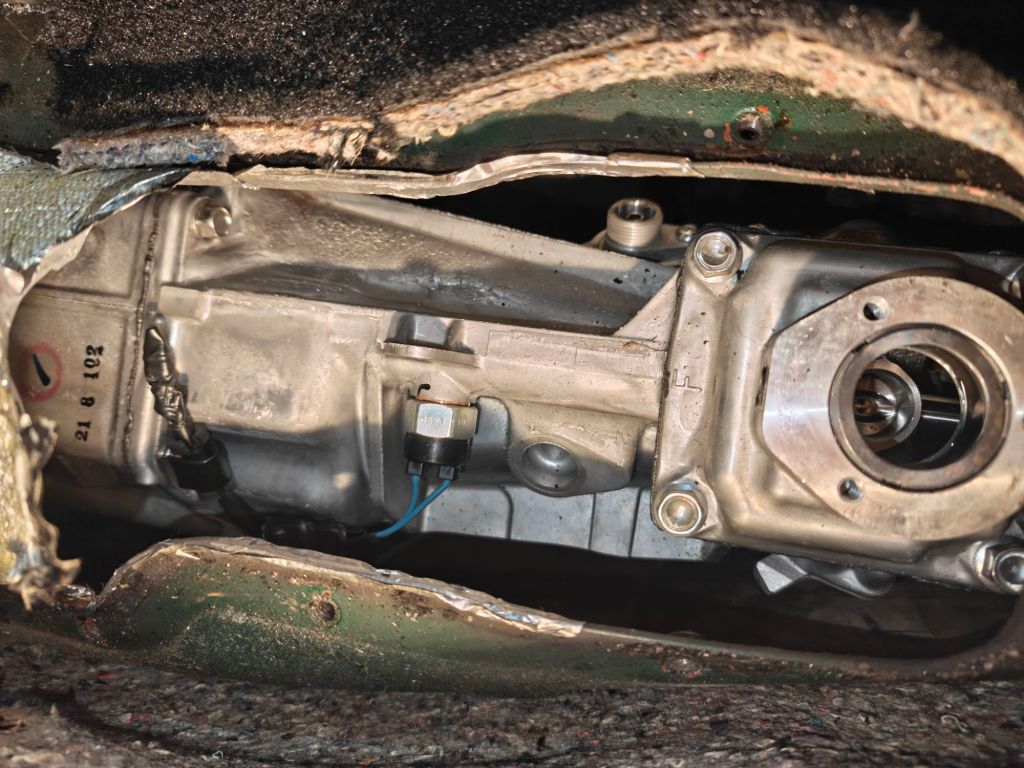
A few nights were spent on rust removal, two weekends for the various layers of rust converter, 2K primer and multiple coats of GN25 British Racing Green. In theory this is Maggie’s color – but she has 50 shades of BRG anyway. Installing the new engine and gearbox revealed why I didn’t think this thru. Mildred is a 1973 car. The MX5 gearbox I bought for her is designed for later gearbox tunnels. However, while Maggie was registered in 1967 – she was built in Dec 1966. So she is still a Mark I with the narrow gearbox tunnel. A fact that was somewhere in the back of my head at some point – but not this year….
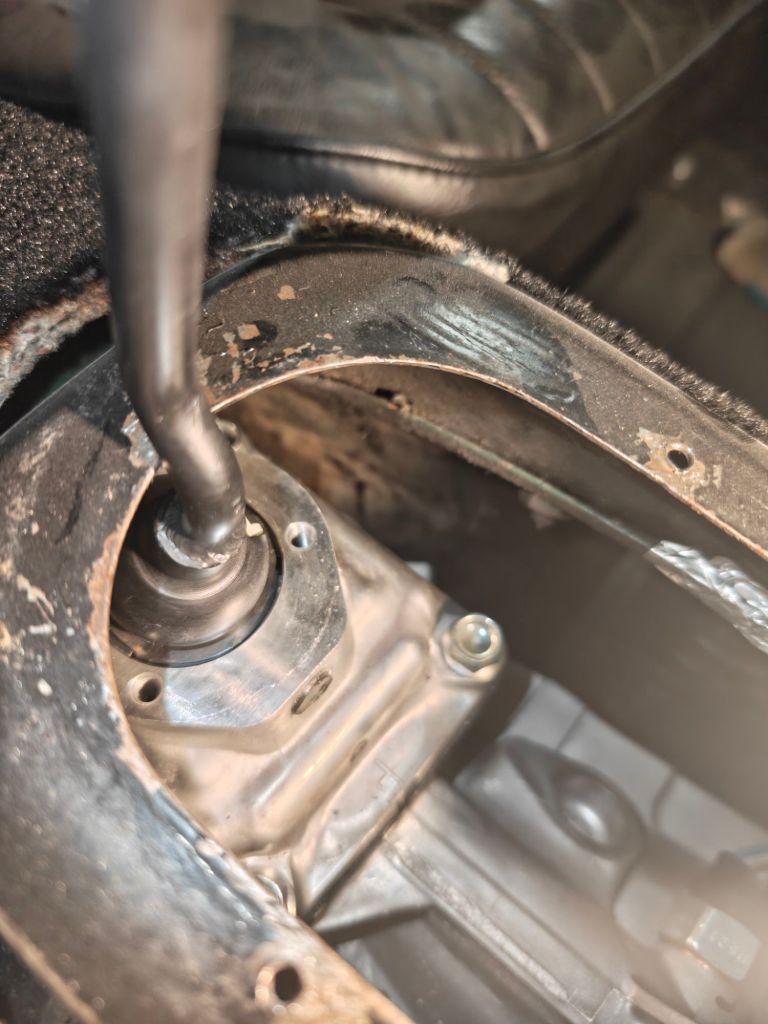
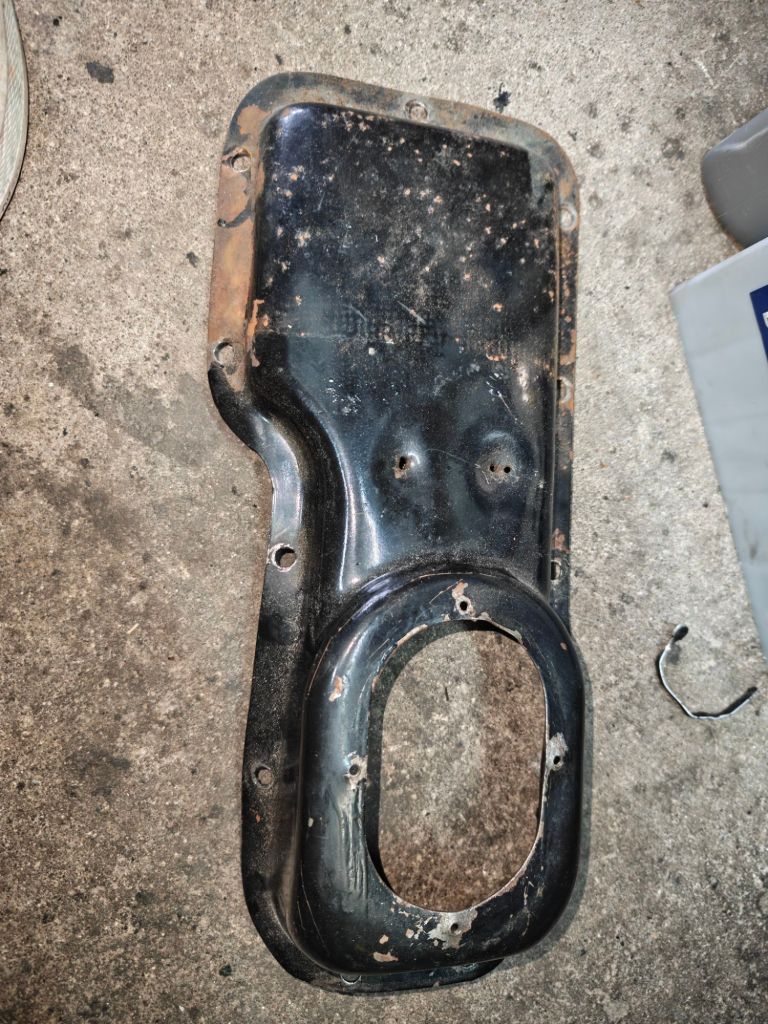
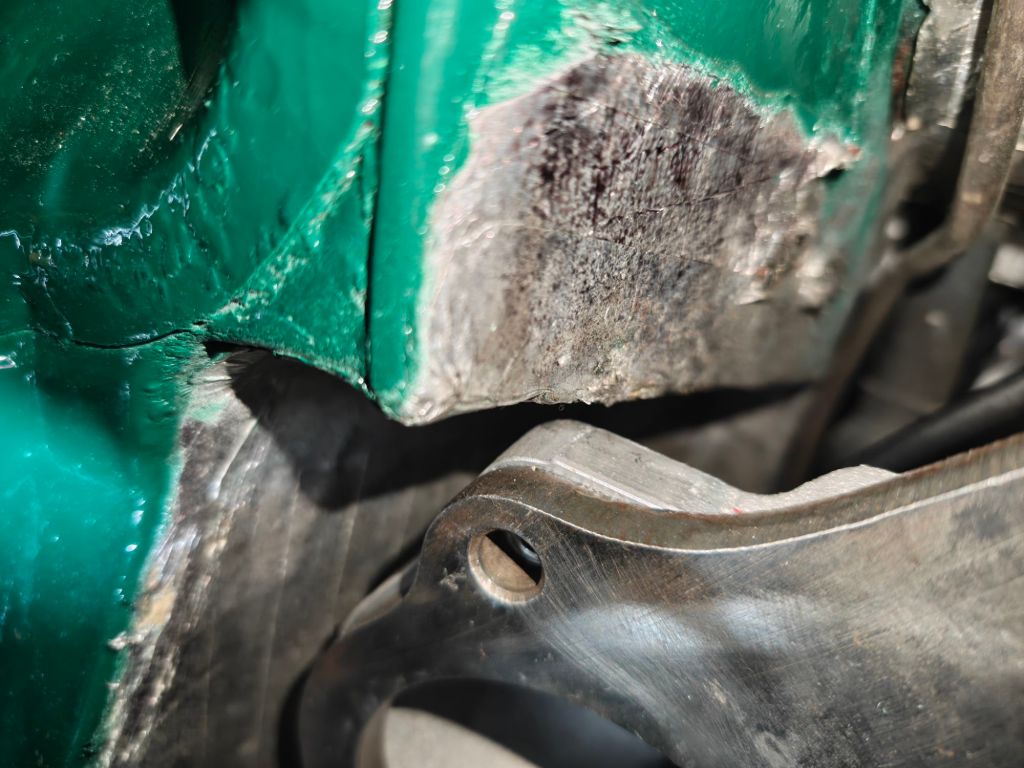
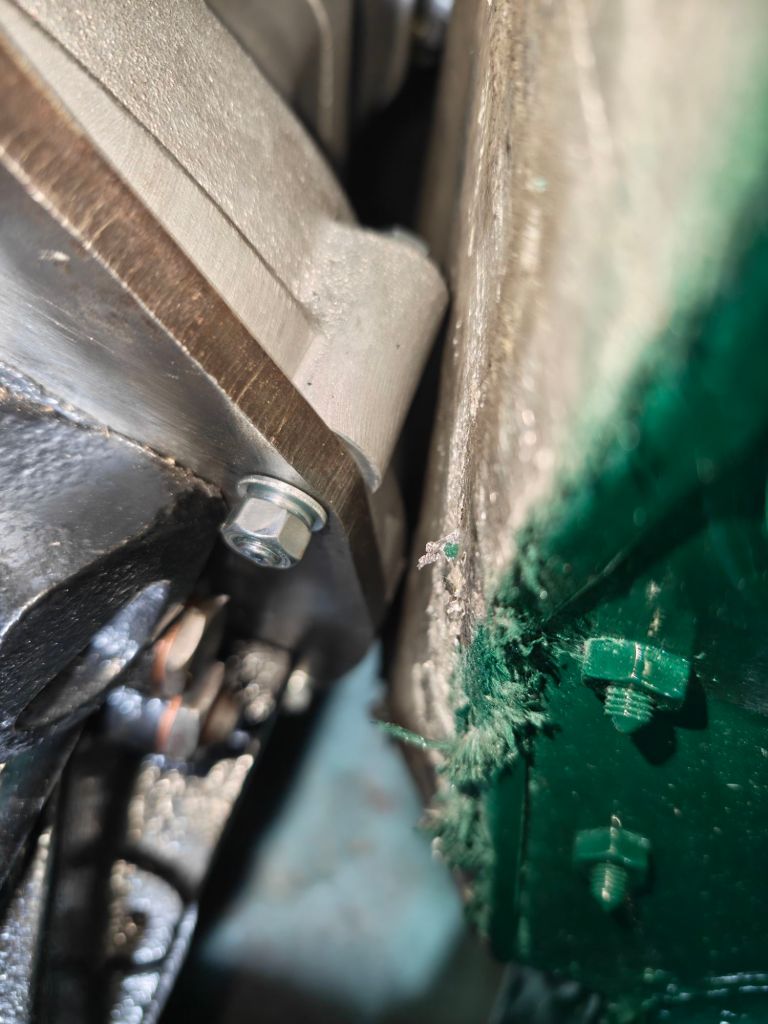
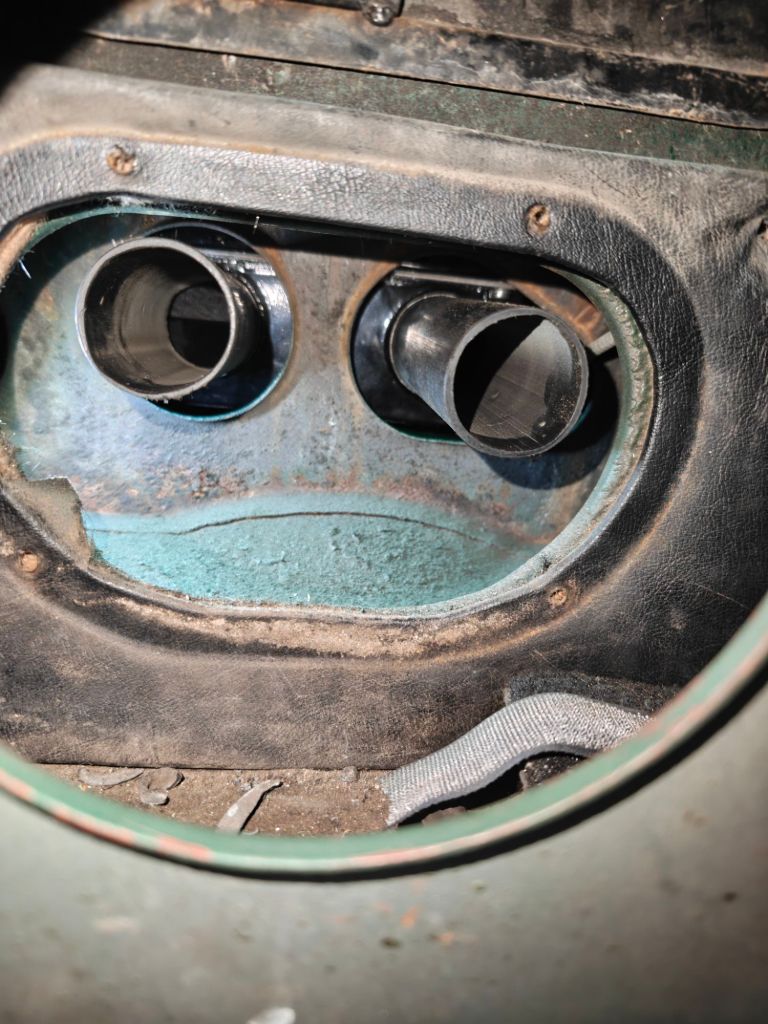
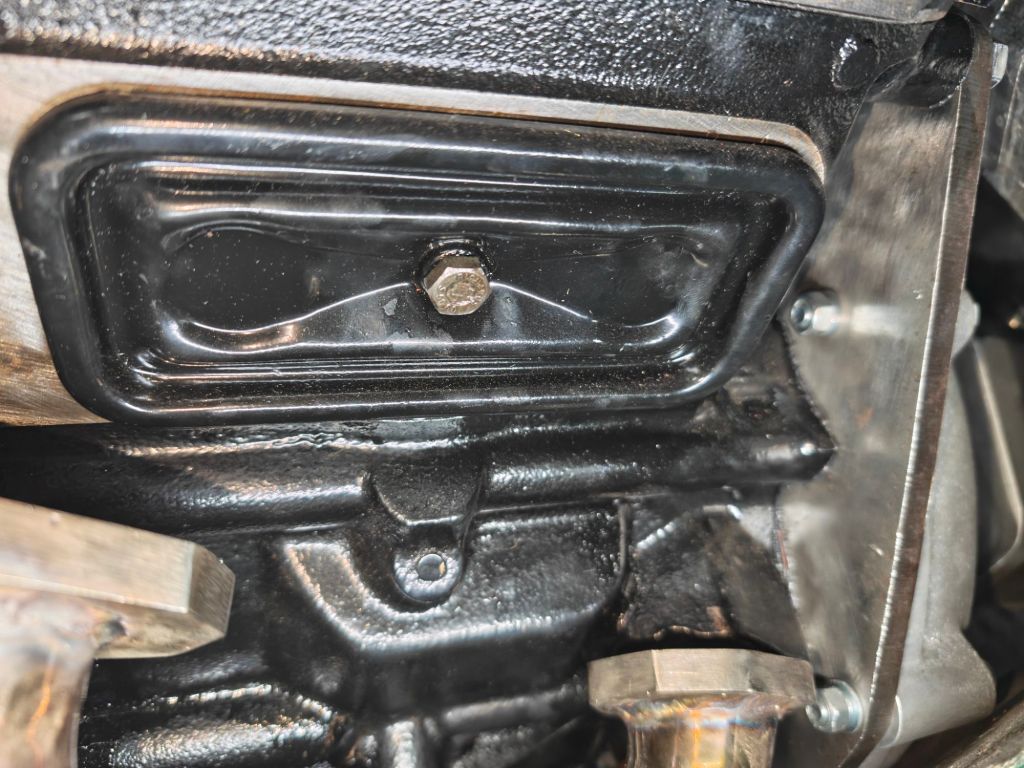
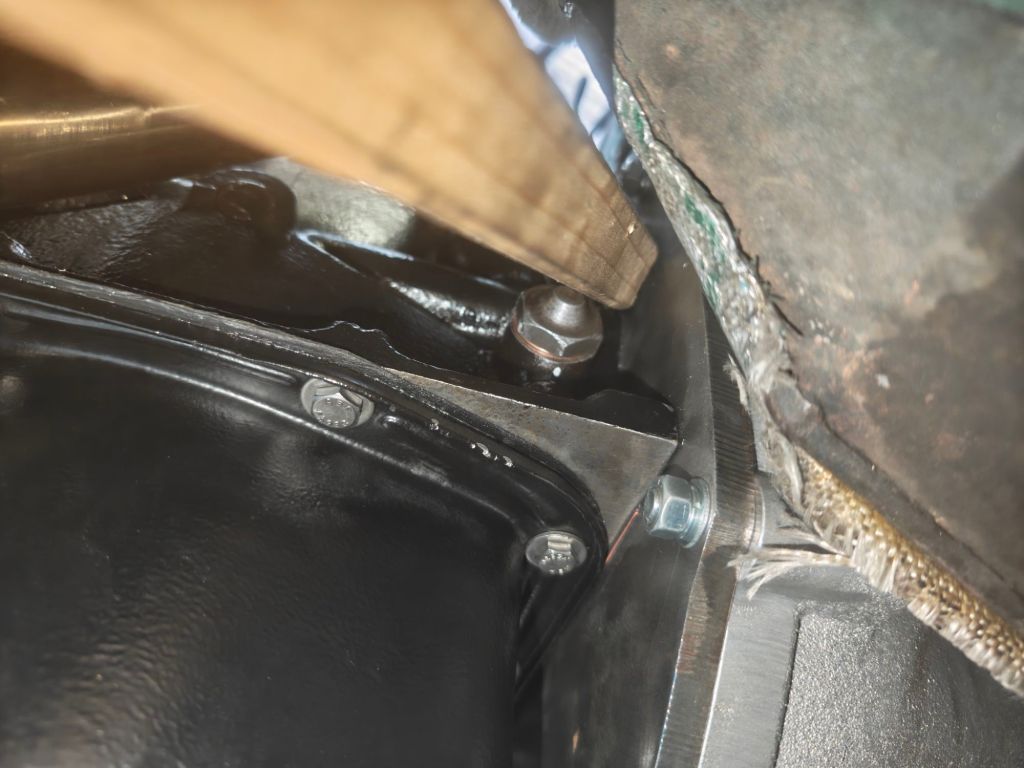
What can I say – getting this combo into the car was a very, very tight fit. And it took me a while to figure out, why the engine is 0,5cm (!!) too far in the front of the car. The bolts for the engine mount would not fit. As it turns out – the gear lever is further back and N7S gearbox housing is touching the upper rear corner inside the gearbox tunnel. This became apparent after removing the tunnel cover – which also meant – the armrest and center console had to be removed. In the end – I decided to cut out a 4x1cm piece from the gearbox tunnel. This was enough to get the engine and gearbox mounted correctly.
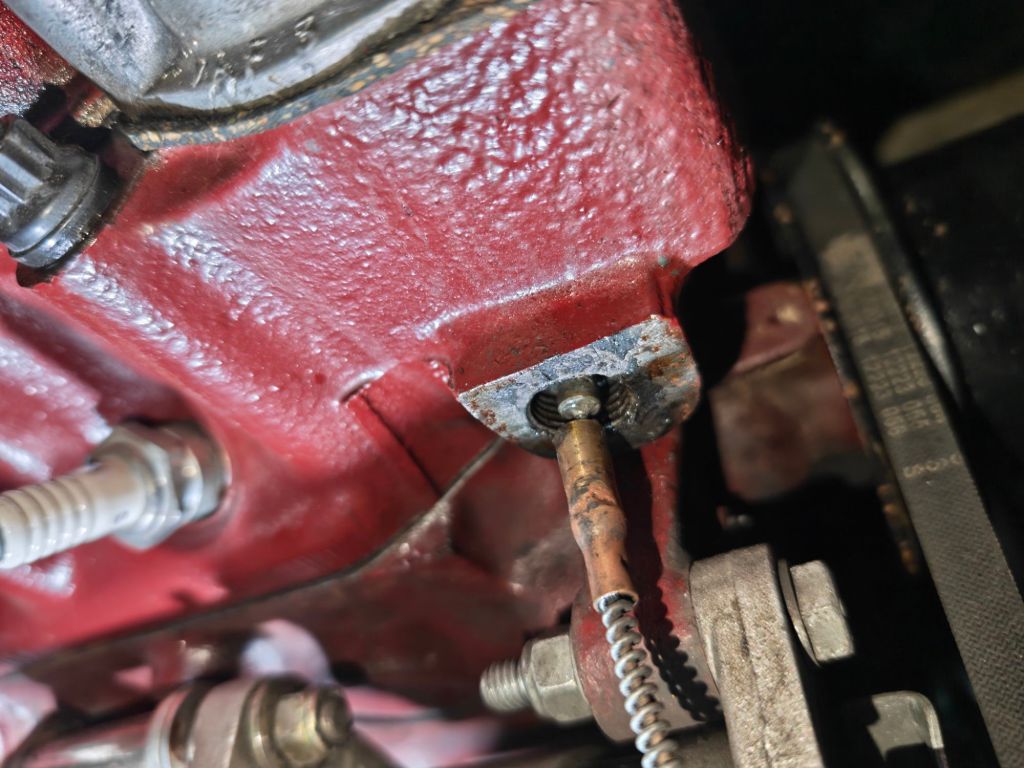
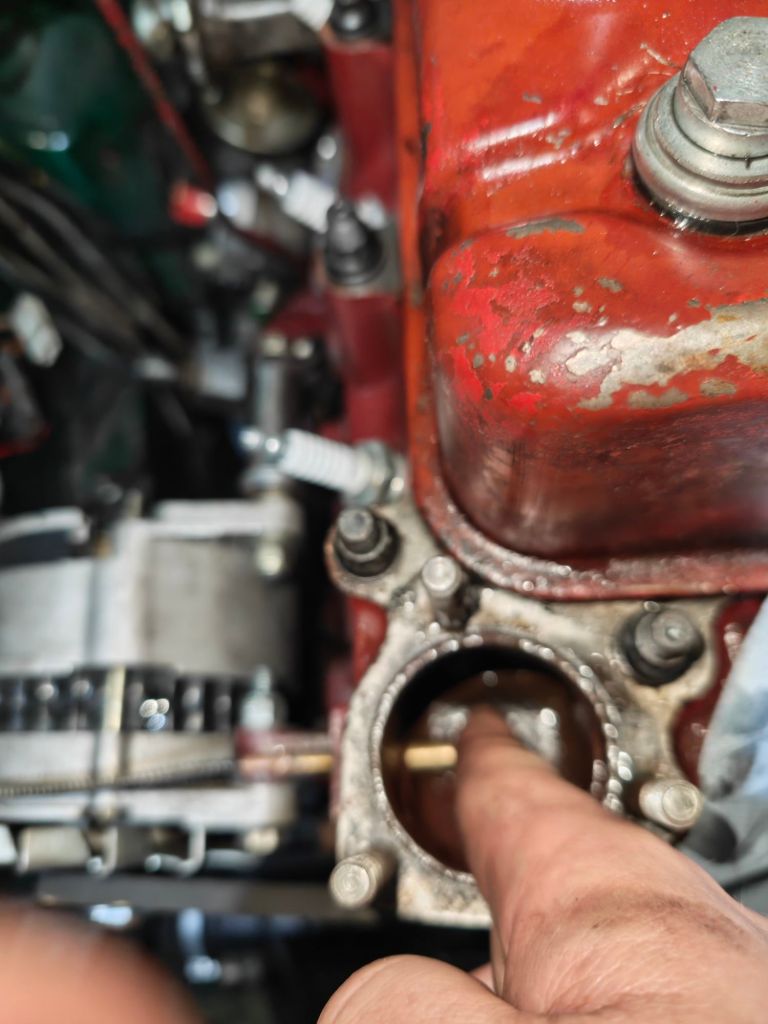
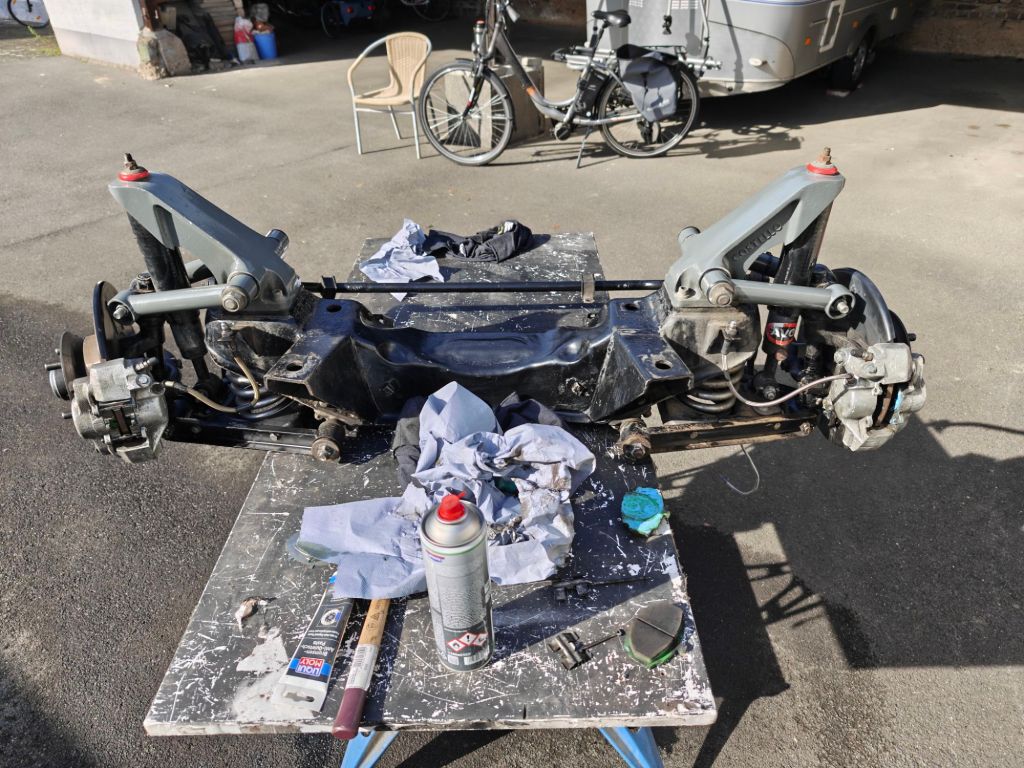
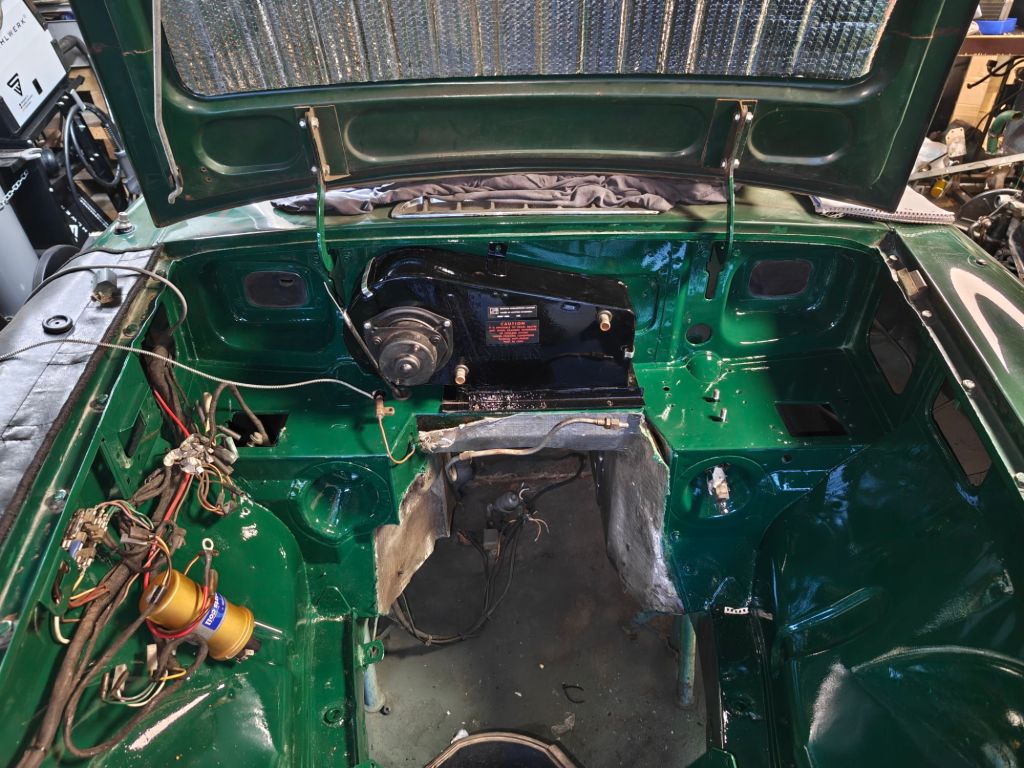
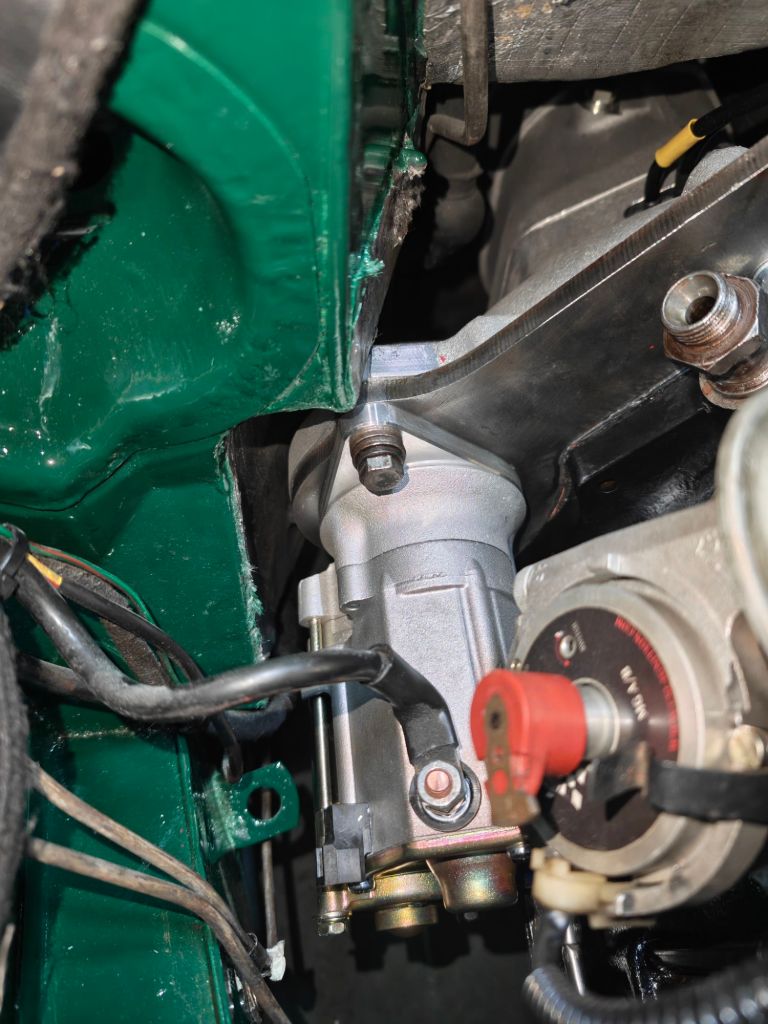
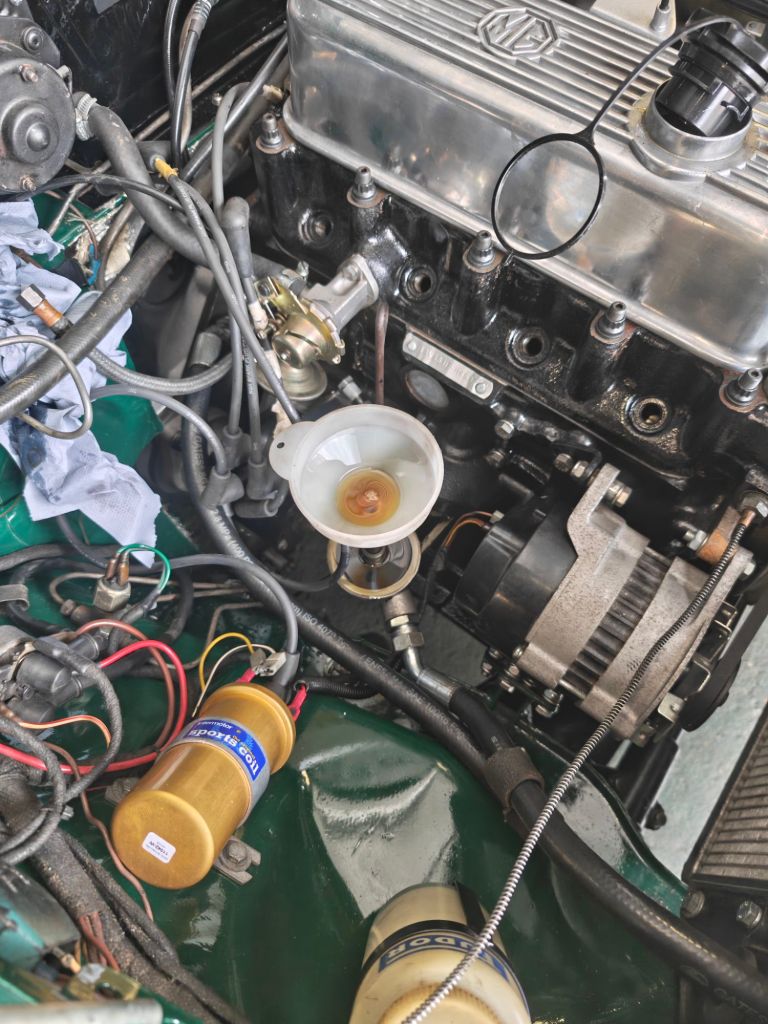
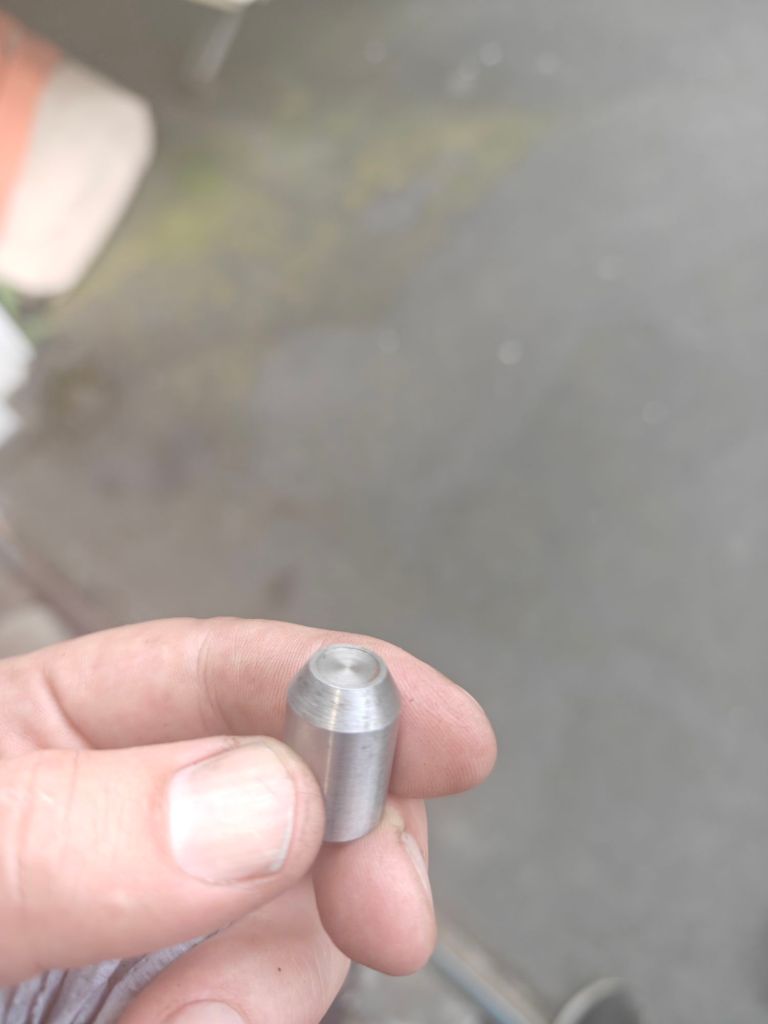
Getting the heater cables and vent pipes back into place was fiddly and took quite some time. During the reassembly process I also did a rear axle oil change, cleaned-up the entire front cross member and suspension. Installed anti-sequel brake plates (which seem to do the trick – thank you @Andreas) and removed some obsolete Overdrive cabling. For the first start, I removed the spark plugs and wanted to turn-over the engine with the starter motor to get Oil-pressure. No matter what I tried – this did not work out. I primed the pump by filling up the oil via the oil- cooler hose. Double checking the oil pressure relief valve was a royal pain – especially getting it back into the car. Marking with a pen where the threads engage was essential for this.
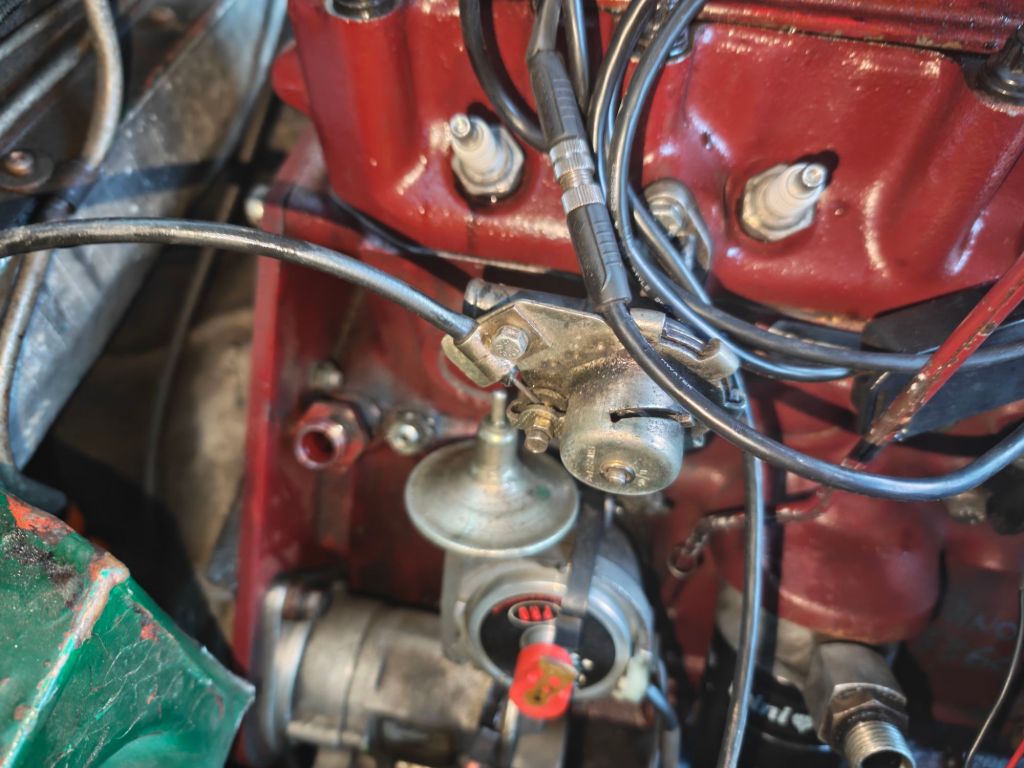
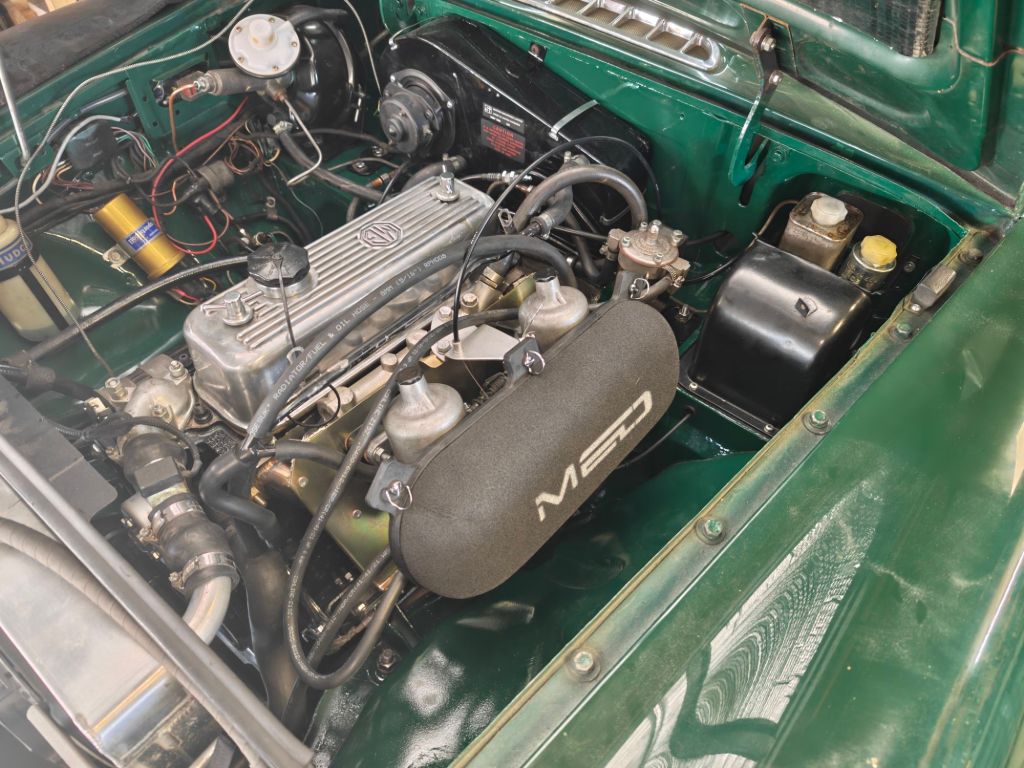
After a while I decided to just take my chances and start the engine. And after a few seconds, I had 80PSI oil-pressure. This is caused by the uprated oil pressure relief spring and should be beneficial for the running-in period. With the CSI Standard distributor I started off using curve 6 – intended to 18V581 engines. It starts at 10° static and has a max of 32°. But I found that the engine idle a lot smoother with a bit more advance – around 12° to 14°. But with this curve 6 has too much advance at higher revs. I switched to curve 2 for now.
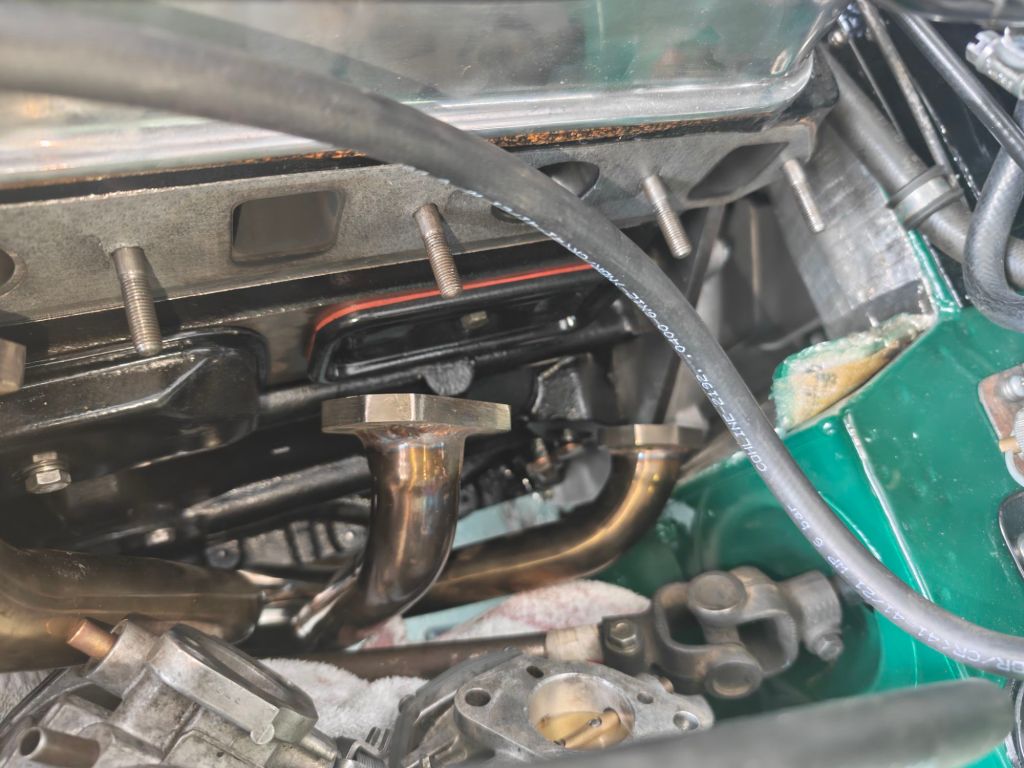
After the first couple of drive smaller oil leaks from the tappet and breather covers showed up. I removed the exhaust made sure that the screws have 6NM and replaced the front cork-seal. It is better now – but still not perfect – will need to watch this. But overall I am very happy with the engine and gearbox so far. The lighten Fidanza Flywheel with the MX5 gearbox are super responsive. Currently I avoid highways, use country roads with a lot of gear changes. A new tool I will add to all my cars is the new MD Lambda View. I will share more details about this in one of the next blog posts.
Rolling Road test at Peter Burgess is scheduled for September – just before the Goodwood rival 🙂


Leave a comment