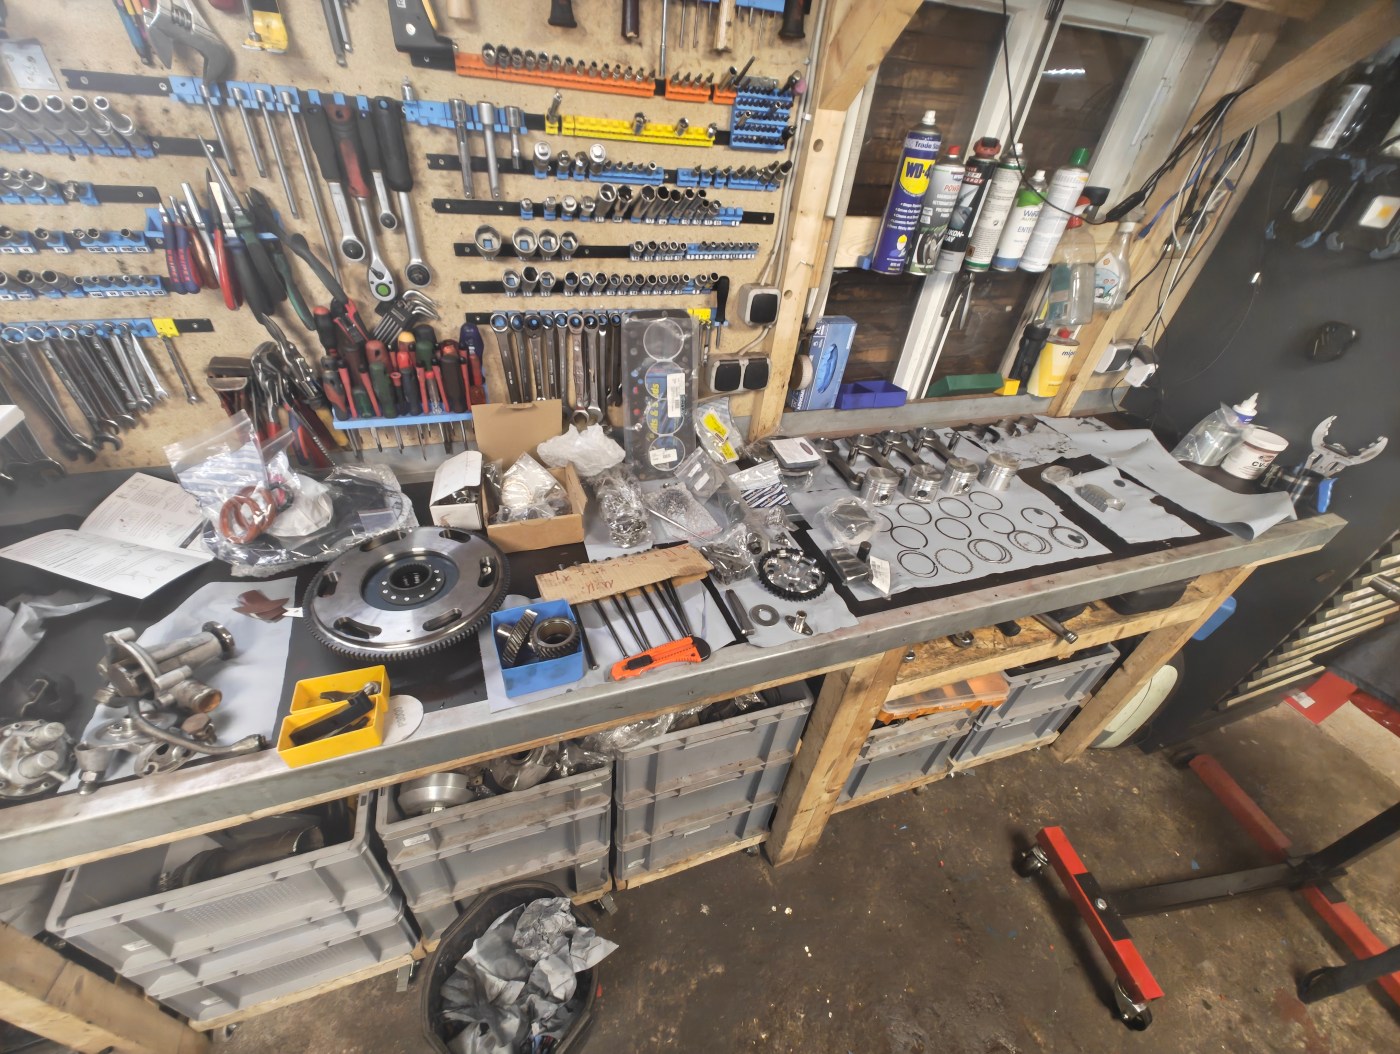
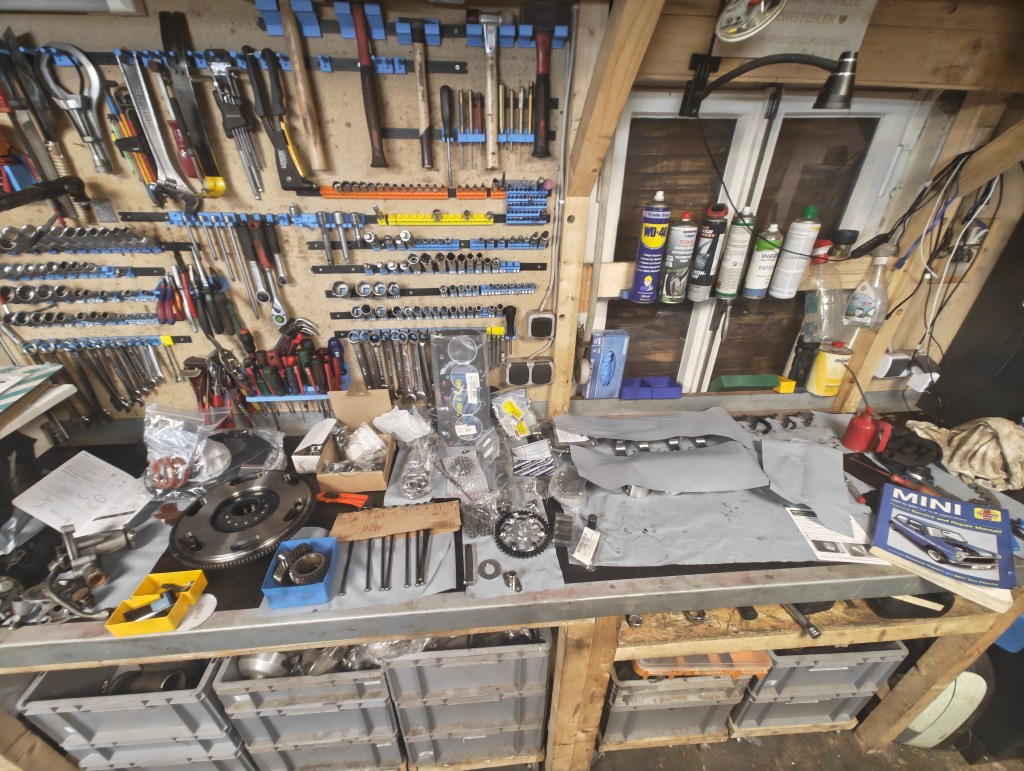
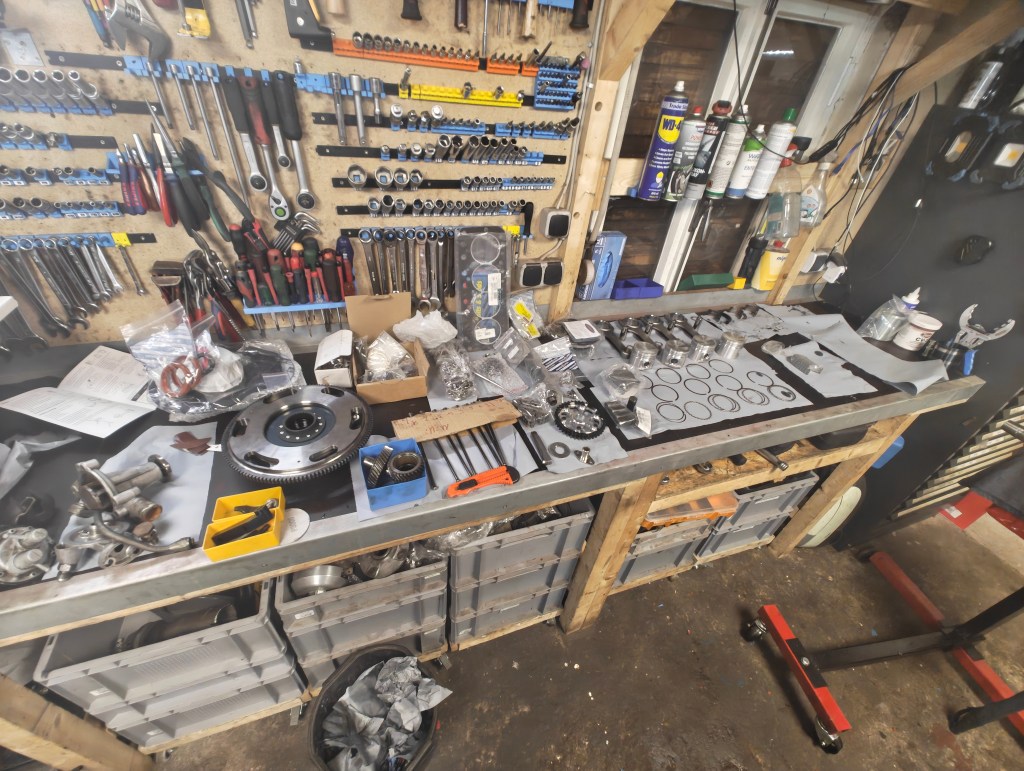
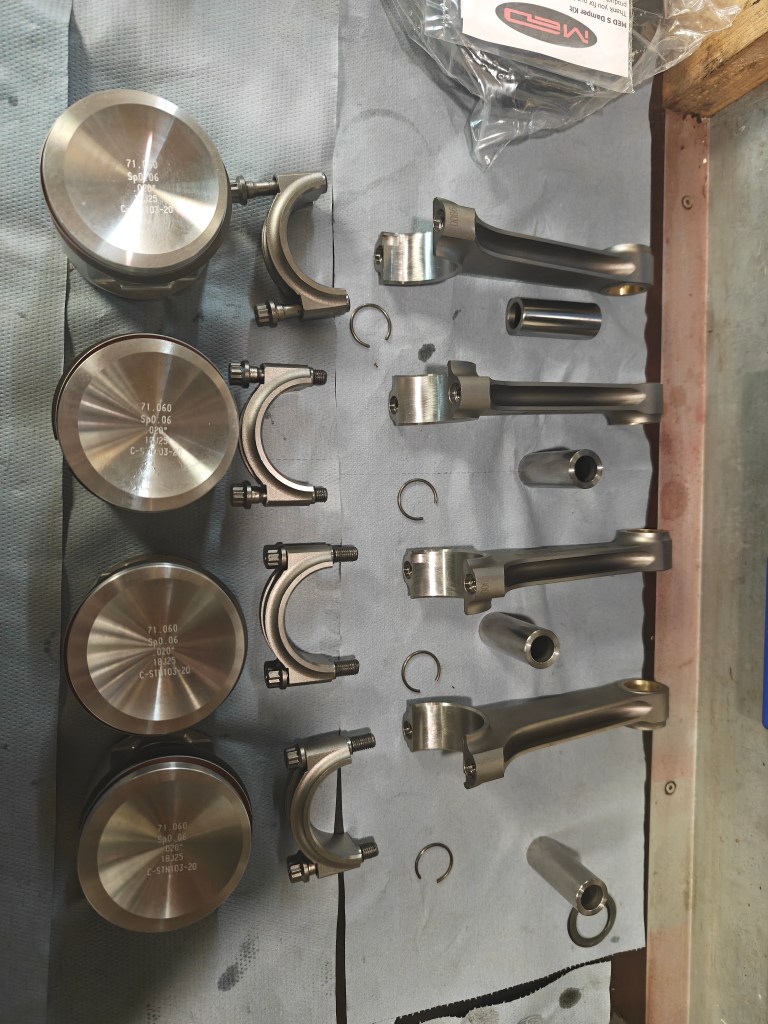
Yesterday evening I was finally able to start with the engine assembly. Ten days later than planned. The punishment for the delayed start followed yesterday evening in a few ways. After laying out all parts I noticed that the new thrust-washers are missing. They were on the invoice – but I did not noticed the note on the delivery slip that says “back-order”. Ordering new ones means a delay right at the start. However, it turned out that I will need the time anyway.
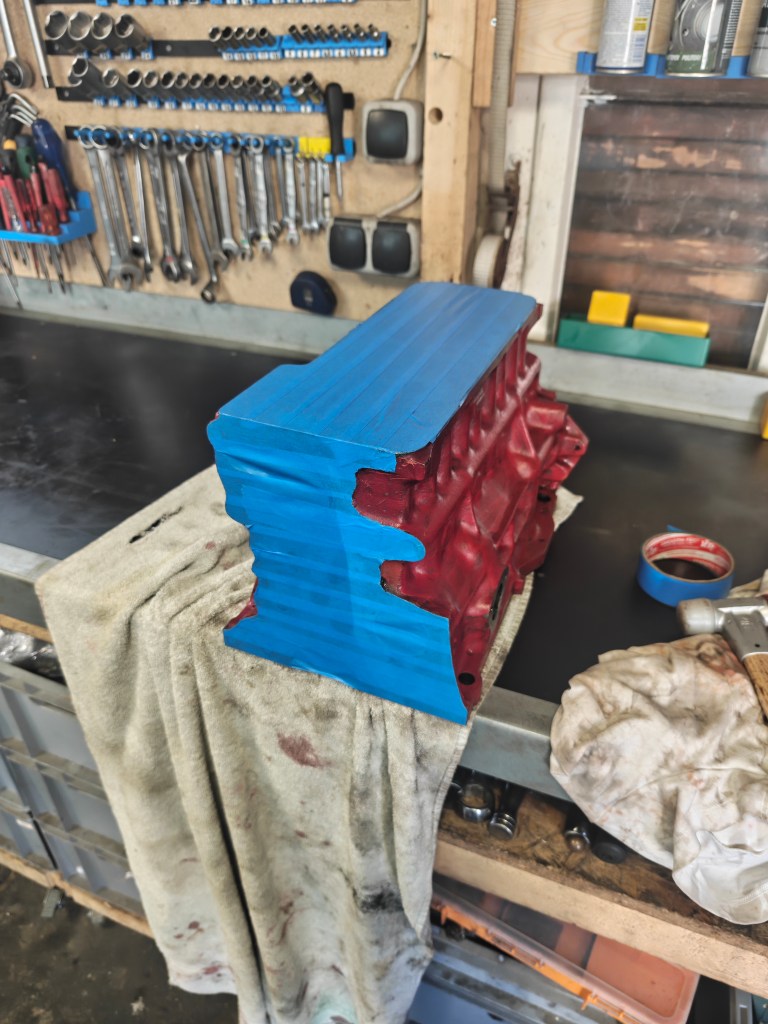
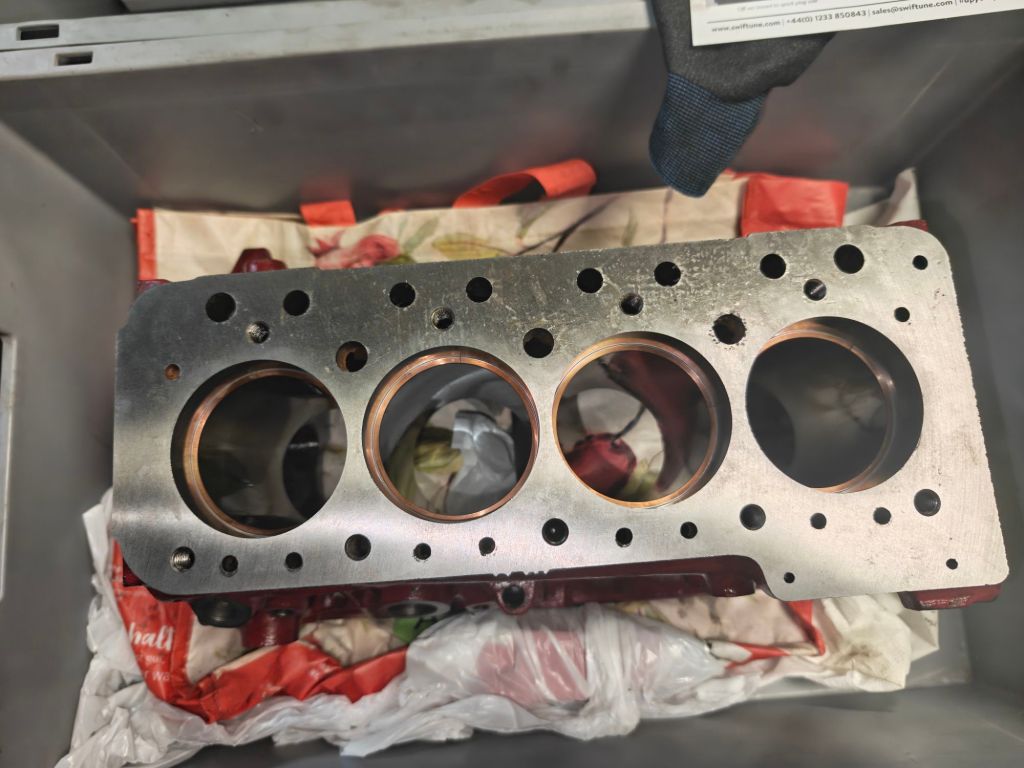
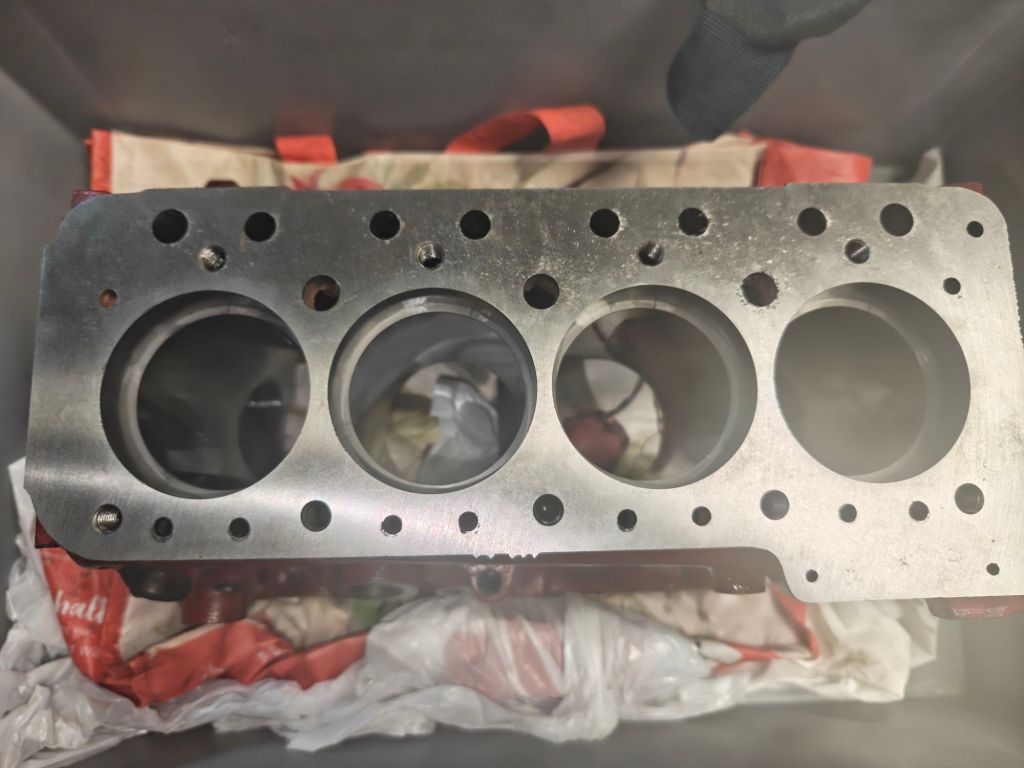
The next issue followed right after. In order to paint the block, I obviously used plenty of de-greaser and brake-cleaner. What I should have done the next day is to remove the masking tape and generously apply WD-40 (or similar). But stupid me left the block on the workbench and engine stand for almost two weeks. More than enough time for surface rust to develop. Even though it was possible to wipe most of this away with a bit of WD-40 and oil – it took quite a bit of elbow-grease and time.
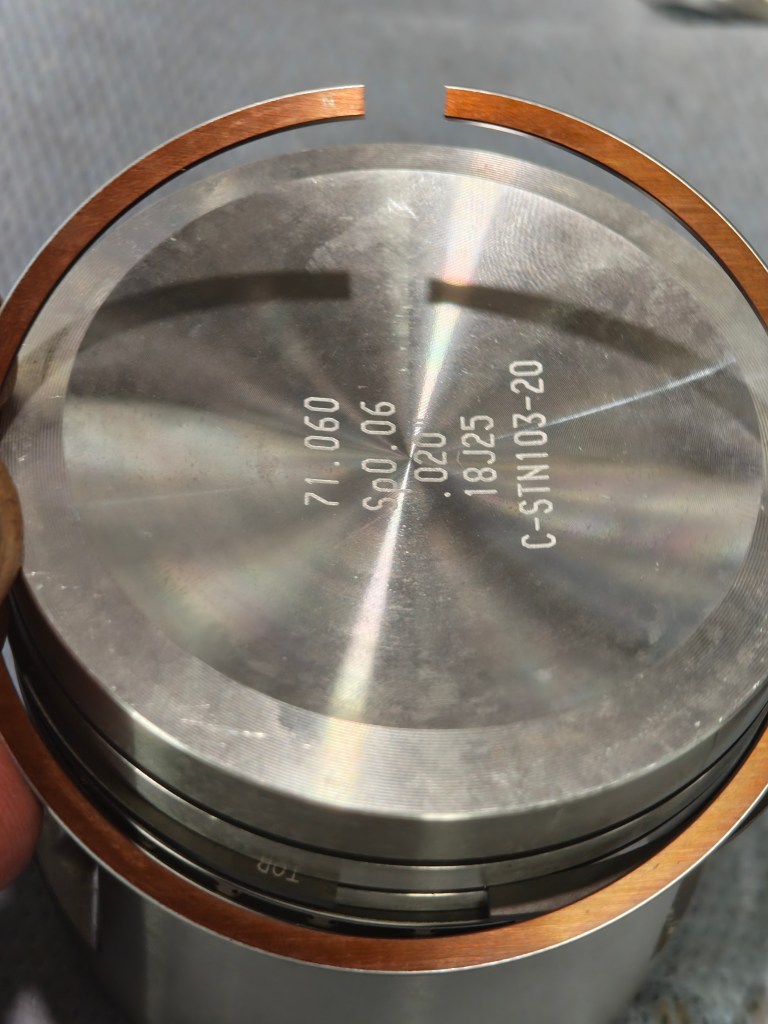
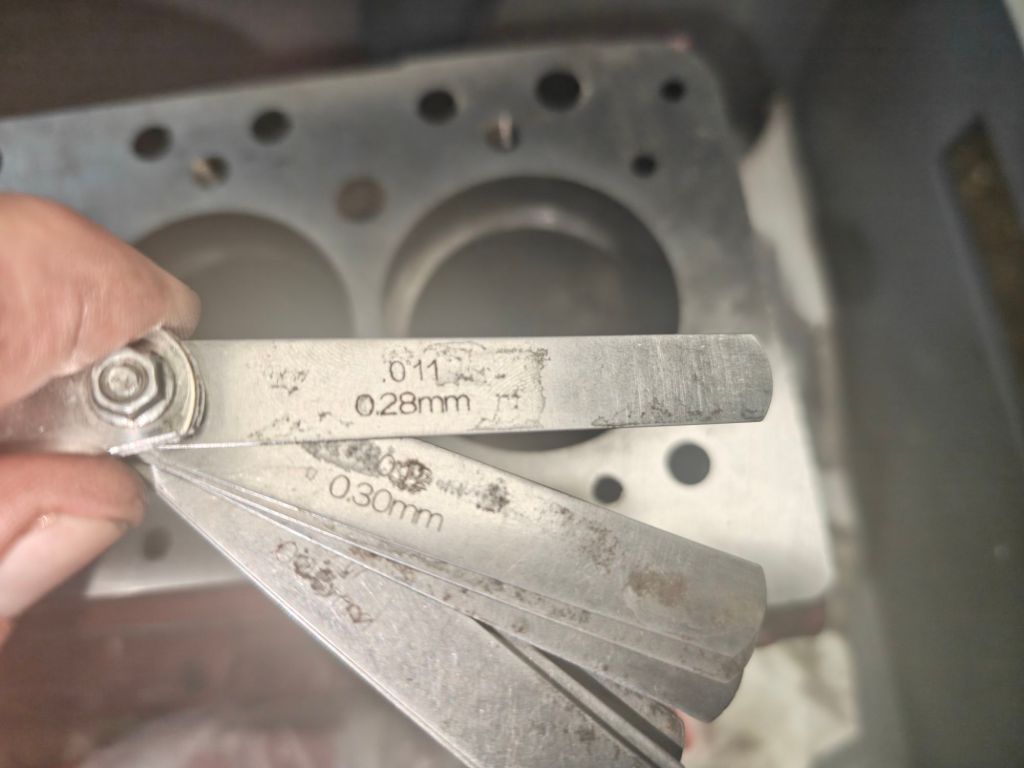
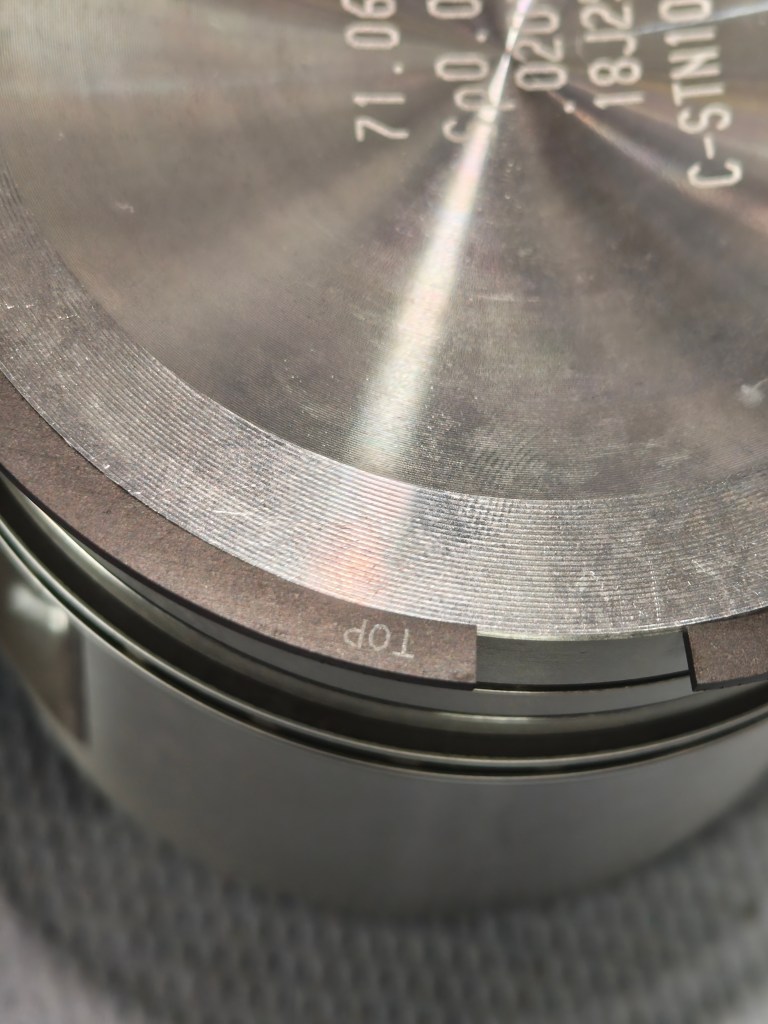
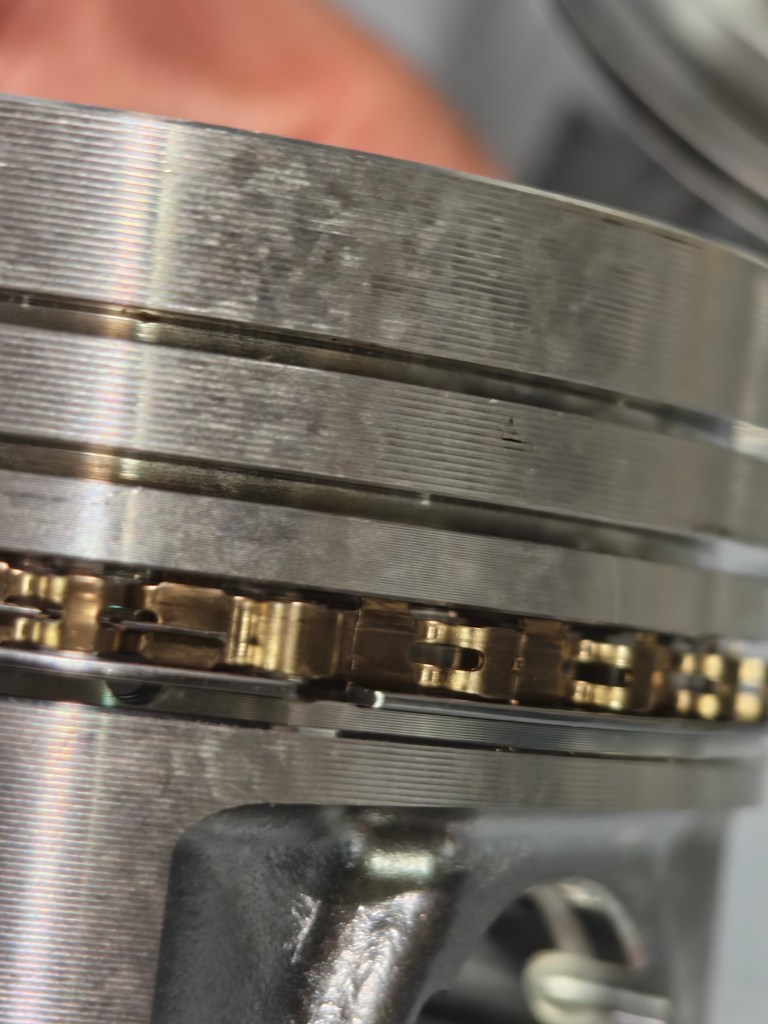
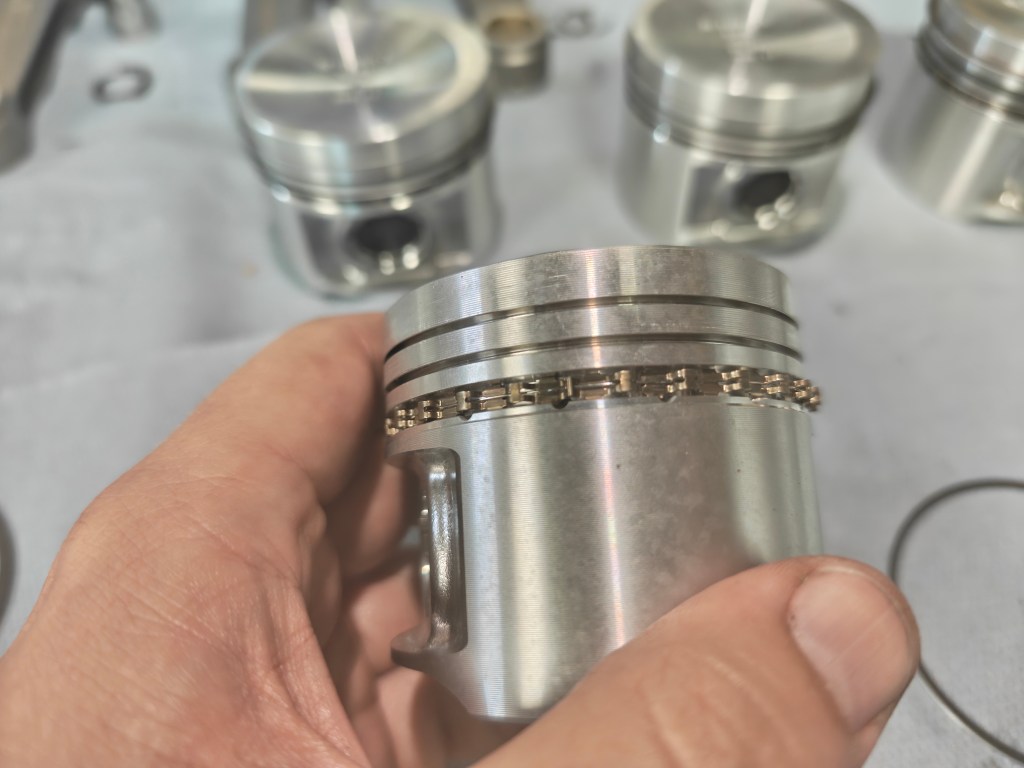
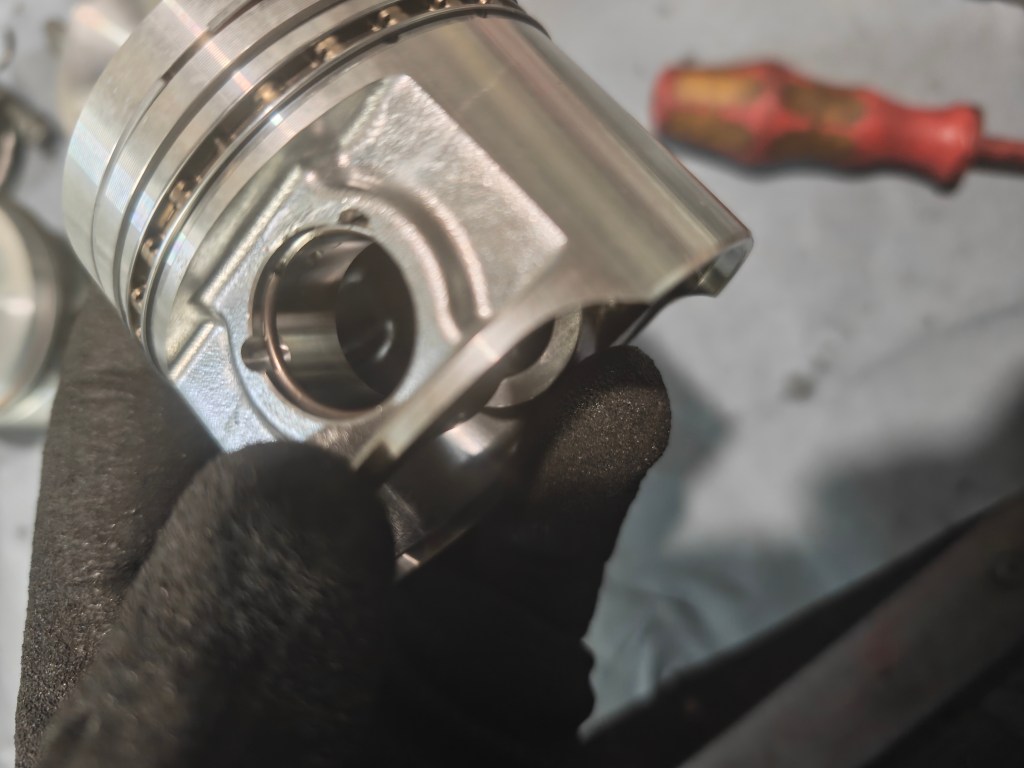
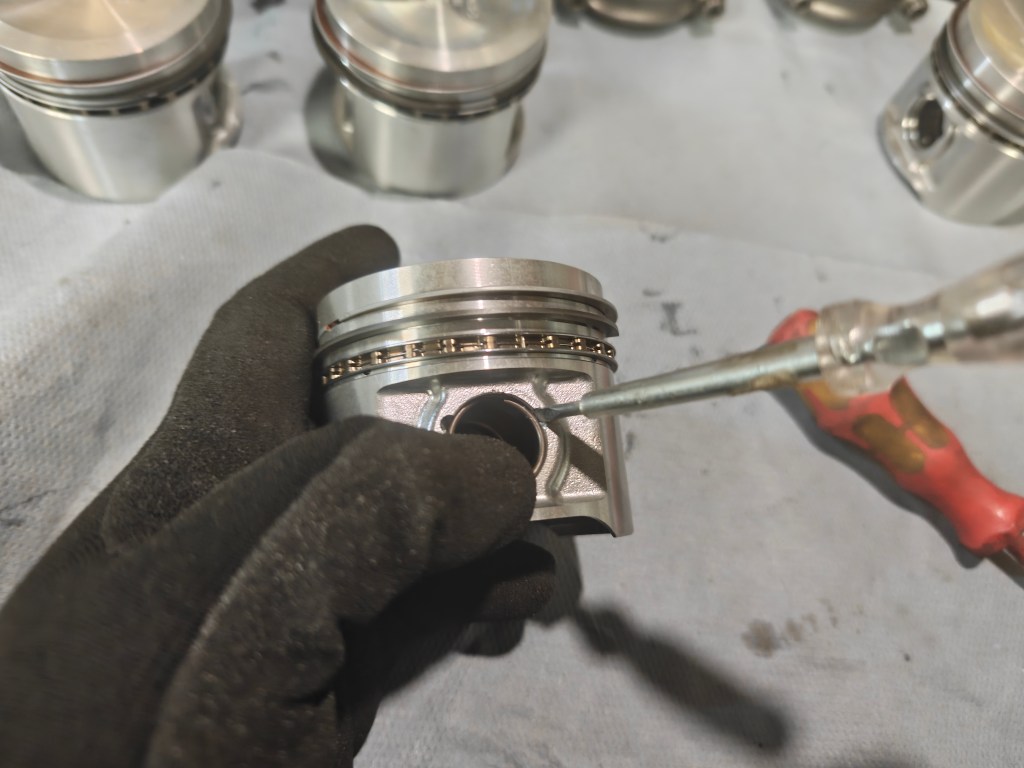
After the block was clean it was time to move to test fitting. The alloy pistons were washed in soapy water and wiped dry at some point last week. I doubled checked the piston rings again. Swiftune was to kind to confirm that they usually install the first piston ring with a 0.25mm gap. This is the lower number of the spec in the workshop manual. A few people told me that this should be at least 0.30mm. I decided to leave them as they are. All of the second rings have 0.28mm. After wiping them all down with a bit of break-cleaner it was time to install them. I took my time and made sure the gaps do not line up. The oil control rings were a bit different than the ones I had on my MGB. Center piece goes in first – upper and lower ring ride on the groove of the oil-control ring.
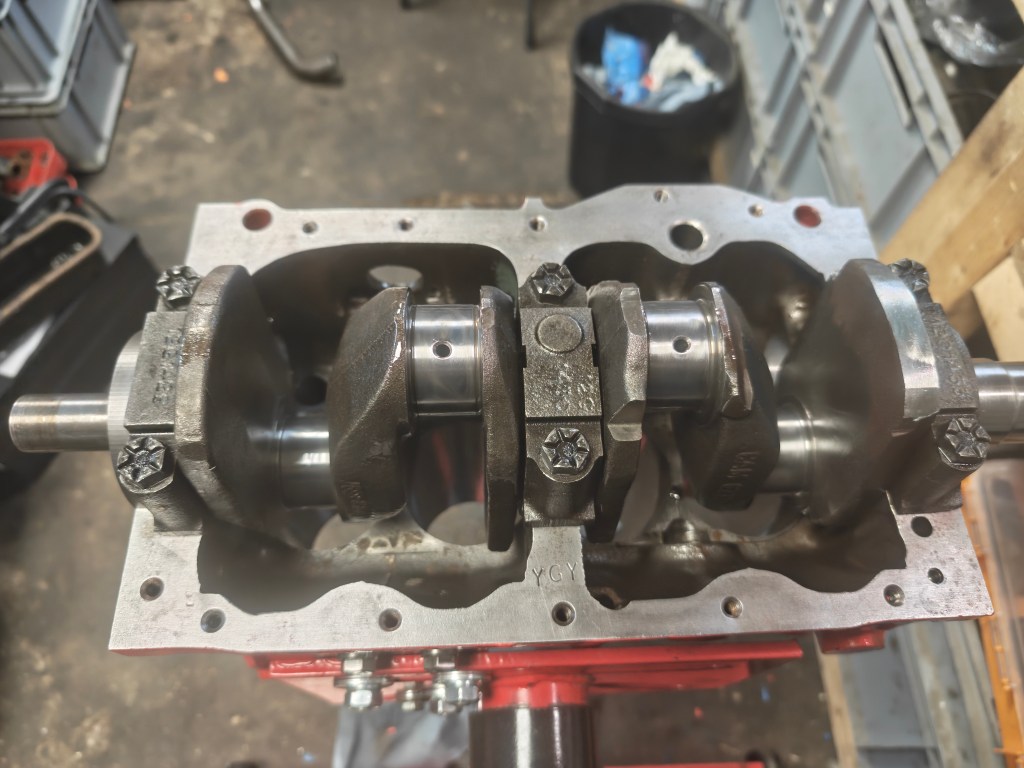
The crankshaft was next on my list. And this called for a test fit of the main bearing with plastigauge. I know that I bought an entire package for Mildred’s engine rebuild. And I was quite sure that I stored it in the tools drawer of my cupboard – but I could not find it. The crankshaft endfloat was measured when I took the engine apart. With 0.075mm using the old washers it was just within spec. I repeated the test and measured 0.079mm this time (just above spec). So new STD washers should be bang on.
The biggest issue however turned out to be the camshaft. Or rather the newly installed cam bearings. It should be possible to rotate the new cam easily with two fingers. But I need the full hand and ideally the oil simplex chain gear in order to turn it. Definitely too tight. In theory the ACL bearing are “pre-finished”. Quite possible that the tool I used to tap the bearings in is not ideal. This can result in edge peening. I shortly considered using the old cam, cut grooves across the old journals and use it as reamer. But this raises the question: how to I control that the edge of the cut sharp enough – or rather not too sharp?
Best option in my case was to take the block to KS Motortechnik again. They have a) more experience and b) better tools. They told me that the work on this first thing tomorrow morning. The missing parts should also arrive. we will see.


Leave a Reply