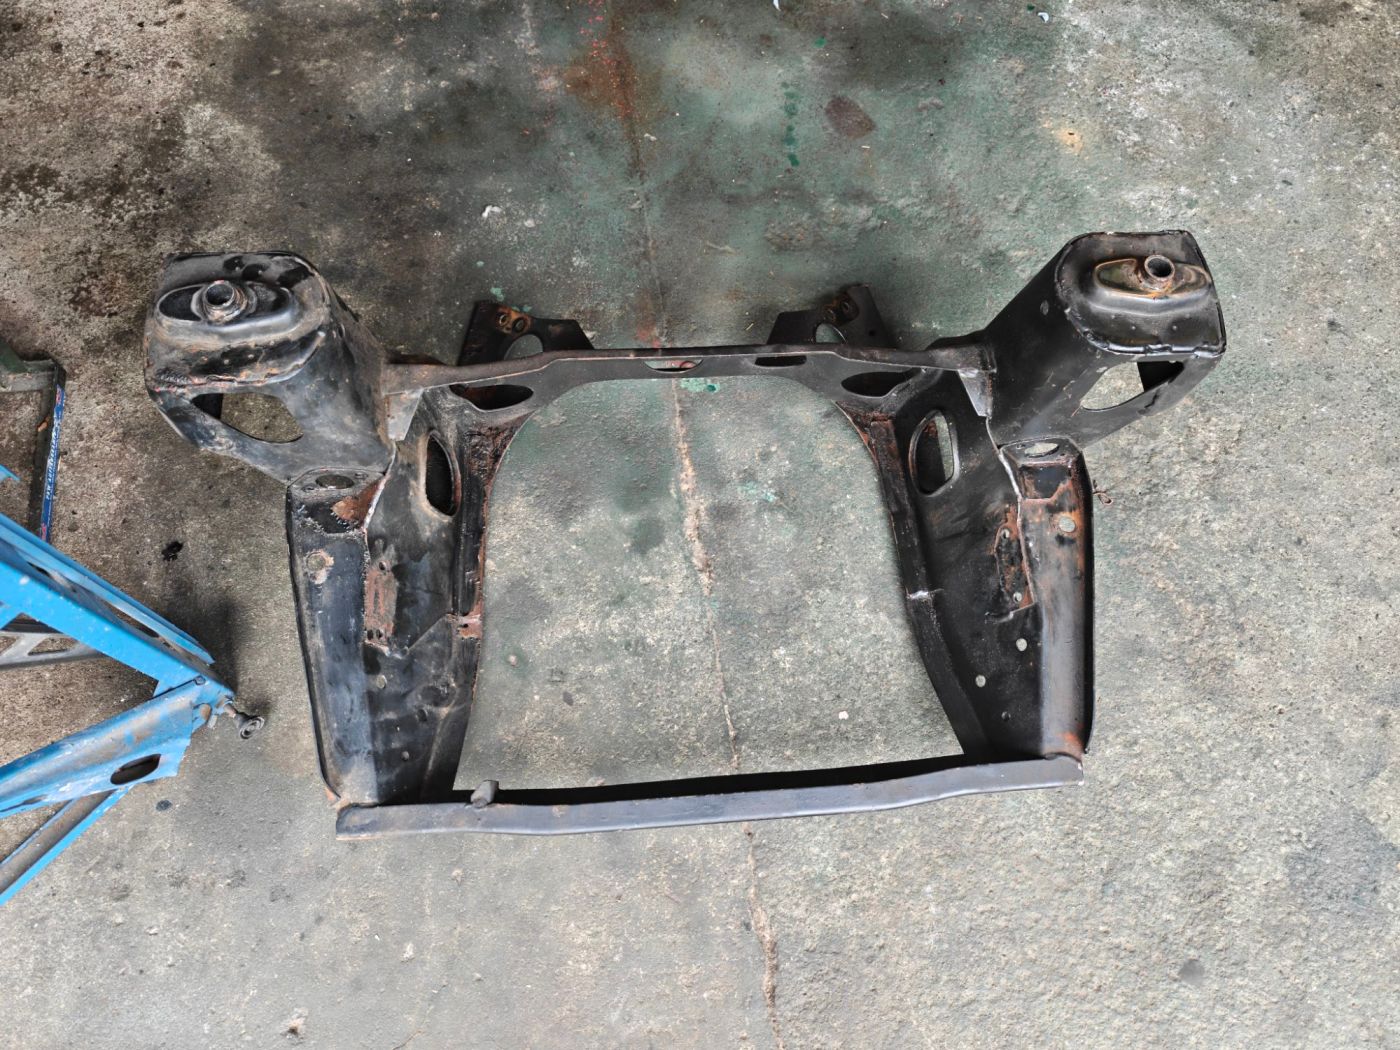
As you might notice by the title of today’s post an older Depeche Mode song was on my playlist this week while removing Miffi’s suspension parts. Stripping the subframe and engine were on my list – but a number of other things popped up as well. Since my first Mini restoration in 2019 quite a bit has happened. The tool collection has grown, the garage workbench situation improved and in the meantime I have done this job on a couple cars and Mini’s. And with errors & learnings made along the way – I am trying to do a better job this time.
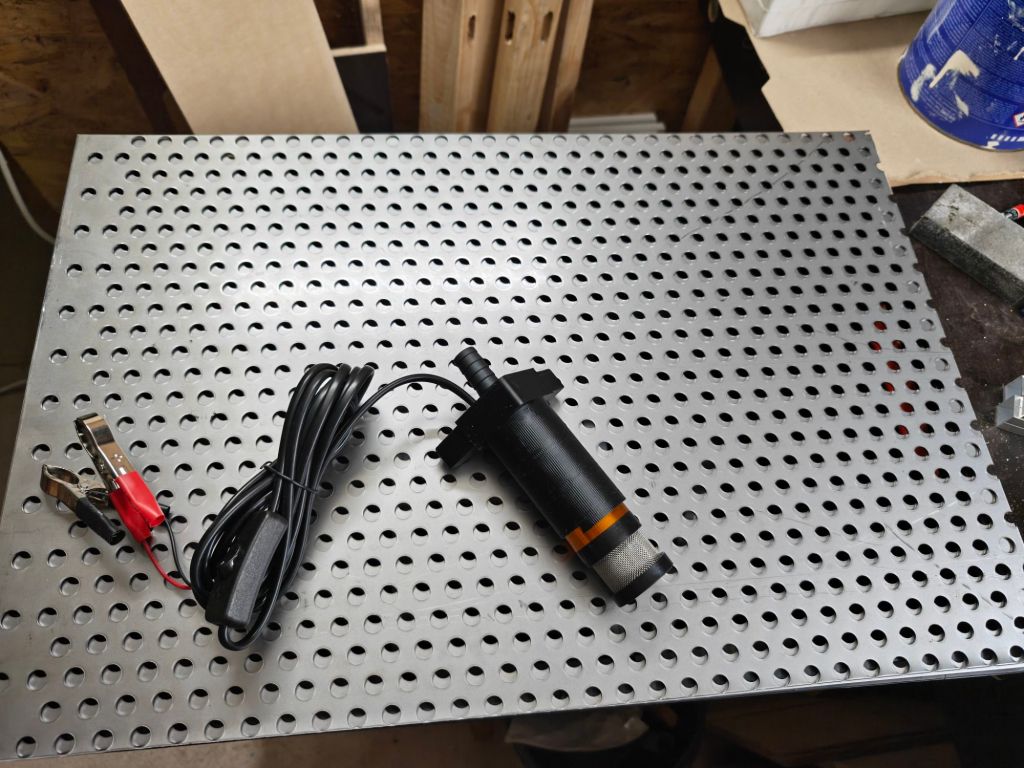
Back in 2019 all suspension parts were just cleaned with the wire wheel and painted with Hammerit. That looked good and held up for a while – but as mentioned – using the Mini as a daily driver even on salty winter roads will leave some rust. And it is visible in some areas that I should have de-greased the parts better. While I did get an old parts washer back then for free – it used a special pump that failed a long time ago. I started looking for a replacement. And of course – if you search for parts on Google the YouTube algorithm will bring up matching videos. The very entertaining Uncle Phil’s WischiWaschi looked exactly like what I needed.
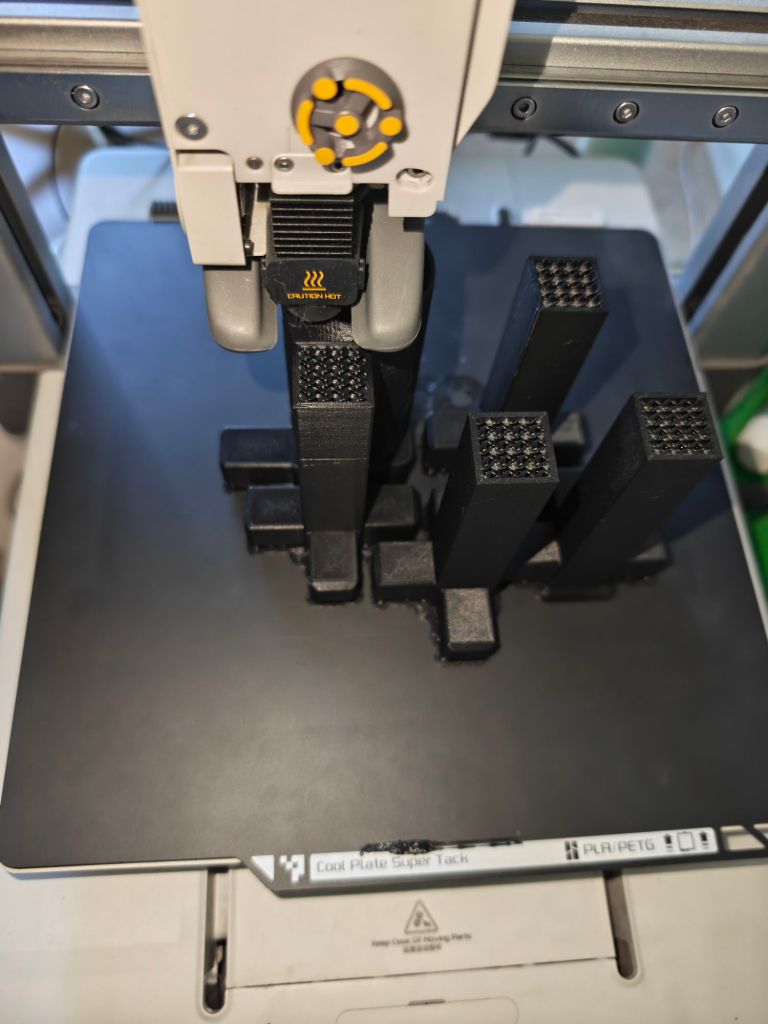
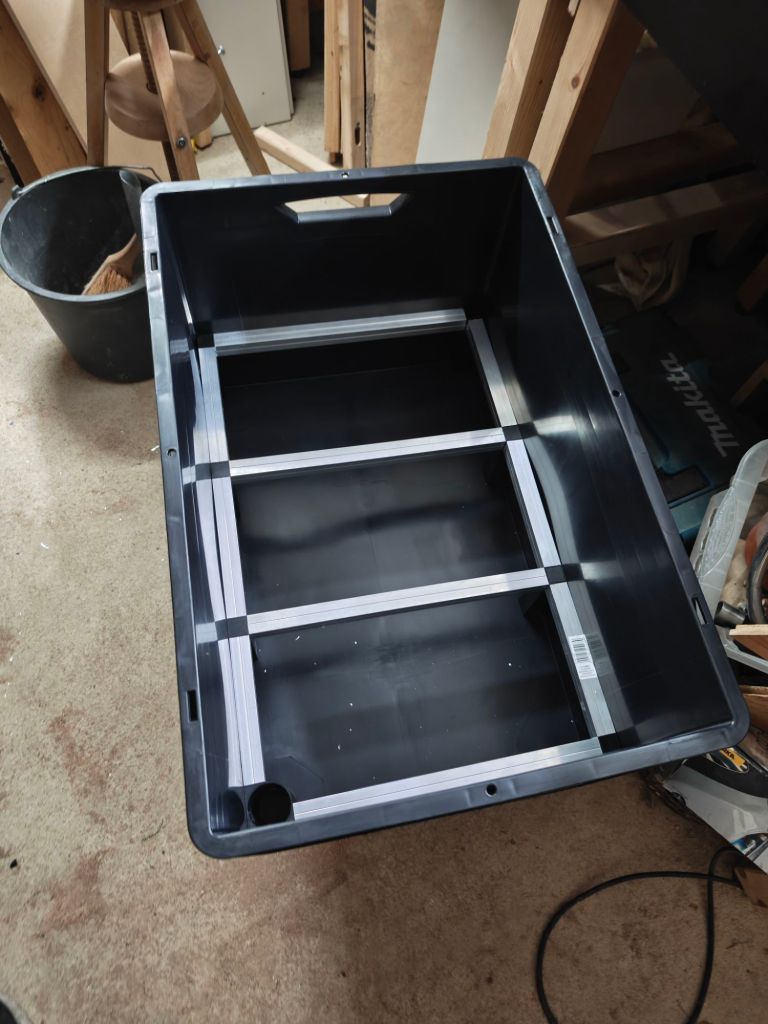
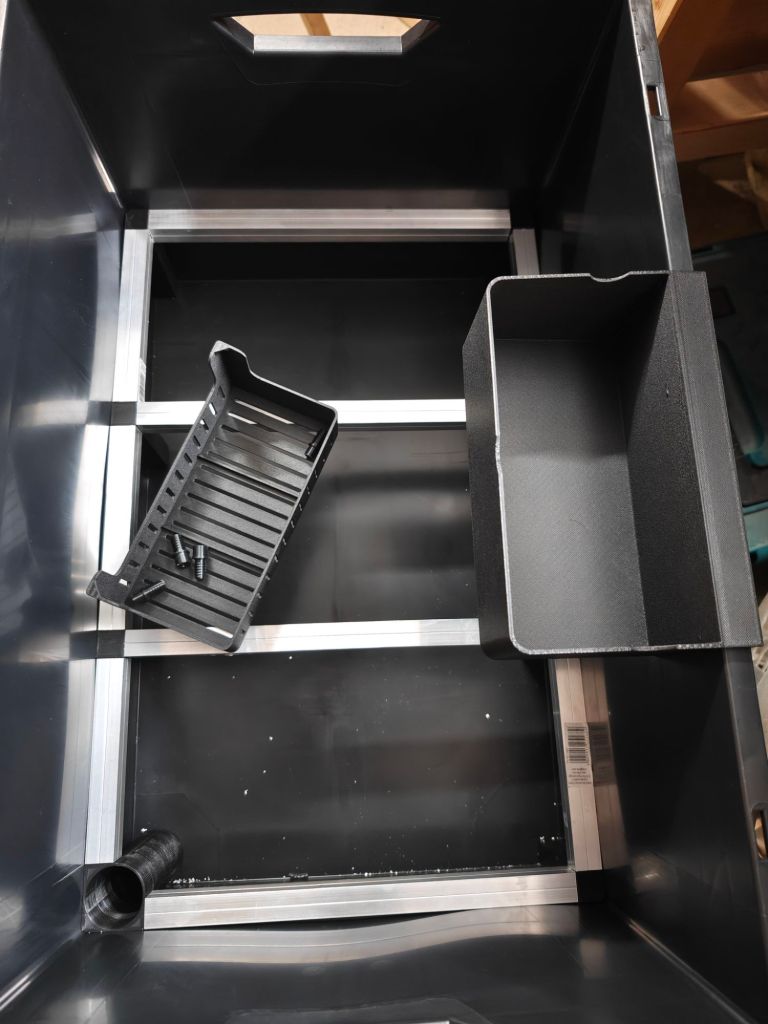
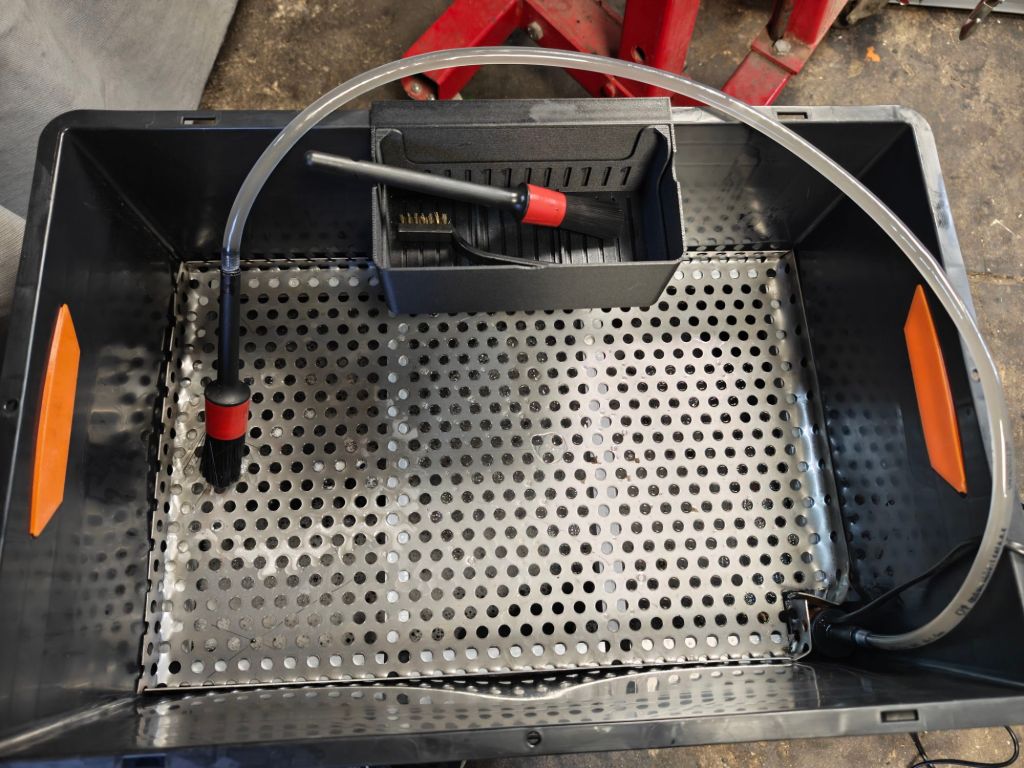
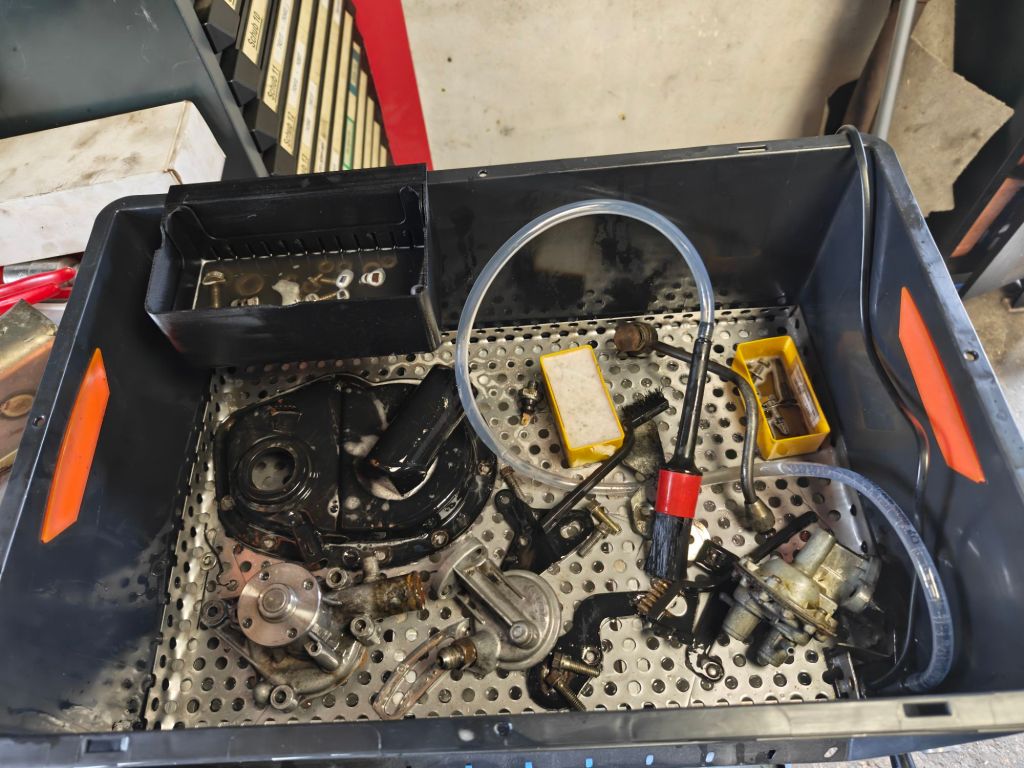
The STL filed from his website took a few hours to print on my Bambu A1. PETG is better suited for this than PLA in my opinion. While at it I built two boxes – one for my neighbour and one for me – which required an entire spool of material. The pump in the original plan linked on Amazon could not be delivered – the very similar variant had an additional filter. That g1ave me the opportunity to test if the MCP addon in FreeCad and Gemini would work. And what can I say – this is a great use case for AI. It only took two prompt and a few min and the modification was ready.
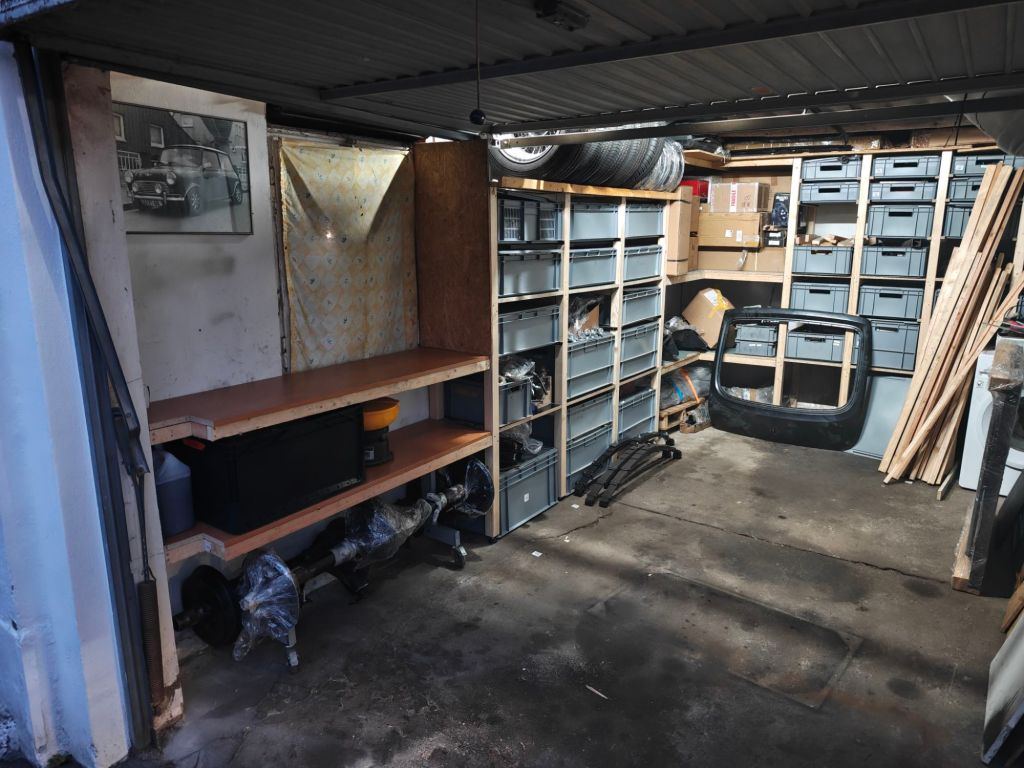
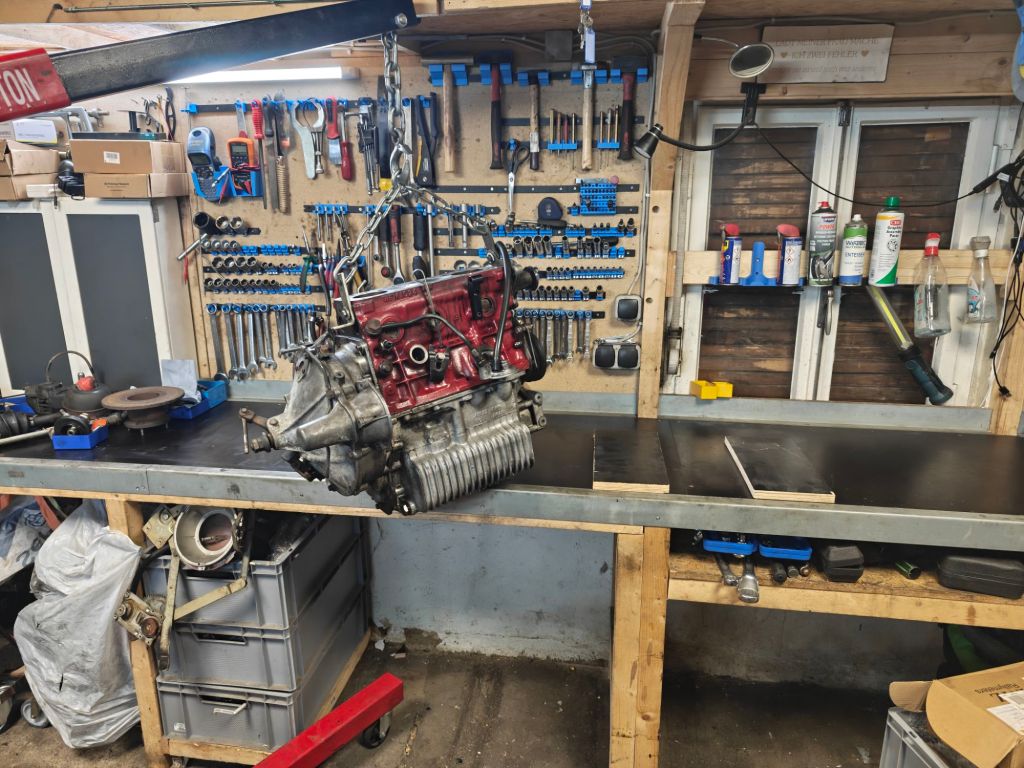
As the parts washer is built into a Eurobox, it is very light and easy to store in my new shelf system. All in all I paid about 50€ for parts – less than the cheapest parts-washer I found on Amazon. When I need it I position it right next to the workbench as well as empty Euroboxes behind me. This allows a nice workflow – removing a part, inspecting it, cleaning it and putting it into the storage bin. I have also printed out the technical diagrams from the MiniSpares website. This allows me to mark the things I need to replace and order (eg gaskets, o-rings, screws etc)
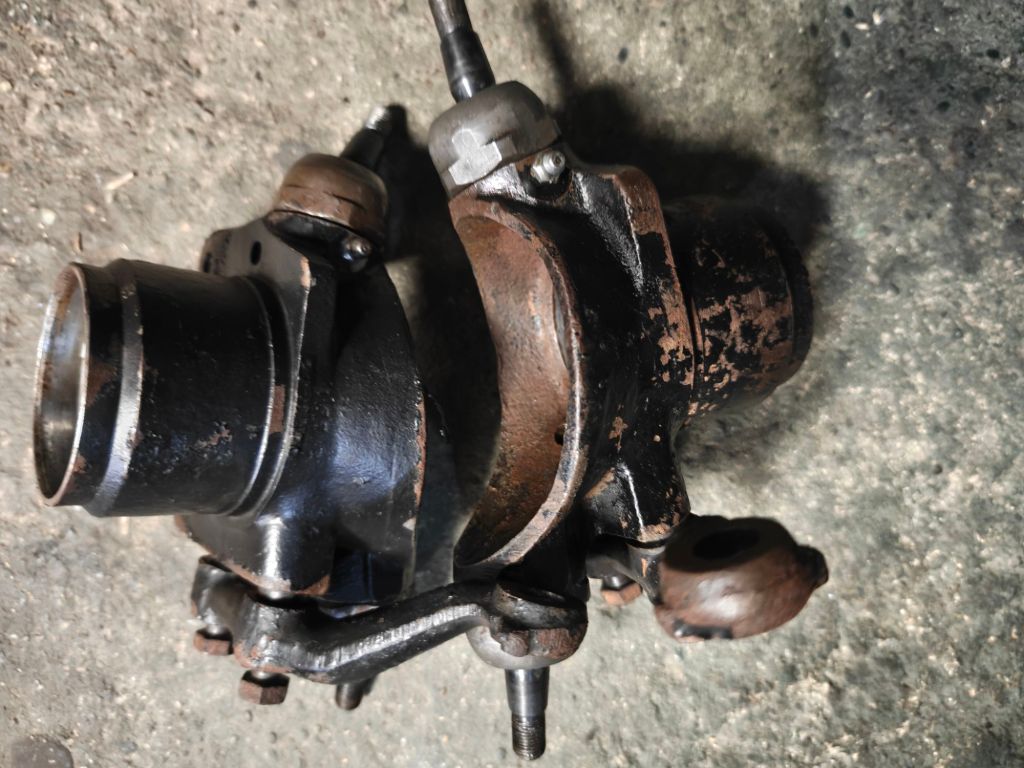
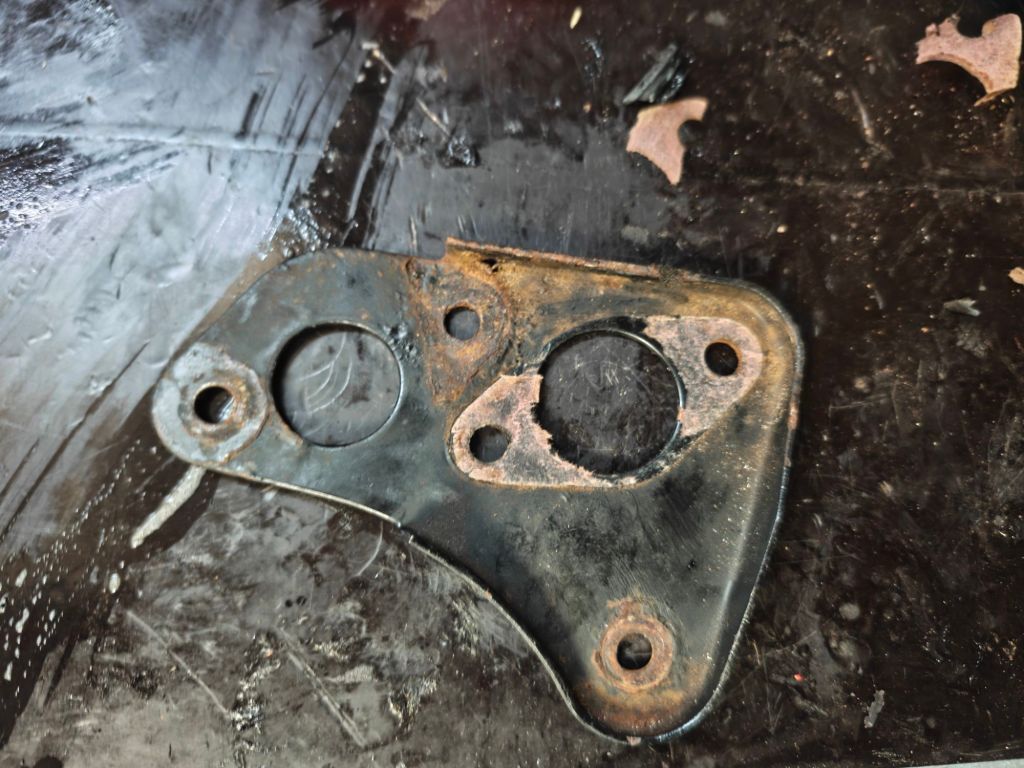
After dismantling and cleaning the swivel hubs, I was ready to get a few parts blasted and powder-coated. After some back and forth on how to protect the subframe I rules out hot-dip galvanizing. Not because it is bad, but because of the added costs and added steps to get it painted afterwards. I settled for powder-coating all brackets and going for 2K epoxy primer and paint on the subframe. This allows easier repairs in the future if small rust areas reappear. Additionally I am planning to use MIPA Protector paint (similar to Raptor liner) on the underside of the subframe.
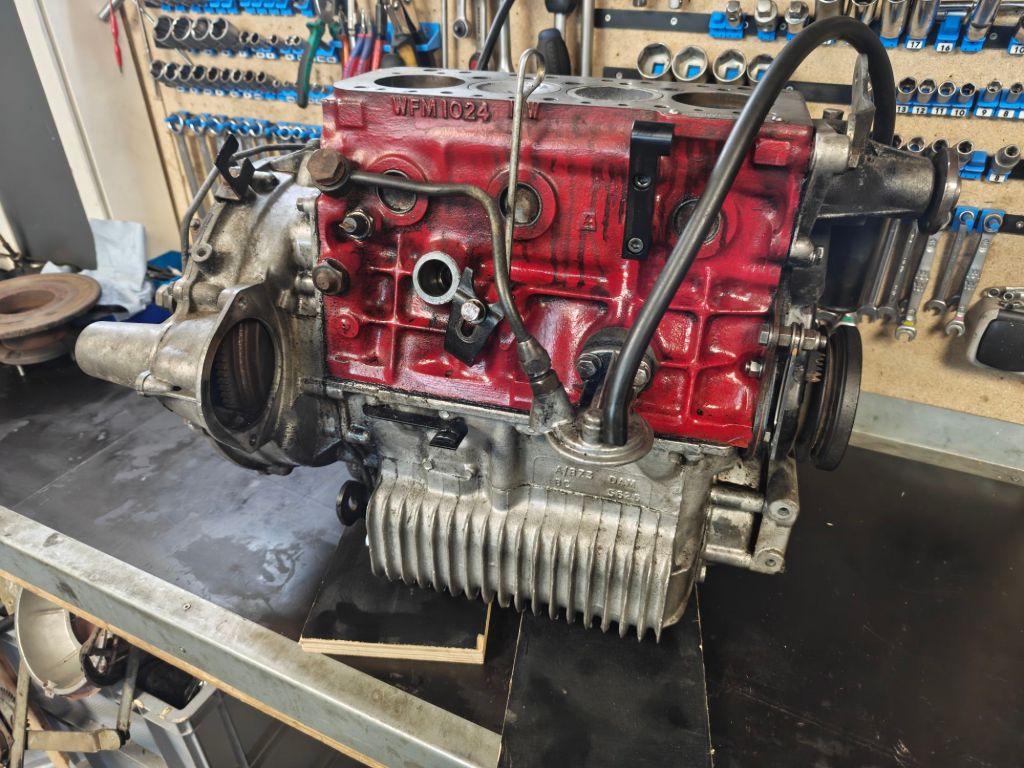
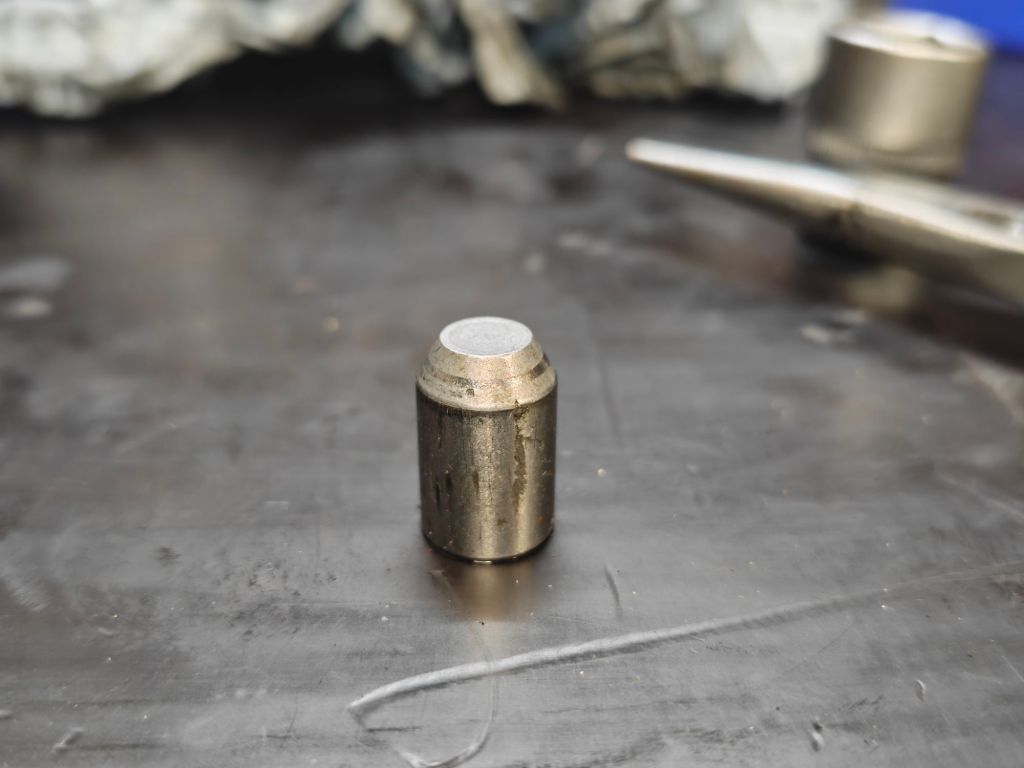
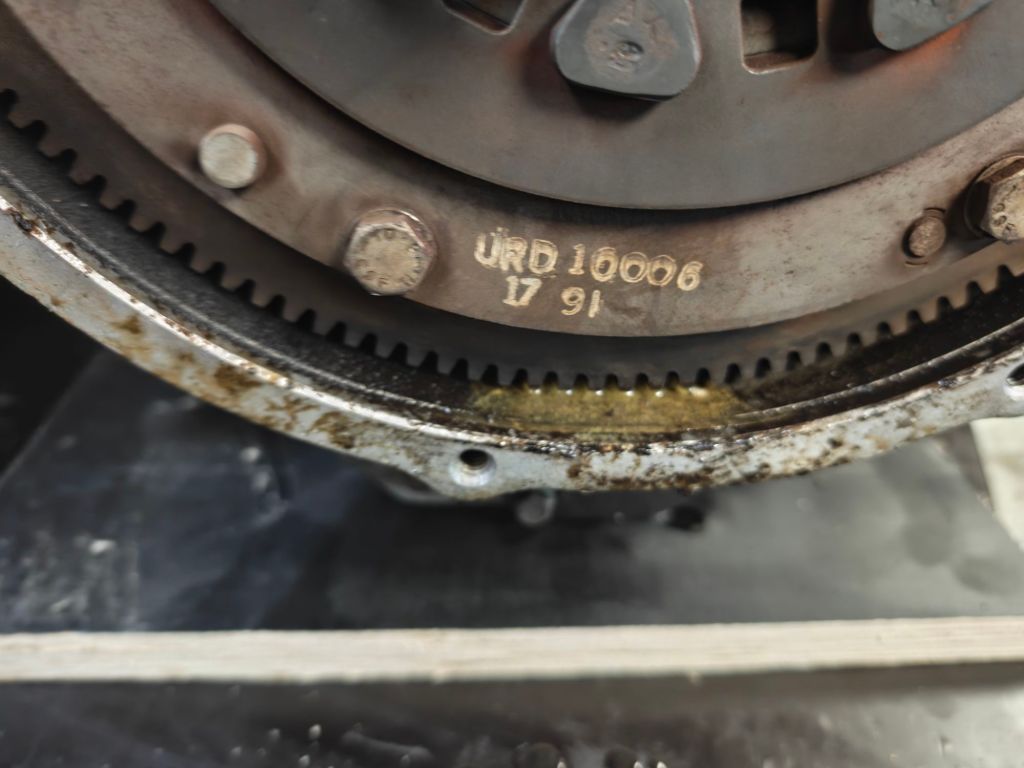
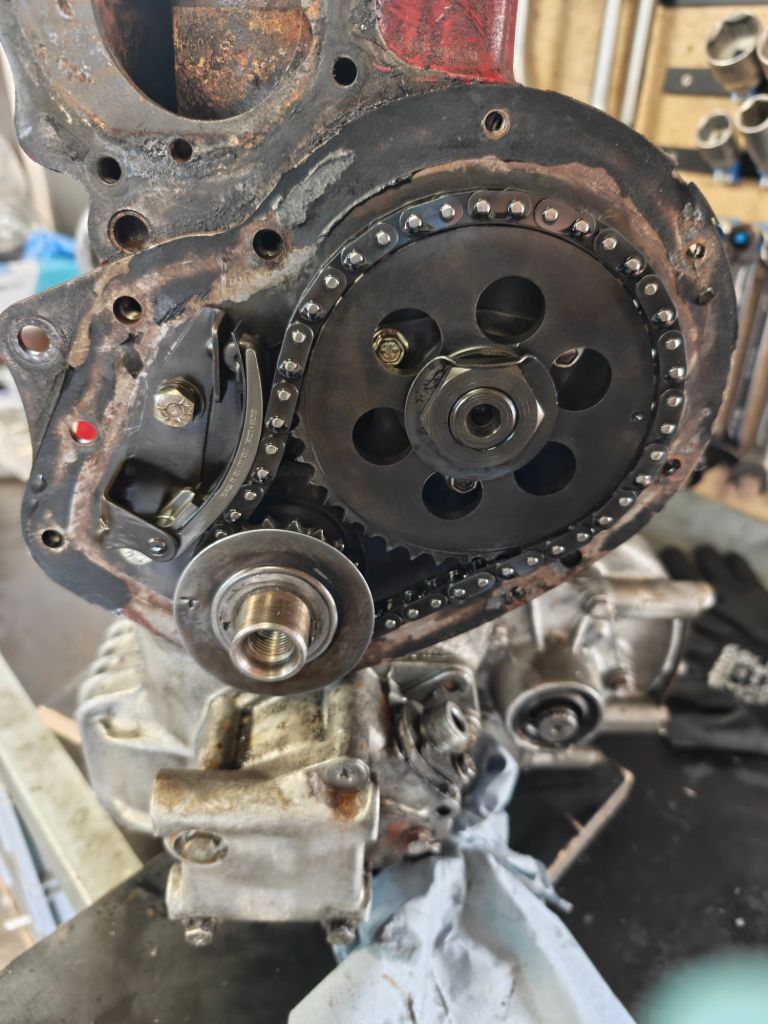
The engine strip revealed heavily scorch marks on the pressure relief valve – indicating potential further down the line. After removing the clutch wok and oily goo became visible beneath the flywheel – also not a great sign. But it is not uncommon that the oil seal leaks a bit – it will be replaced anyway. Then I realised that my mini flywheel puller never came back to me after I lent it to someone in 2021… As this person moved far away, the best I could do is order a new one. Draper 19682 is the search term on Amazon – it should arrive today.
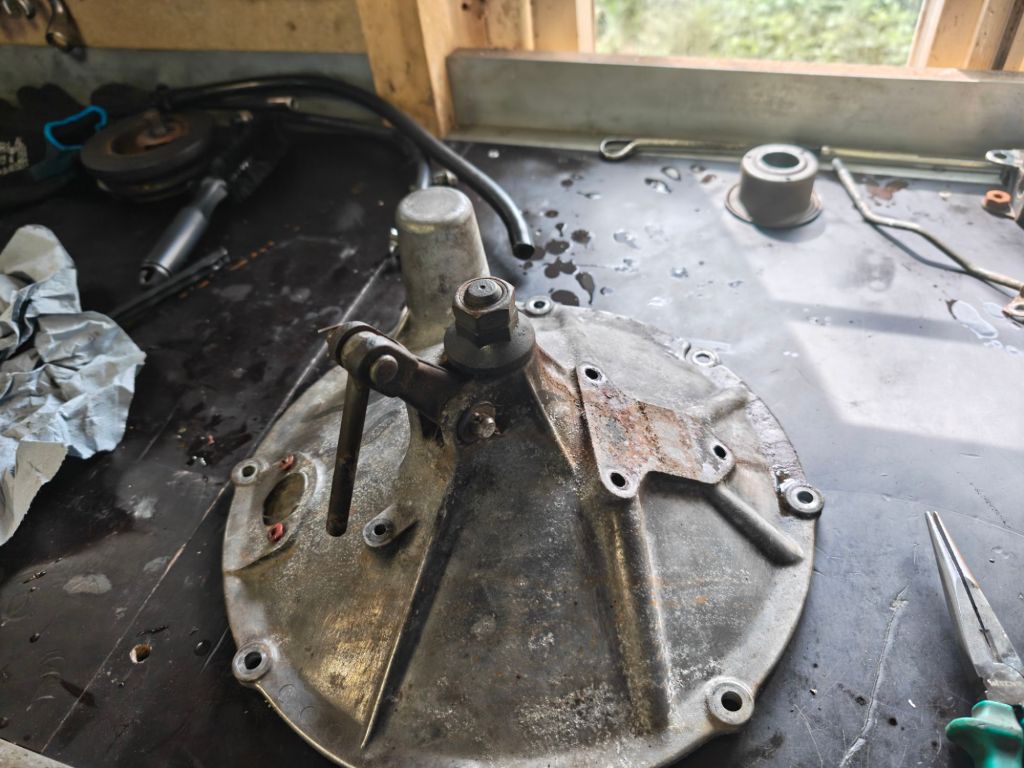
One thing I struggled with (and gave up for now) is removing the cam-followers. On an A+ series engine there are no tappet covers (like on earlier cars or the b-Series engines). Even with a telescopic magnet there was no way to get them out. Once the engine and gearbox are separated, I will try putting the block upside down. Hopefully gravity is working for my advantage here.


Good work as usual Tim! Well done.
LikeLike