
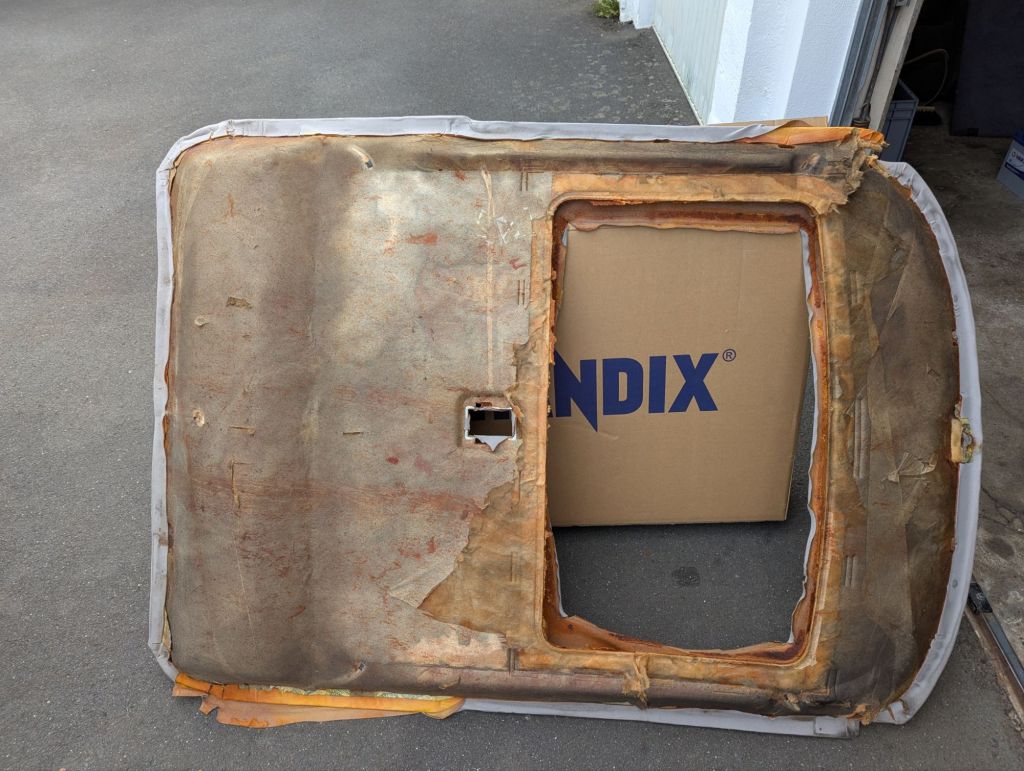
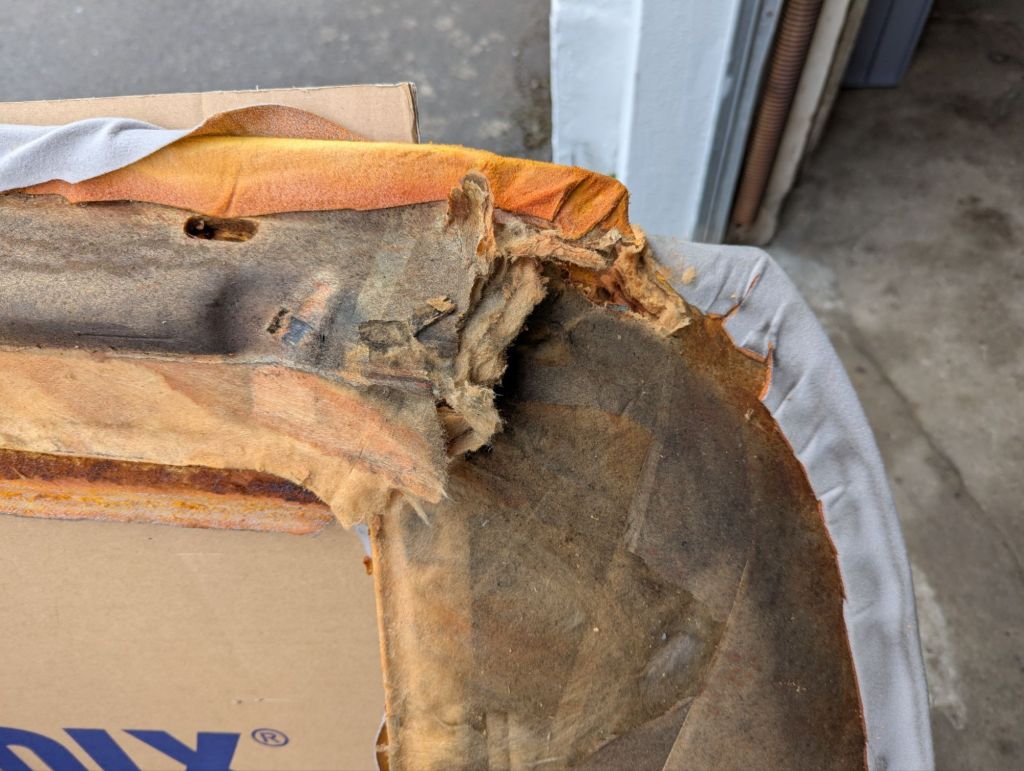
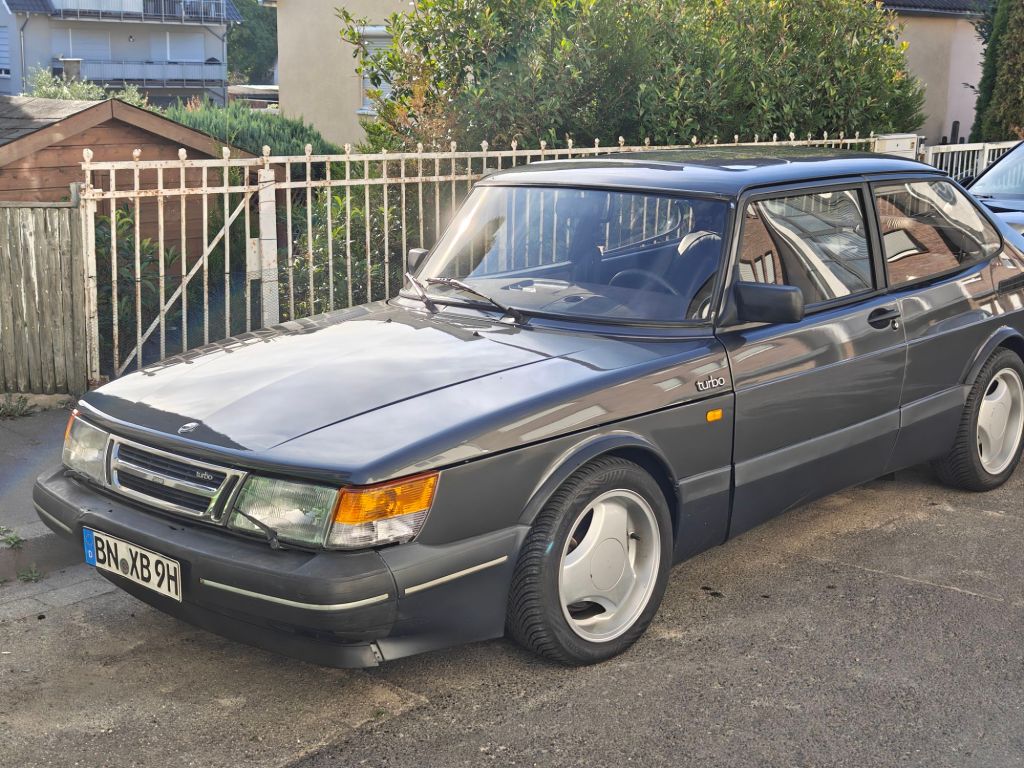
With the Maggie back on the road with Mildred’s engine, it was about time to finally tackle the headliner situation in Saabeth. It has been a long way to this point. The removal of the old one was done last September, when I decided that my son’s Saab needed a bit TLC for the German TÜV. The cardboard headliner material was beyond the point of repair. After some googling I found a used one. But the seller insisted on 250€ just for the cardboard – a bit too much for my liking. Especially as I knew, that Aldridge Trimming in the UK is has a fiberglass option with new liner of GPB390.
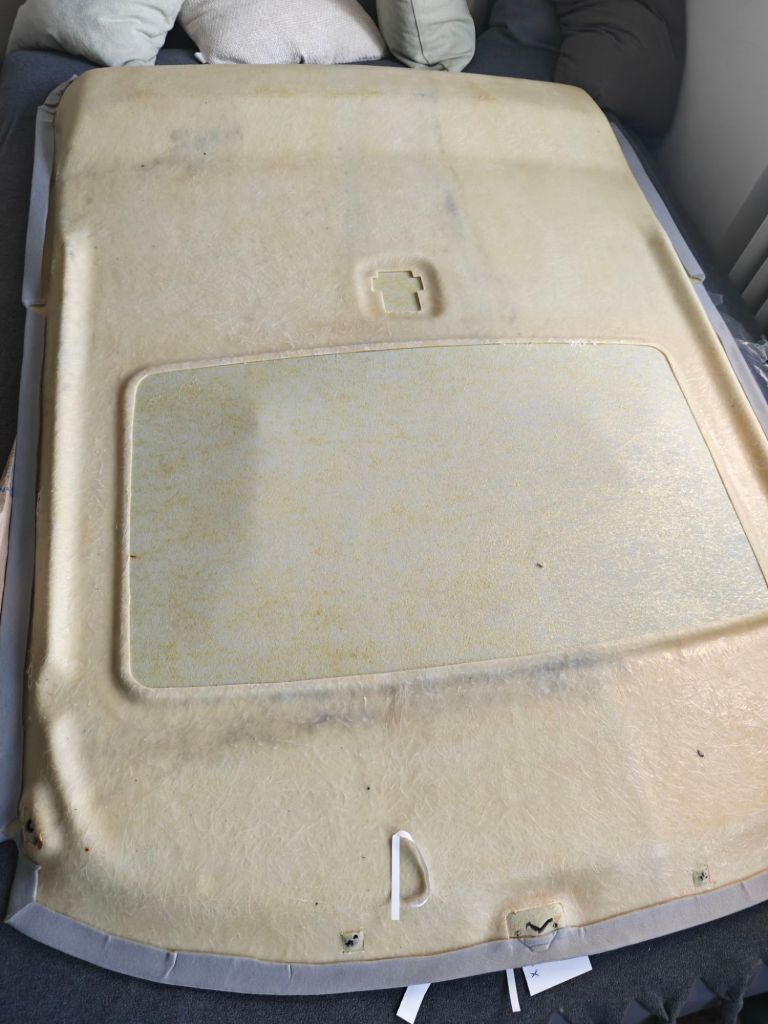
The idea to visit my son with the Saab last November had to be delayed, due to issues with engine – well, the Turbo hoses as it turned out in the end. Instead of a small fix, I overhauled the entire front of the car from December to March this year. By April the car was running again and my son and I had a great trip to Buxton. On the way back we stopped at Aldridge Trimming in Wolverhampton to pickup a new headliner. As mentioned they offer a fiberglass variant which is much better than the original
Unfortunately, due to my very short notice order, it was not possible to have them install it. In hindsight I can only recommend the following: if you consider the same upgrade to your Saab (actually they offer headliners for many different brands and models) plan early and have them do the installation.
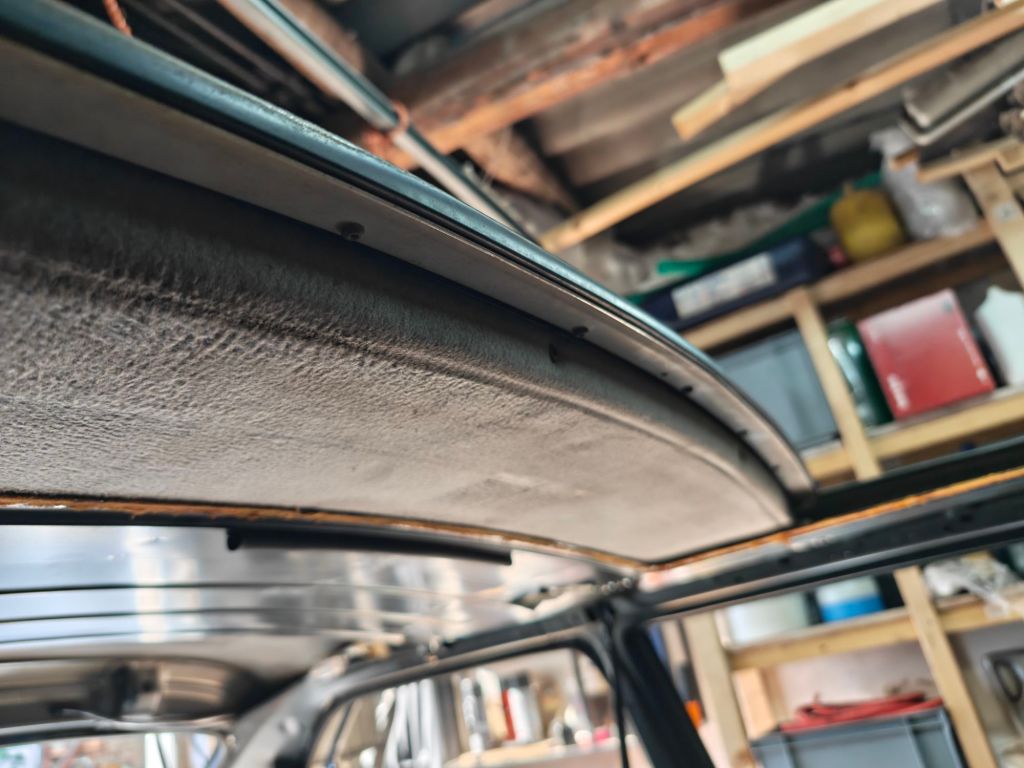
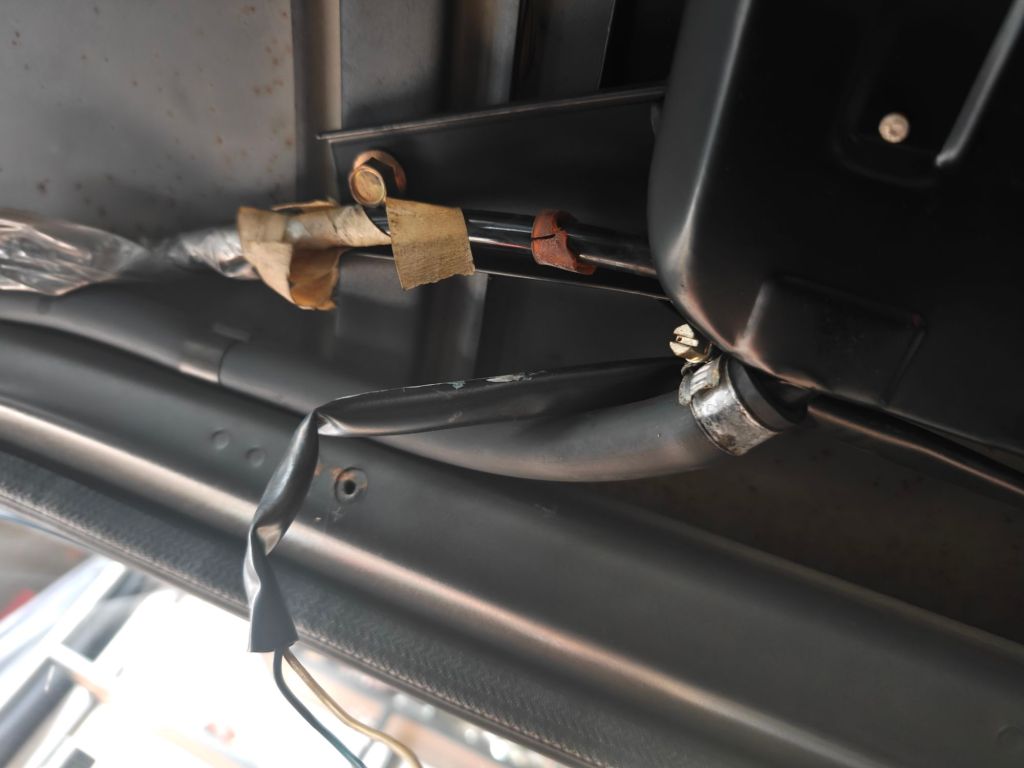
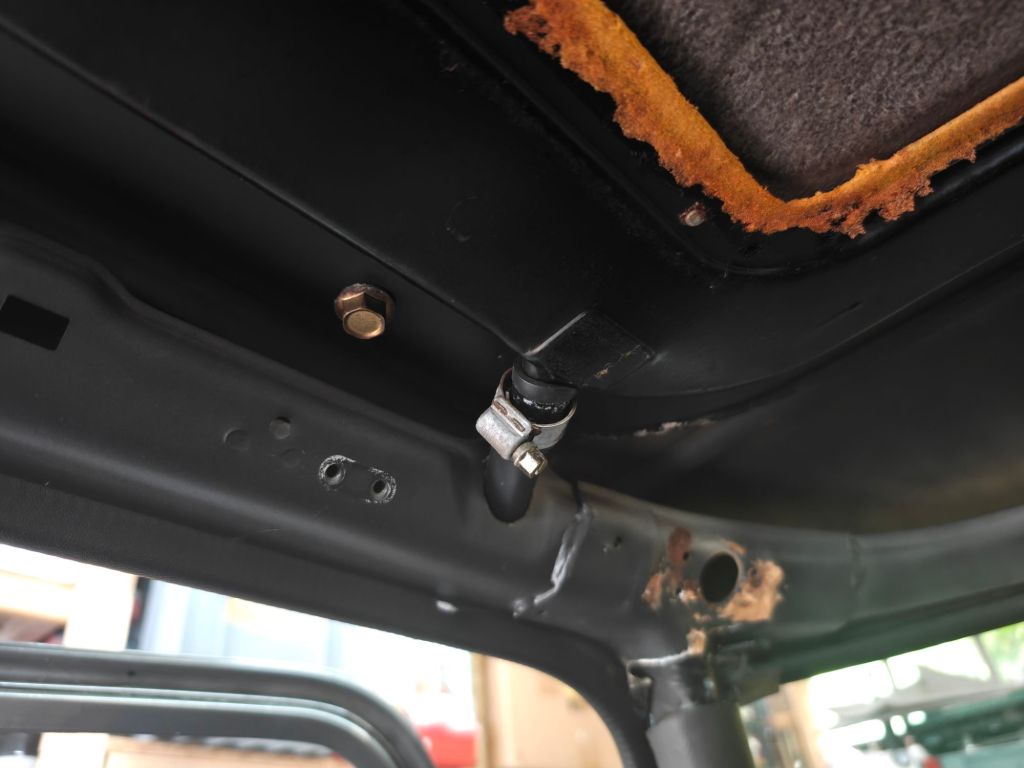
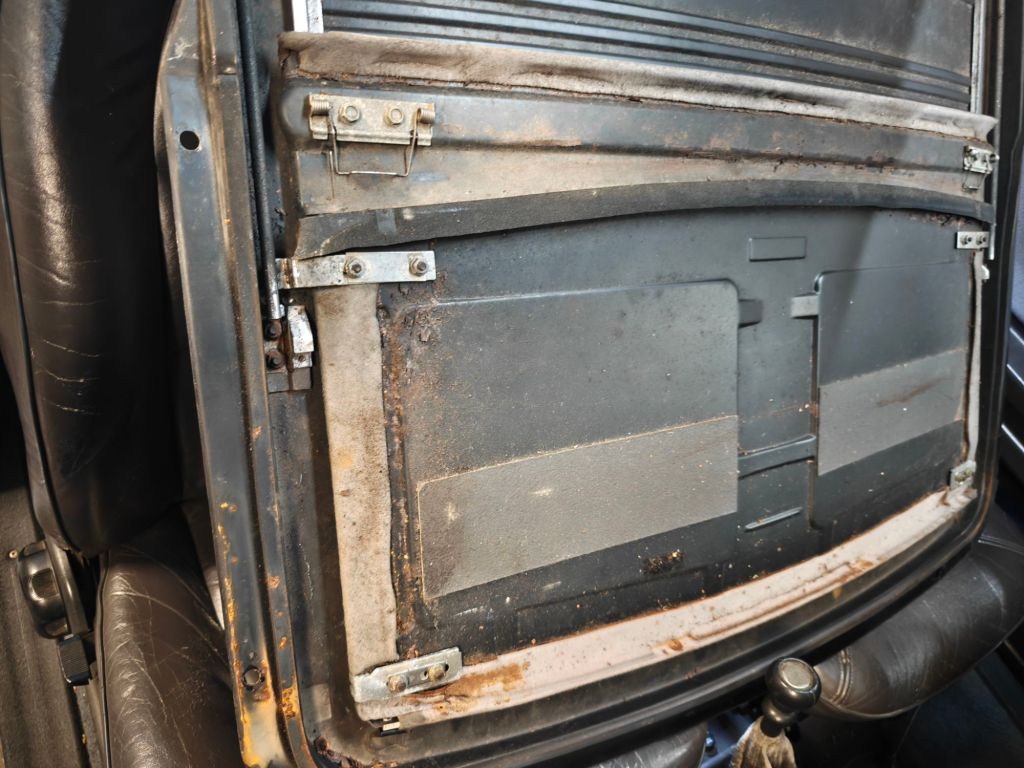
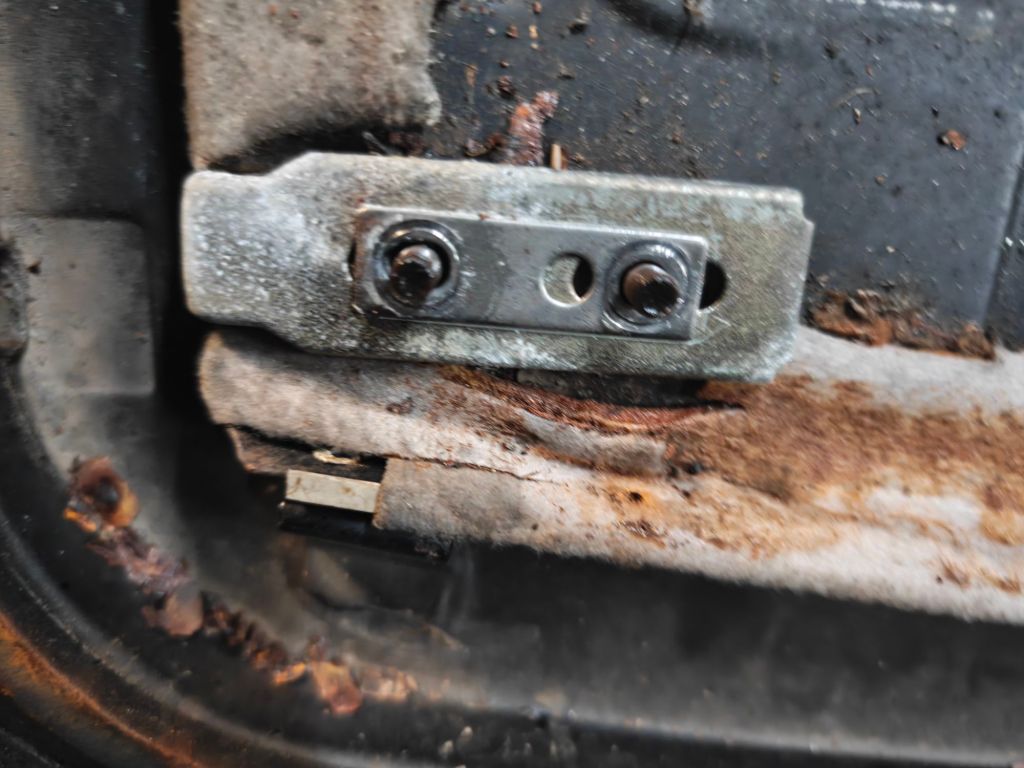
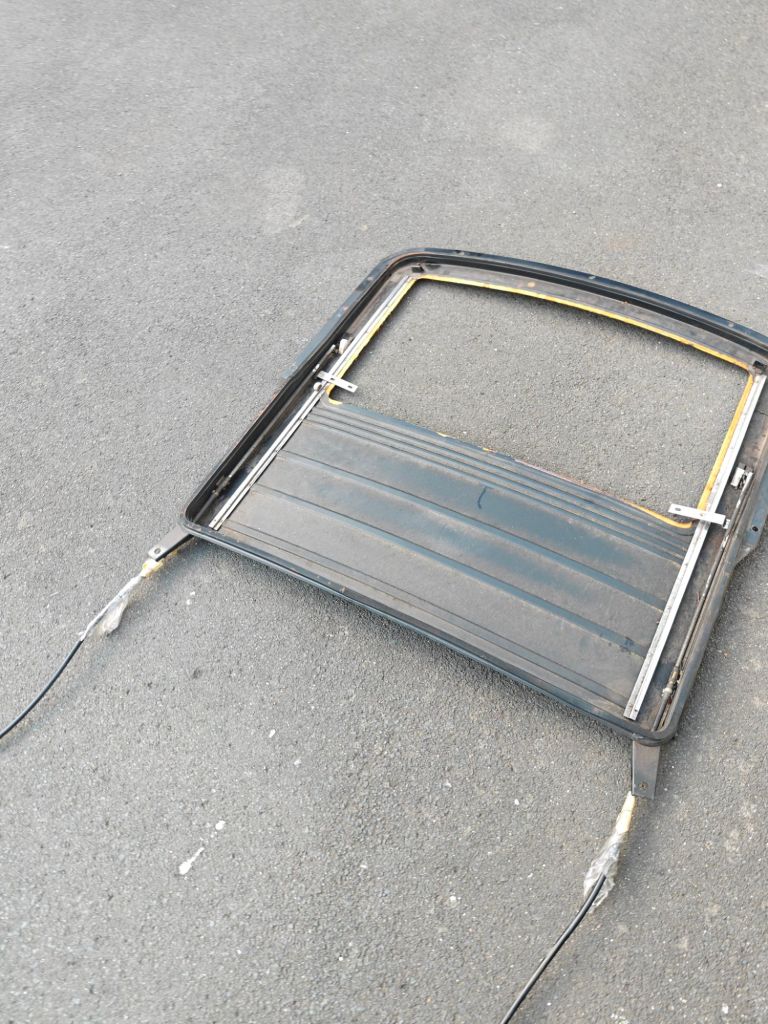
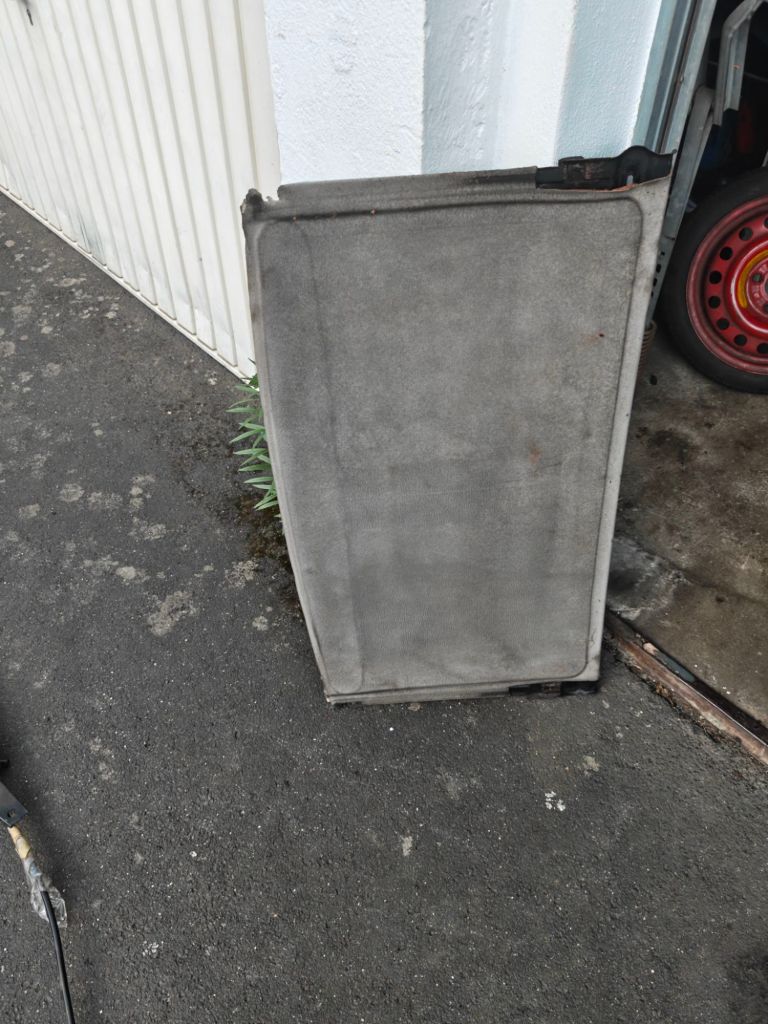
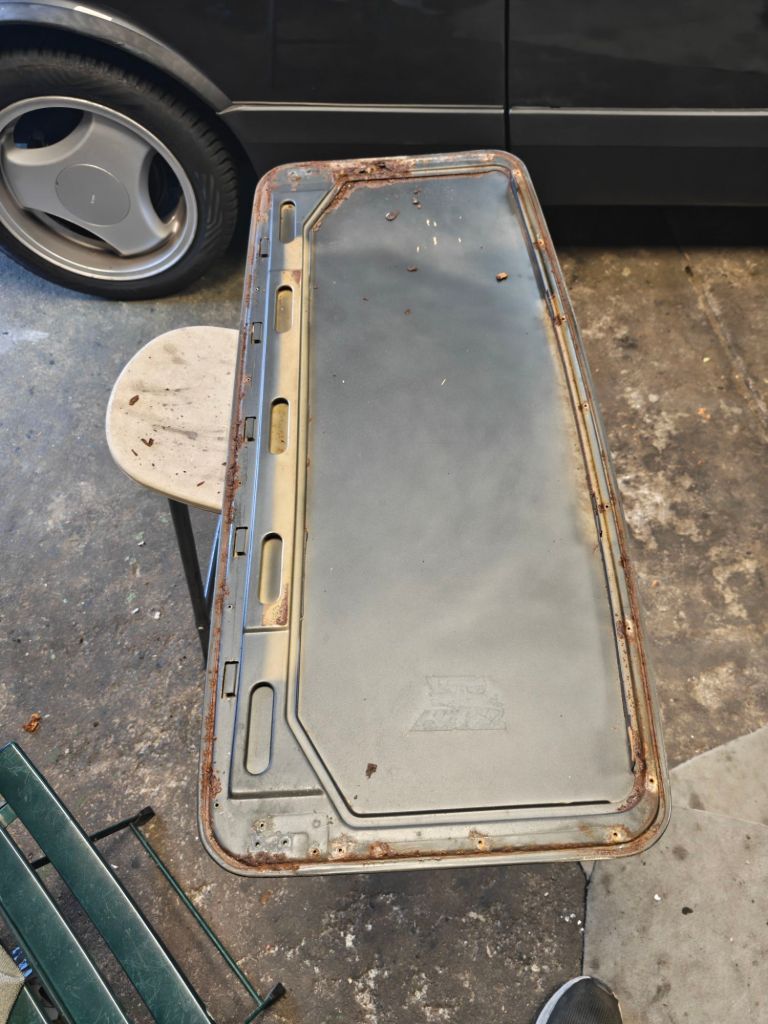
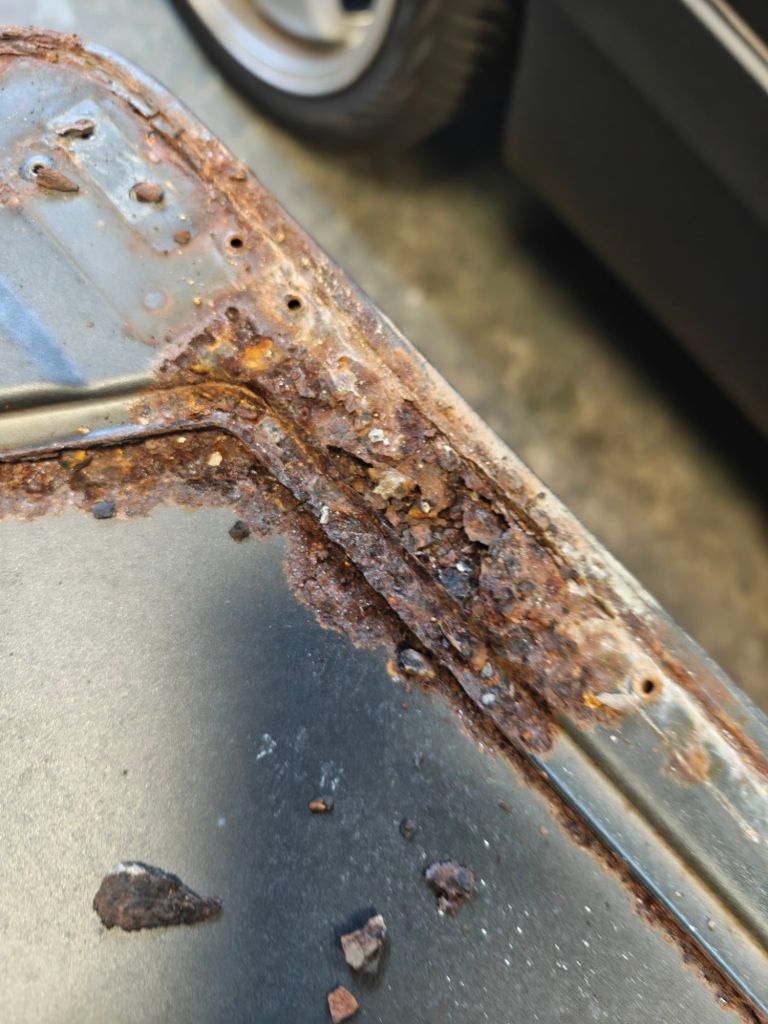
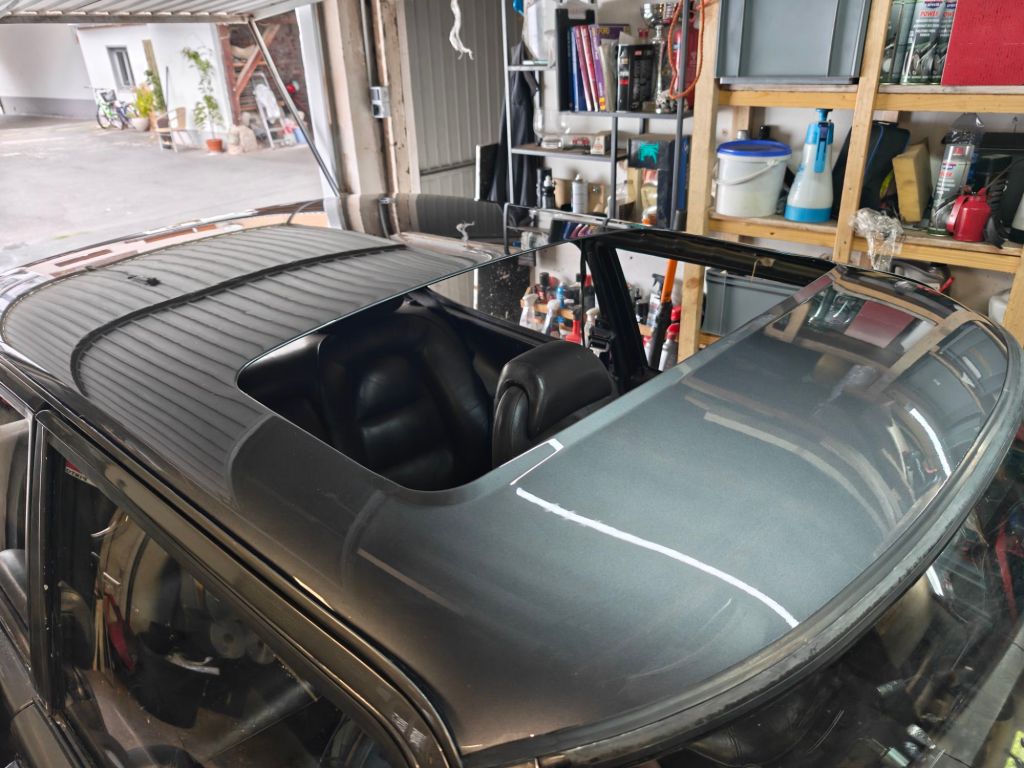
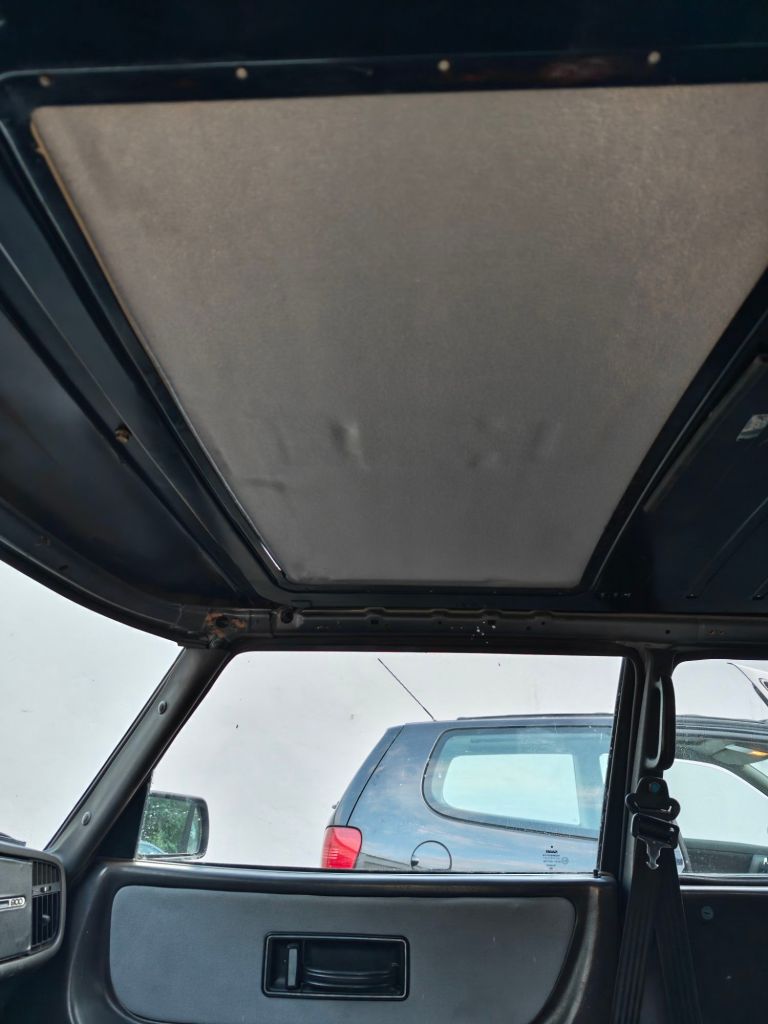
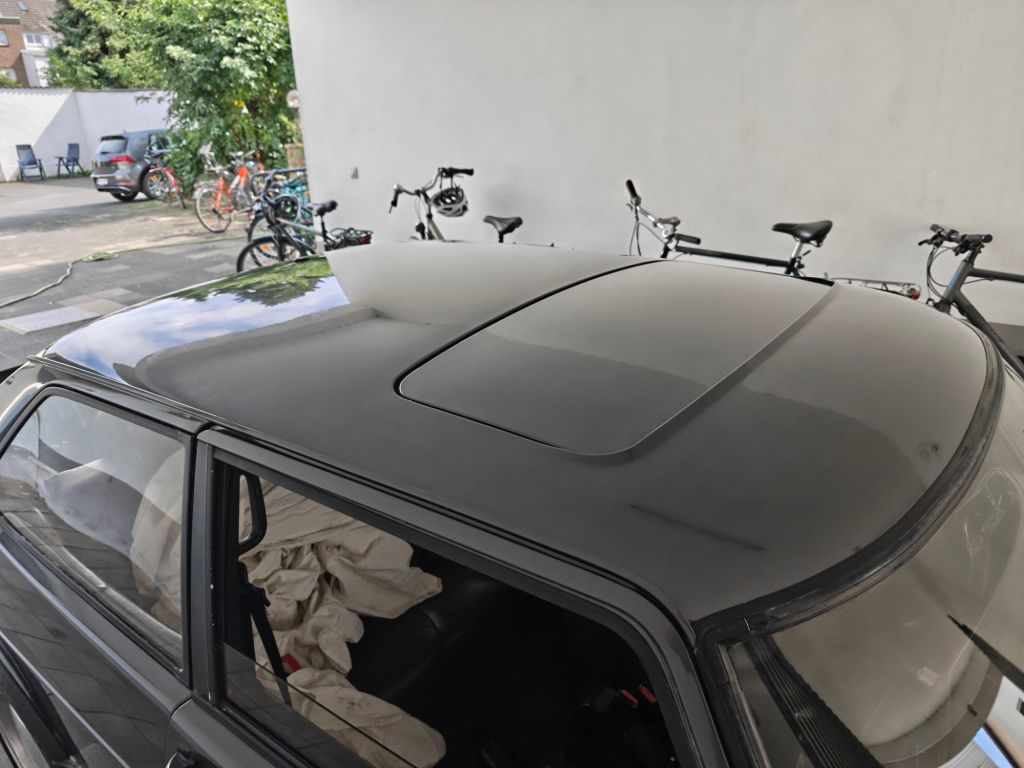
In theory it would have been sufficient to just remove the upper sliding part of the roof. Just four screws on the front of the inside part hold it down. The rear of the sliding part is tucked under two springs. Once this is out the internal or lower part can be removed quite easily. But there was plenty of rust along the edge of the roof. So I made the questionable decision to remove the entire housing that is screwed under the roof as well.
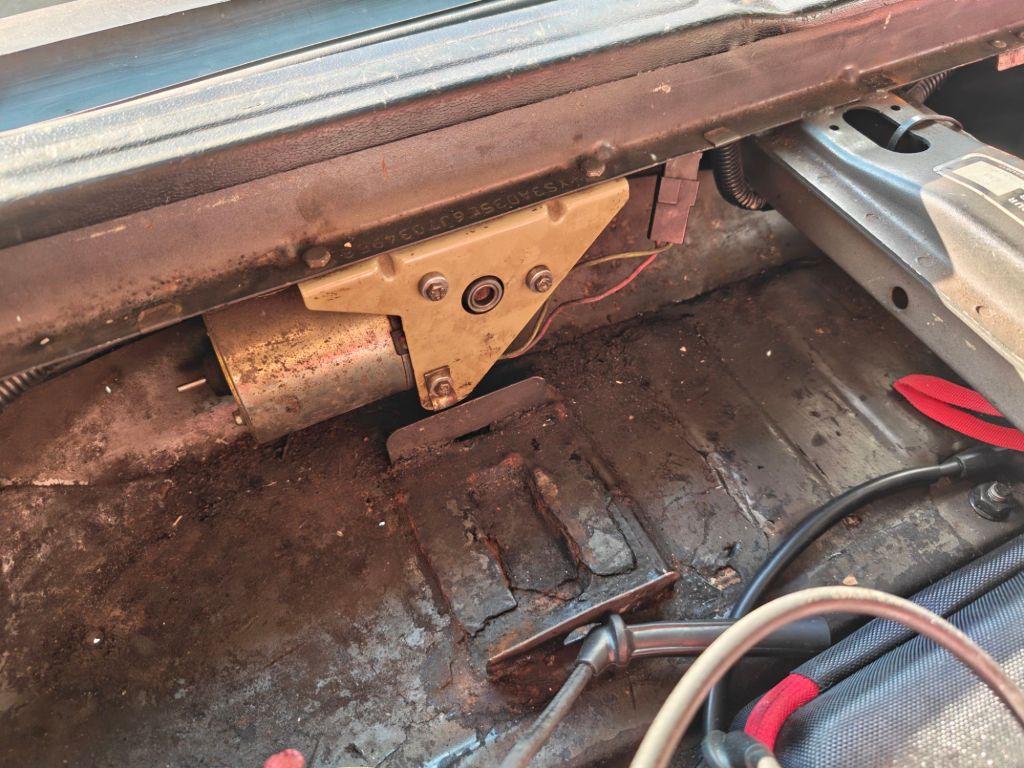
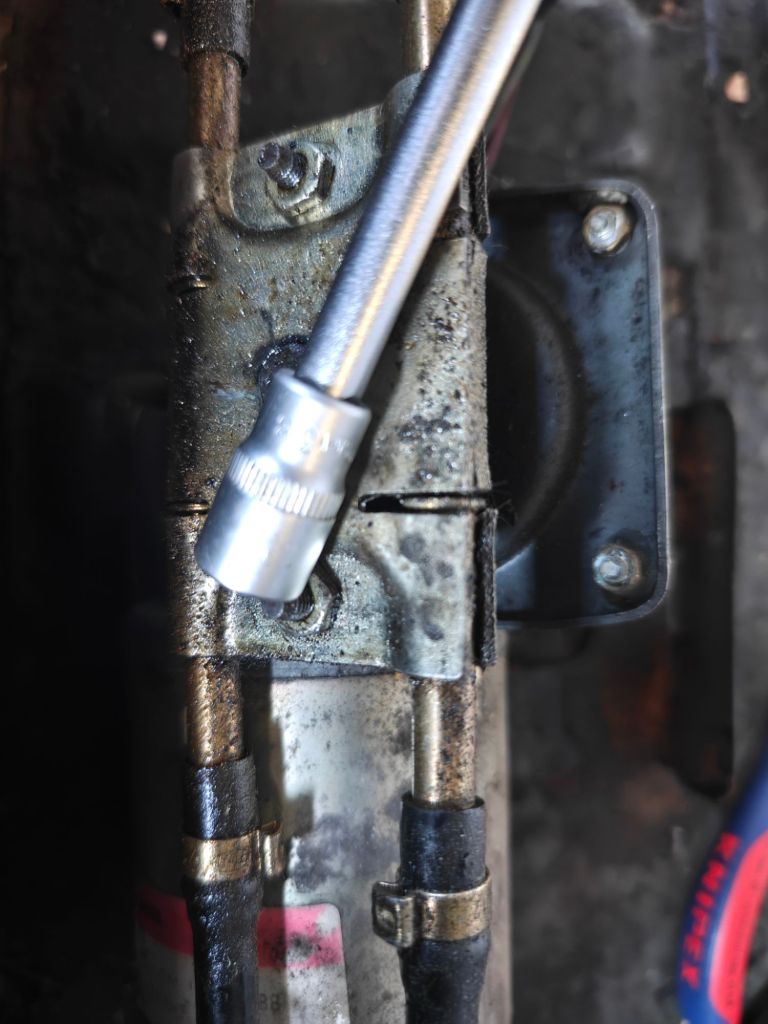
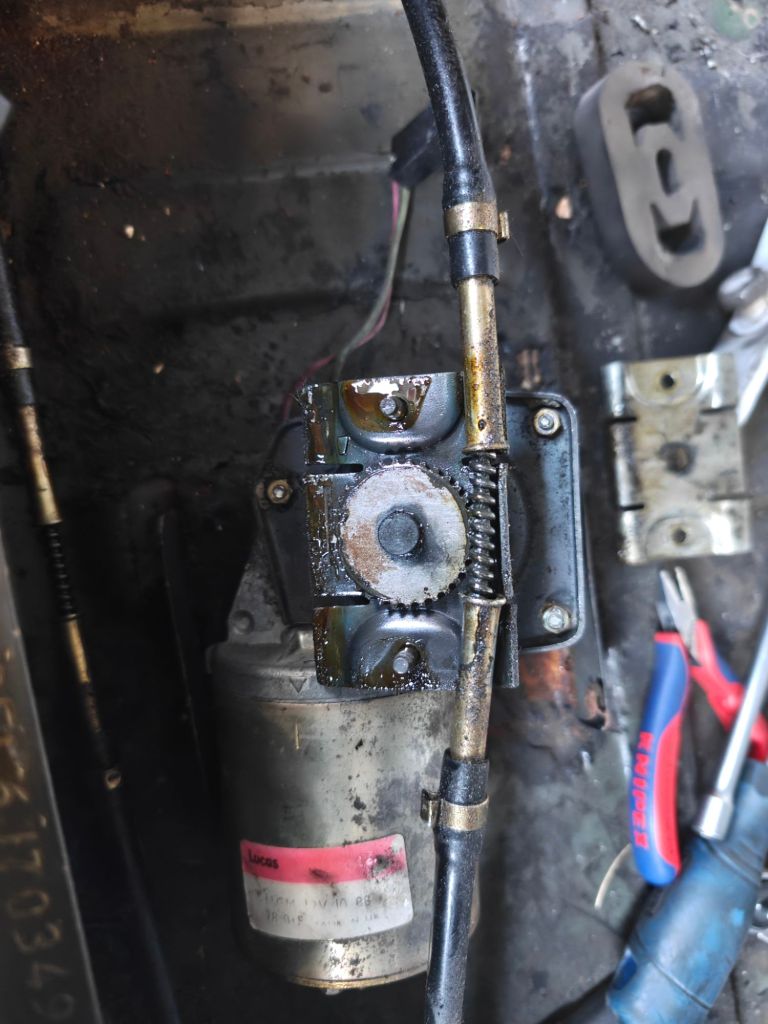
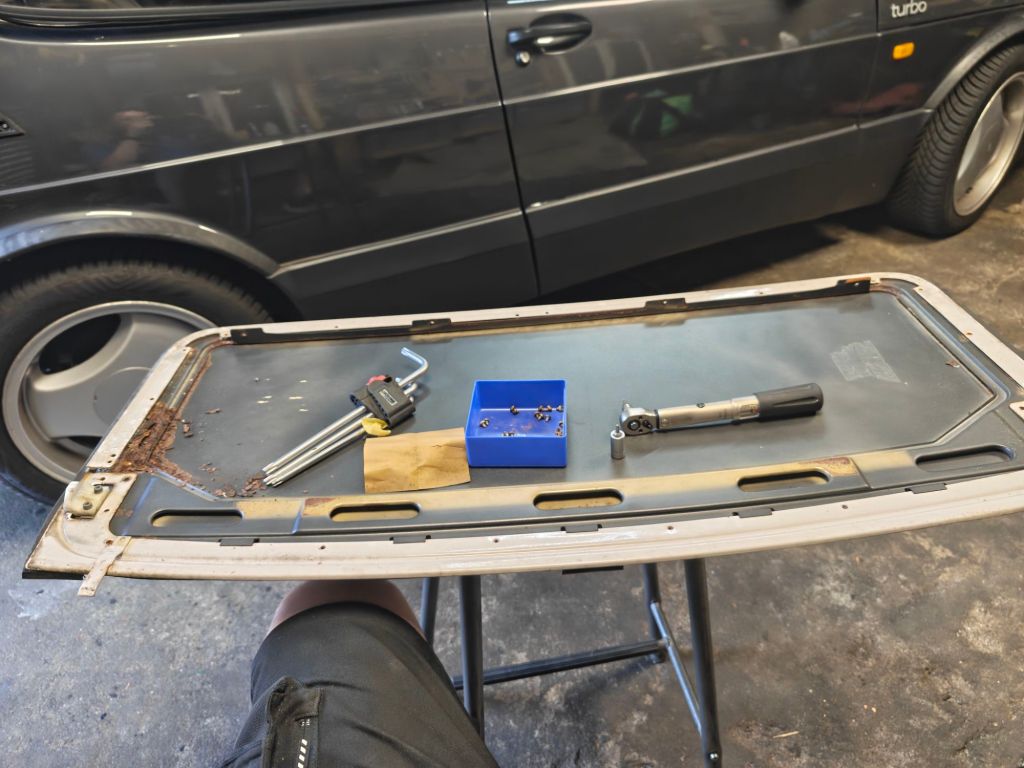
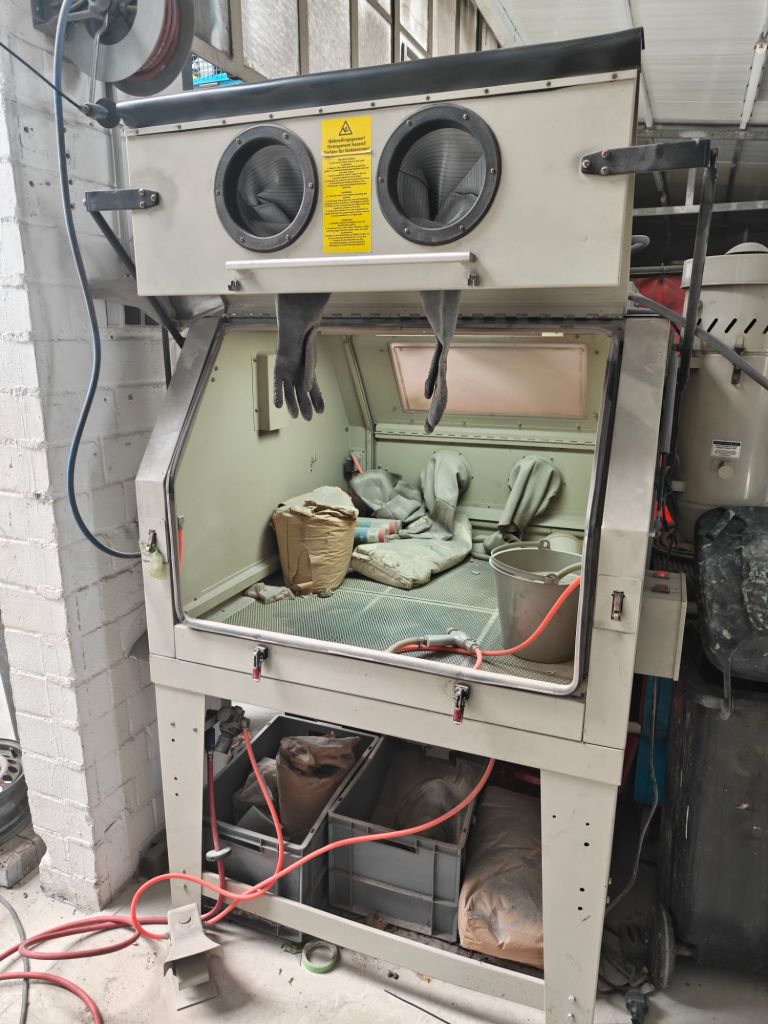
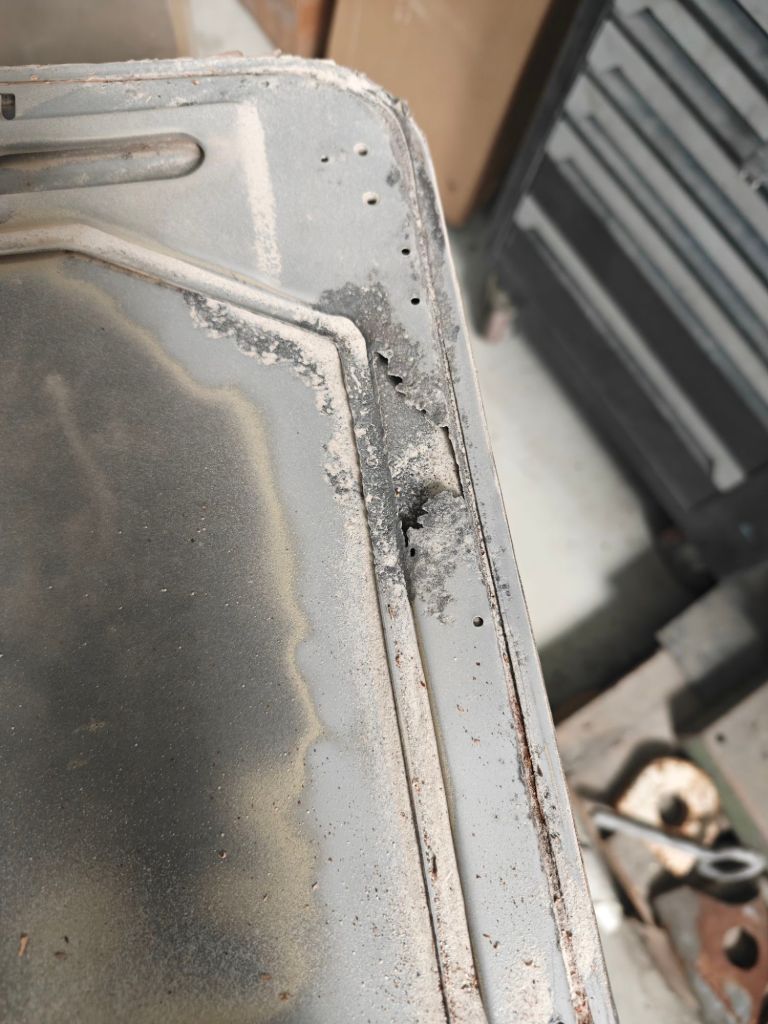
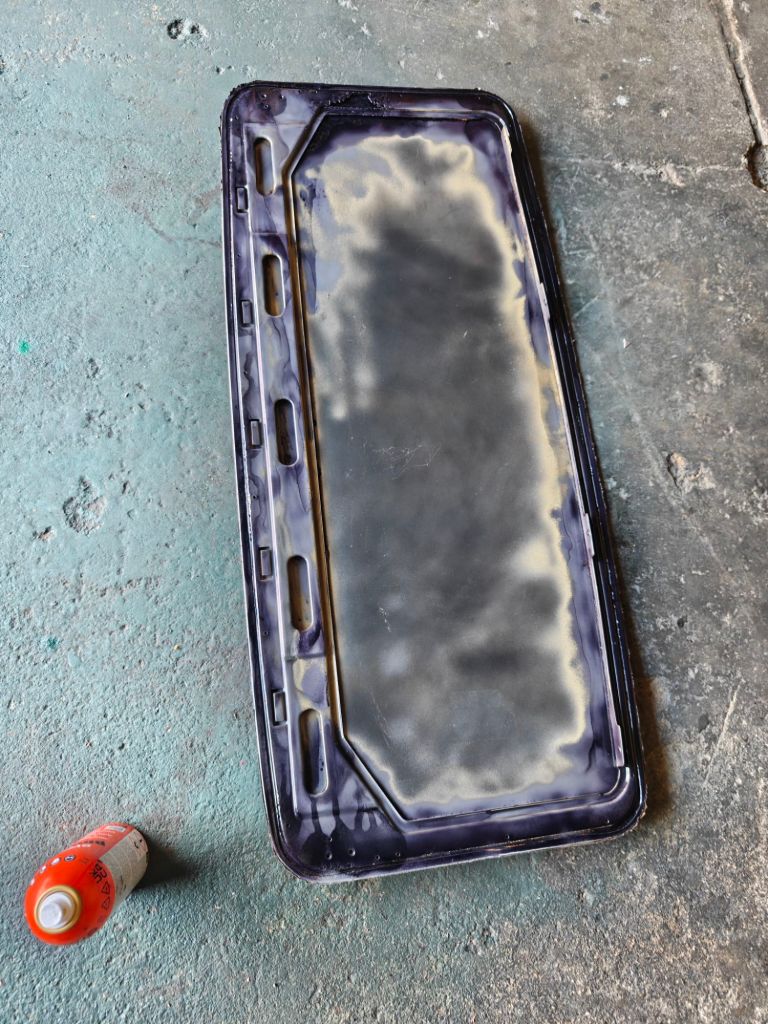
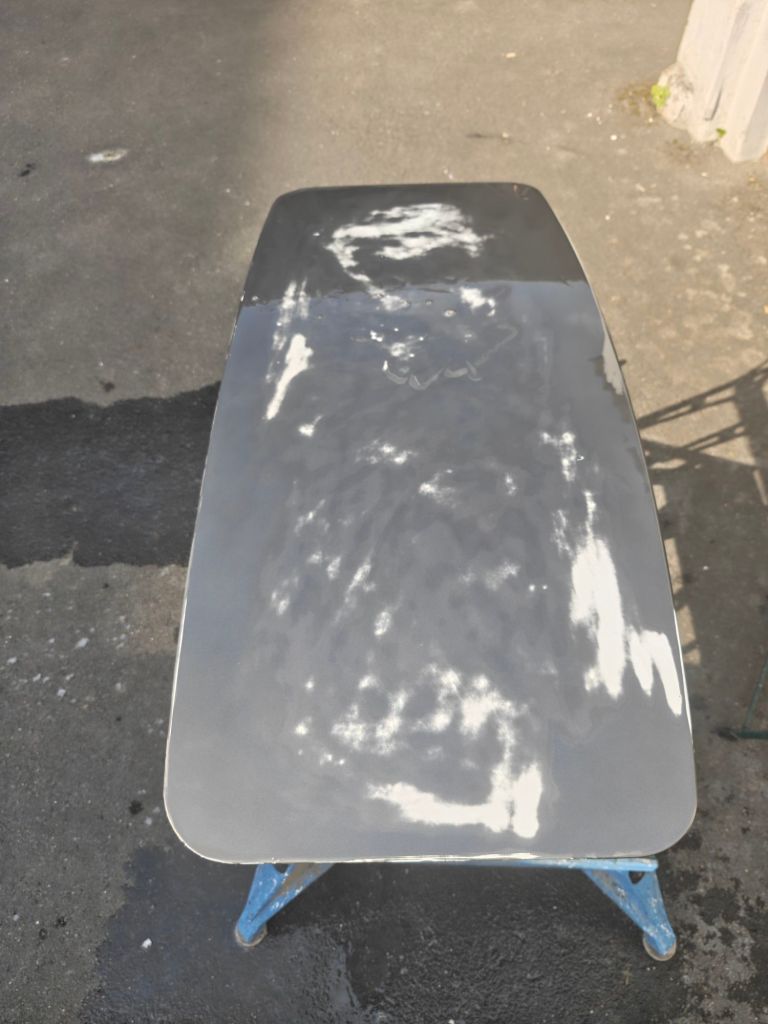
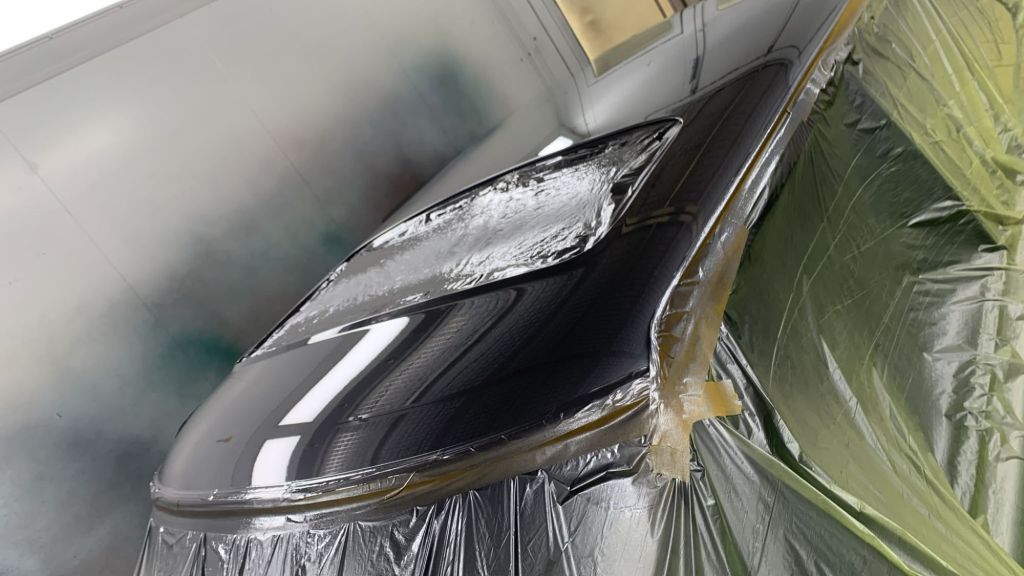
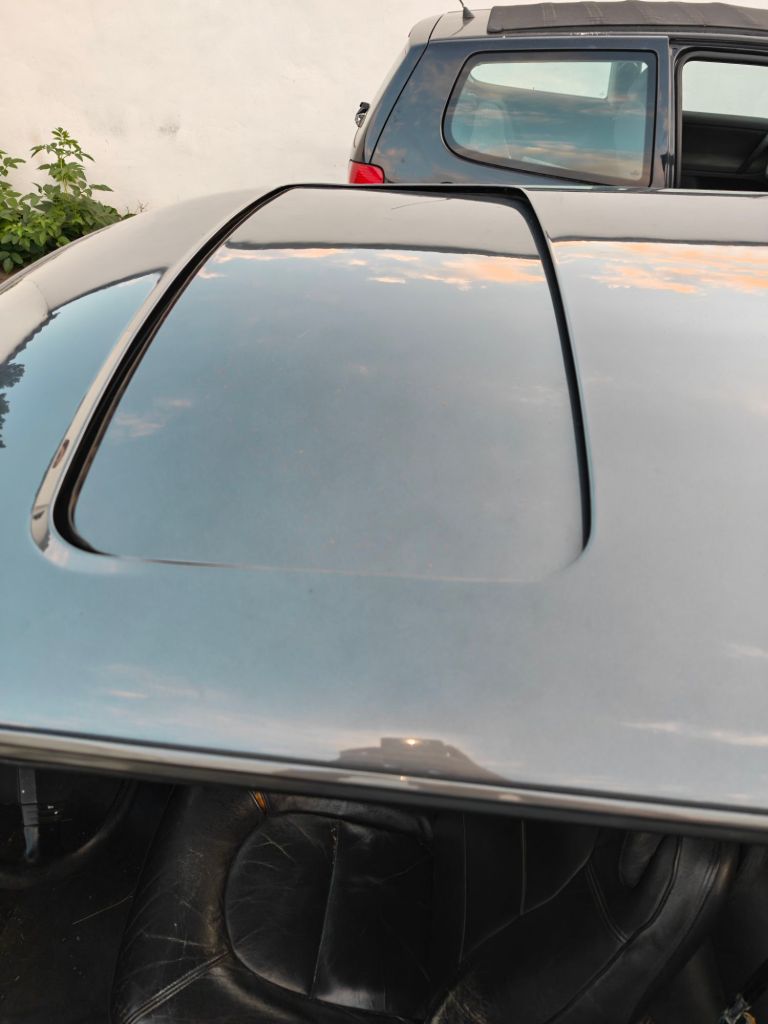
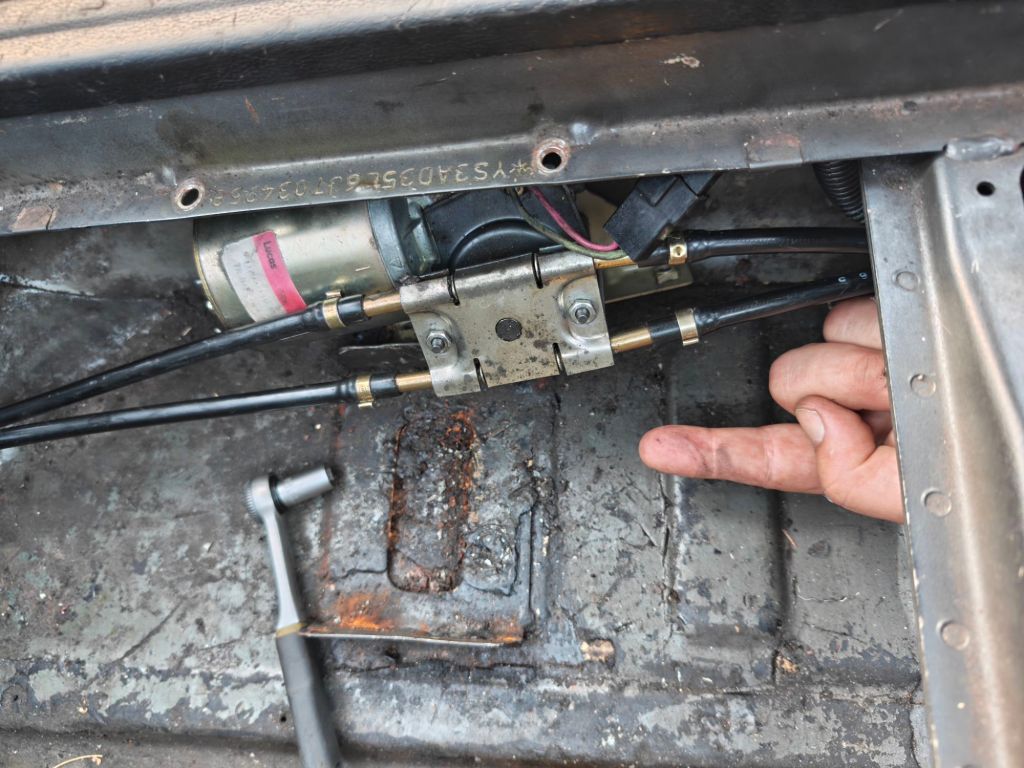
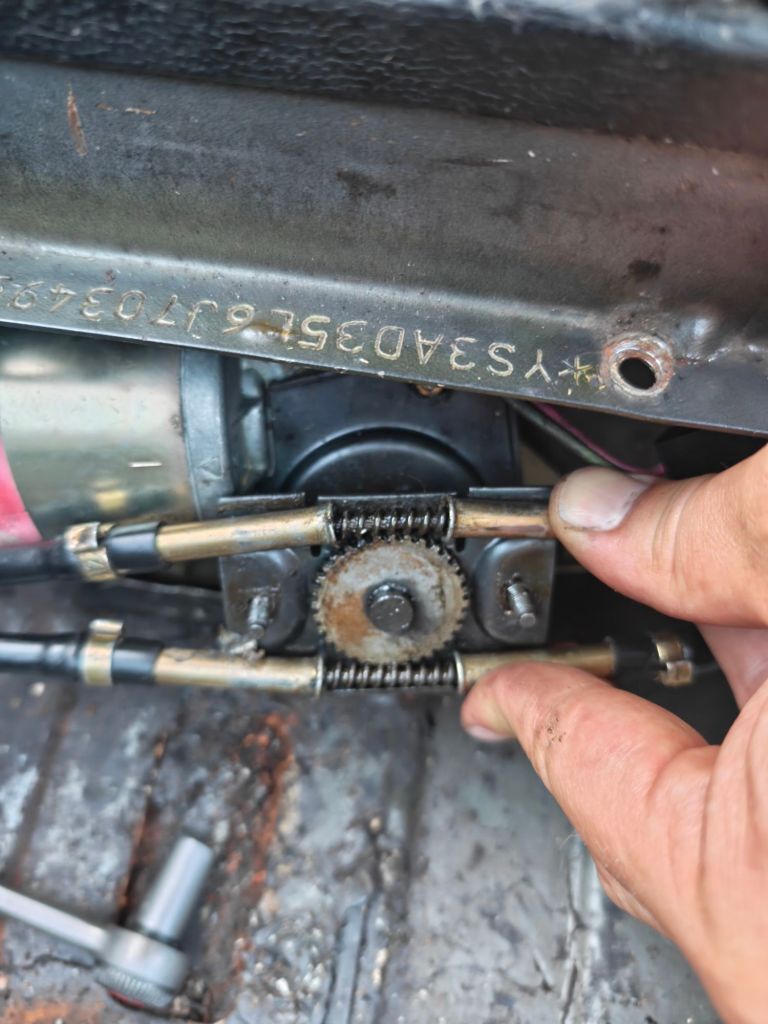
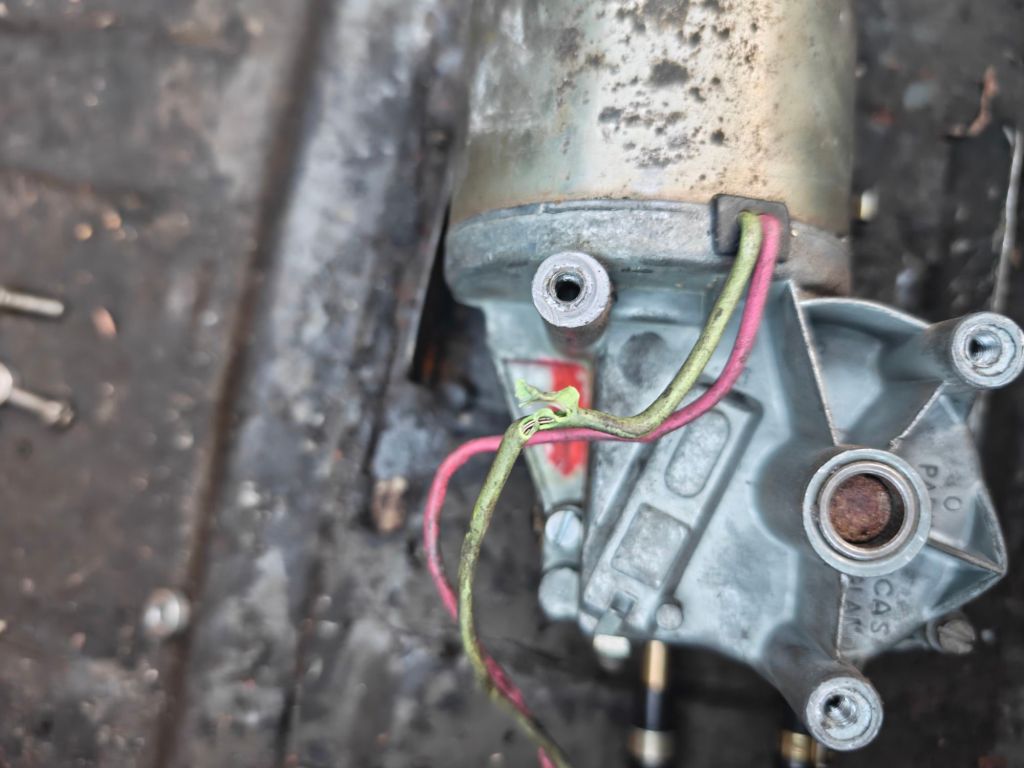
This in turn requires pulling the cables that are attached to the wiper-style motor mounted in the rear below the boot floor. This effort allowed me to remove rusty areas and spots on the underside of the roof, the sliding-roof frame and all smaller parts.After sandblasting the not visible side of the sliding roof, I decided against welding some smaller sections and just applying rust converter before painting it. The entire roof was sanded down with 800grid and got repainted.
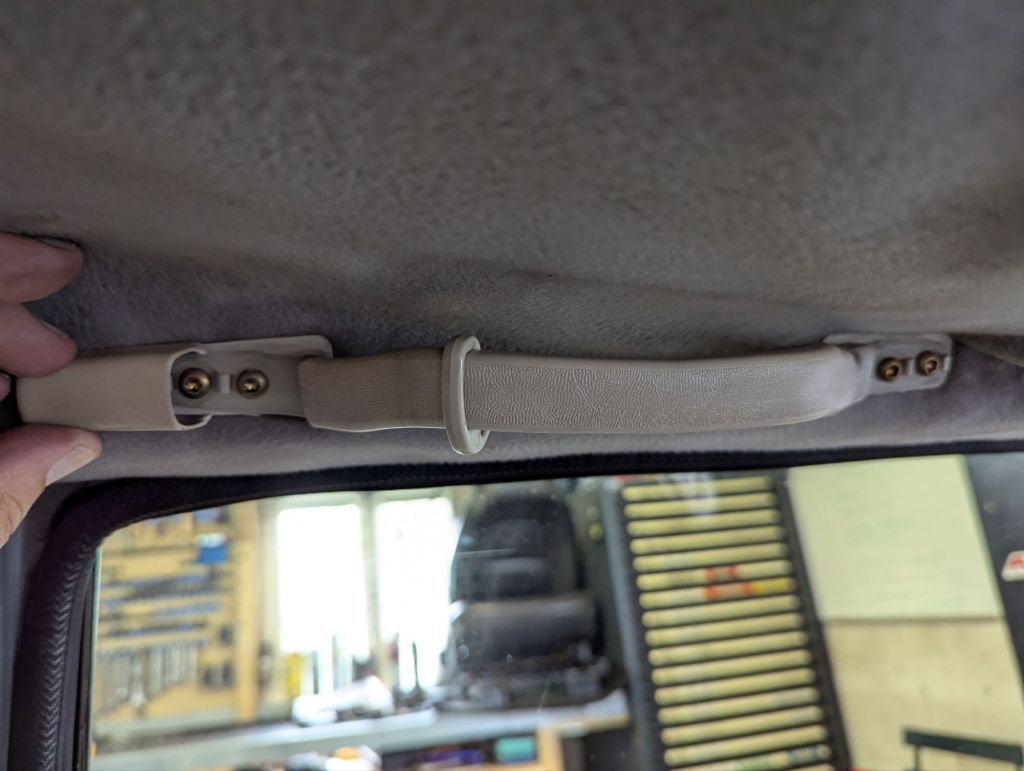
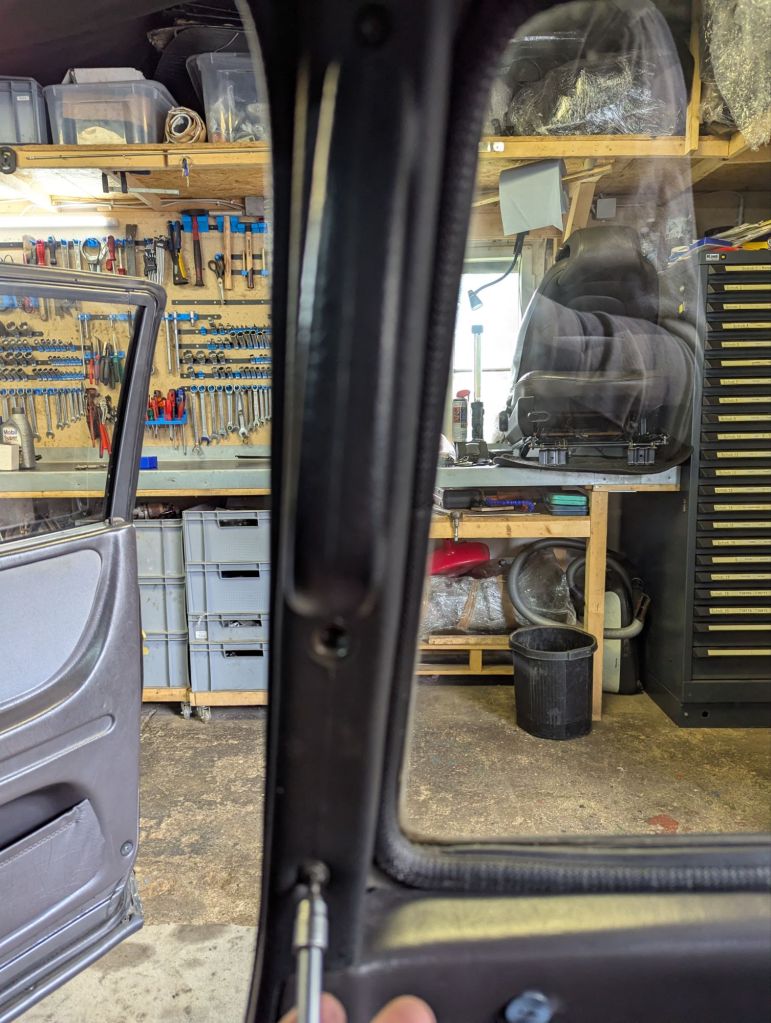
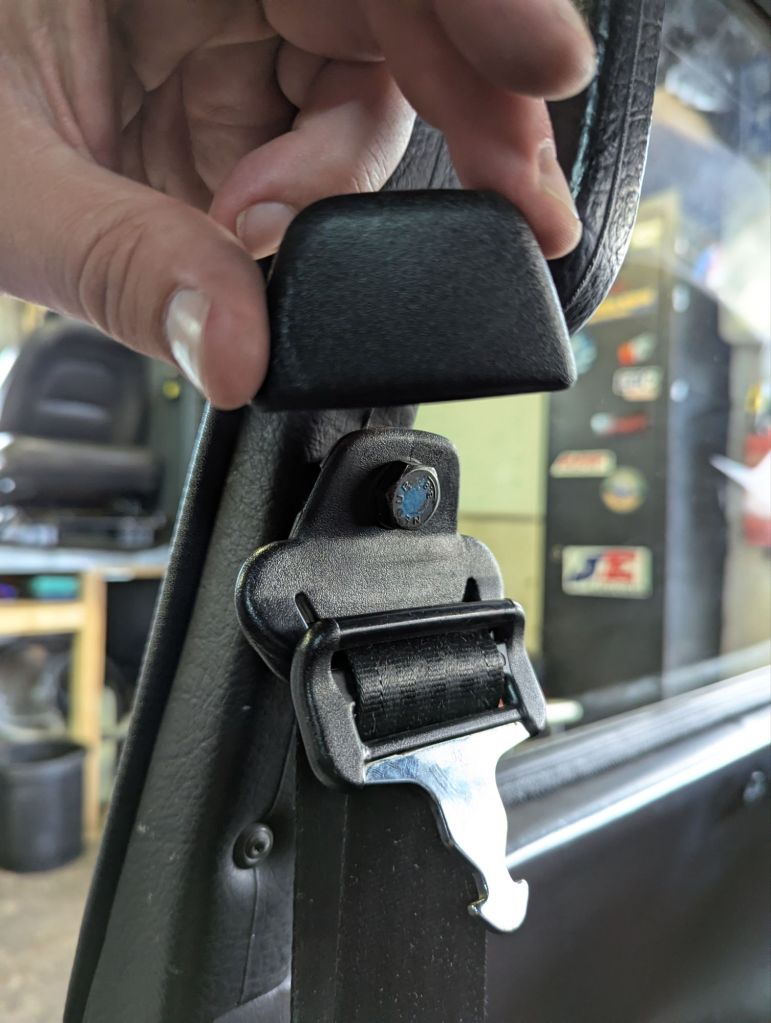
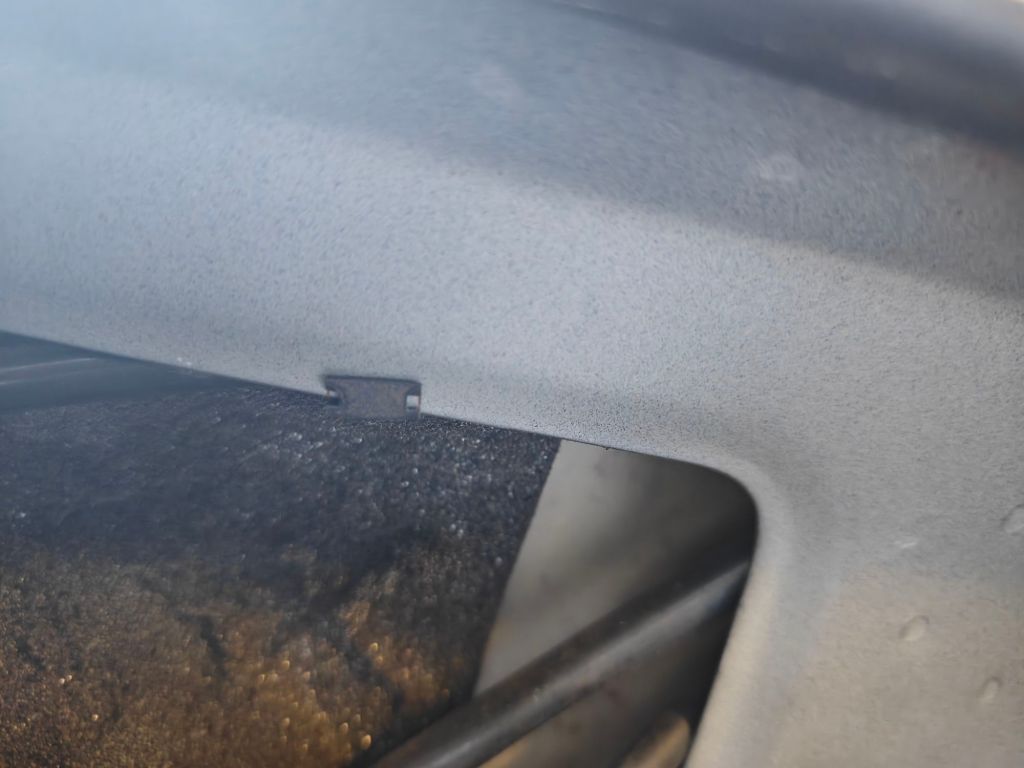
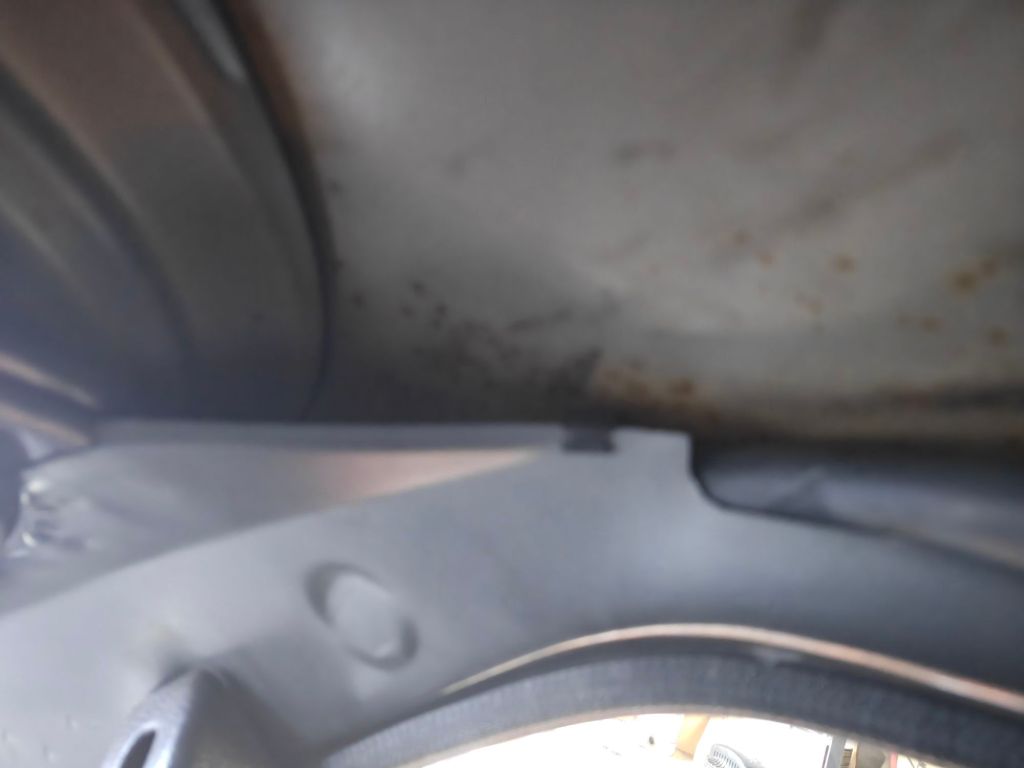
Putting it all back together was not as bad as I imagined. The only downer was that I had to enlarge the cut outs in the Fiberglas for the sun visor and rear mirror. I did this with the help of a dremel and was very careful not to cut into the fabric. The main problem with the Aldridge kit is that the seatbelt holes for the trim of rear column are not in the right spot – at least for the 1988 three door Saab900 coupe.
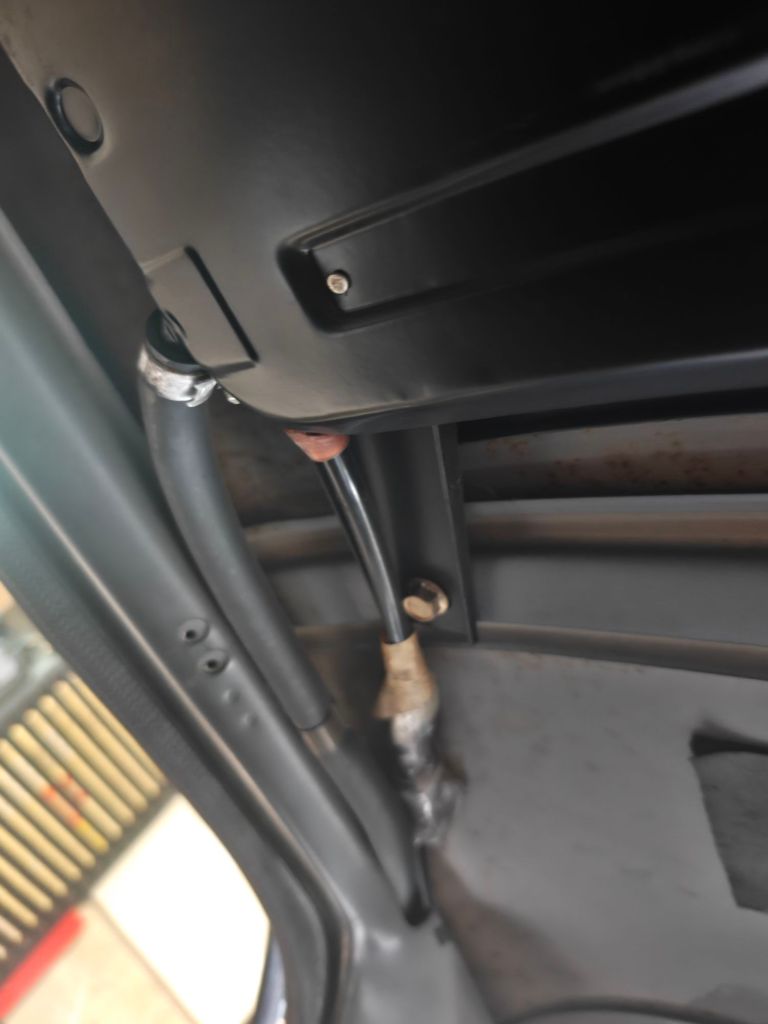
After all was back in – I wondered why the fuse keeps to short out when I was trying to close the roof. Eventually I found that the cables for the motor had been pressed between the bracket and the motor at some point. This causes the short circuit when closing the roof. Easy repair – but it took quite a while until I found this. Some interior fixes are still to do – but for now the Saab will hopefully be my daily driver until Miffi is back in the road


Leave a comment