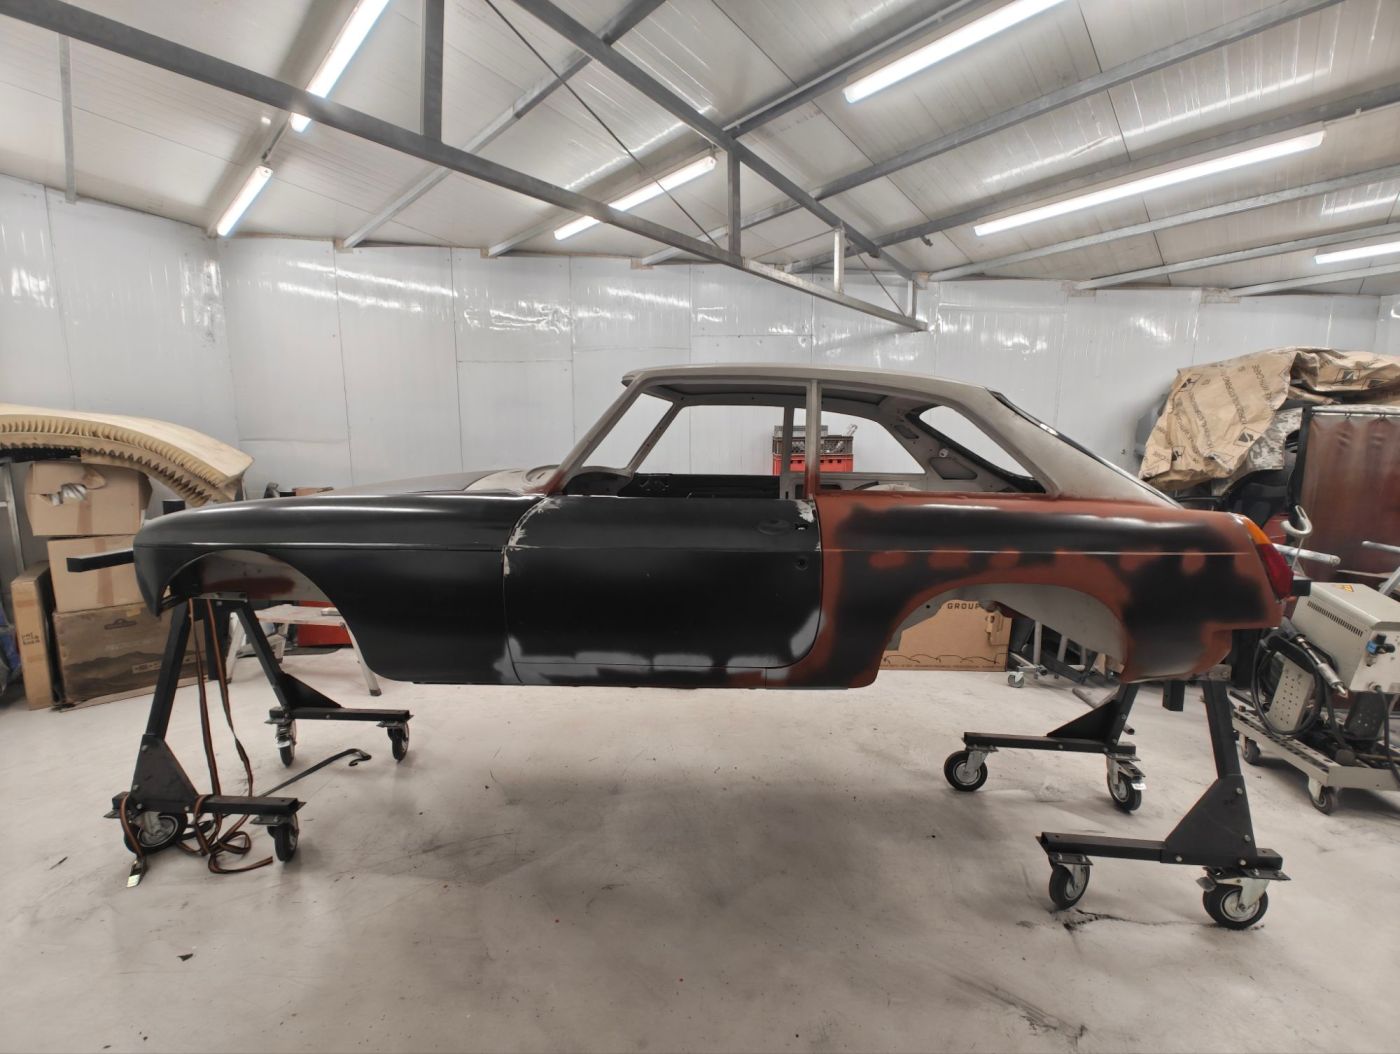
Fitting the rear wing on a MGB GT and getting panel gaps right takes time. As off today 60 man hours went into Mildred this year (well – actually since Monday last week). And the work on the right rear wing has not even started. But the rear wing topic seems to spark some interest. I received three emails today on why I did “not use the right” GT panel for the repair. Let me share a bit more details on how the decision came about.
First off all – the “right” rear wing panel for a GT is British Motor Heritage panel GT25. Anyone doing rust repairs on a MGB will/should/has watch the “MGB Bodyshell Build” video on Youtube. It is linked below. At minute 4:55 you see two gents adding the right rear wing into a jig for the MGB GT. The reason why this is the “right” panel is that this not a single piece – it is at least two (if not more) individual parts that have been spot-welded together. These spot-welds are done underneath the panel line that you typically see on a MGB GT all the way to the top of the rear lights.
The repair panel I bought is just the outer part – panel MB37L(R). Even though BMH officially lists this as part for both – Roadster and GT – I received messages that could be interpreted as: “you are using the wrong one”. And yes, for the people looking at details – I believe you are right. If the panel line that is visible on the top rear part of the wing should be preserved to keep the car as original as possible – we (the team in the garage and I) believe that the GT25 panel is the only way to achieve this correctly. They might be creative and dodgy other methods – but we could not think of anything that would be feasible.
So: Why did I do it this way? These where my reasons:
- The panel line is a often a rust magnet. I have seem so many GTs with paint defects in this area, that seam-welding this part made sense to me. That being said: Mildred is a bit of a Restomod. Many details from the Frontline SuperSports GT (FLD020) from 2019 are copied. I have seen this car once when I visited Frontline and I am fell in love with it. They build amazing cars and even if I will not get to the same quality and finese with my build – the Frontline builts are my Northern Light. And they seam-weld everything….
- Cost! The GT25 panel costs roughly 3.5x as much as the MB37L(R)
- Cost! Replacing the side up the roof (which is perfectly fine on Mildred) would have causes lots of additional hours on fitting the panel
- Stability: MB37L (R) can be fitted without adding any supports
- Rear Arch access: We knew we had to repair the wheel arch – removing the entire side make it very easy
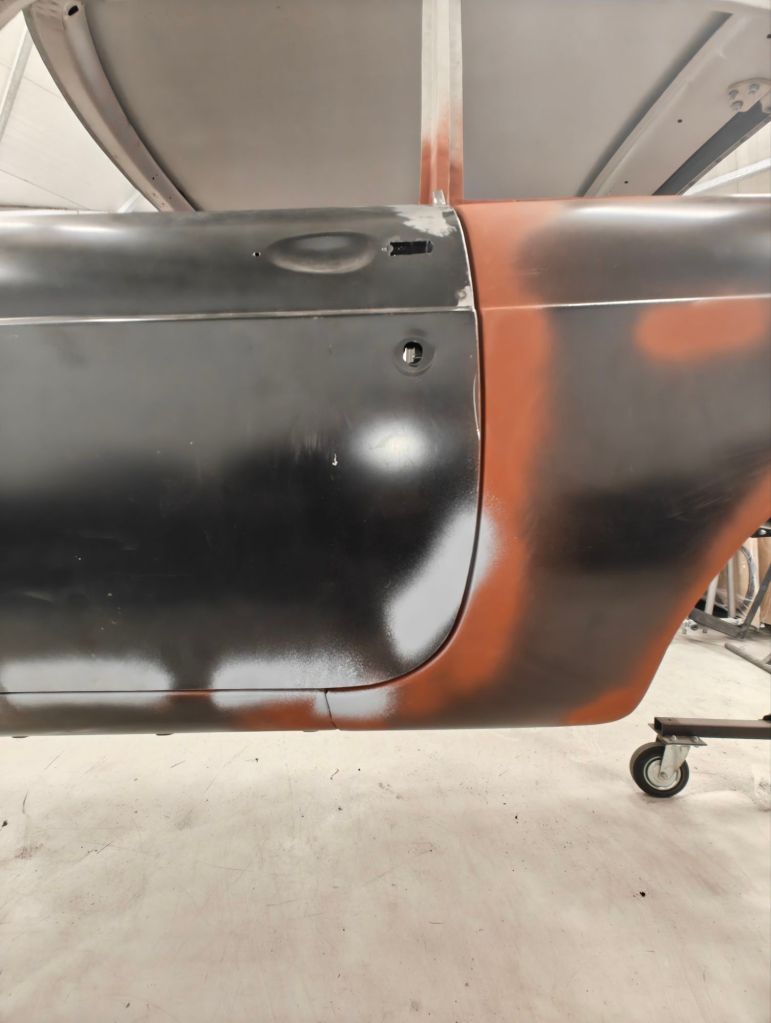
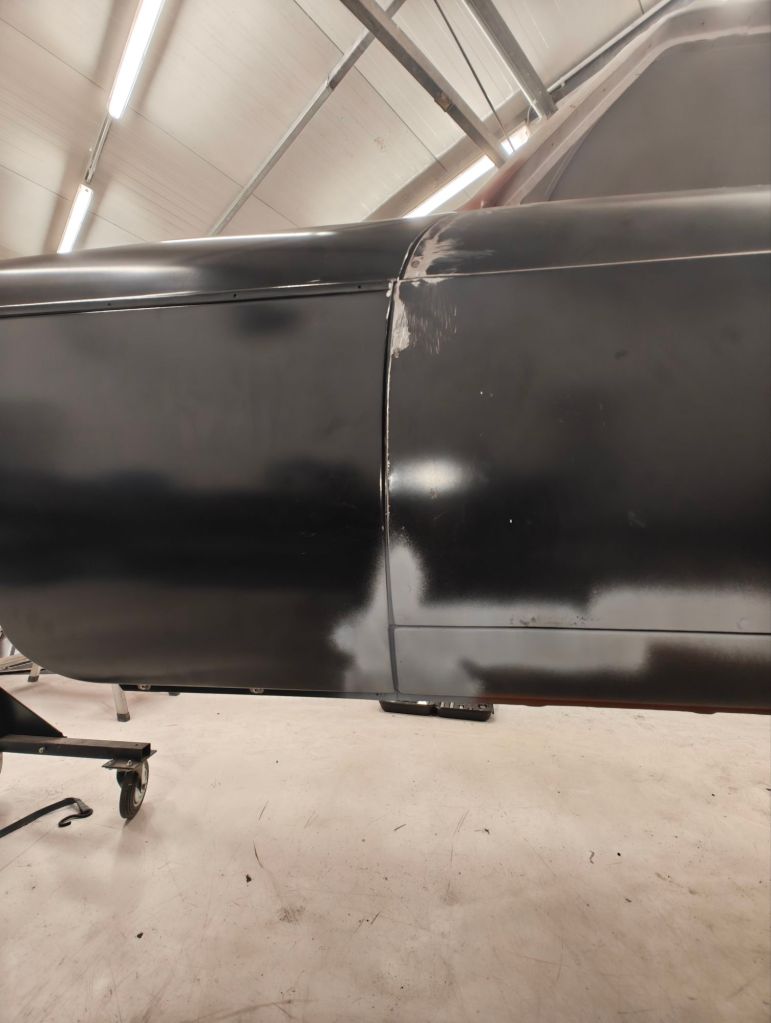
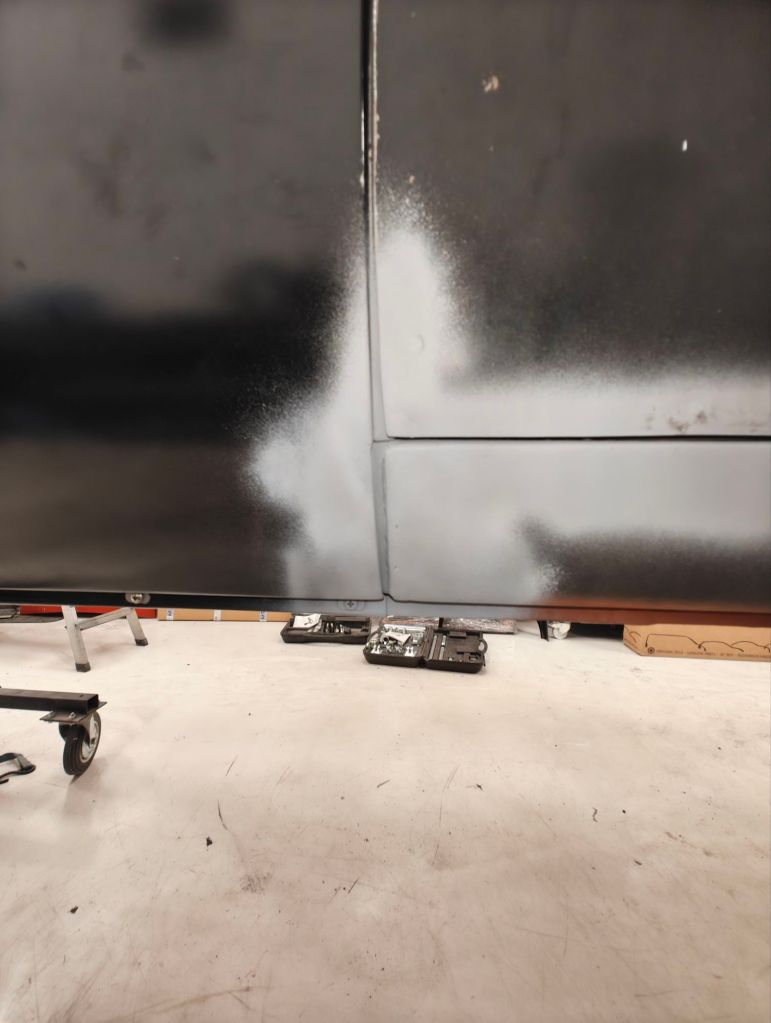
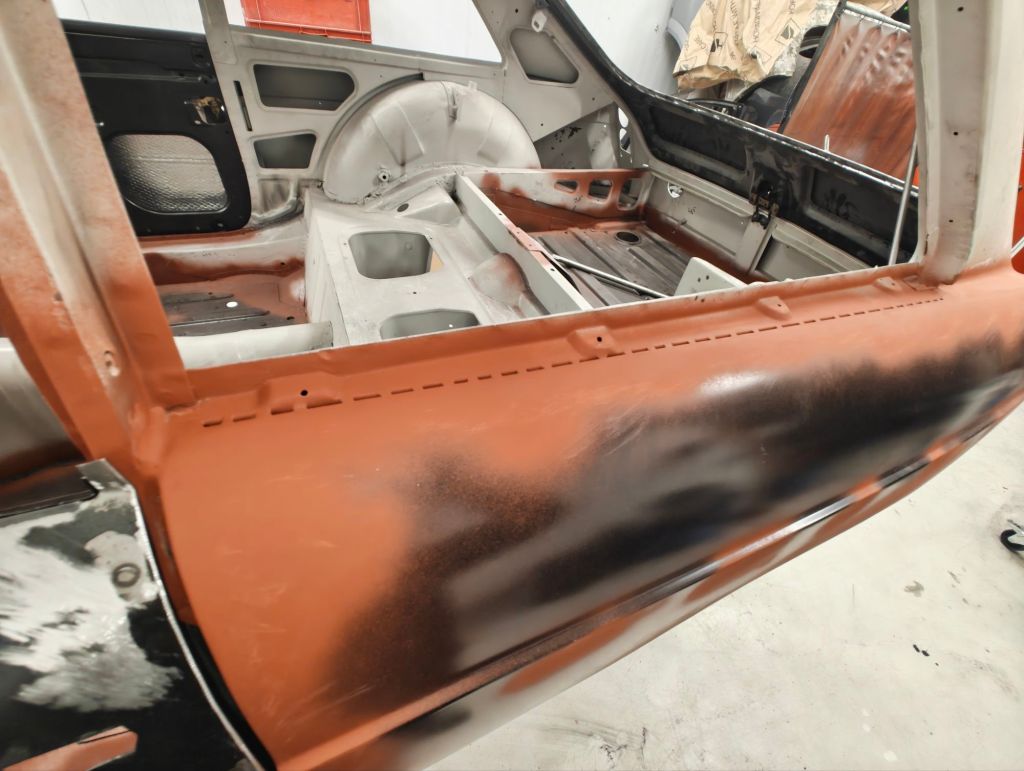
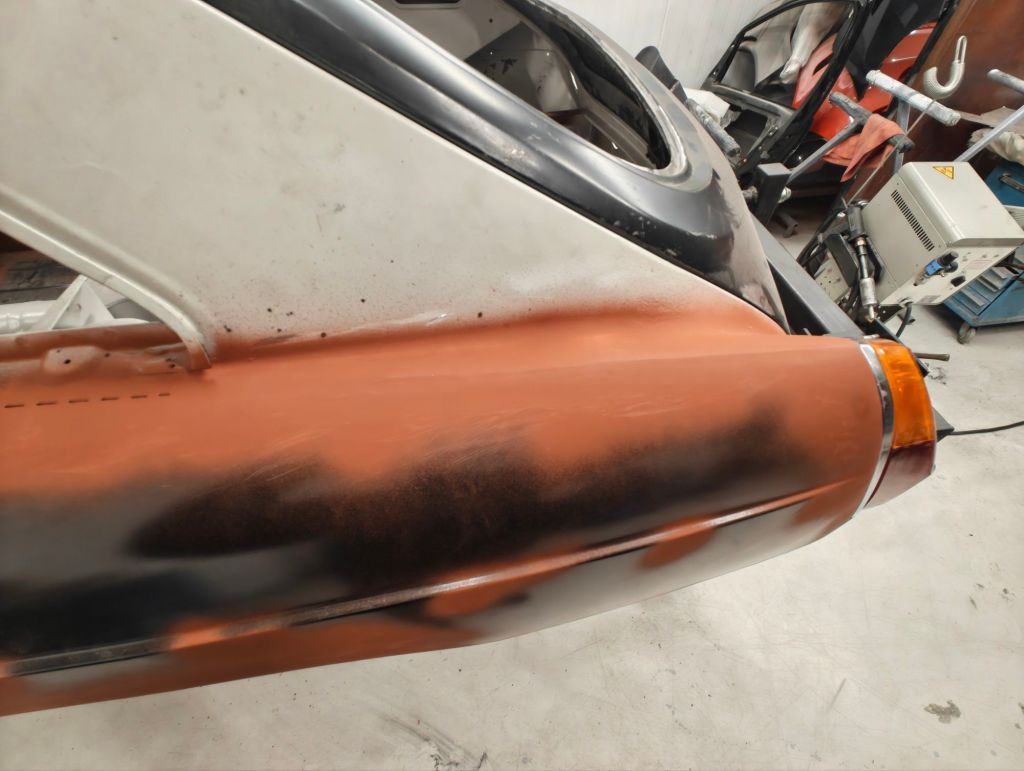
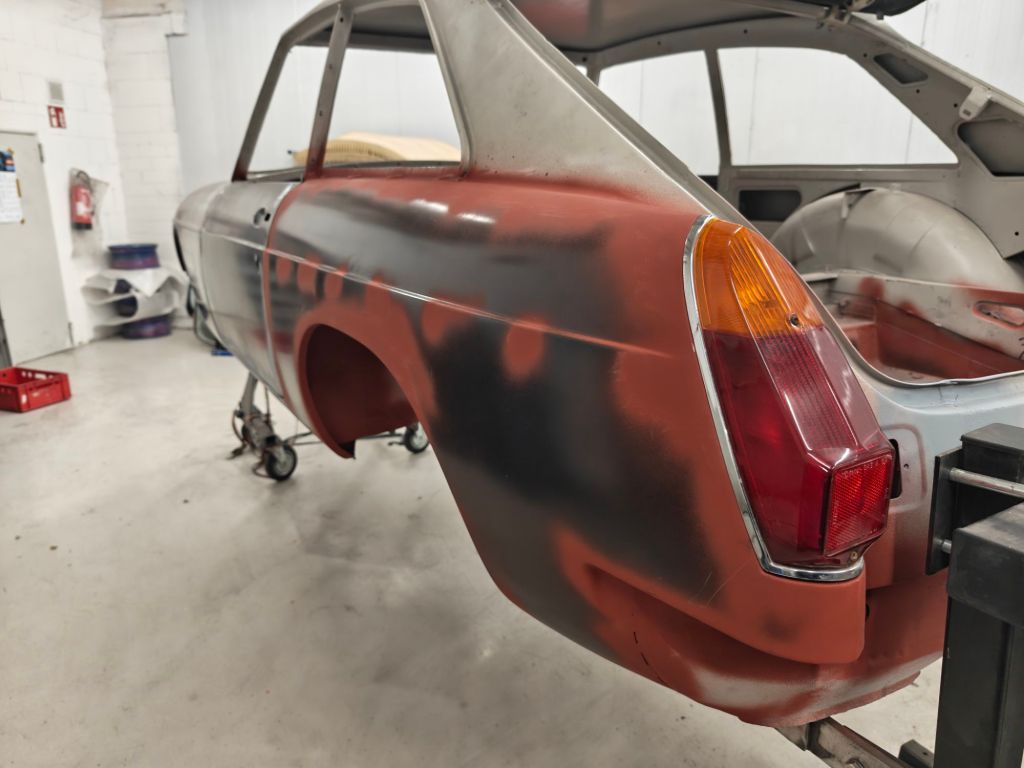
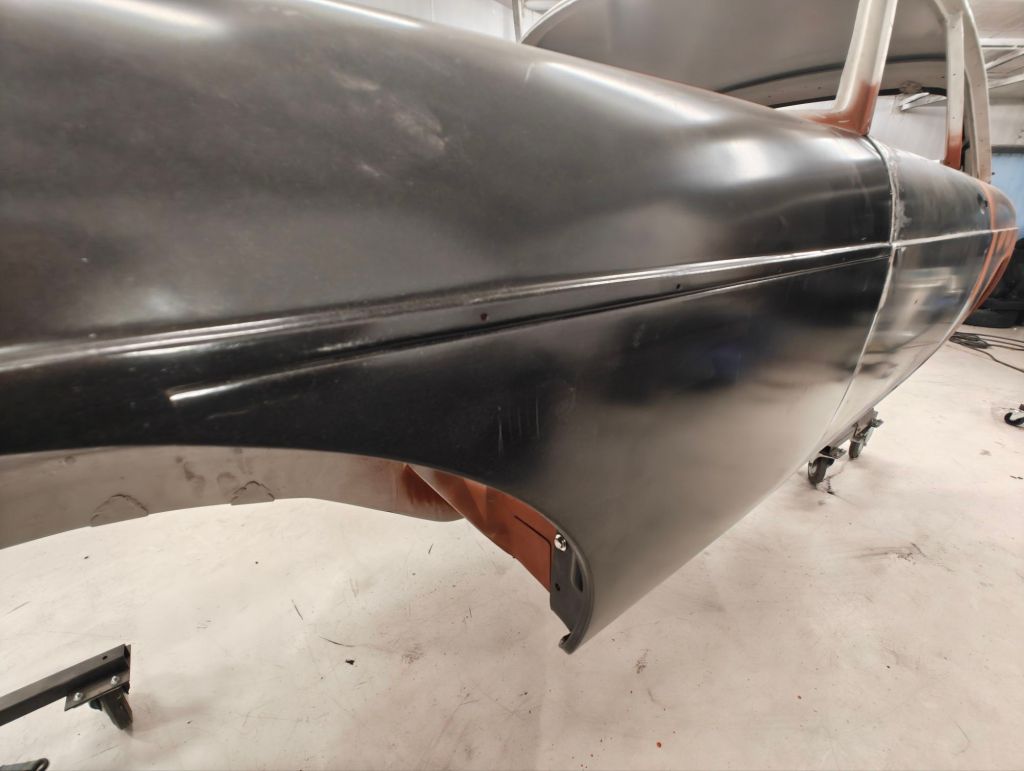
Ok – with this out of the way, more on the progress today. A lot time time was spent on the door panel gap. The Steelcraft sill had to be adjusted in many ways. My advice: Whenever possible – do yourself a favour and get the BMH panel. The additional hours correcting this just causes frustration and costs more in the end. The BMH door skin and rear panel worked out much better. I am very happy with the result. On the picture you can see we have installed the later style rear lights. Mildred should get the early style – with the curved indicator glass. Hopefully just the “glass” (plastic) can be replaced – new tail lights are quite expensive.
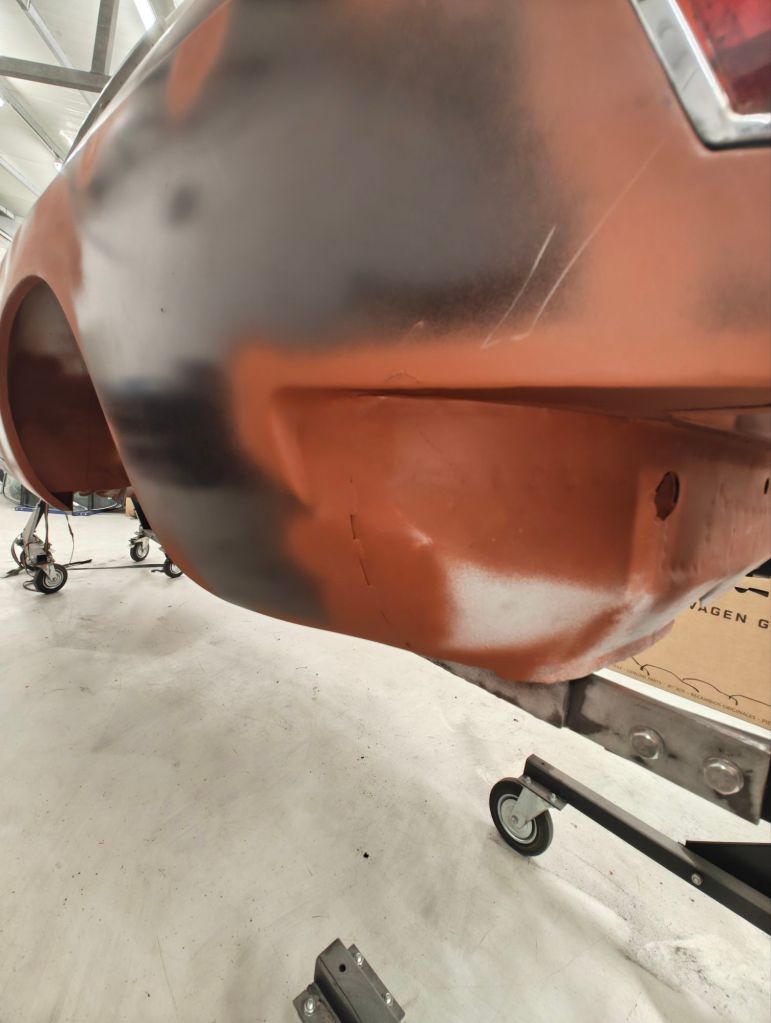
The rear corner is welded much cleaner than the original. Nevertheless filler will be required to smooth it out. One of the details I copy from the Frontline SuperSport GT is the deletion of the chrome side strips. The holes in the rear panel have been welded, the door skin did not have them and the front wing will follow shortly. The lower part of the front wing is spot-welded to the upper section and we have another “panel line”. We discussed seam-welding, but decided against it. A special compound will be used to fill this.
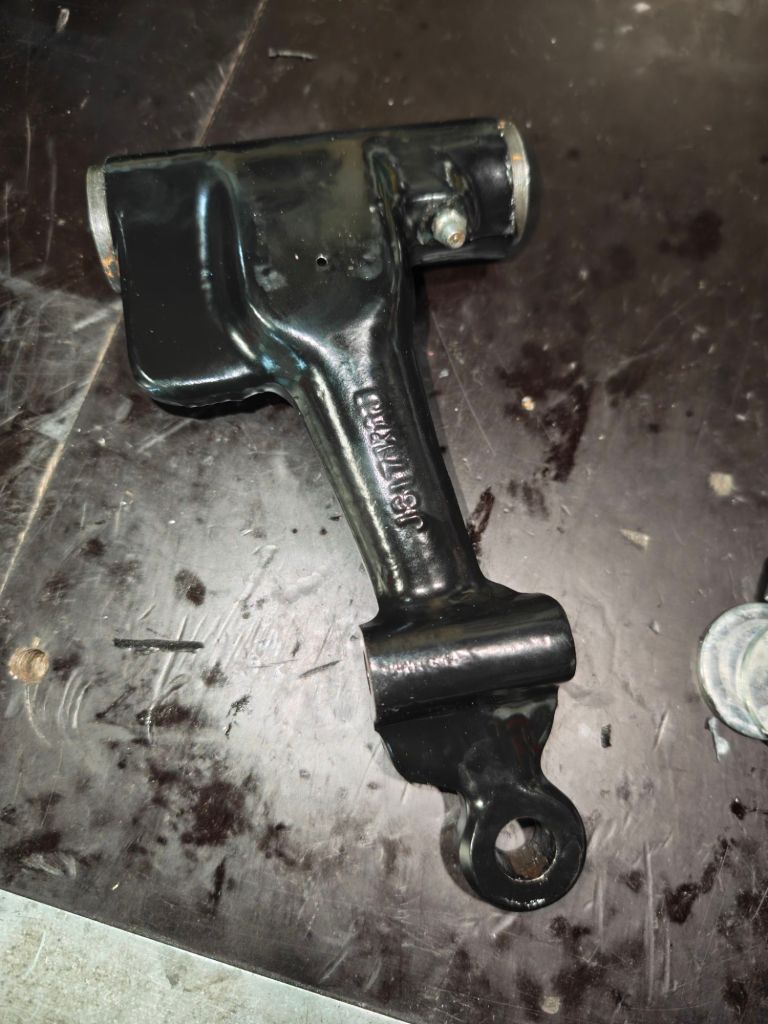
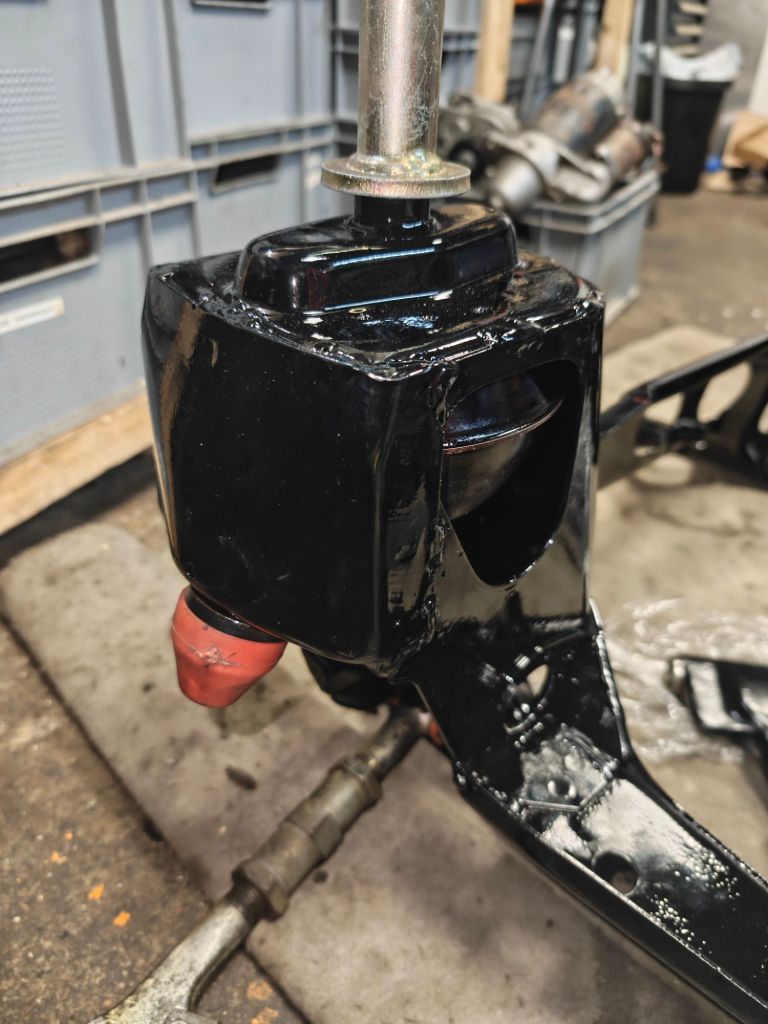
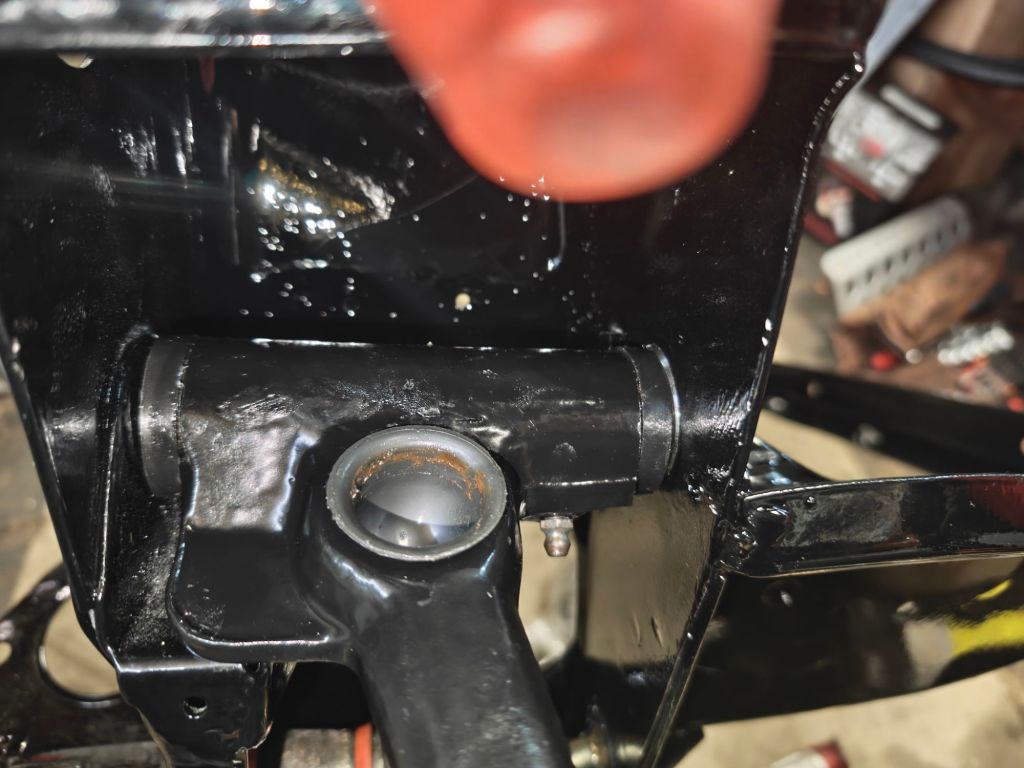
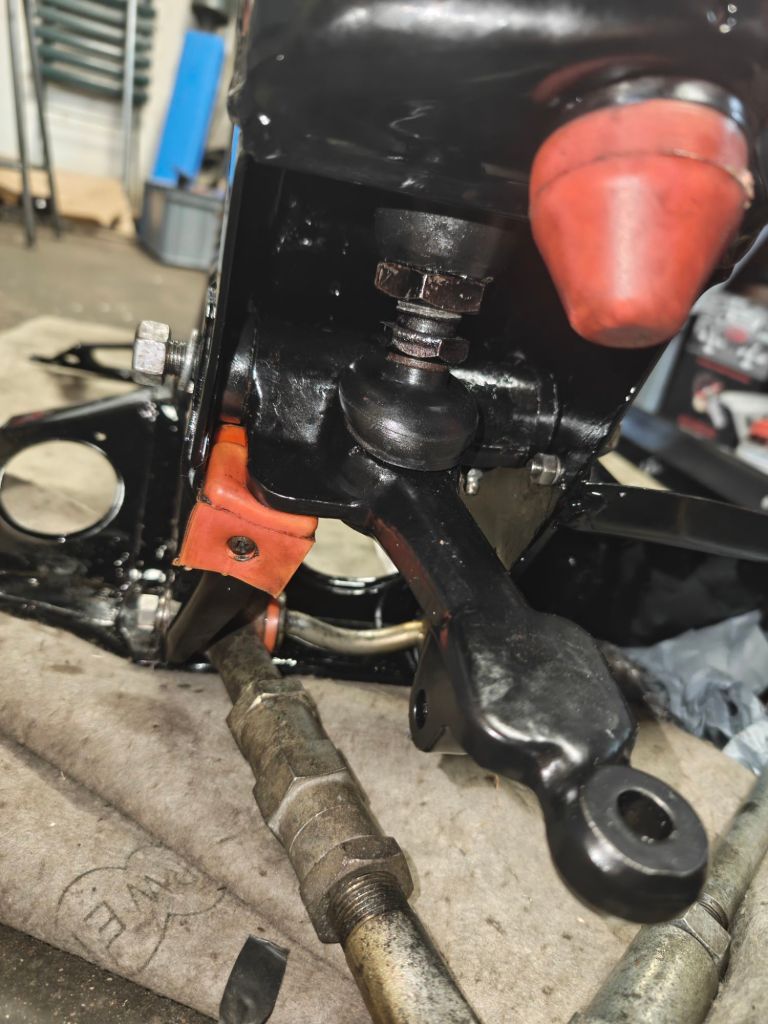
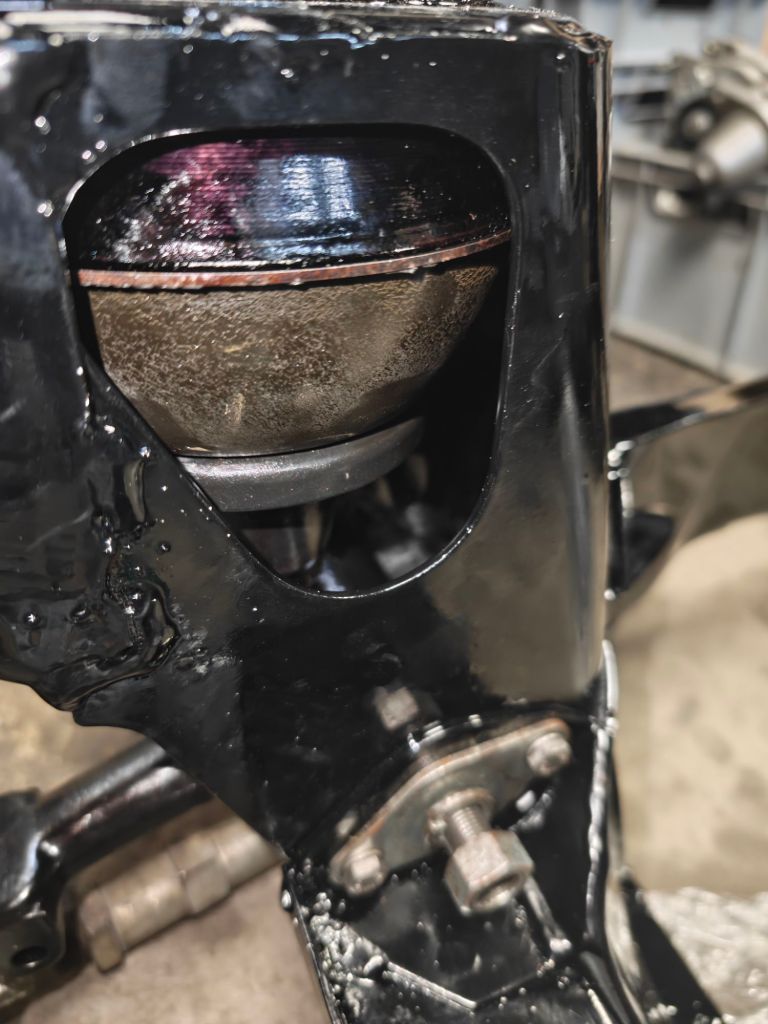
Before checking on Mildred I picked up Miffi’s engine block. My goal for tonight however was to get the front subframe back into the Mini. For this I wanted to get the upper control arms, along with the rubber-cone and Hi-Lo’s installed. The control arm have fresh paint and look much better. Bevor anything else – the bump stop has to fastened to the frame. Next the rubber cone is held up with the compressor. Then the upper control arm along with the knuckle joint and the Hi-Lo are inserted from below.
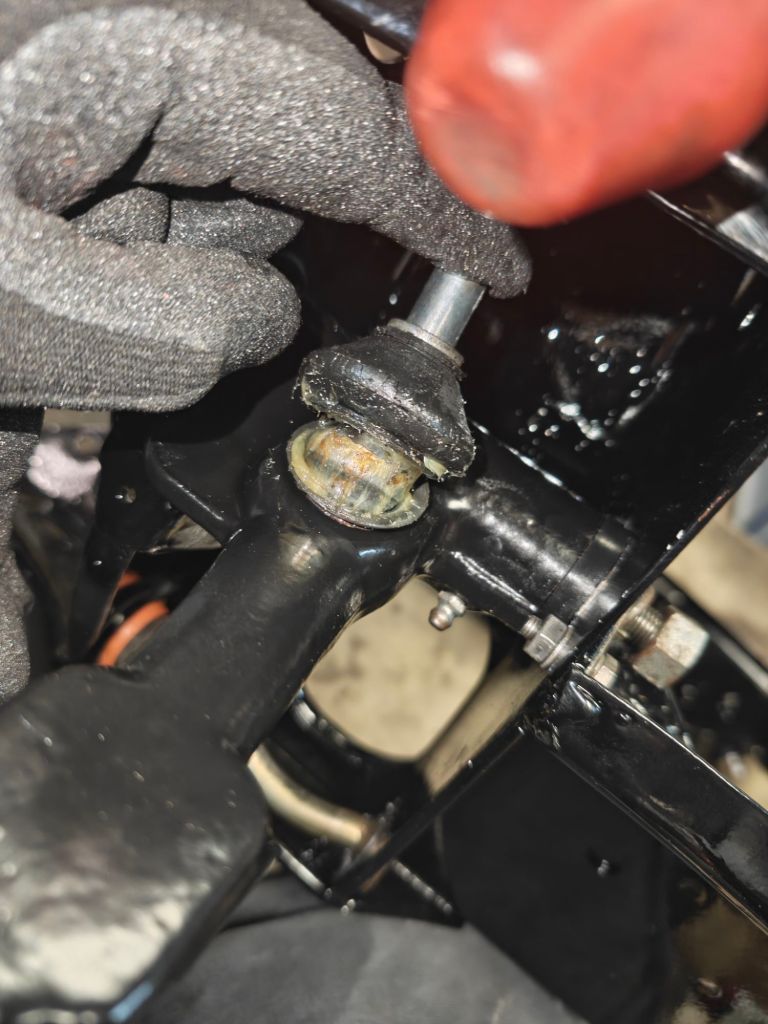
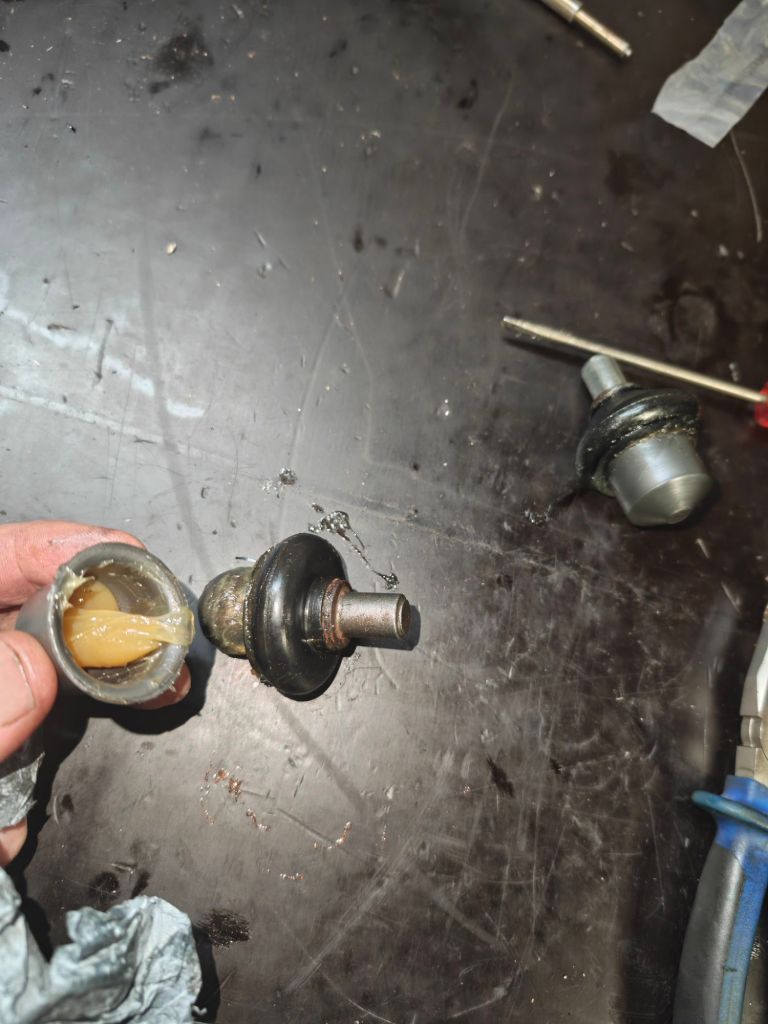
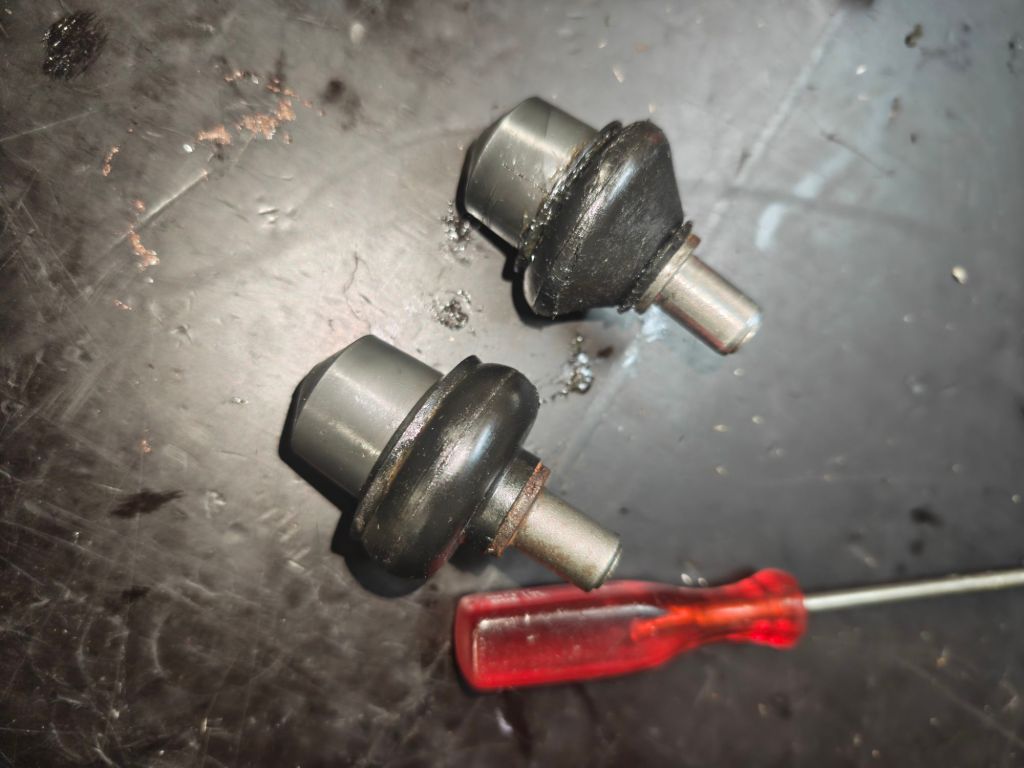
In theory quite easy – but as the control arm is bend further down as usual – the rubber of the knuckle joint came off. I tried getting with back one with the control arm installed – but this did not work at all. After taking the control arm out again, I was able to get the plastic seat out on the workbench. Make sure to always use some grease or other plastic friendly lubricant when inserting the plastic seat – otherwise you will never get them out easily and in one piece again. On the workbench I noticed I have two slightly different knuckle joints. And what I did not notice before – the rubber is torn on one of them – which is the reason why it came off.
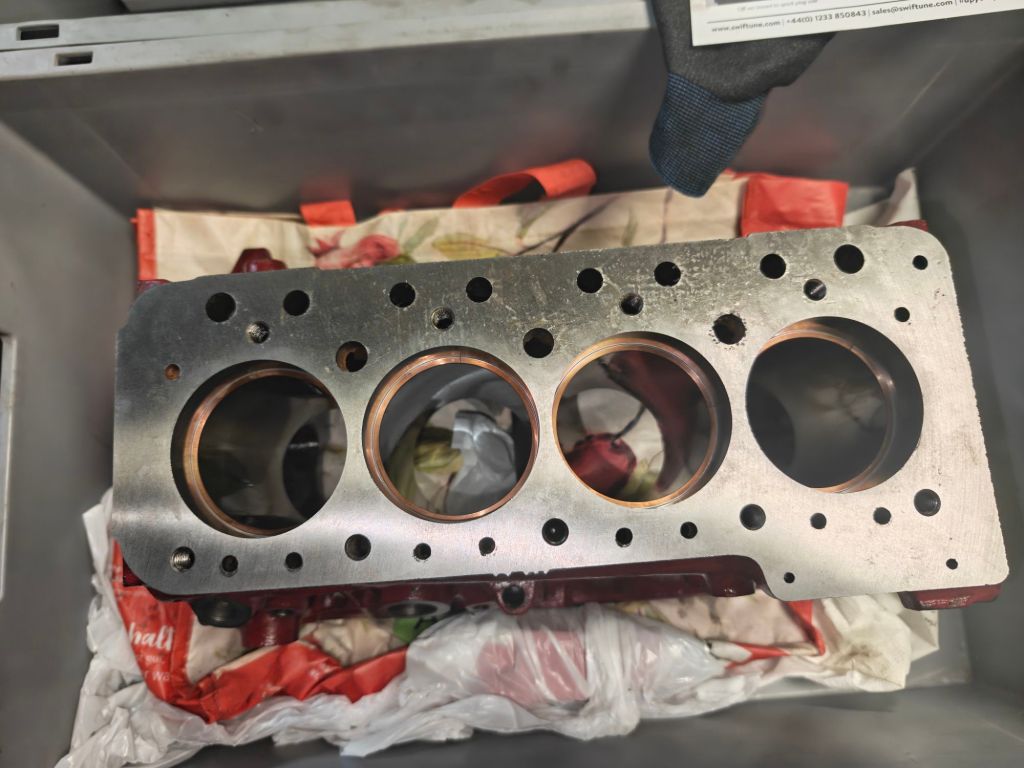
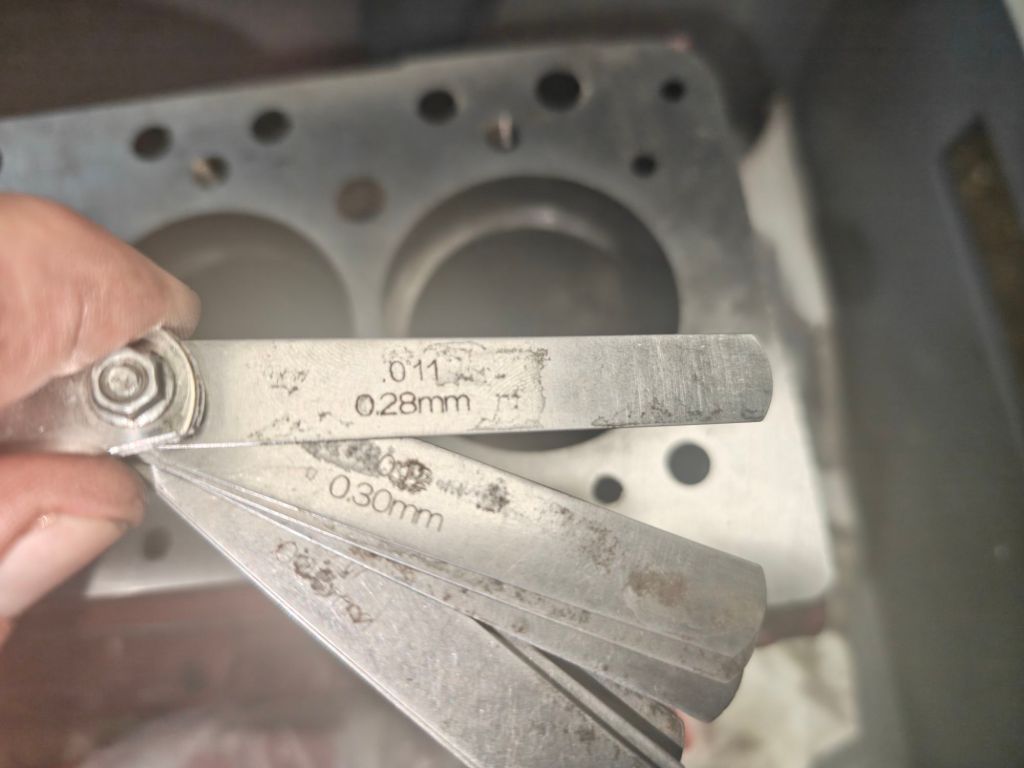
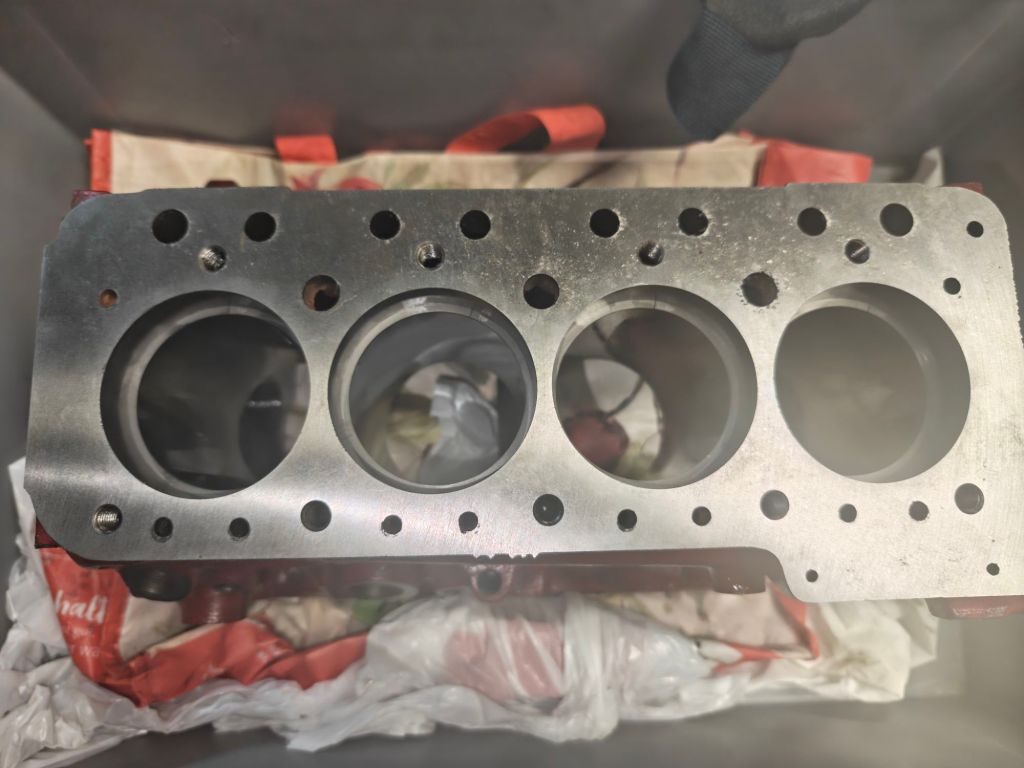
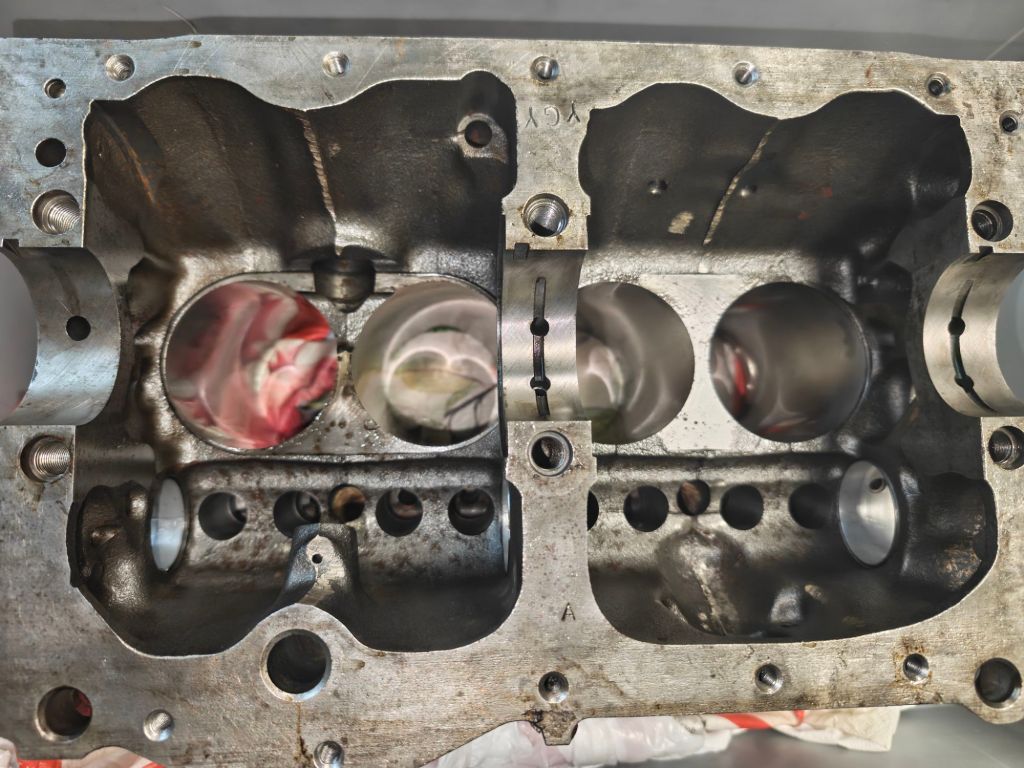
Since I could only complete one side of the subframe – I switched to the engine block. Checking the piston ring clearance is required before I out them onto the new Swiftune die-cast 1293 pistons. The Haynes workshop manual specifices a 0.25mm to 0.45mm gap the top piston ring on a 12A standard engine. 0.25mm is exactly what I measured. Not sure if this is optimal for the Swiftune pistons and need to ask Swiftune here.The second rings all have a 0.25mm gap – which is fine within the range of 0.22mm to 0.33mm. Same applied to the oil control rings. Next up is cleaning and painting the block – before the engine assembly can start.


Leave a Reply